1. Introduction
This manual provides detailed instructions for the assembly, operation, and maintenance of your SANGMUCEN Floating Queen Bed Frame. Please read all instructions carefully before beginning assembly and retain this manual for future reference.

Image 1.1: Assembled SANGMUCEN Floating Queen Bed Frame with LED lighting.
2. Safety Information
- Use mute stickers to reduce noise.
- Exercise caution during assembly to prevent injury.
- Follow all assembly instructions carefully to ensure stability and prevent structural issues.
- Do not overload the USB ports to avoid electrical hazards.
- Ensure all connections are secure before use.
- This bed frame is designed for use with a Queen size mattress.
3. Package Contents
Verify that all components are present before beginning assembly. If any parts are missing or damaged, contact customer support.
- Bed Frame Components
- LED Light Strips
- Accessory Bag (includes screws, bolts, Allen wrench, mute stickers, zip ties)
- Assembly Tool
- Instruction Manual (this document)
4. Setup and Assembly
Assembly typically requires two adults. Lay out all components on a soft, clean surface to prevent scratches.
4.1. Frame Assembly
- Identify all frame components (numbered 1-9 as shown in Image 4.1).
- Connect the main side rails and crossbars using the provided bolts and Allen wrench. Keep bolts slightly loose initially.
- Attach the central support legs to the crossbars.
- Ensure all frame connections are aligned and then fully tighten all bolts.

Image 4.1: Exploded view of the bed frame components.
4.2. Slat Support Installation
- Place the steel slats onto the assembled frame. Ensure they fit securely into the designated slots.
- Attach the mattress slide stoppers to the head and foot of the frame as indicated in the instructions.

Image 4.2: Detail of mattress stopper attachment.
4.3. Power Outlet Installation
- Locate the power outlet unit and the designated mounting area on the side rail of the bed frame.
- Secure the power outlet to the frame using the provided screws. Ensure it is firmly attached.

Image 4.3: Integrated power outlet with standard plugs, USB, and Type-C ports.
4.4. LED Light Strip Installation
- Clean the underside of the bed frame where the LED strips will be applied to ensure proper adhesion.
- Peel the adhesive backing from the LED light strips and carefully attach them along the inner perimeter of the bed frame.
- Use the provided zip ties to further secure the LED strips to the metal frame, especially at corners and along longer sections, to prevent detachment over time.
- Connect the LED light strip to its controller and power source.
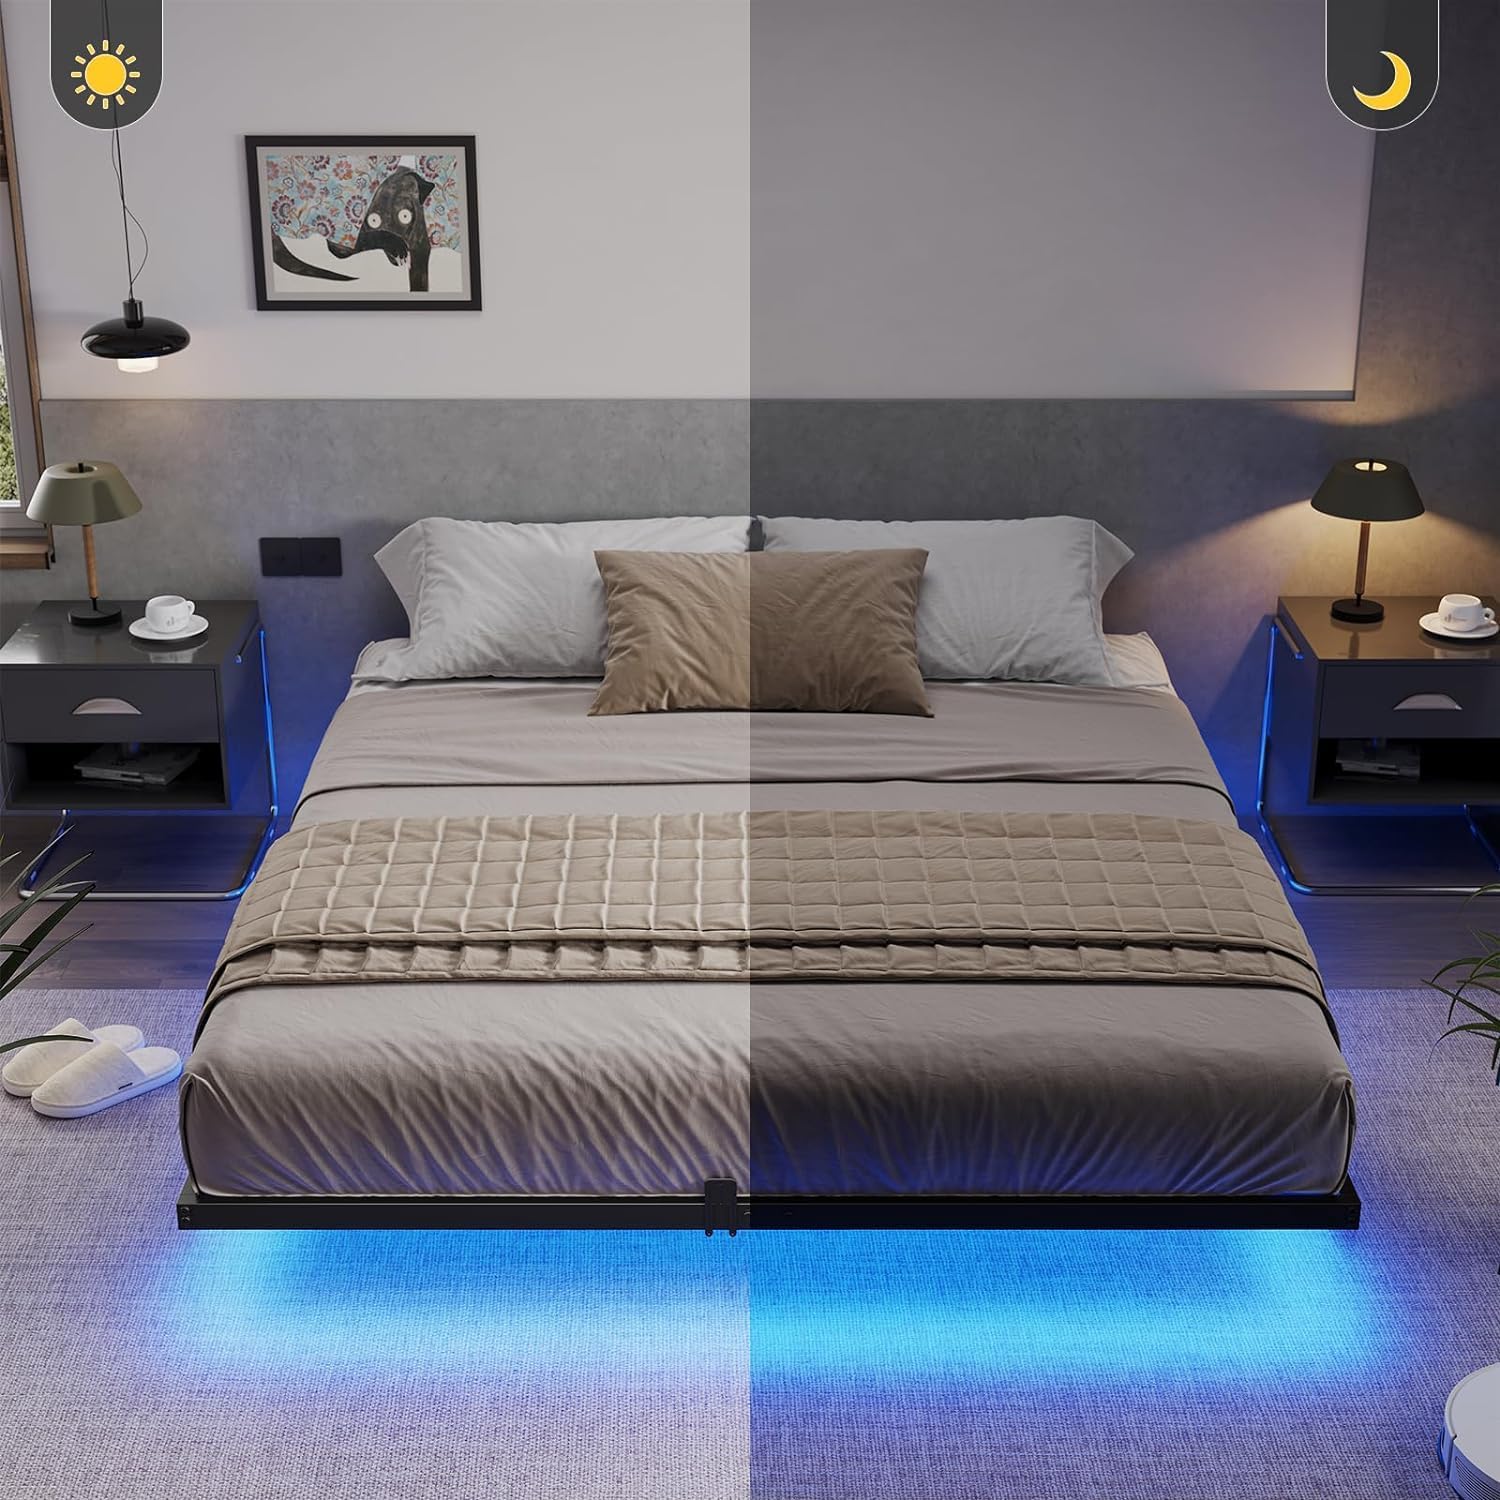
Image 4.4: Securing LED light strips with zip ties for enhanced durability.
5. Operating Instructions
5.1. LED Lighting System
The integrated RGB LED lights can be controlled via a switch, a mobile application, or a remote control.
- Switch Control: Use the inline switch to turn the lights on/off and cycle through basic modes.
- App Control: Download the designated mobile application (refer to the LED light manual for QR code or app name). The app allows for extensive customization, including over 60,000 colors, brightness adjustment, music synchronization, microphone mode, and timing functions.
- Remote Control: Use the provided remote control for convenient access to various colors, brightness levels, and dynamic modes.

Image 5.1: Overview of LED light control methods and features.
5.2. USB Charging Station
The bed frame includes a built-in power outlet with standard plug outlets, USB ports, and Type-C ports for convenient device charging.
- Plug the bed frame's power cord into a wall outlet.
- Connect your electronic devices to the available standard, USB, or Type-C ports.
- Avoid connecting high-power devices simultaneously to prevent overloading.
6. Maintenance
- Cleaning: Wipe the metal frame with a soft, damp cloth. Avoid abrasive cleaners that may damage the finish.
- Fasteners: Periodically check all bolts and screws to ensure they remain tight. Re-tighten if necessary to maintain stability.
- LED Strips: If LED strips begin to peel, re-secure them with additional zip ties or appropriate adhesive.
- Electrical Components: Ensure the power cord and charging station are free from damage. Do not use if frayed or damaged.
7. Troubleshooting
| Problem | Possible Cause | Solution |
|---|---|---|
| Bed frame is wobbly or noisy. | Loose bolts; uneven assembly; missing mute stickers. | Ensure all bolts are fully tightened. Verify correct assembly. Apply mute stickers to contact points between metal parts. |
| LED lights are not working. | Power connection issue; faulty strip; remote battery dead. | Check if the LED strip is properly connected to the controller and power source. Ensure the bed frame's main power cord is plugged in. Replace remote battery. Contact support if issues persist. |
| USB charging station is not working. | Bed frame not plugged in; overloaded ports; faulty device cable. | Ensure the bed frame's main power cord is securely plugged into a functional wall outlet. Reduce the number of devices connected. Try a different charging cable. |
| LED strips are peeling off. | Insufficient initial adhesion; environmental factors. | Re-secure with additional zip ties (as shown in Image 4.4) or a stronger adhesive suitable for metal surfaces. |
8. Specifications
| Feature | Detail |
|---|---|
| Brand | SANGMUCEN |
| Model Number | HBF003H01 |
| Size | Queen |
| Product Dimensions | 203 x 152 x 20 cm (80" L x 60.2" W x 7.7" H) |
| Material | Alloy Steel |
| Item Weight | 17.7 kg |
| Weight Capacity | 1000 lbs |
| Special Features | No Box Spring Needed, LED Lighting, USB Port, Floating Design, Charging Station |
| LED Control | Switch, App, Remote Control |
| Power Outlet | 2 Standard Plug Outlets, 1 USB Port, 1 Type-C Port |
| Power Cord Length | 4.9ft / 150cm |

Image 8.1: Queen size bed frame dimensions and weight capacity.
9. Warranty and Support
SANGMUCEN products are manufactured with quality and durability in mind. For specific warranty details, please refer to the warranty card included with your purchase or contact SANGMUCEN customer support directly. If you encounter any issues or require assistance, please reach out to the seller or manufacturer through your purchase platform.


