Introduction
Thank you for choosing the IsEasy 4-Burner Gas Hob MGBS-A405. This manual provides essential information for the safe and efficient installation, operation, and maintenance of your new appliance. Please read these instructions thoroughly before use and retain them for future reference.
Important Safety Information
Your safety and the safety of others are paramount. This section contains critical safety warnings and precautions. Failure to follow these instructions could result in fire, explosion, electric shock, or other injuries.
- Professional Installation: All gas and electrical work required for the installation of this hob must be carried out by a qualified and certified professional.
- Gas Leakage: In case of a gas leak, immediately shut off the gas supply, open windows for ventilation, and do not operate any electrical switches or appliances. Contact a qualified technician.
- Ventilation: Ensure adequate ventilation in the kitchen area when the hob is in use.
- Children and Pets: Keep children and pets away from the appliance during operation and when it is cooling down.
- Flammable Materials: Do not store or use flammable materials near the hob.
- Hot Surfaces: Burners and surrounding areas become hot during use. Avoid touching hot surfaces.
- Flame Failure Device: Each burner is equipped with a flame failure safety device that automatically cuts off the gas supply if the flame extinguishes.
Product Overview
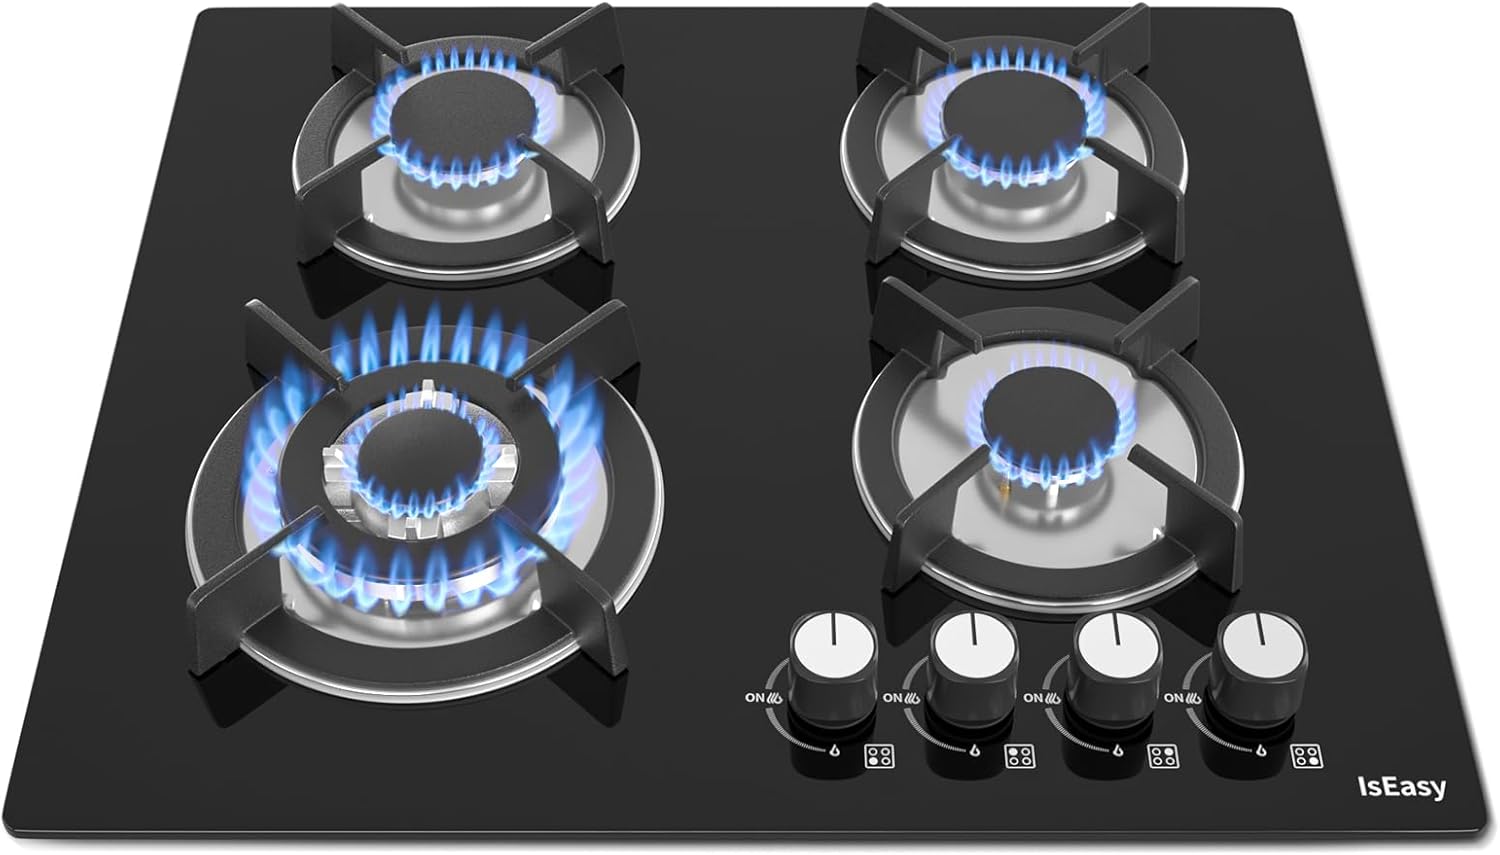
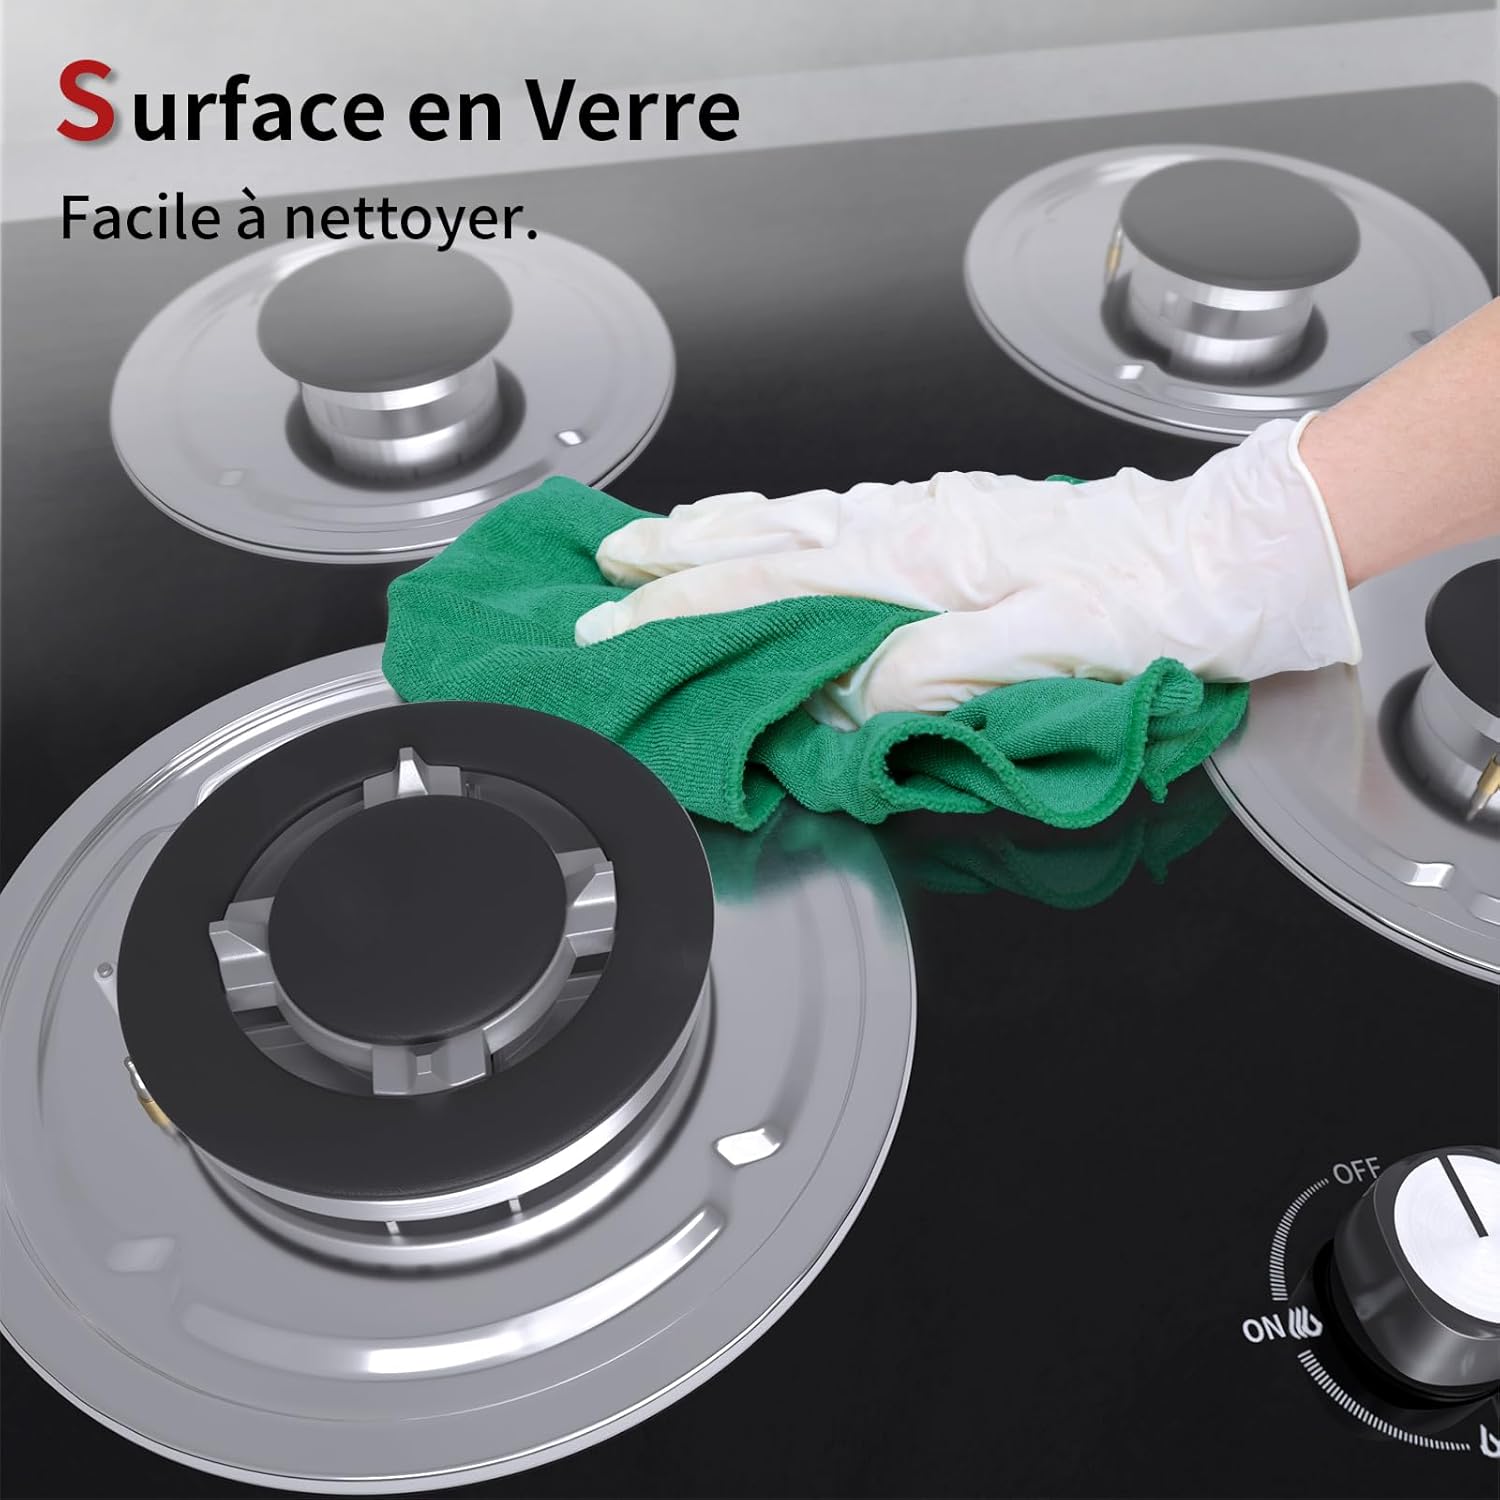
The IsEasy MGBS-A405 is a 4-burner gas hob designed for versatile cooking. It features a tempered glass panel and cast iron pan supports for durability and ease of cleaning.
Components
- Burners: Four gas burners of varying power outputs (3.3 kW, 1.75 kW, 1.75 kW, 1 kW).
- Control Knobs: Individual knobs for precise flame adjustment for each burner.
- Pan Supports: Durable cast iron supports for stable placement of cookware.
- Tempered Glass Panel: Heat-resistant and easy-to-clean cooking surface.
- Ignition System: Pulse ignition for quick and reliable startup.
- Flame Failure Safety Device: Thermocouple sensor on each burner.


Setup and Installation
WARNING: Installation of this appliance must be performed by a qualified gas fitter and electrician in accordance with local regulations and standards.
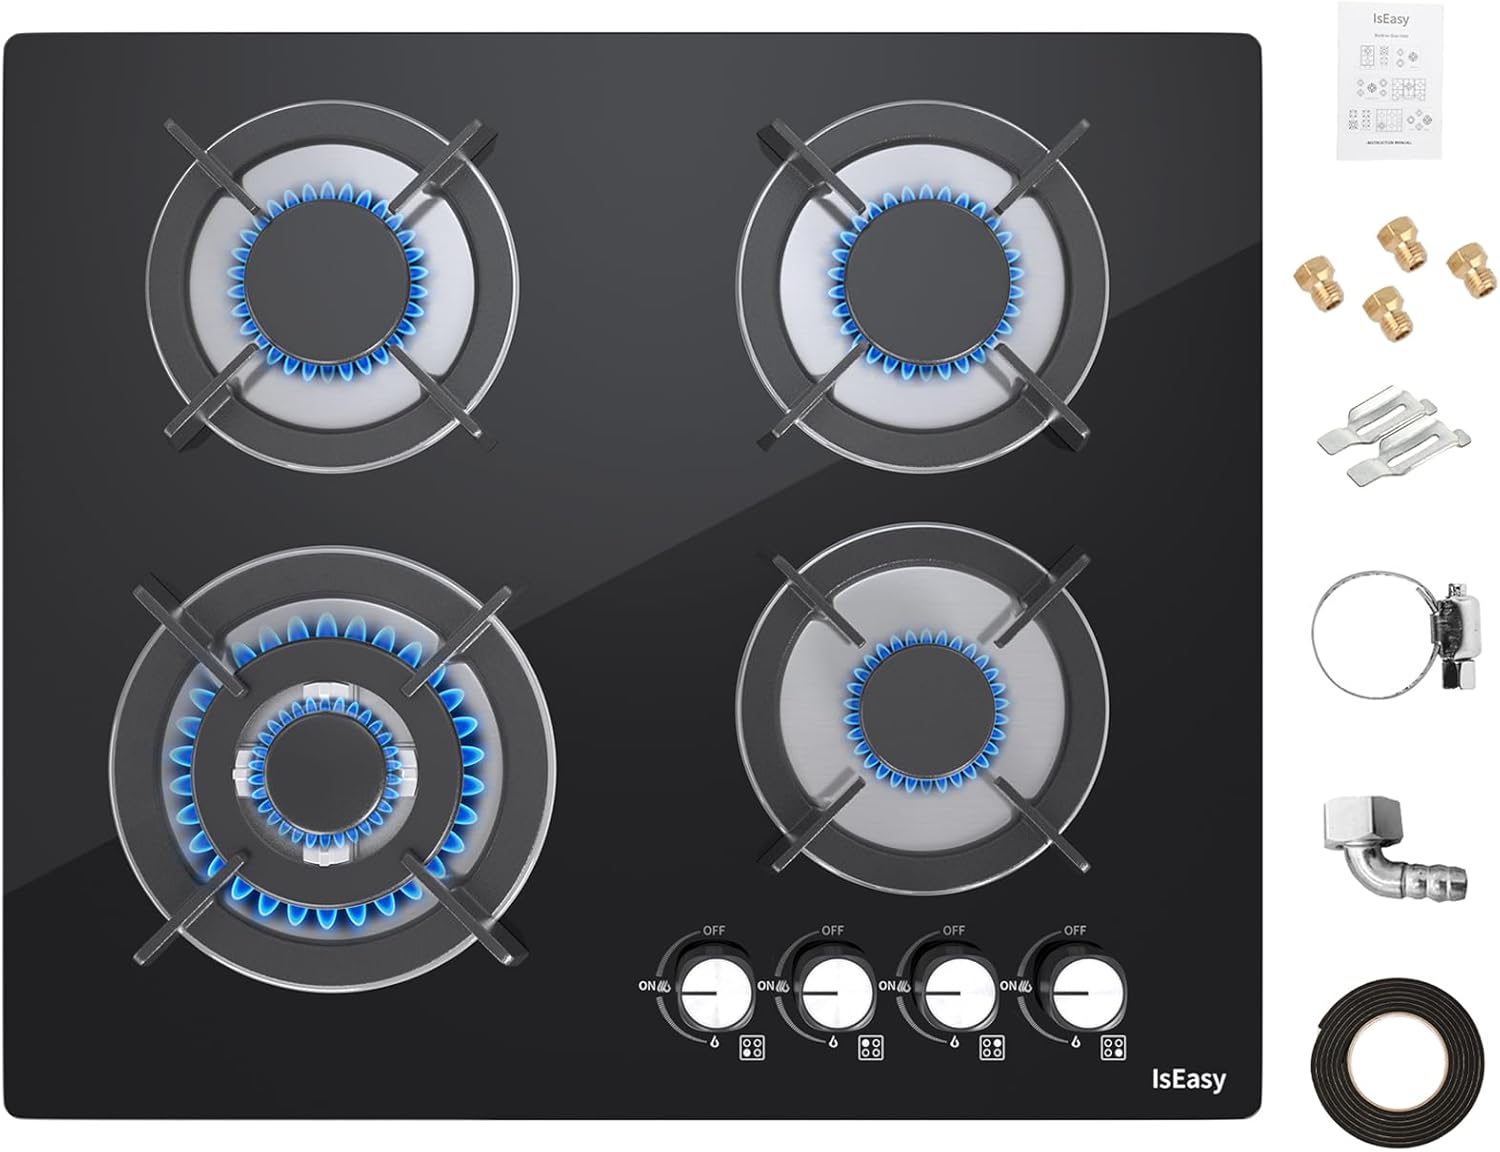
Unpacking
Carefully remove the hob from its packaging. Inspect for any damage. Report any damage to your supplier immediately.
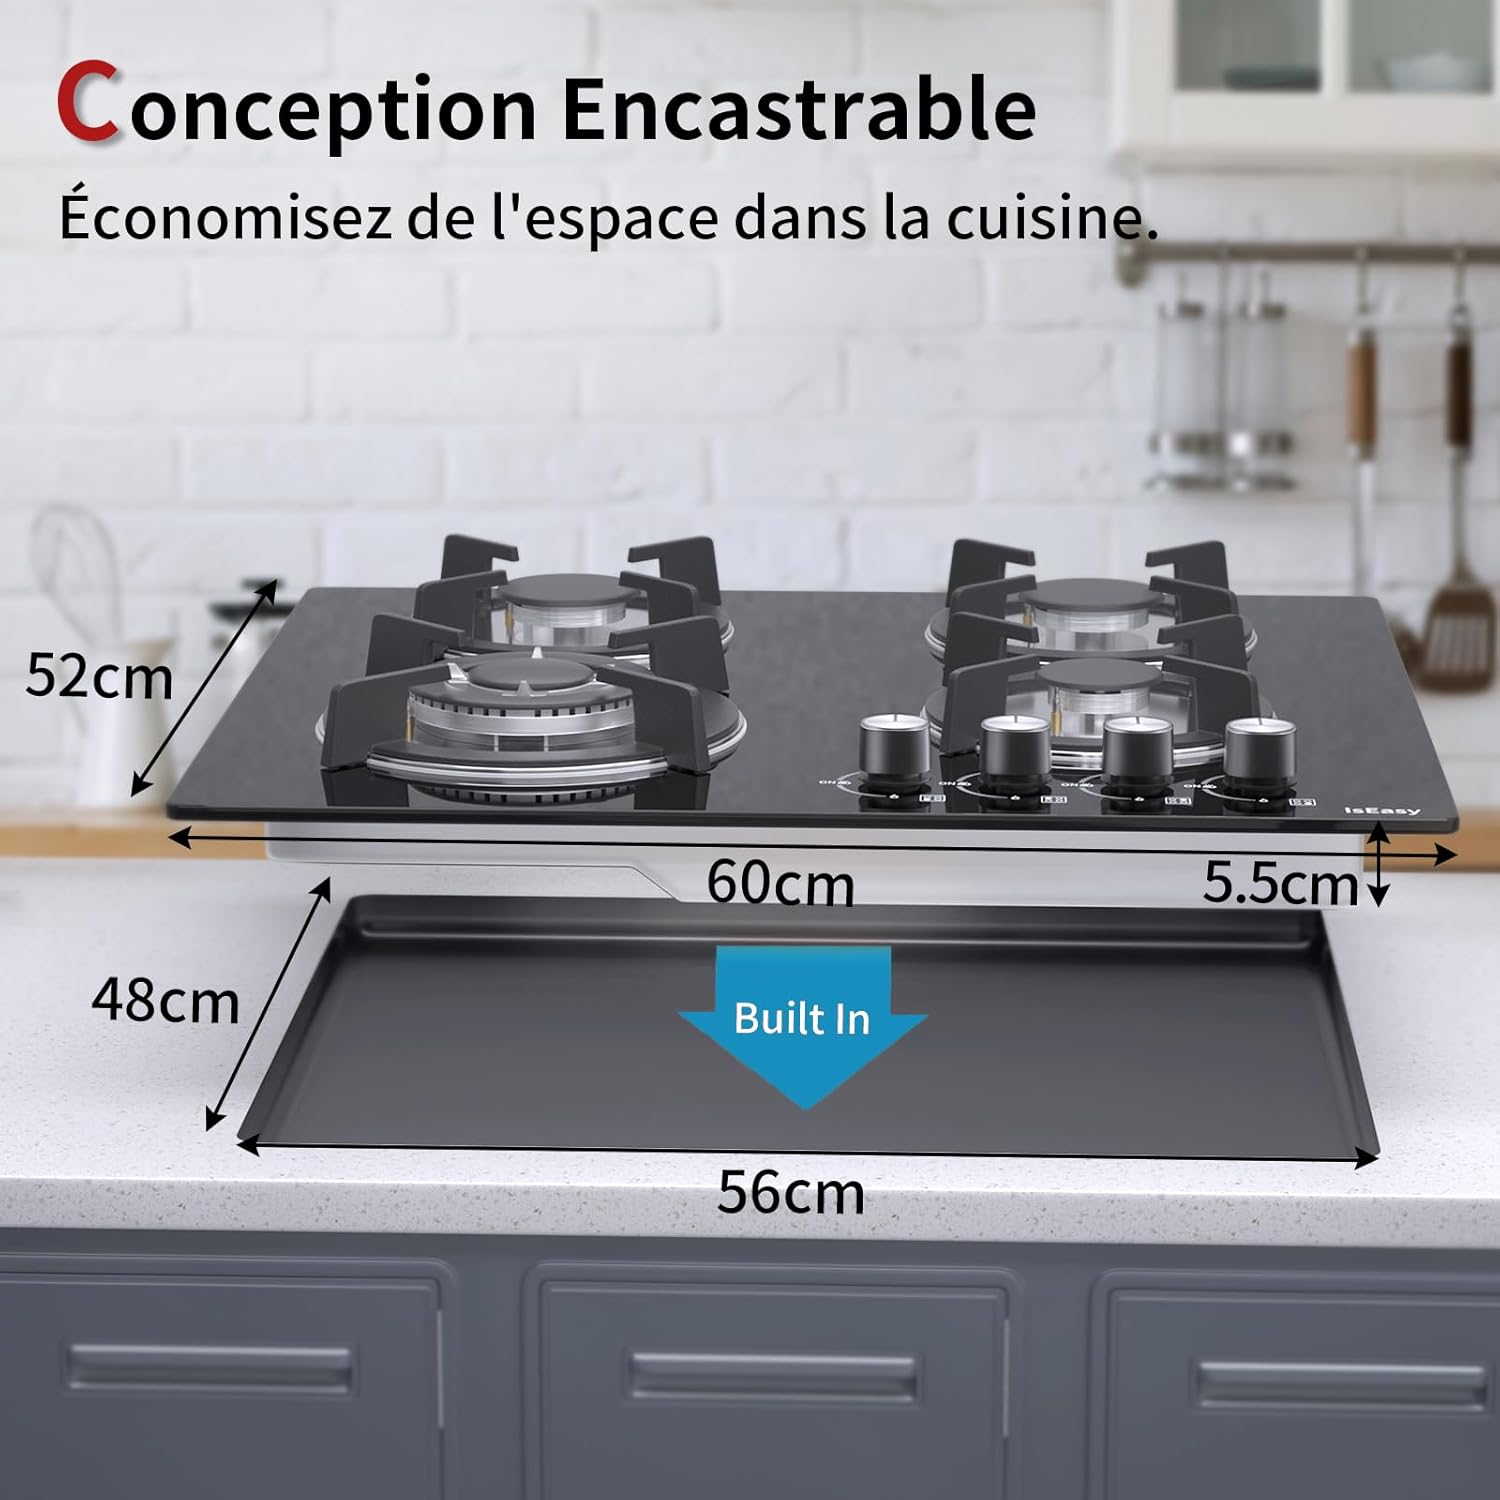
Countertop Preparation
Ensure the countertop opening dimensions match the specifications of the hob. The required opening size is 56 cm x 48 cm. The hob's overall dimensions are 60 cm x 52 cm x 5.5 cm.
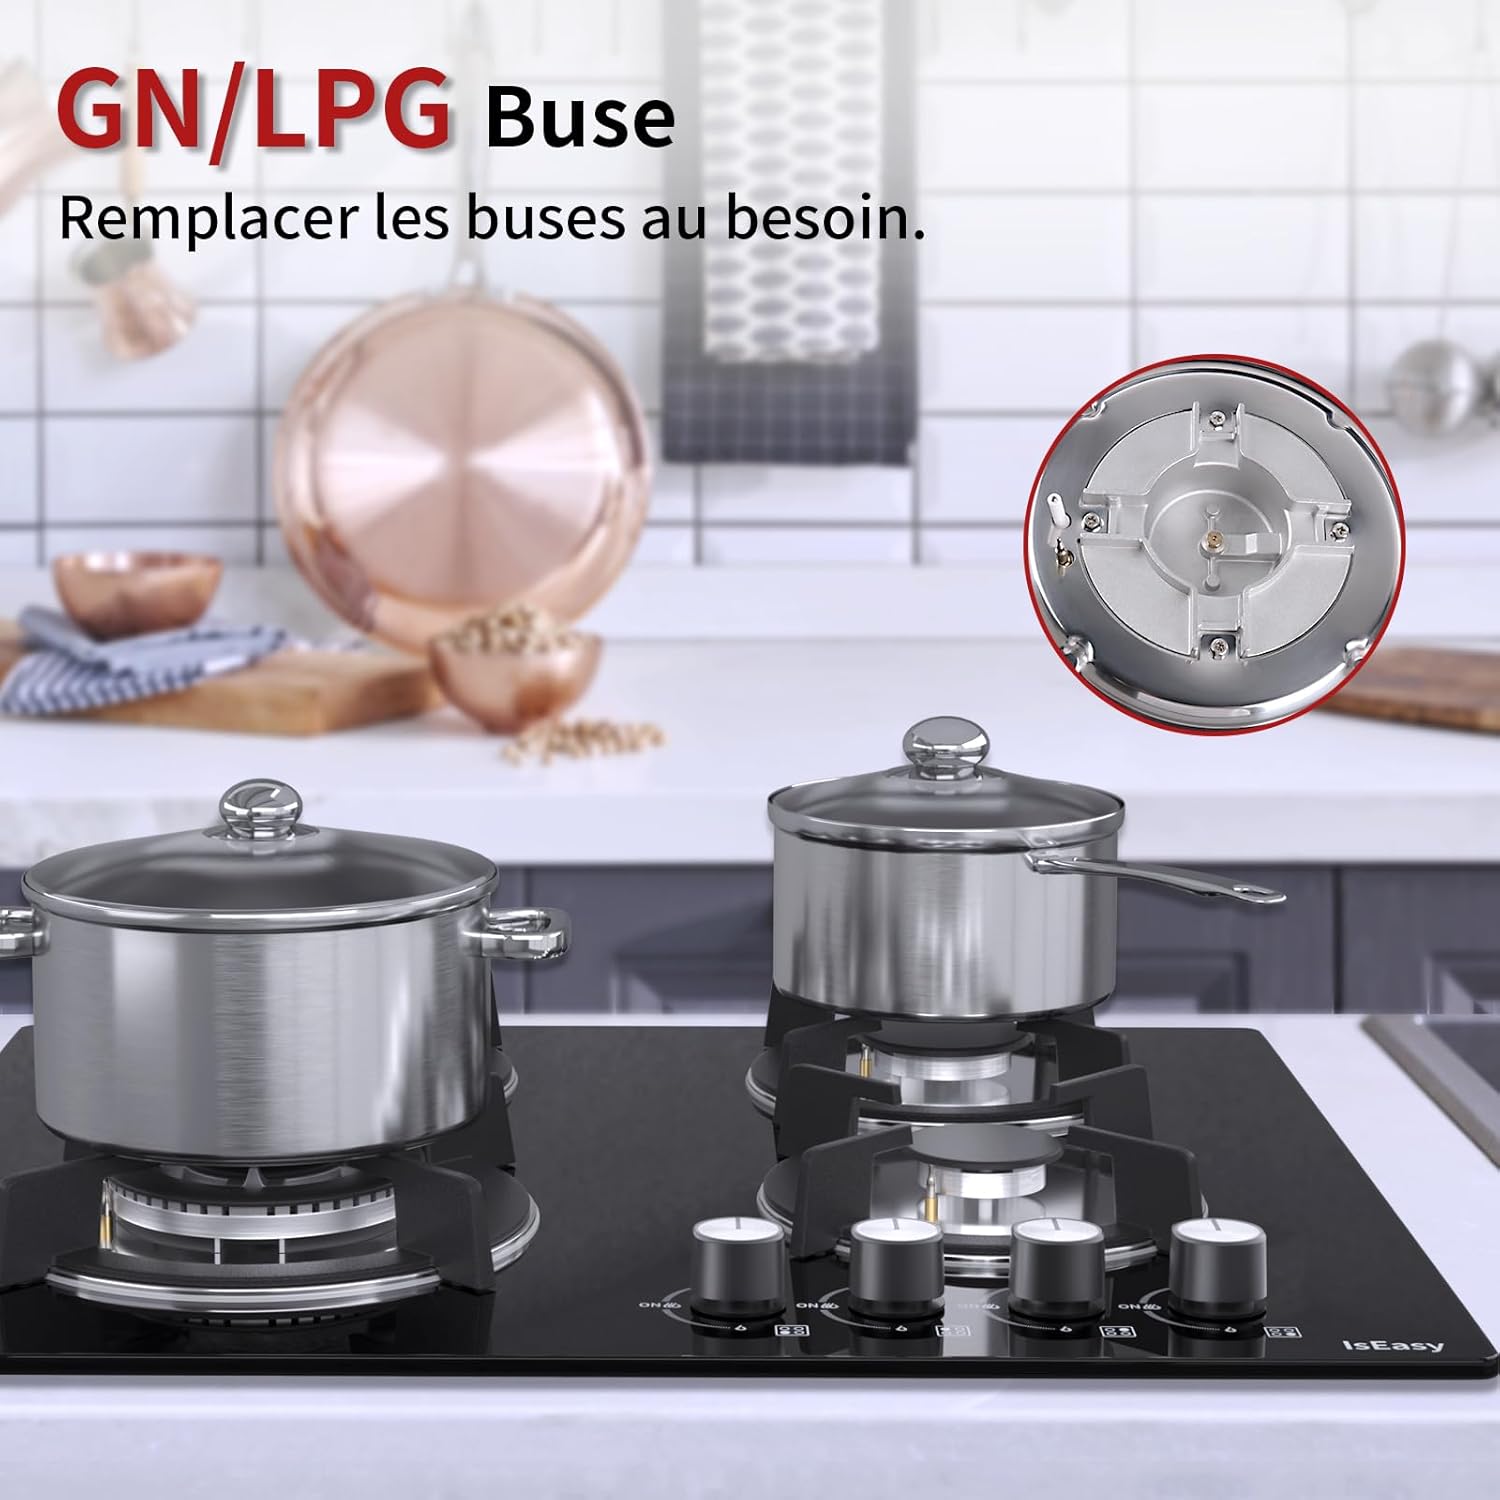
Gas Connection (NG/LPG Conversion)
The hob is factory-set for Natural Gas (NG). If you intend to use Liquefied Petroleum Gas (LPG), such as propane or butane, the included LPG nozzles must be installed. This conversion must be performed by a qualified gas technician.
- Ensure the main gas supply is turned off.
- Remove the burners and burner caps.
- Using an appropriate wrench, carefully unscrew the pre-installed NG nozzles.
- Replace them with the corresponding LPG nozzles provided in the accessory bag. Ensure each nozzle is correctly seated and tightened.
- Adjust the minimum flame setting if necessary after conversion.
Electrical Connection
The hob requires a 127-240V electrical supply for the pulse ignition system. This connection must be made by a qualified electrician.
Leak Test
After installation and gas connection, a leak test must be performed by a qualified technician using a soapy water solution to check all connections for gas leaks. Never use an open flame to check for leaks.
Operating Instructions
Ignition
- Ensure the gas supply to the hob is open.
- Press down and turn the desired burner's control knob counter-clockwise to the 'ON' position (usually indicated by a flame symbol).
- Hold the knob down for a few seconds after the flame ignites. This allows the thermocouple to heat up and activate the flame failure safety device.
- Release the knob. If the flame goes out, repeat the process, holding the knob down slightly longer.
Adjusting Flame
Once the burner is lit, you can adjust the flame intensity by turning the control knob between the 'ON' (maximum flame) and 'OFF' (minimum flame) positions. Always ensure the flame is stable and blue.
Safety Feature: Flame Failure Device
Each burner is equipped with a thermocouple that detects the presence of a flame. If the flame accidentally extinguishes (e.g., due to a draft or boil-over), the thermocouple will cool down and automatically cut off the gas supply to that burner, preventing gas leakage.

Maintenance and Cleaning
Regular cleaning and maintenance will ensure the longevity and optimal performance of your gas hob.
Daily Cleaning
- Allow the hob to cool completely before cleaning.
- Wipe the tempered glass surface with a damp cloth and mild detergent. Avoid abrasive cleaners or scouring pads that can scratch the surface.
- Clean up spills immediately to prevent them from drying and becoming harder to remove.
Deep Cleaning
- Remove the pan supports, burner caps, and burner rings. These can be washed in warm soapy water.
- Ensure all parts are thoroughly dry before reassembling. Moisture can interfere with ignition.
- Clean the ignition electrodes and thermocouples gently with a soft brush to remove any food residue that might obstruct their function.
Burner Maintenance
Periodically check that the burner ports are not clogged. Use a fine wire or needle to clear any blockages. Ensure burner caps are correctly positioned after cleaning to ensure proper flame distribution.
Troubleshooting
Before contacting customer support, please refer to the following table for common issues and their solutions.
| Problem | Possible Cause | Solution |
|---|---|---|
| Burner does not ignite | No gas supply; Ignition electrode dirty/wet; Burner parts incorrectly assembled; Power outage. | Check gas valve; Clean and dry electrode; Reassemble burner parts correctly; Check power supply. |
| Flame goes out after releasing knob | Thermocouple not heated sufficiently; Thermocouple dirty or faulty. | Hold knob down longer (5-10 seconds); Clean thermocouple; Contact service if issue persists. |
| Irregular or yellow flame | Burner ports clogged; Incorrect gas type/pressure; Burner parts incorrectly assembled. | Clean burner ports; Verify correct gas type and pressure; Reassemble burner parts. |
| Gas smell | Gas leak. | Immediately shut off gas, ventilate, do not operate electrical switches, contact qualified technician. |
Technical Specifications
| Feature | Specification |
|---|---|
| Model | MGBS-A405 |
| Overall Dimensions (L x W x H) | 60 cm x 52 cm x 5.5 cm (23.62 x 20.47 x 2.17 inches) |
| Cut-out Dimensions (L x W) | 56 cm x 48 cm |
| Gas Source | NG/LPG (Natural Gas, Methane, Butane, Propane) |
| Total Thermal Load/Power | 7800W |
| Burner Power (Individual) | 3.3 kW, 1.75 kW, 1.75 kW, 1 kW |
| Panel Material | 8 mm Tempered Glass |
| Pan Support Material | Cast Iron |
| Ignition Type | Pulse Ignition |
| Voltage | 127-240V |
| Safety Feature | Thermocouple Flame Failure Device |
| Control Type | Button Control |
| Net Weight | 11.1 kg (24.4 pounds) |
Warranty and Customer Support
For warranty information, technical assistance, or to report any issues with your IsEasy 4-Burner Gas Hob, please refer to the warranty card included with your product or contact IsEasy customer support directly. Keep your purchase receipt as proof of purchase.