1. Introduction
This manual provides essential information for the safe and effective operation of your EAFCAuto 12V 6A Smart Trickle Charger. This device is designed for charging and maintaining 12V lead-acid batteries, including Wet, Gel, MF, CA, EFB, AGM, and 24V batteries. It features intelligent charging management and multiple protection mechanisms.
Key Features:
- 6A current fast charging capability.
- Intelligent charging management system for optimized battery health.
- Multiple protection mechanisms for enhanced safety during use.
- LED display for real-time monitoring of charging status.
- Portable design for easy transport and storage.
2. Safety Instructions
WARNING: Read all safety warnings and instructions before using this product. Failure to follow the warnings and instructions may result in electric shock, fire, and/or serious injury.
General Safety:
- This charger is for 12V/24V lead-acid batteries only. Do not use it for other battery types.
- Ensure the charger is disconnected from the power supply before making or breaking connections to the battery.
- Operate the charger in a well-ventilated area. Do not cover the charger during operation.
- Keep out of reach of children.
- Do not expose the charger to rain or excessive moisture.
- Avoid short-circuiting the output clamps.
Electrical Safety:
- Ensure the power outlet voltage matches the charger's input voltage.
- Do not operate the charger with a damaged cord or plug.
- If an extension cord is used, ensure it is properly rated for the charger's power requirements.
3. Product Overview
The EAFCAuto Smart Trickle Charger features a compact design with an intuitive LED display and robust battery clamps.

Figure 3.1: Front view of the EAFCAuto 12V 6A Smart Trickle Charger, showing the LED display, mode button, and various indicators for pulse repair, multiple protection, winter/summer mode, and intelligent detection.
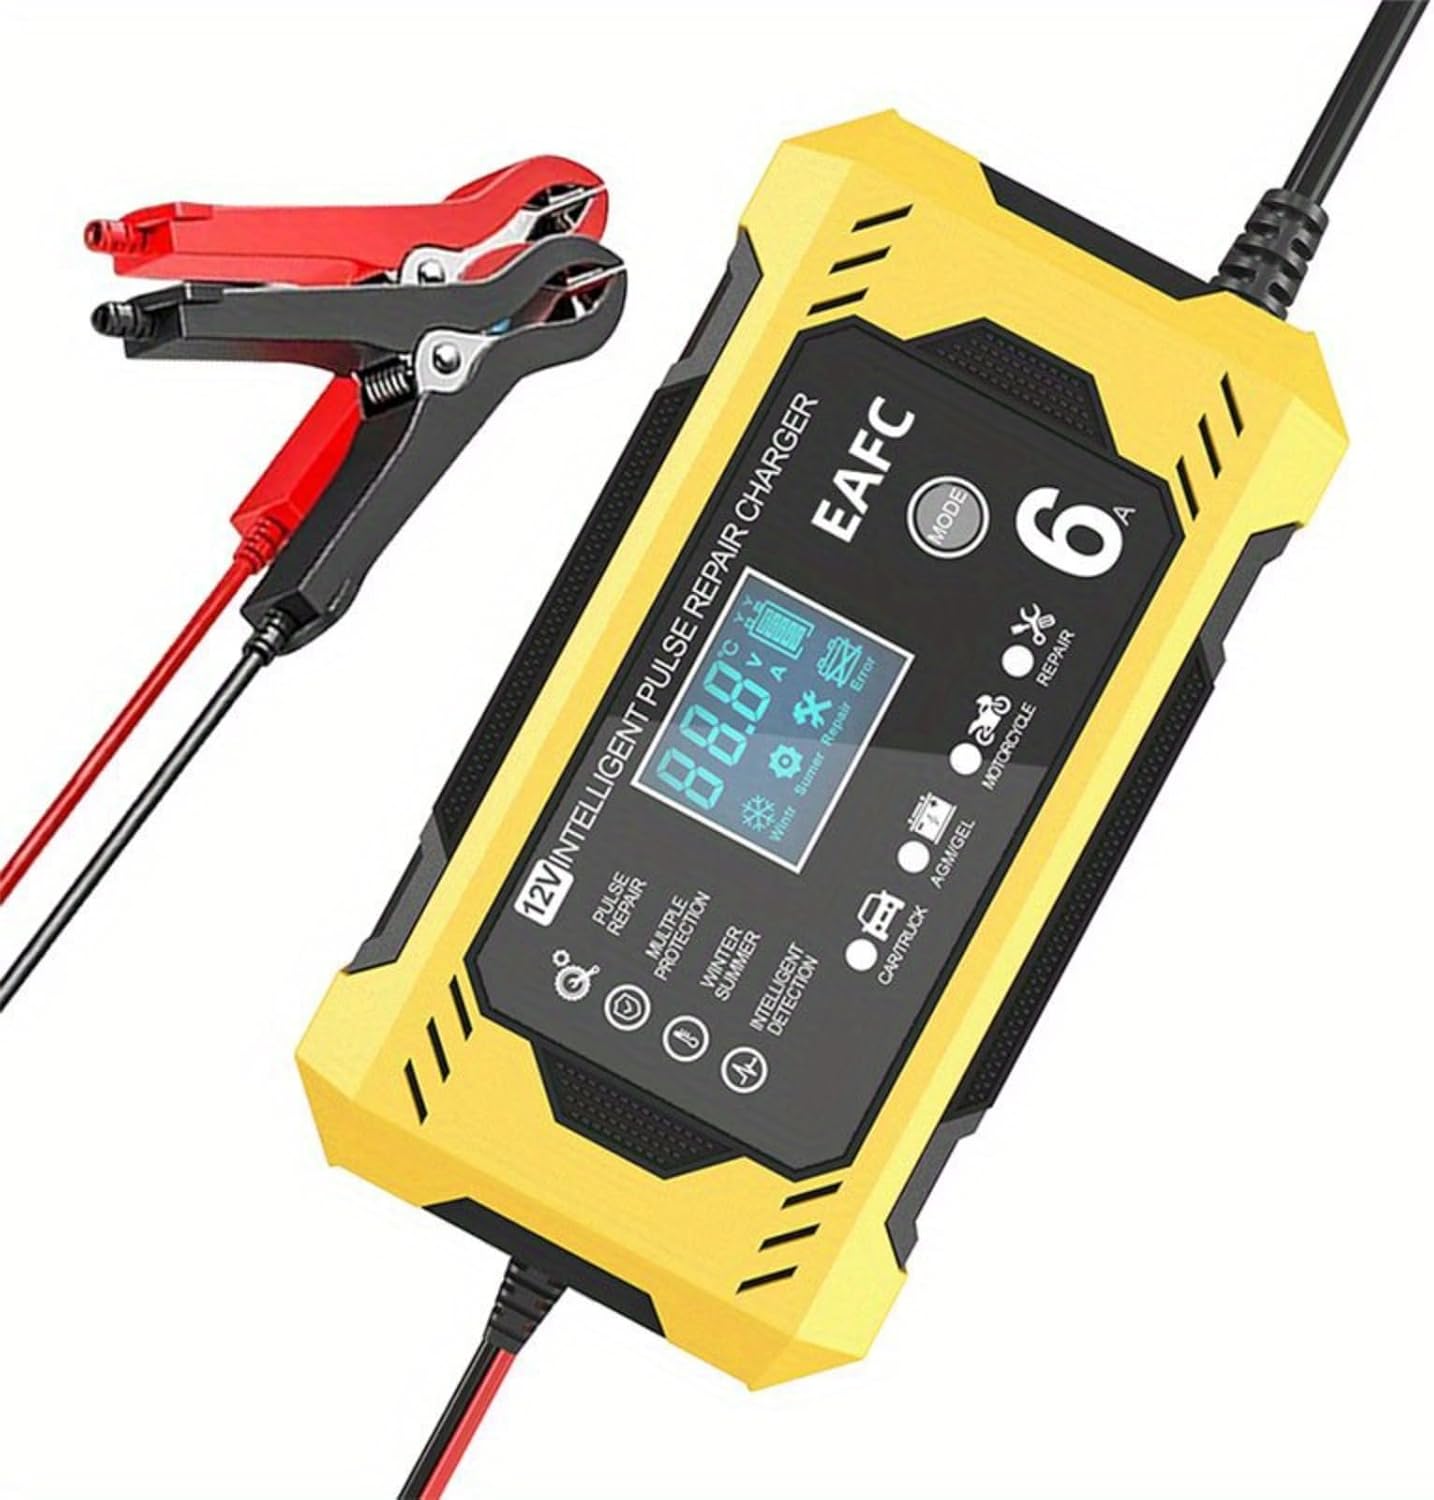
Figure 3.2: The charger connected to its red and black battery clamps, ready for use.
Components:
- Main Charger Unit
- AC Power Cord
- Red (Positive) Battery Clamp
- Black (Negative) Battery Clamp
LED Display Indicators:
- Voltage (V) / Current (A) Display: Shows real-time charging voltage and current.
- Battery Level Indicator: Displays the estimated charge level of the battery.
- Charging Mode Indicators: Icons for Car/Truck, AGM/GEL, Motorcycle, and Repair modes.
- Temperature Compensation: Winter/Summer mode indicators for automatic adjustment.
- Protection Indicators: Icons for various safety features (e.g., reverse polarity, short circuit).
4. Setup and Connection
Follow these steps to safely connect the charger to your battery.
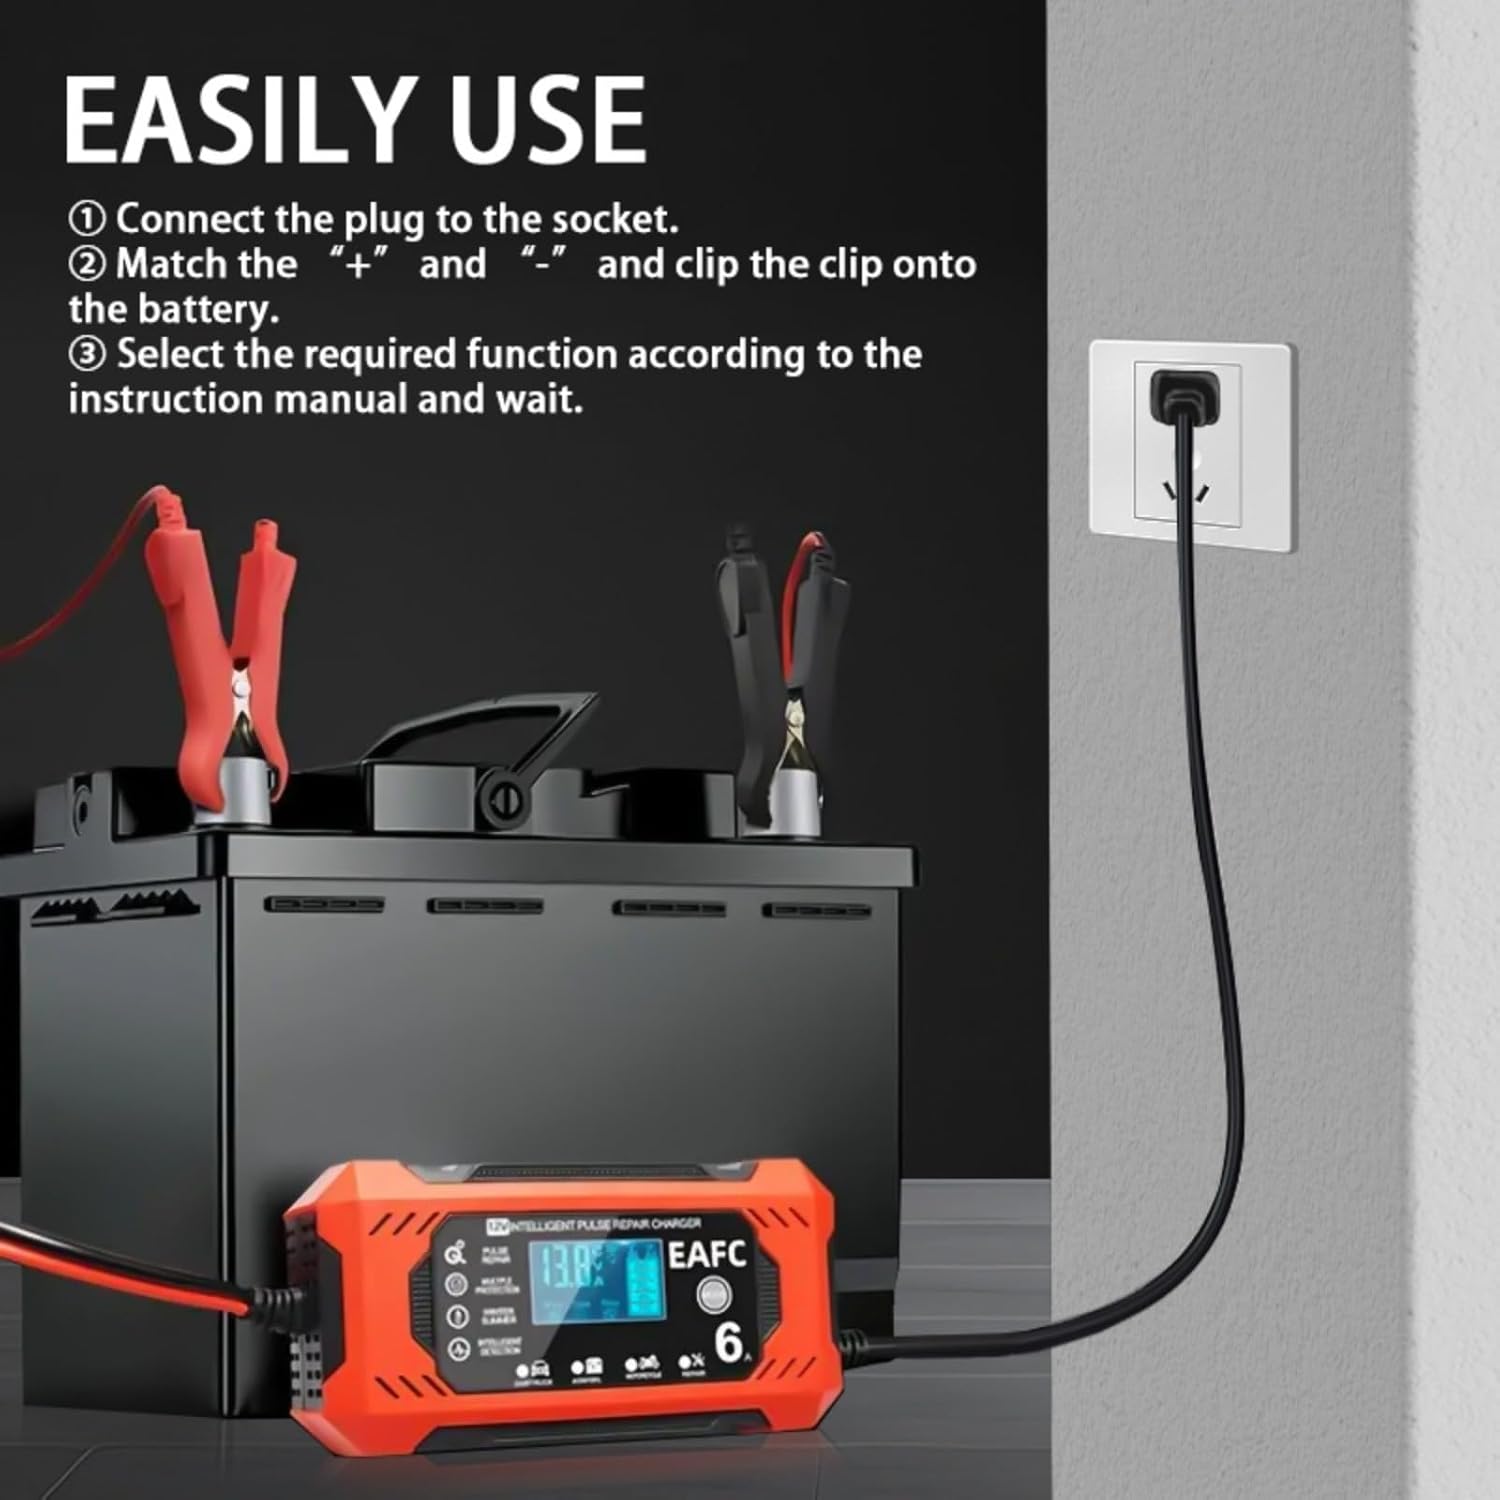
Figure 4.1: Visual guide for connecting the charger to a battery and power source.
- Connect to Power: Plug the AC power cord into a standard wall socket. The charger's display will illuminate.
- Connect to Battery:
- Connect the RED (+) battery clamp to the positive terminal of the battery.
- Connect the BLACK (-) battery clamp to the negative terminal of the battery.
Ensure a secure connection. If reverse polarity is detected, the charger will indicate an error.
- Select Charging Mode: Press the 'MODE' button to cycle through the available charging modes (Car/Truck, AGM/GEL, Motorcycle, Repair). Select the mode appropriate for your battery type and condition.
5. Operating Instructions
Once connected and the mode is selected, the charger will begin its intelligent charging process.
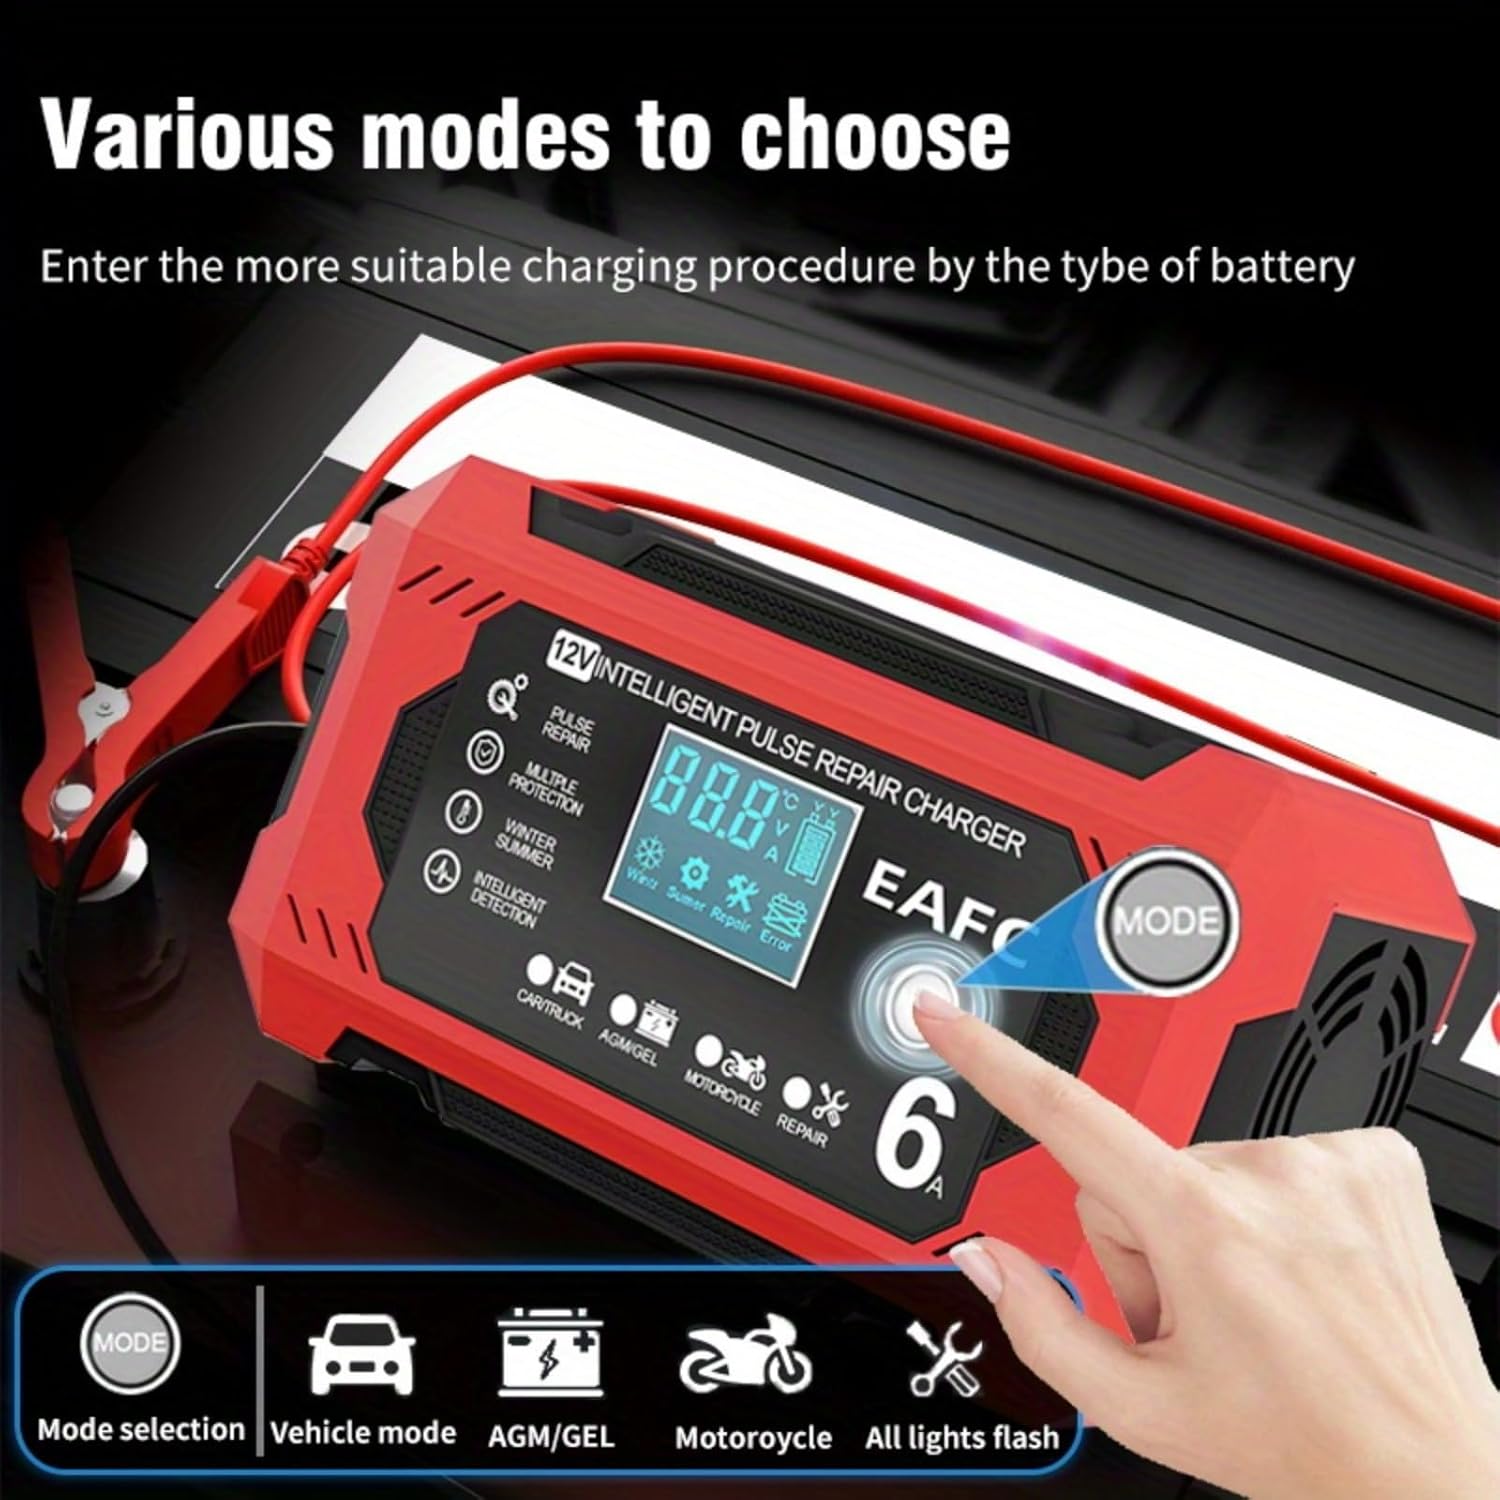
Figure 5.1: The charger's display highlighting the 'MODE' button and various charging options.
Charging Process:
- The charger will automatically detect the battery voltage and begin charging.
- The LED display will show the current voltage, charging current, and battery charge percentage.
- The charger employs a multi-stage charging process (e.g., desulfation, soft start, bulk charge, absorption, float charge) to optimize battery life and performance.
- Once the battery is fully charged, the charger will automatically switch to trickle charge (maintenance) mode to prevent overcharging.
Pulse Repair Mode:
The Pulse Repair mode is designed to help restore deeply discharged or sulfated batteries. This mode uses high-frequency pulse technology to break down sulfate crystals that build up on battery plates.
- Select 'Repair' mode using the MODE button.
- The repair process can take several hours. Monitor the battery during this process.
- Not all batteries can be fully restored, especially those with internal damage.
Disconnecting the Charger:
- Disconnect the AC power cord from the wall socket.
- Remove the BLACK (-) battery clamp from the negative battery terminal.
- Remove the RED (+) battery clamp from the positive battery terminal.
6. Maintenance
Proper maintenance ensures the longevity and optimal performance of your charger.
- Cleaning: Wipe the charger's exterior with a soft, dry cloth. Do not use abrasive cleaners or solvents.
- Storage: Store the charger in a cool, dry place when not in use. Keep it away from direct sunlight and extreme temperatures.
- Cable Inspection: Regularly inspect the power cord and battery clamps for any signs of damage (cuts, fraying, corrosion). Do not use if damaged.
7. Troubleshooting
If you encounter issues with your charger, refer to the following common problems and solutions.
- Charger Not Turning On:
- Check if the AC power cord is securely plugged into a live outlet.
- Verify the power outlet is functioning correctly.
- Charger Not Charging:
- Ensure battery clamps are correctly connected to the battery terminals (Red to Positive, Black to Negative).
- Check for loose connections at the battery terminals.
- Confirm the correct charging mode is selected for your battery type.
- The battery might be severely discharged or damaged. Try Pulse Repair mode, or have the battery tested by a professional.
- Error Message on Display:
- 'Err' or Reverse Polarity Icon: Indicates incorrect battery clamp connection. Disconnect and reconnect correctly.
- Short Circuit Icon: Indicates a short circuit. Check for any metal objects bridging the clamps or battery terminals.
- Overheat Icon: The charger may be overheating. Disconnect, allow to cool, and ensure adequate ventilation.
- Battery Not Holding Charge After Charging:
- The battery may be old or damaged and unable to hold a charge. Consider having the battery tested or replaced.
- Ensure the correct charging mode was used.
8. Specifications

Figure 8.1: Dimensions of the EAFCAuto Smart Trickle Charger.
| Specification | Value |
|---|---|
| Model | Smart Trickle Charger 12V 6A |
| Input Voltage | 100-240V AC, 50/60Hz |
| Output Voltage | 12V / 24V Auto |
| Output Current | 12V 6A, 24V 3A |
| Battery Type Compatibility | Lead-Acid (Wet, MF, CA, EFB, GEL, AGM) |
| Battery Capacity Range | 6Ah - 120Ah (12V), 6Ah - 60Ah (24V) |
| Thermal Protection | 65°C +/- 5°C |
| Cooling | Fan |
| Dimensions (L x W x H) | 8.26 x 2.75 x 4.33 inches (210 x 70 x 110 mm) |
| Weight | 1.01 pounds (0.46 kg) |
| Certifications | UL, FCC, CE |
9. Warranty and Support
EAFCAuto products are manufactured to high-quality standards. For warranty information or technical support, please refer to the contact details provided with your purchase or visit the official EAFCAuto website.
Please retain your proof of purchase for warranty claims.