1. Introduction
Thank you for choosing the Osusuent 200W COB Par LED Light. This professional stage lighting fixture is designed to provide versatile and high-quality illumination for various events, including parties, churches, discos, weddings, bars, and outdoor gatherings. Featuring a powerful 200W COB LED, it offers both warm white (3200K) and cold white (5600K) light sources with seamless color mixing and electronic focusing capabilities. Please read this manual thoroughly before operation to ensure safe and optimal performance.
2. Safety Instructions
- Always connect the fixture to a grounded power outlet.
- Ensure the power supply voltage matches the specified voltage for the unit.
- Do not operate the fixture if the power cord is damaged.
- Avoid direct eye exposure to the light source, as it can cause eye damage.
- Keep the fixture away from rain, moisture, and extreme temperatures.
- Ensure adequate ventilation around the unit to prevent overheating. Do not block ventilation openings.
- Only qualified personnel should perform installation, maintenance, or repairs.
- Disconnect power before cleaning or servicing.
3. Package Contents
Verify that all items are present and in good condition upon opening the package.
- 1 x Osusuent 200W COB Par LED Light
- 1 x Power Cable
- 1 x User Manual (this document)
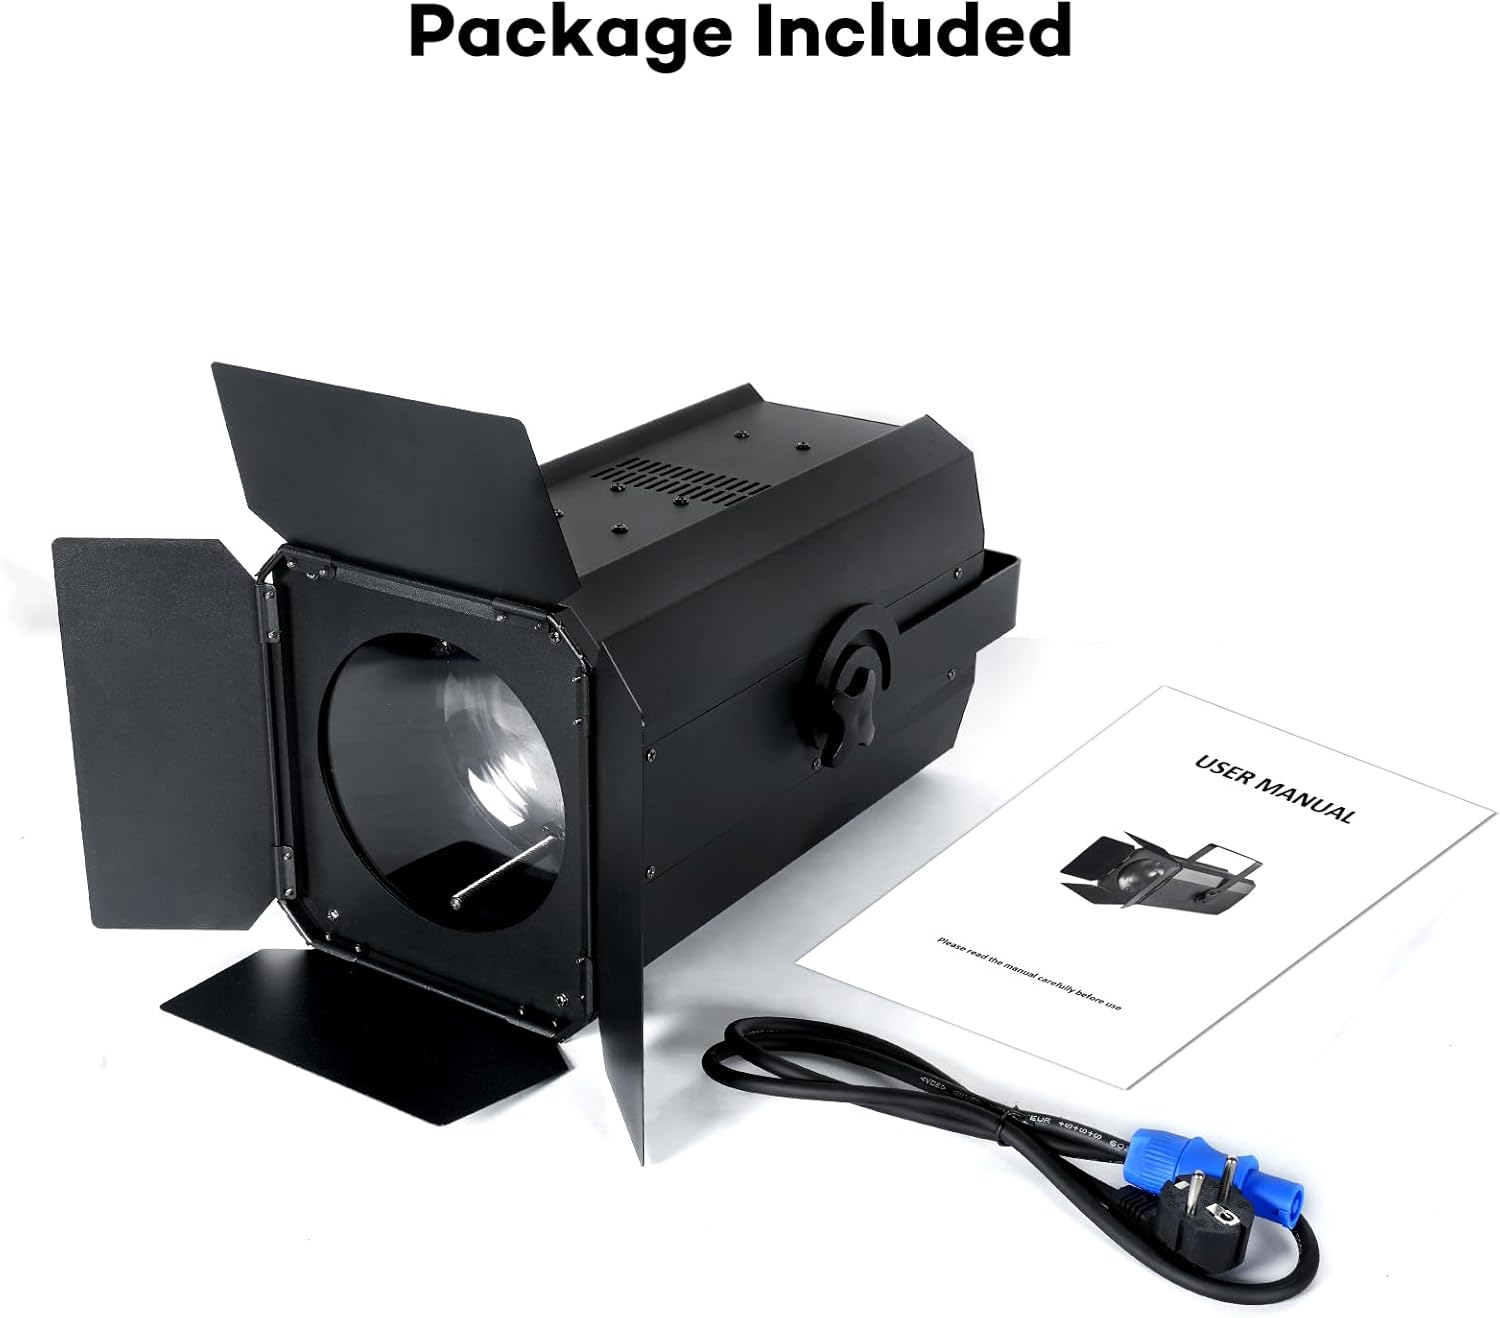
Image: The Osusuent 200W COB Par LED Light, power cable, and user manual as typically included in the package.
4. Product Features
- Powerful 200W COB LED: Provides strong, consistent illumination.
- Dual Color Temperature: Offers warm white (3200K) and cold white (5600K) light, allowing for versatile lighting effects and accurate color reproduction.
- Electronic Focus & Adjustable Beam Angle: Easily adjust the beam angle from 10° to 60° for wide coverage or focused spotlights.
- High Color Rendering Index (CRI): CRI ≥90 ensures natural and vibrant color representation, suitable for photography and video.
- Multiple Control Modes: Supports Automatic, DMX512, Master-Slave, and Sound Activated modes for flexible operation.
- Efficient Cooling System: Integrated long-life fan ensures optimal heat dissipation and stable performance.
- Robust Construction: Designed for durability and reliable use in various environments.

Image: Demonstrates the different color temperatures: Cool White, Warm White, and a blend of Cool & Warm White.

Image: Illustrates the adjustable color temperature feature and high CRI, showing a comparison of light quality.

Image: The fixture with its barn doors, highlighting the 10-60 degree adjustable focusing beam for wide application.
5. Setup
5.1 Unpacking
Carefully remove the fixture and all accessories from the packaging. Inspect for any signs of damage during transit. Retain the packaging for future storage or transport.
5.2 Mounting
The Osusuent 200W COB Par LED Light can be installed in various ways:
- Hanging: Use appropriate clamps and safety cables (not included) to secure the fixture to a truss or lighting bar. Ensure the mounting point can support the weight of the fixture.
- Wall-Mounting: The included bracket can be used to mount the fixture to a wall. Ensure the wall material is strong enough to hold the fixture securely.
- Floor Placement: The fixture can be placed directly on a flat, stable surface. Adjust the bracket to angle the light as desired.
Always ensure the fixture is securely mounted and stable before operation to prevent accidents.
5.3 Power Connection
Connect the provided power cable to the 'POWER IN' port on the rear of the fixture and then to a suitable grounded power outlet. The fixture is designed for AC 100-240V, 50/60Hz.
5.4 DMX Connection (Optional)
For DMX control, connect a DMX cable from your DMX controller's output to the 'DMX IN' port on the first fixture. To link multiple fixtures, connect a DMX cable from the 'DMX OUT' port of the first fixture to the 'DMX IN' port of the next fixture in the chain. Ensure a DMX terminator is used on the last fixture in the chain for optimal signal integrity.

Image: Detailed view of the rear panel, indicating DMX IN/OUT, POWER IN/OUT, and the control panel buttons (MENU, UP, DOWN, ENTER).
6. Operating Modes
The fixture features a digital display and four control buttons (MENU, UP, DOWN, ENTER) on the rear panel for mode selection and parameter adjustment.

Image: Visual representation of the DMX512, Auto Run, and Master-Slave control modes.
6.1 Automatic Mode
In Automatic mode, the fixture runs through pre-programmed light sequences and effects without external control. This is ideal for quick setup and general ambient lighting.
- Press the MENU button until 'Auto' or a similar indicator appears on the display.
- Use the UP and DOWN buttons to select different automatic programs or adjust speed (if available).
- Press ENTER to confirm your selection.
6.2 DMX512 Mode
DMX512 mode allows precise control over all fixture functions using a DMX controller. Each fixture requires a unique DMX address.
- Press the MENU button until 'dMX' or 'Addr' appears.
- Use the UP and DOWN buttons to set the desired DMX starting address (e.g., 001, 008, 015).
- Press ENTER to save the address.
- Refer to the DMX channel chart (usually provided in a separate DMX manual or appendix) for specific control functions (e.g., dimmer, strobe, color temperature, focus).
6.3 Master-Slave Mode
In Master-Slave mode, one fixture (the Master) controls the behavior of other linked fixtures (the Slaves), ensuring synchronized lighting effects without a DMX controller.
- Set the Master Unit: On the first fixture, select an Automatic or Sound Activated mode. This unit will act as the Master.
- Set Slave Units: On all other fixtures, press the MENU button until 'SLAV' or 'Slave' appears. Press ENTER to confirm.
- Connect the DMX OUT of the Master unit to the DMX IN of the first Slave unit, and continue the chain. The Slave units will now mimic the Master's actions.
6.4 Sound Activated Mode
In Sound Activated mode, the fixture's internal microphone detects ambient sound and triggers light patterns that synchronize with the music or audio.
- Press the MENU button until 'Soun' or 'Sound' appears on the display.
- Press ENTER to activate. The fixture will now react to sound.
- Some models may allow sensitivity adjustment using the UP and DOWN buttons.
7. Maintenance
7.1 Cleaning
Regular cleaning helps maintain optimal light output and extends the fixture's lifespan.
- Disconnect power before cleaning.
- Use a soft, lint-free cloth dampened with a mild cleaning solution to wipe the exterior.
- Clean the lens periodically with a soft cloth and a non-abrasive glass cleaner to ensure clear light projection.
- Ensure ventilation openings are free from dust and debris. Use compressed air if necessary.
7.2 Storage
When not in use, store the fixture in a dry, dust-free environment, preferably in its original packaging or a protective case.
8. Troubleshooting
If you encounter issues, refer to the following common problems and solutions:
| Problem | Possible Cause | Solution |
|---|---|---|
| No power / Light does not turn on | No power supply; Damaged power cable; Blown fuse | Check power connection; Replace power cable; Check and replace fuse (if accessible and safe to do so) |
| No DMX control | Incorrect DMX address; Faulty DMX cable; No DMX terminator; DMX controller issue | Verify DMX address; Check DMX cables; Add DMX terminator; Test DMX controller |
| Light flickers or behaves erratically | Loose connection; DMX signal interference; Overheating | Check all connections; Ensure DMX cables are good quality; Ensure proper ventilation |
| Sound Activated mode not working | No sound detected; Low sensitivity setting | Ensure sufficient sound level near the fixture; Adjust sound sensitivity if possible |
If the problem persists after trying these solutions, please contact customer support.
9. Specifications
| Feature | Specification |
|---|---|
| Brand | Osusuent |
| Model Number | 09010 |
| Power Consumption | 200W |
| Light Source | COB LED (Cold White 5600K / Warm White 3200K) |
| Beam Angle | 10° - 60° (Electronic Focus) |
| Color Rendering Index (CRI) | ≥90 |
| Control Modes | Automatic, DMX512, Master-Slave, Sound Activated |
| DMX Channels | Varies by mode (refer to DMX chart for details) |
| Power Supply | AC 100-240V, 50/60Hz |
| Dimensions (Product) | 46 x 31 x 28 cm (approximately) |
| Weight | Not specified (typically several kilograms for this type of fixture) |
| Housing Material | Metal (Black finish) |
| Luminous Flux | 17500 lumens |
10. Warranty and Support
For warranty information or technical support, please refer to the purchase documentation or contact the retailer/manufacturer directly. Keep your proof of purchase for any warranty claims.
If you have any questions or require assistance with your Osusuent 200W COB Par LED Light, please do not hesitate to reach out to our customer service team. We are committed to providing support and resolving any issues you may encounter.