
1. Introduction
This manual provides essential information for the safe and efficient operation of your Ecogenix 16A Level 1/2 Portable EV Charger. Please read this manual thoroughly before using the product and retain it for future reference.
Important Safety Information:
- Always ensure the charging cable and connectors are free from damage before use.
- Do not use the charger in wet conditions unless specifically designed for outdoor use and properly protected.
- Ensure the electrical outlet used is properly grounded and rated for the charger's power requirements.
- Keep children and pets away from the charging area.
2. Setup and Installation
Your Ecogenix EV charger is designed for portable use and easy installation. It supports both Level 1 (110V) and Level 2 (240V) charging via NEMA 5-15 and NEMA 6-20 plugs, respectively.
2.1 Package Contents
- Ecogenix 16A Level 1/2 EV Charger Unit
- NEMA 5-15 Plug (attached)
- NEMA 6-20 Plug (attached)
- Carry Bag
- User Manual

Image: Complete Ecogenix 16A EV Charger package contents, including the main unit, charging cable, NEMA plugs, and a protective carry bag.
2.2 Connecting to Power
- Identify the appropriate outlet: For Level 1 charging, use a standard 110V NEMA 5-15 household outlet. For Level 2 charging, use a 220V or 240V NEMA 6-20 outlet.
- Plug in the charger: Insert the corresponding NEMA plug into the wall outlet. Ensure a secure connection.
- Verify power: The charger's indicator lights will illuminate, indicating it is powered on and ready for use.

Image: Illustration showing the charger connected to both a NEMA 5-15 (110V) outlet for Level 1 charging and a NEMA 6-20 (240V) outlet for Level 2 charging, demonstrating compatibility.
3. Operating Instructions
3.1 Connecting to Your Electric Vehicle
- Ensure your vehicle is turned off and in park.
- Open the charging port cover on your electric vehicle.
- Firmly insert the SAE J1772 connector into your vehicle's charging port. A click indicates a secure connection.
- The charger will initiate communication with the vehicle, and charging will begin automatically.
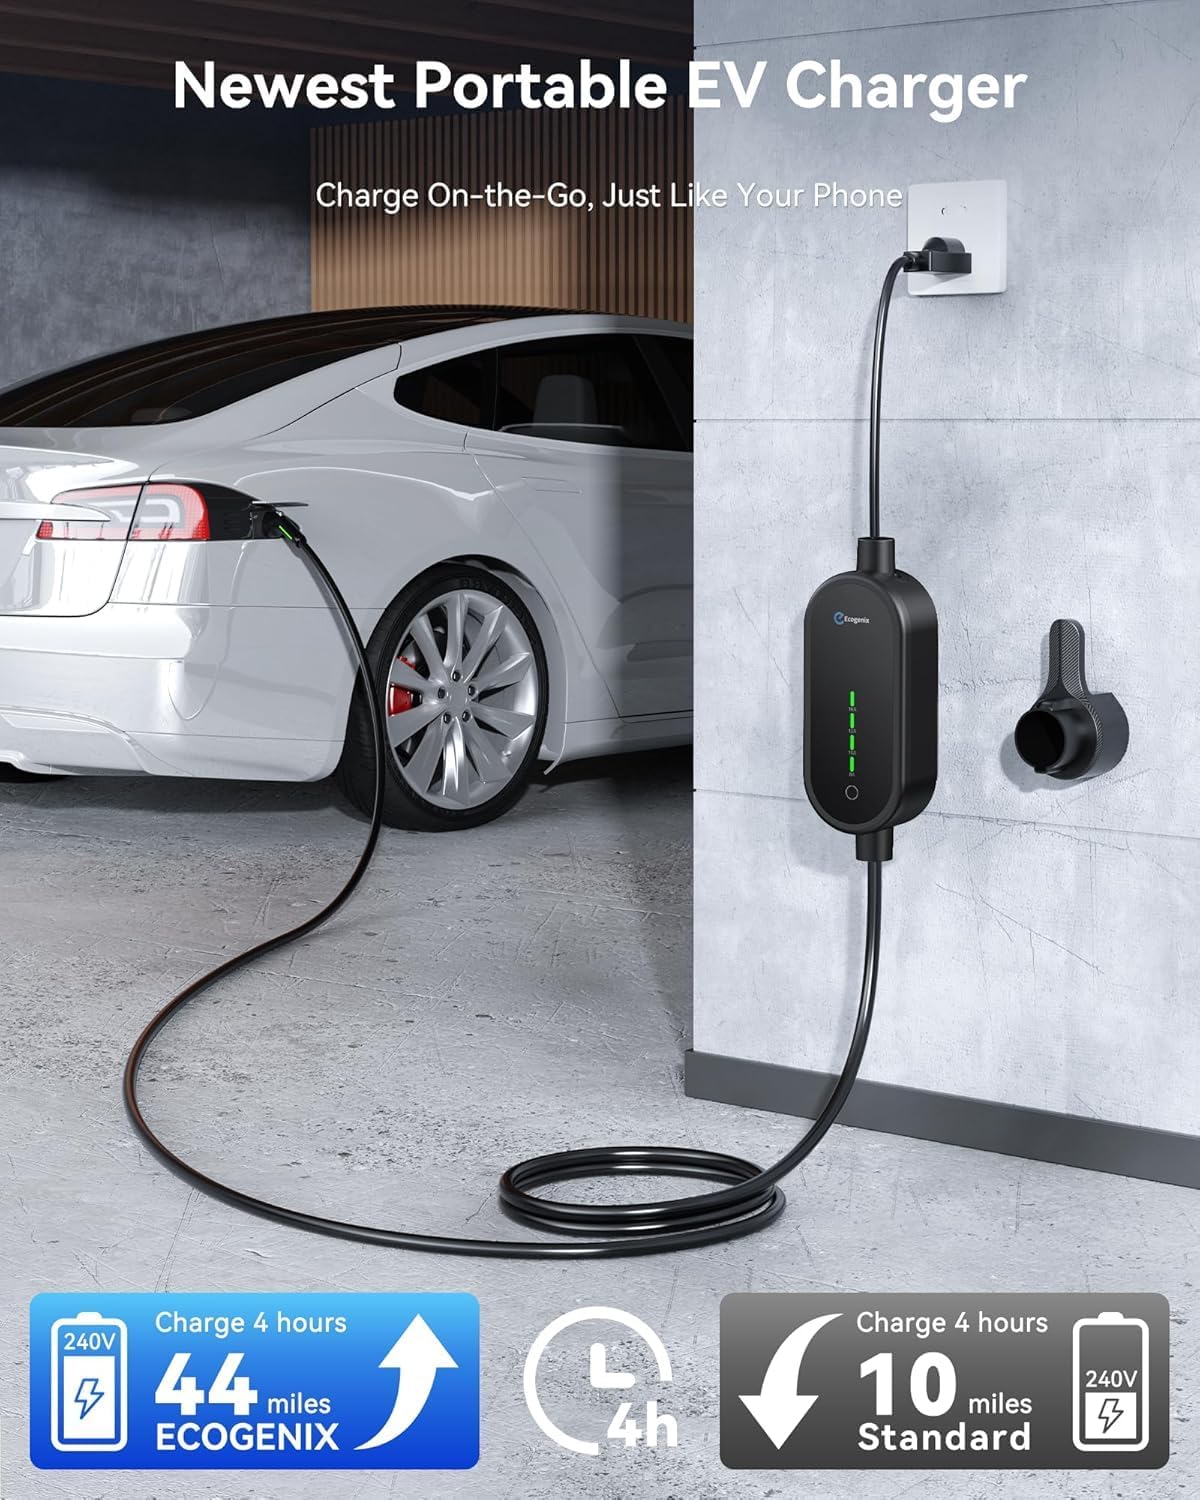
Image: The SAE J1772 charging connector, highlighting its universal compatibility with various electric vehicle brands such as Chevrolet, Mitsubishi, Hyundai, Toyota, Ford, Nissan, BMW, Honda, and Volkswagen.
3.2 Adjusting Charging Current
The Ecogenix charger allows you to select from multiple charging current settings: 8A, 10A, 12A, and 16A. This feature provides flexibility to manage charging speed based on your needs or available power supply.
- While the charger is connected to power but not actively charging the vehicle, locate the current adjustment button on the control box.
- Press the button repeatedly to cycle through the available current settings (8A, 10A, 12A, 16A). The corresponding indicator light will illuminate to show the selected current.
- Once the desired current is selected, connect the charger to your vehicle to begin charging at that rate.

Image: A close-up view of the Ecogenix EV charger's control box, showing the illuminated current indicators (8A, 10A, 12A, 16A) and the one-touch button for adjusting the charging current.

Image: A hand interacting with the charger's control panel, demonstrating the simple one-touch operation to cycle through and select different charging current levels.
3.3 Charging Indicators
The control box features LED indicators to display the charging status:
- Power Indicator: Illuminates when the charger is connected to power.
- Current Indicators (8A, 10A, 12A, 16A): Show the selected charging current.
- Charging Status Indicator: May blink or change color to indicate active charging, fully charged, or an error state. Refer to the specific LED pattern guide on the device or in the full manual for detailed interpretation.
4. Maintenance and Care
Proper maintenance ensures the longevity and safe operation of your EV charger.
4.1 Cleaning
- Always disconnect the charger from both the power outlet and the vehicle before cleaning.
- Use a soft, dry cloth to wipe down the control box and cables.
- For stubborn dirt, a slightly damp cloth with mild soap can be used, ensuring no moisture enters the connectors or control box.
- Do not use harsh chemicals, abrasive cleaners, or solvents.
4.2 Storage
- When not in use, coil the cable neatly and store the charger in its provided carry bag.
- Store in a cool, dry place, away from direct sunlight and extreme temperatures.
- Avoid placing heavy objects on the cable or control box.
4.3 Environmental Protection
The Ecogenix charger features an IP66 waterproof rating, making it suitable for various weather conditions. It is designed to operate reliably in temperatures ranging from -22°F to 122°F (-30°C to 50°C).

Image: The Ecogenix EV charger submerged in water, covered in snow, and resting on sand, illustrating its IP66 waterproof rating and ability to withstand extreme temperatures from -22°F to 122°F.
5. Troubleshooting
If you encounter issues with your charger, refer to the following common problems and solutions:
| Problem | Possible Cause | Solution |
|---|---|---|
| Charger not powering on | No power from outlet, loose connection, damaged cable. | Check outlet power, ensure secure plug connection, inspect cable for damage. |
| Vehicle not charging | Loose connection to vehicle, vehicle charging port issue, incorrect current setting, charger error. | Ensure J1772 connector is fully inserted, check vehicle's charging status, verify current setting, unplug and replug charger. |
| Slow charging speed | Low current setting, Level 1 (110V) outlet used, vehicle limitation. | Increase current setting (if applicable), use a NEMA 6-20 (240V) outlet for faster charging, consult vehicle manual for charging specifications. |
| Error indicator light | Internal fault, overvoltage/overcurrent, overheating. | Disconnect charger, wait a few minutes, then reconnect. If error persists, contact customer support. |
For issues not listed here or if solutions do not resolve the problem, please contact Ecogenix customer support.
6. Specifications
| Feature | Detail |
|---|---|
| Model Number | ECO-EC01 |
| Charging Level | Level 1 & Level 2 |
| Input Voltage | 110V-240V AC |
| Adjustable Current | 8A, 10A, 12A, 16A |
| Max Power Output | 3.84 kW (240V @ 16A) |
| Connector Type | SAE J1772 (Type 1) |
| Power Plugs | NEMA 5-15 (110V), NEMA 6-20 (220V/240V) |
| Cable Length | 21 ft |
| Ingress Protection (IP) Rating | IP66 (Waterproof) |
| Operating Temperature | -22°F to 122°F (-30°C to 50°C) |
| Safety Features | Overvoltage, Overcurrent, Overheating, Ground, Leakage, Lightning Protection |
| Certifications | FCC, CE |
| Item Weight | 6.3 pounds |
| Package Dimensions | 16.3 x 13.5 x 3.86 inches |
7. Warranty and Support
Ecogenix provides comprehensive support for its products.
7.1 Warranty Information
This product is covered by a 2-year manufacturer's warranty from the date of purchase. The warranty covers defects in materials and workmanship under normal use. It does not cover damage caused by misuse, accidents, unauthorized modifications, or improper installation.
7.2 Customer Support
For technical assistance, warranty claims, or any questions regarding your Ecogenix EV charger, please contact our customer support team. We aim to respond to inquiries within 12 hours.
- Online Support: Visit the official Ecogenix website for FAQs and support resources.
- Email Support: Refer to your product packaging or the official website for the customer service email address.