Introduction
This manual provides comprehensive instructions for the installation, operation, and maintenance of your E-YEEGER 11.5ft Type-C Dash Cam Hardwire Kit (Model V5F). This kit is designed to provide a continuous power supply to compatible dash cameras, enabling features such as 24-hour parking monitoring and low voltage protection. Please read this manual thoroughly before installation and use to ensure proper functionality and safety.
Product Overview
Package Contents
- 1 x E-YEEGER 11.5ft Type-C Dash Cam Hardwire Kit (V5F)
- 4 x Fuse Taps (Micro Mini, Mini, Small, Medium)
- 1 x Car Cigarette Lighter Cable (for testing/alternative power)
- 1 x Pry Tool
Key Features
- Type-C Connector: Reversible design for easy connection, enhanced power delivery, and improved durability.
- 24-Hour Parking Monitor: Provides continuous power to your dash cam for surveillance even when the vehicle engine is off.
- Adjustable Low Voltage Protection: Prevents vehicle battery drain by automatically cutting off power when the voltage drops below a user-defined threshold (11.6V or 23.2V).
- Multi-Protection System: Includes safeguards against short circuits, overheating, and cable reversal.
- Automatic Engine Status Detection: The hardwire kit automatically detects the vehicle's engine status to manage power supply to the dash cam.
- Wide Compatibility: Designed for E-YEEGER V100, V100Pro, and S50 dash cameras.
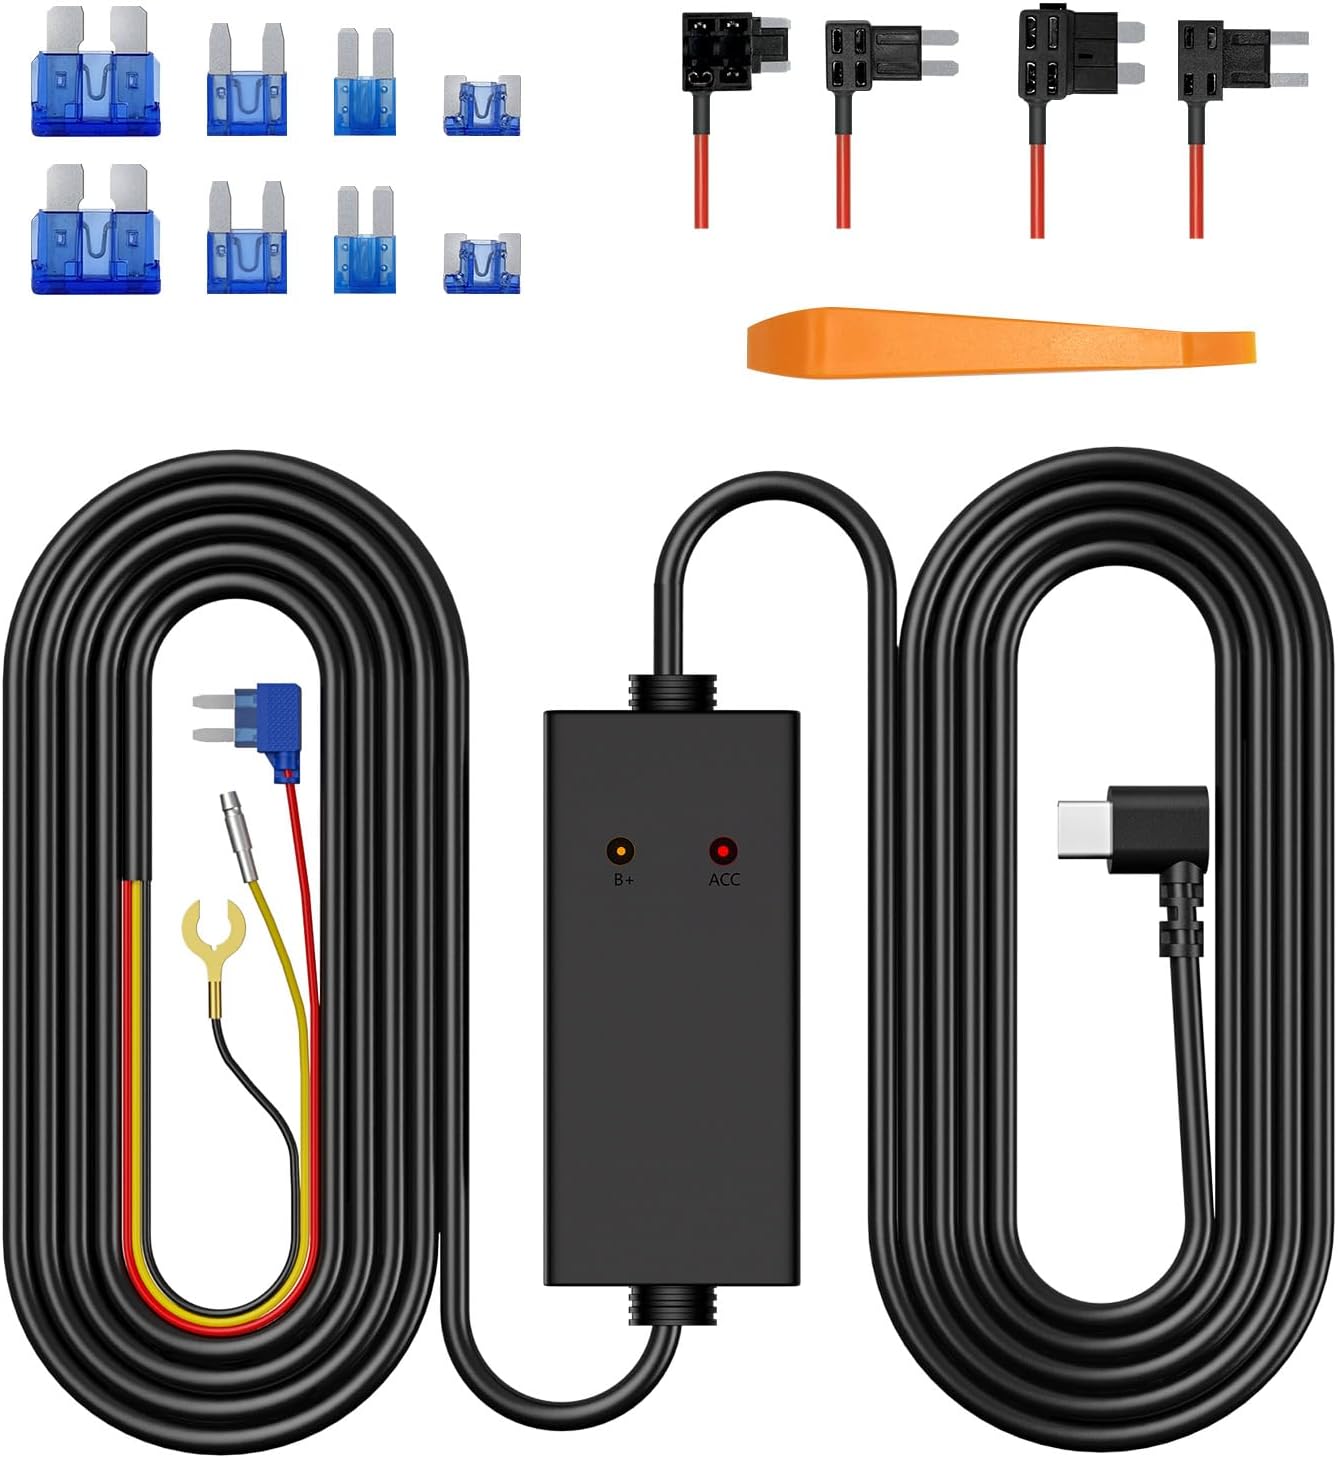
Image: Overview of the E-YEEGER Type-C Dash Cam Hardwire Kit, including the main cable, control unit, fuse taps, and pry tool.
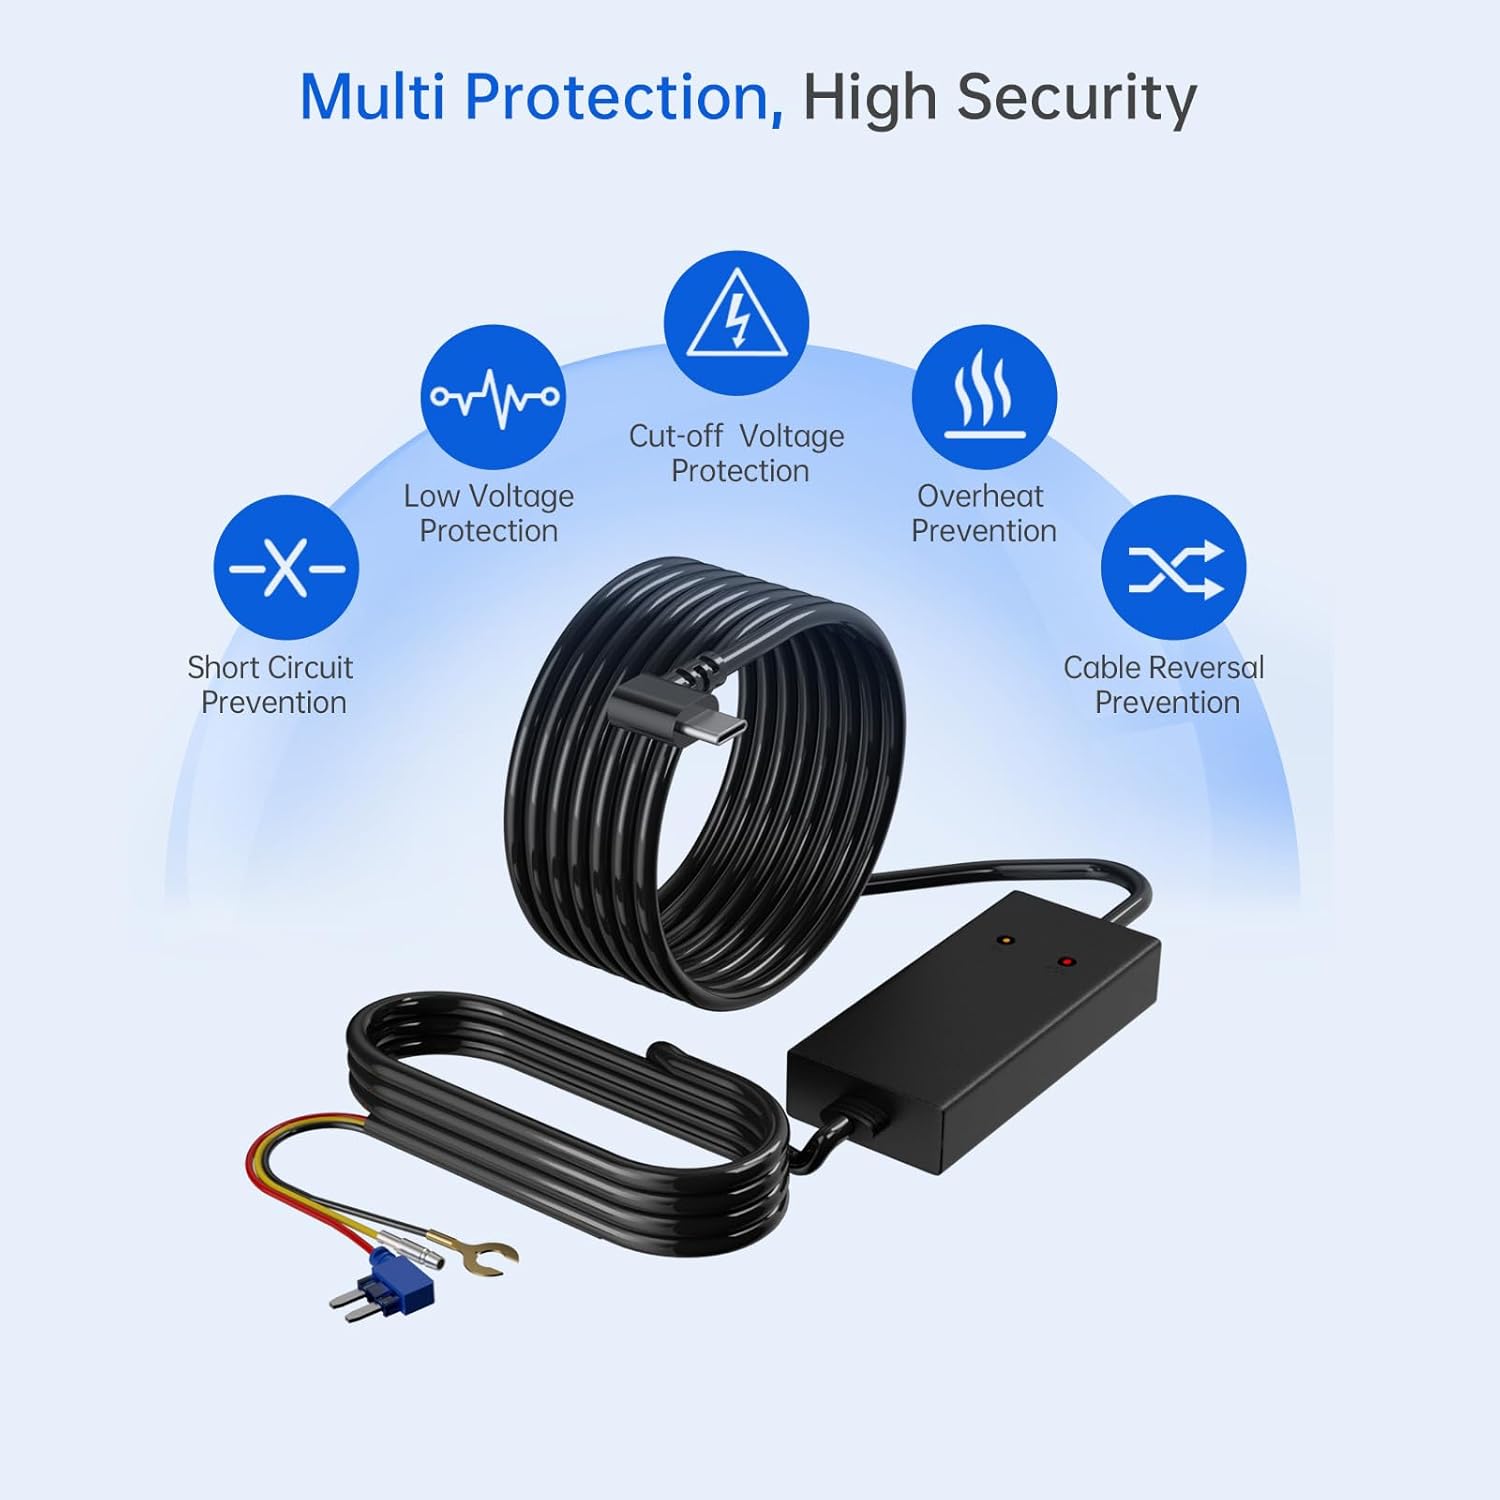
Image: Diagram illustrating the multi-protection features of the hardwire kit, including low voltage, cut-off voltage, overheat, short circuit, and cable reversal prevention.

Image: Close-up view of the upgraded Type-C connector, highlighting its reversible design, stronger power supply, faster data transfer, and high heat resistance.
Setup and Installation
Proper installation is crucial for the hardwire kit's functionality. If you are unsure about any steps, it is recommended to seek professional assistance.
Before You Begin
- Ensure your vehicle's engine is off and the ignition key is removed.
- Locate your vehicle's fuse box. Refer to your vehicle's owner's manual for its location (typically under the dashboard, in the engine bay, or in the trunk).
- Identify the correct fuse type for your vehicle. The kit includes Micro Mini, Mini, Small, and Medium fuse taps.

Image: Illustration showing the four types of fuse taps included: Micro Mini, Mini, Small, and Medium, along with a diagram of a fuse tap's top and bottom slots.
Wiring Connections
- Connect the B+ (Yellow) Wire: This wire provides constant power. Connect it to a fuse in your vehicle's fuse box that has continuous power (e.g., hazard lights, dome light, or radio memory). Use the appropriate fuse tap.
- Connect the ACC (Red) Wire: This wire provides switched power. Connect it to a fuse that only receives power when the ignition is on (e.g., car radio, cigarette lighter). Use the appropriate fuse tap.
- Connect the GND (Black) Wire: This is the ground wire. Securely attach the U-shaped terminal to a metal bolt or screw on the vehicle's chassis that is part of the vehicle's ground system. Ensure a good electrical connection.

Image: Detailed view of the hardwire kit's B+ (yellow), ACC (red), and GND (black) wires, illustrating how the kit automatically detects engine status based on these connections.
Connecting to Dash Cam
Once the hardwire kit is connected to the vehicle's power, route the Type-C connector end to your dash camera. Plug the Type-C connector into the corresponding port on your E-YEEGER V100, V100Pro, or S50 dash cam.
Use the included pry tool to neatly tuck the cables along the vehicle's trim and headliner for a clean installation.
Operating Instructions
24-Hour Parking Monitoring
With the hardwire kit correctly installed, your dash camera will receive continuous power from the vehicle's battery, even when the engine is off. This enables the dash cam's parking monitoring features, allowing it to record events while the vehicle is parked.
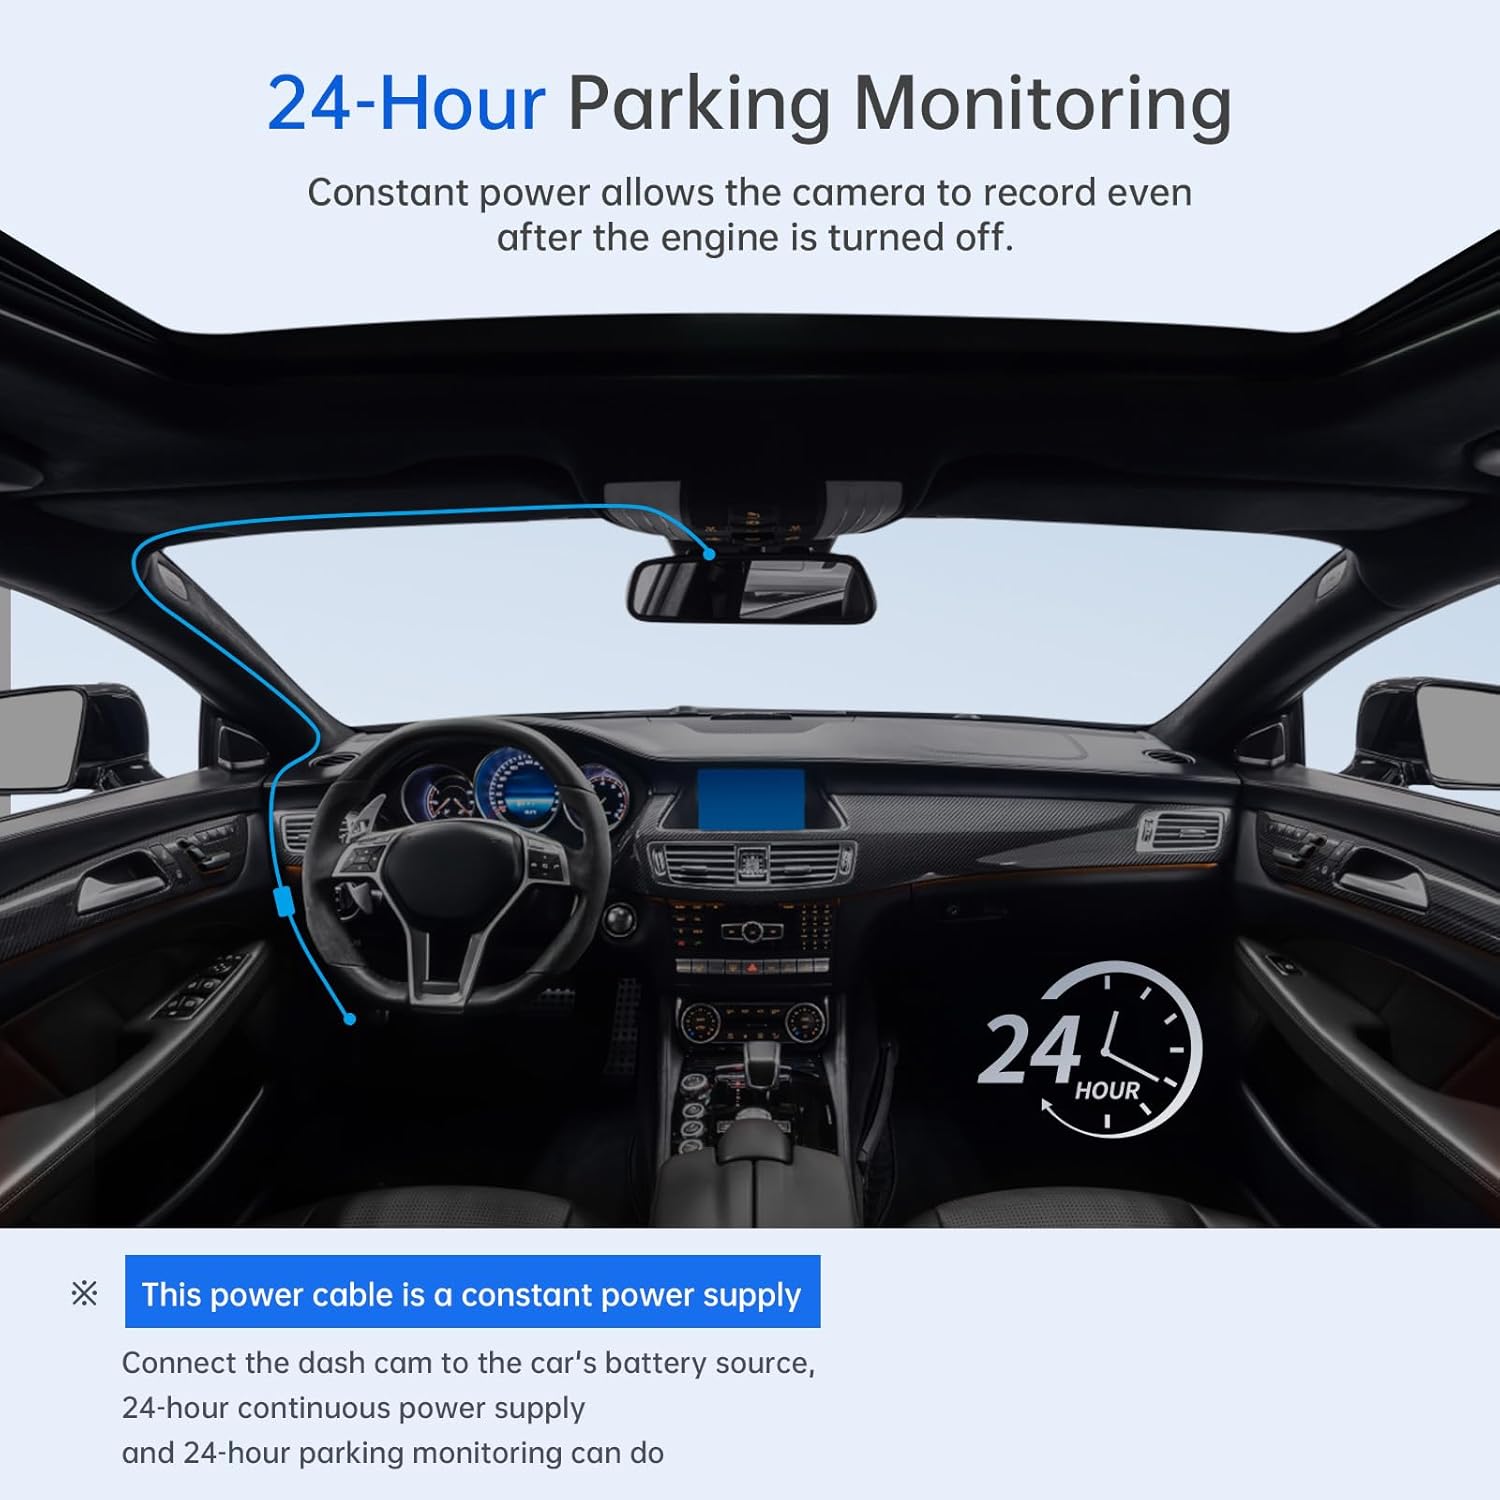
Image: Visual representation of a dash cam continuously recording inside a parked car, indicating 24-hour parking monitoring functionality.
Adjustable Low Voltage Protection
The hardwire kit features an adjustable low voltage cut-off to protect your vehicle's battery from excessive discharge. When the vehicle's battery voltage drops to a preset level (either 11.6V for 12V systems or 23.2V for 24V systems), the hardwire kit will automatically cut off power to the dash cam after 60 seconds. This ensures enough power remains to start your vehicle.
The low voltage value can be adjusted to suit different vehicle types and battery conditions. Refer to the control unit for specific adjustment methods, typically involving a switch or button to cycle through voltage settings.

Image: Diagram showing the internal circuitry of the hardwire kit's control unit, illustrating how voltage increase and decrease settings are managed for low voltage protection.
Maintenance
- Cable Inspection: Periodically check all cables and connections for any signs of wear, damage, or loose connections.
- Fuse Check: If the dash cam is not receiving power, inspect the fuses in the fuse taps and the vehicle's fuse box. Replace any blown fuses with ones of the correct amperage.
- Cleanliness: Keep the hardwire kit's control unit free from dust and moisture.
Troubleshooting
| Problem | Possible Cause | Solution |
|---|---|---|
| Dash cam does not power on. |
|
|
| Parking monitor not working. |
|
|
| Dash cam turns off immediately after engine is off. |
|
|
Specifications
- Model: V5F (YEE-V5F-US)
- Input Voltage: DC 12V-24V
- Output Voltage: DC 5V
- Output Current: 3A
- Cable Length: 11.5 ft (approximately 3.5 meters)
- Connector Type: Type-C
- Low Voltage Protection: Adjustable (e.g., 11.6V for 12V systems, 23.2V for 24V systems)
- Product Dimensions: 1"D x 2"W x 1.5"H (Control Unit)
- Item Weight: 7 ounces
- Special Features: Parking Monitor, Multi-Protection System
- Compatible Dash Cams: E-YEEGER V100, V100Pro, S50
Warranty and Support
E-YEEGER products are designed for reliability and performance. For warranty information, technical support, or assistance with installation, please contact E-YEEGER customer service through the retailer where the product was purchased or visit the official E-YEEGER website. Please have your product model number (V5F) and purchase details ready when contacting support.
For further assistance, you may also refer to the E-YEEGER Store on Amazon.