AMprime 5016
AMprime Single Din Car Radio CD Player User Manual
Model: 5016
Brand: AMprime
1. Introduction
This manual provides detailed instructions for the installation, operation, and maintenance of your AMprime Single Din Car Radio CD Player, Model 5016. Please read this manual thoroughly before using the product to ensure proper function and safety.

Figure 1: Front view of the AMprime Single Din Car Radio CD Player.
2. Safety Information
- Ensure proper wiring to prevent electrical short circuits or damage.
- Do not operate the device in wet conditions.
- Avoid blocking ventilation openings to prevent overheating.
- Consult a professional for installation if you are unsure about the wiring process.
3. Package Contents
Verify that all items are present in the package:
- AMprime Single Din Car Radio CD Player (Model 5016)
- Power Cable
- Horn Cable (Speaker Cable)
- Mounting Bracket
- User Manual

Figure 2: Included components and dimensions of the car radio unit.
4. Setup and Installation
The AMprime Single Din Car Radio CD Player is designed for standard 1 DIN center console installations. The installation size is approximately 187mm x 49mm. Refer to the wiring diagram on the unit's chassis for correct connections.
4.1. Dimensions
- Product Dimensions: 1.93"D x 7.36"W x 1.93"H (49mm D x 187mm W x 49mm H)
- Item Weight: 3.08 pounds
4.2. Wiring Connections
Connect the power cable, speaker cable, and antenna cable according to your vehicle's wiring harness and the diagram provided on the unit. The unit supports RCA audio out for subwoofer connection.

Figure 3: Detailed diagram of the unit's front panel controls, rear connections, and included cables.
4.3. CD/DVD Player Preparation
Before inserting a CD or DVD, ensure that any shipping screws securing the disc mechanism are removed. Refer to the unit's casing for screw locations, typically two screws.

Figure 4: The car radio installed, demonstrating CD/DVD playback. Note: Remove shipping screws before use.
5. Operating Instructions
5.1. Power On/Off and Basic Controls
Press the PWR/MOD button to turn the unit on or off, and to cycle through input modes (Radio, CD/DVD, USB, SD, AUX). Use the large rotary knob for volume control and menu navigation.
5.2. Bluetooth Connectivity
The unit features integrated Bluetooth for hands-free calling and audio streaming. Pair your mobile phone with the device to use these functions. The built-in microphone enhances call clarity.
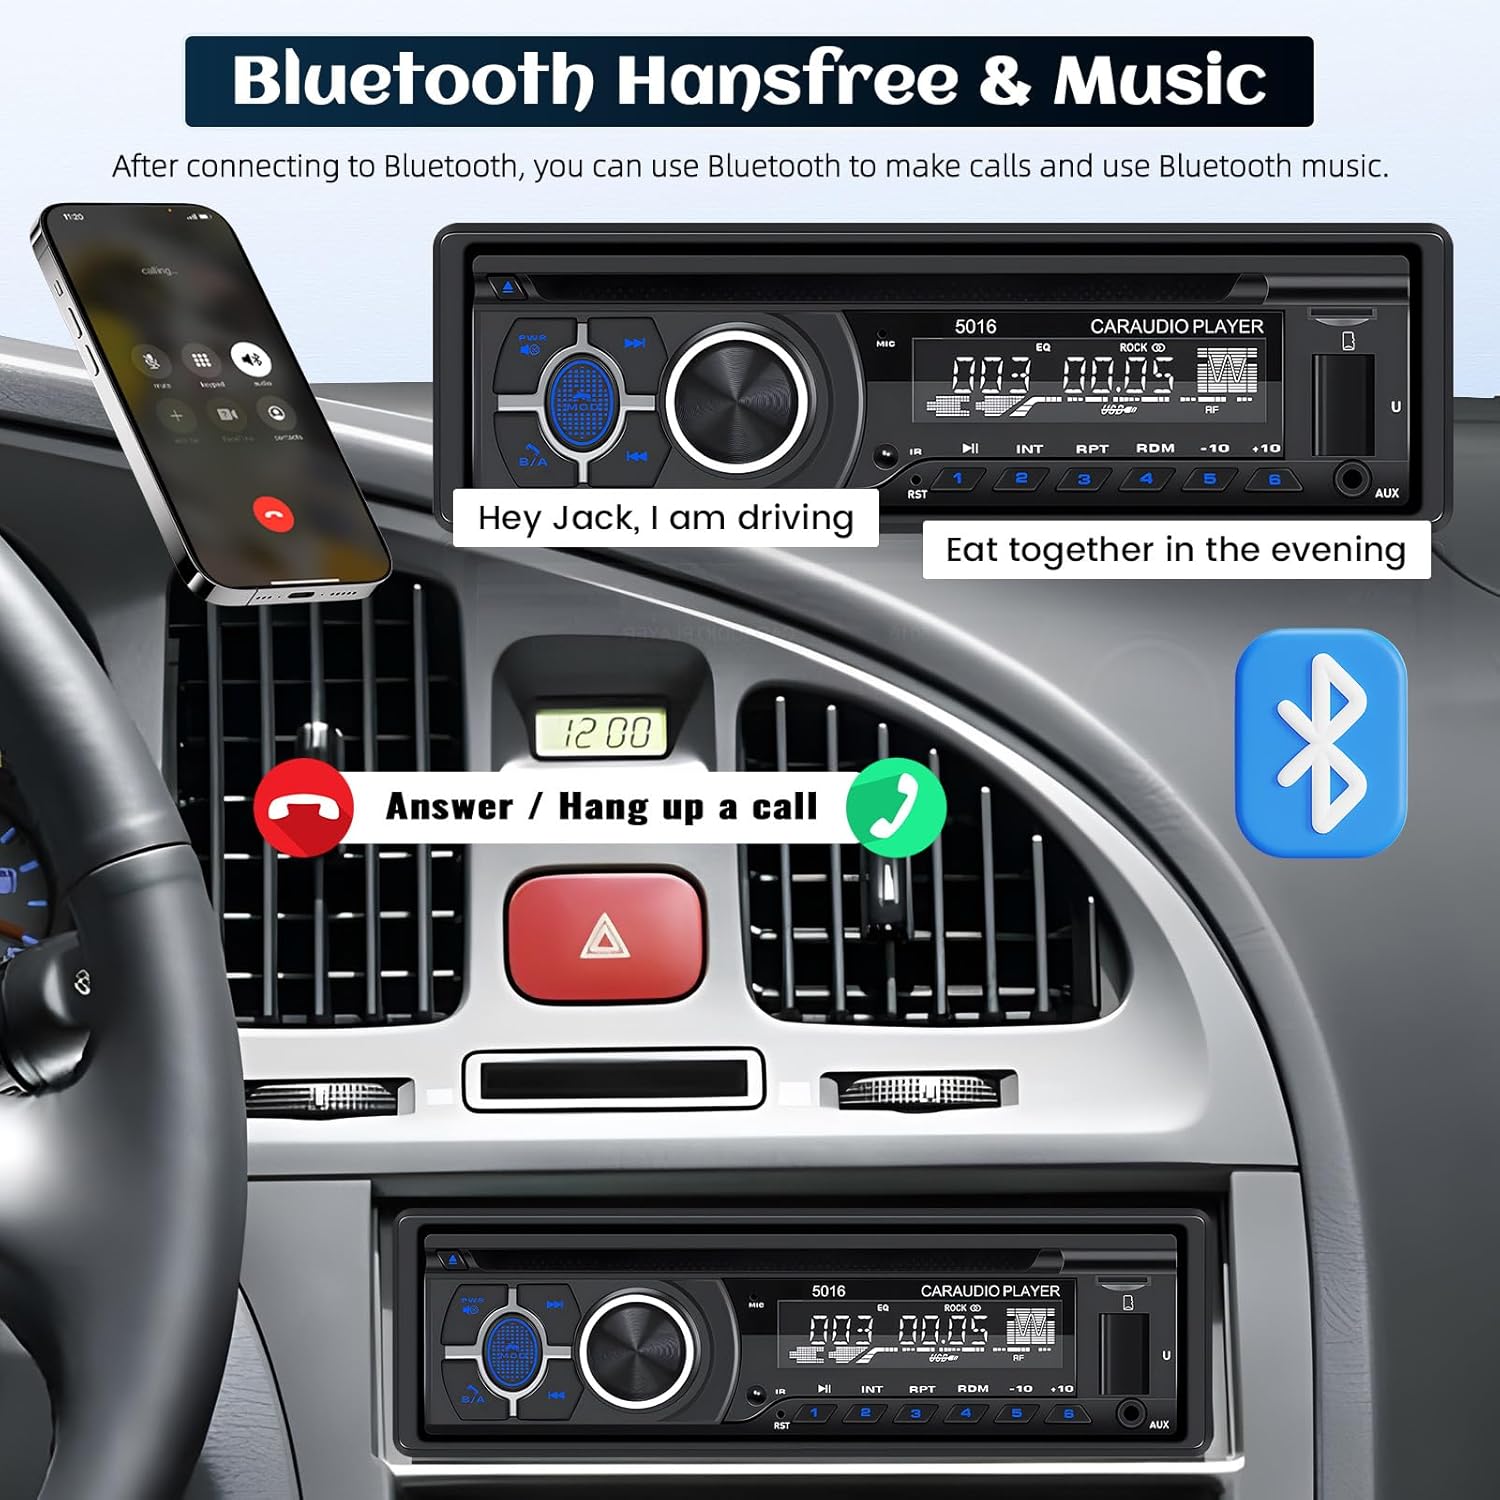
Figure 5: Bluetooth hands-free calling in operation, showing call status on the unit and a connected smartphone.
5.3. Radio (AM/FM)
Access AM/FM radio mode to listen to broadcasts. The unit supports FM frequencies from 87.5-108MHz and AM frequencies from 522-1620KHz. Use the tuning buttons to find stations and the preset buttons (1-6) to save your favorites.
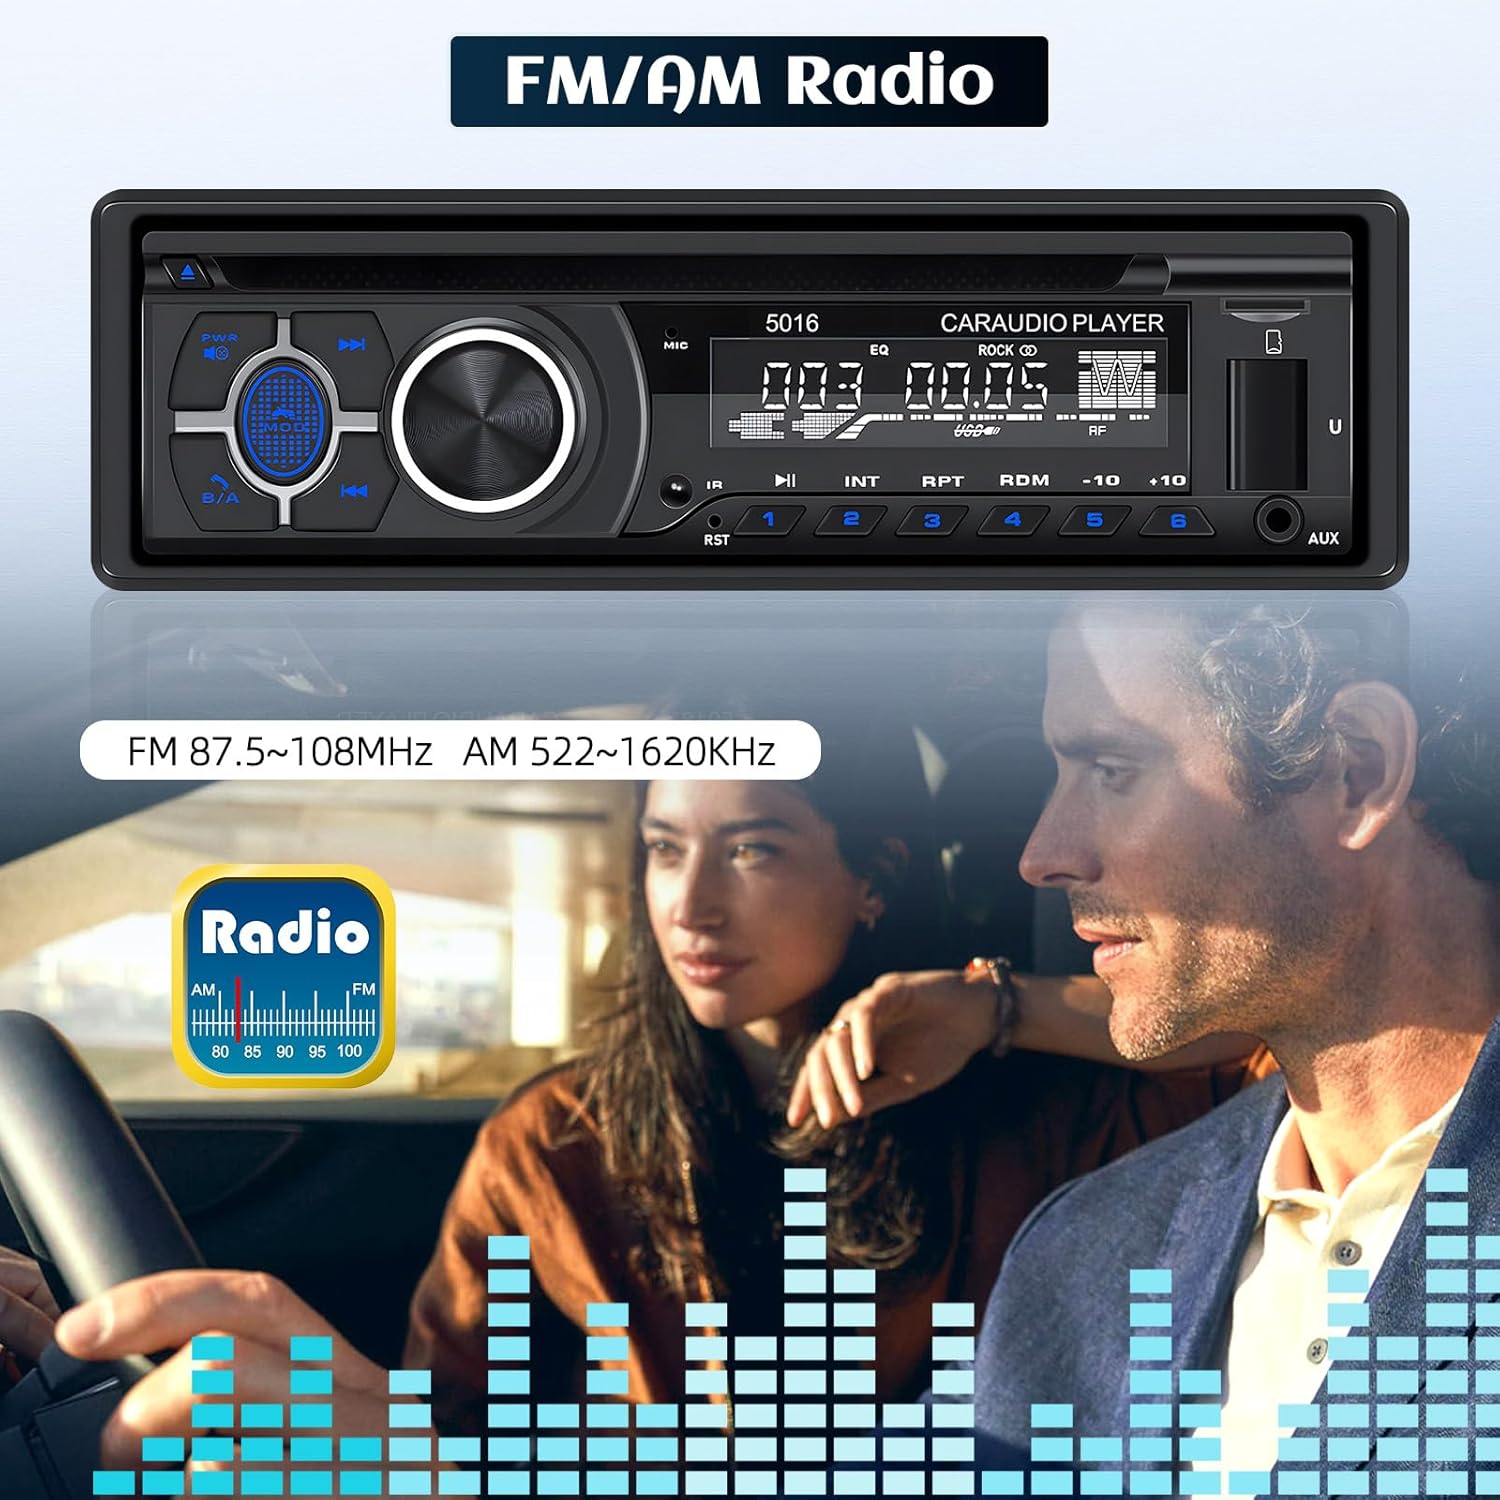
Figure 6: The unit displaying FM/AM radio mode, indicating frequency ranges.
5.4. Media Playback (CD/DVD, USB, SD Card, AUX-IN)
The unit supports various media formats including MP3 and WMA. Insert CDs or DVDs into the disc slot. For USB and SD card playback, insert the respective media into the front panel slots. An AUX-IN jack is also available for connecting external audio devices.

Figure 7: Front panel highlighting the TF Card slot, USB port (also for charging), and AUX-IN jack.
5.5. Quick Charge Function
The USB port on the front panel also functions as a quick charge port for compatible mobile devices, allowing you to charge your phone while driving.
5.6. Audio Settings
The unit includes preset EQ curves. Adjust bass, treble, and loudness settings to customize your audio experience. The RCA audio out port allows connection to external amplifiers or subwoofers.
6. Maintenance
- Keep the unit clean by wiping it with a soft, dry cloth.
- Avoid using abrasive cleaners or solvents.
- Ensure the disc slot is free of debris.
7. Troubleshooting
| Problem | Possible Cause | Solution |
|---|---|---|
| No power | Incorrect wiring; Blown fuse | Check power connections; Replace fuse if necessary. |
| No sound | Speaker wires disconnected; Volume too low; Incorrect input mode | Verify speaker connections; Increase volume; Select correct input mode. |
| Bluetooth not connecting | Bluetooth not enabled on phone; Unit not in pairing mode; Interference | Ensure phone Bluetooth is on; Put unit in pairing mode; Move closer to unit. |
| CD/DVD not playing | Disc inserted incorrectly; Dirty or scratched disc; Shipping screws not removed | Reinsert disc correctly; Clean or replace disc; Ensure shipping screws are removed. |
8. Specifications
| Feature | Detail |
|---|---|
| Installation Size | 1 DIN (187mm x 49mm) |
| Input Voltage | 12V |
| Output Power | 60W x 4 |
| Connectivity | Bluetooth, USB, TF/SD Card, AUX-in |
| Media Support | CD, DVD, VCD, MP3, WMA |
| Radio Frequencies | FM: 87.5-108MHz, AM: 522-1620KHz |
| Special Features | Hands-Free Calling, Quick Charge USB Port, RCA Audio Out |
| Product Dimensions | 1.93"D x 7.36"W x 1.93"H |
| Item Weight | 3.08 pounds |
9. Warranty and Support
For technical support or inquiries regarding your AMprime Single Din Car Radio CD Player, please contact customer support via email.
Customer Support Email: AmprimeTechSupport@yeah.net
Please note that specific warranty details are not provided in this manual. Refer to your purchase documentation or contact customer support for warranty information.

Figure 8: For online customer support, please use the provided email address.
Ask a question about this manual
Ask about setup, troubleshooting, compatibility, parts, safety, or missing instructions. Manuals+ will review the question and use this page’s manual context to help answer it.