Shiptree Wireless Controller for PS4
Shiptree Wireless Controller User Manual
Model: Wireless Controller for PS4
1. Introduction
Thank you for purchasing the Shiptree Wireless Controller. This manual provides detailed instructions on how to set up, operate, and maintain your controller, ensuring a seamless gaming experience across various platforms including PS4, PS4 Pro, PS4 Slim, and PC.

Image 1.1: Front view of the Shiptree Wireless Controller, showcasing its ergonomic design and button layout.
2. Key Features
- Wide Compatibility: Compatible with PS4, PS4 Pro, PS4 Slim, and PC. Features built-in Bluetooth 4.2 technology for a stable and powerful signal up to 10 meters.
- High Sensitive Game Controller: Uniquely designed joysticks and buttons with an integrated high-performance chip to prevent drift or sticking, ensuring precise control.
- Real 3D Gaming Experience: Equipped with a 3.5mm stereo audio jack and speakers, built-in dual motor vibration, and a six-axis gyroscope for immersive feedback.
- Highly Sensitive Touch Panel Control: Features dual-point capacitive sensing touch for sensitive and versatile gameplay.
- High Sensitive Joystick: Ergonomically shaped joysticks for smooth operation and optimized triggers and control buttons. Supports one-click sharing/screenshots and direct online chat.

Image 2.1: The controller shown with a screen displaying a racing game, highlighting its compatibility with PS4, PS3, and PC, along with icons for vibration, sensitive sticks, audio port, touchpad, 500mAh battery, screenshot, 6-axis gyro, and Bluetooth.

Image 2.2: The controller with blue swirling lines around its grips, illustrating the built-in six-axis gyroscope sensing function for enhanced game immersion.
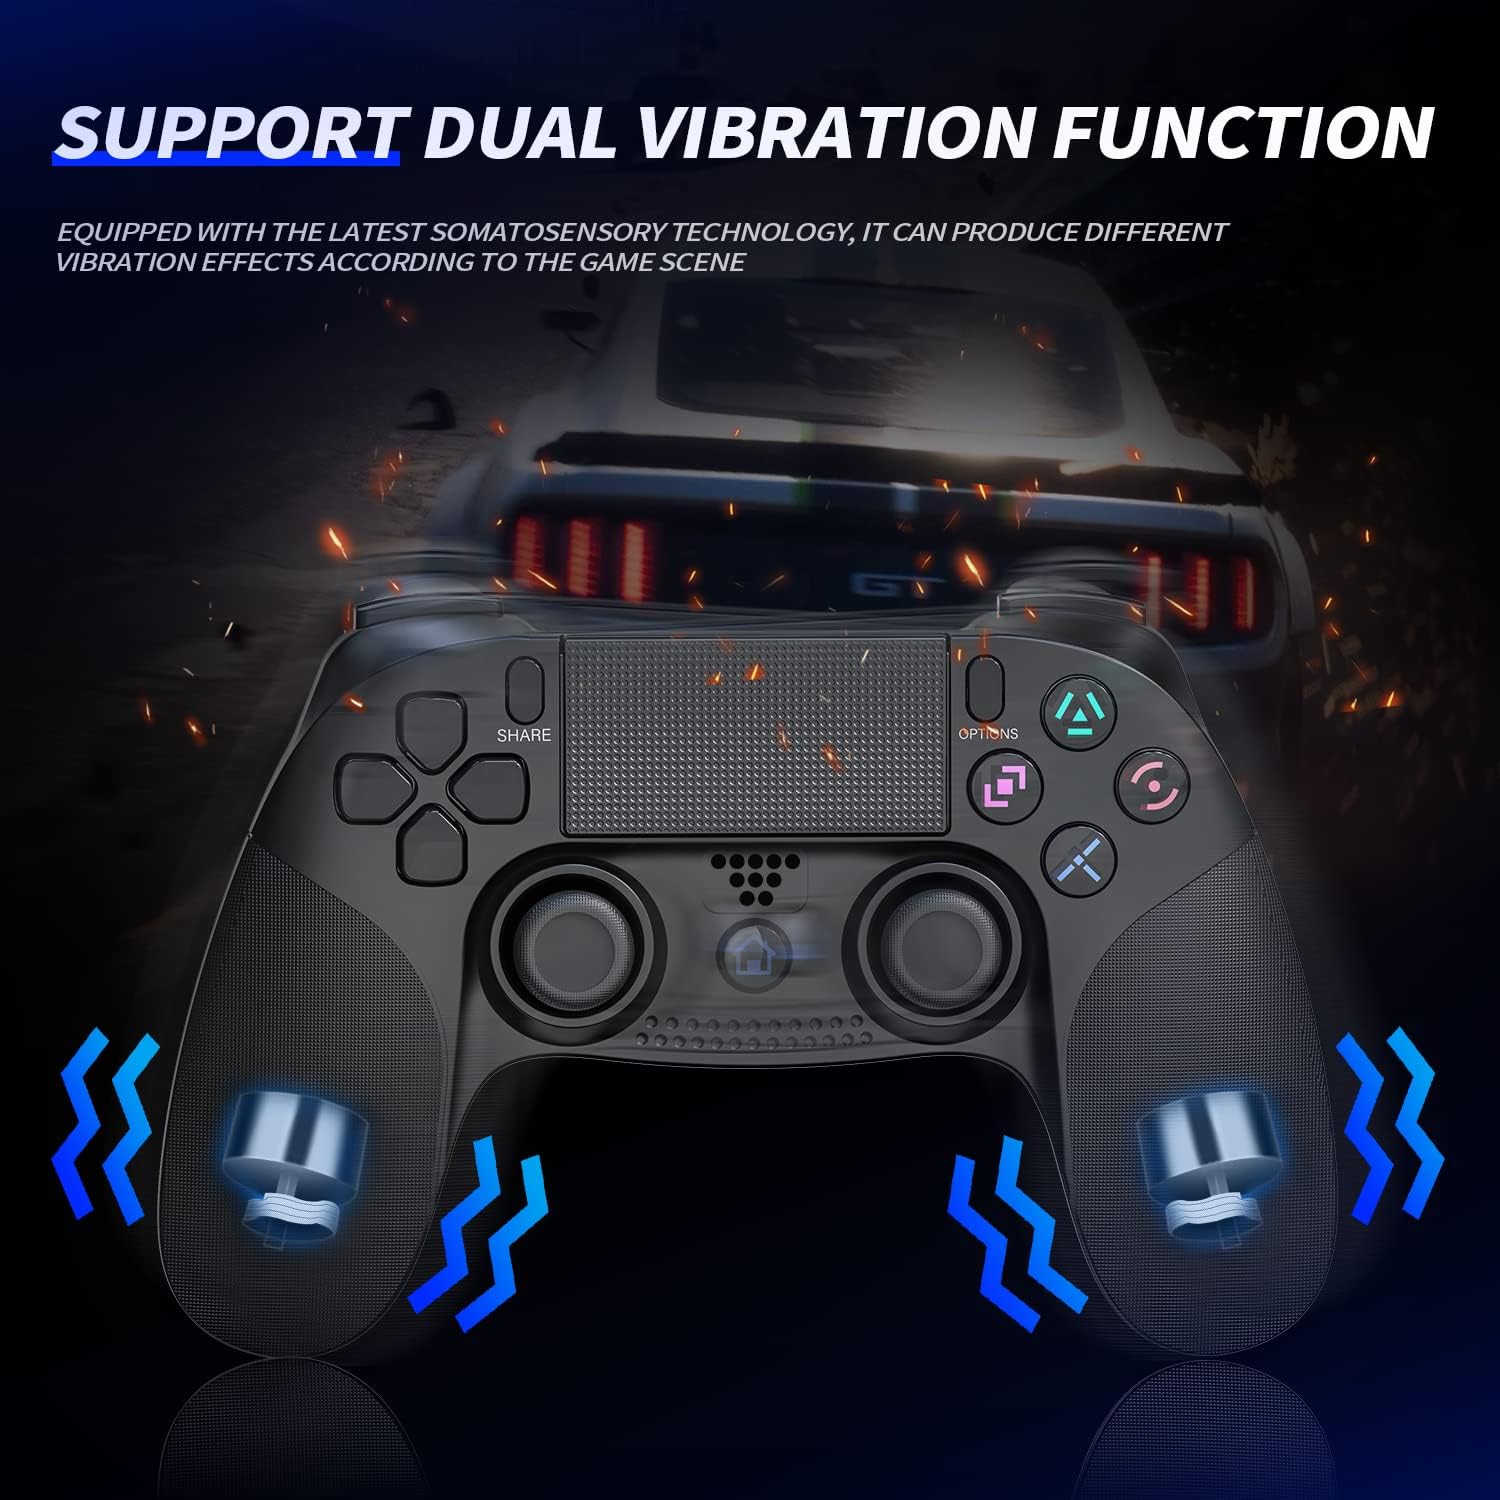
Image 2.3: The controller with blue vibration wave icons emanating from its grips, demonstrating the support for dual vibration function, providing different vibration effects based on game scenes.
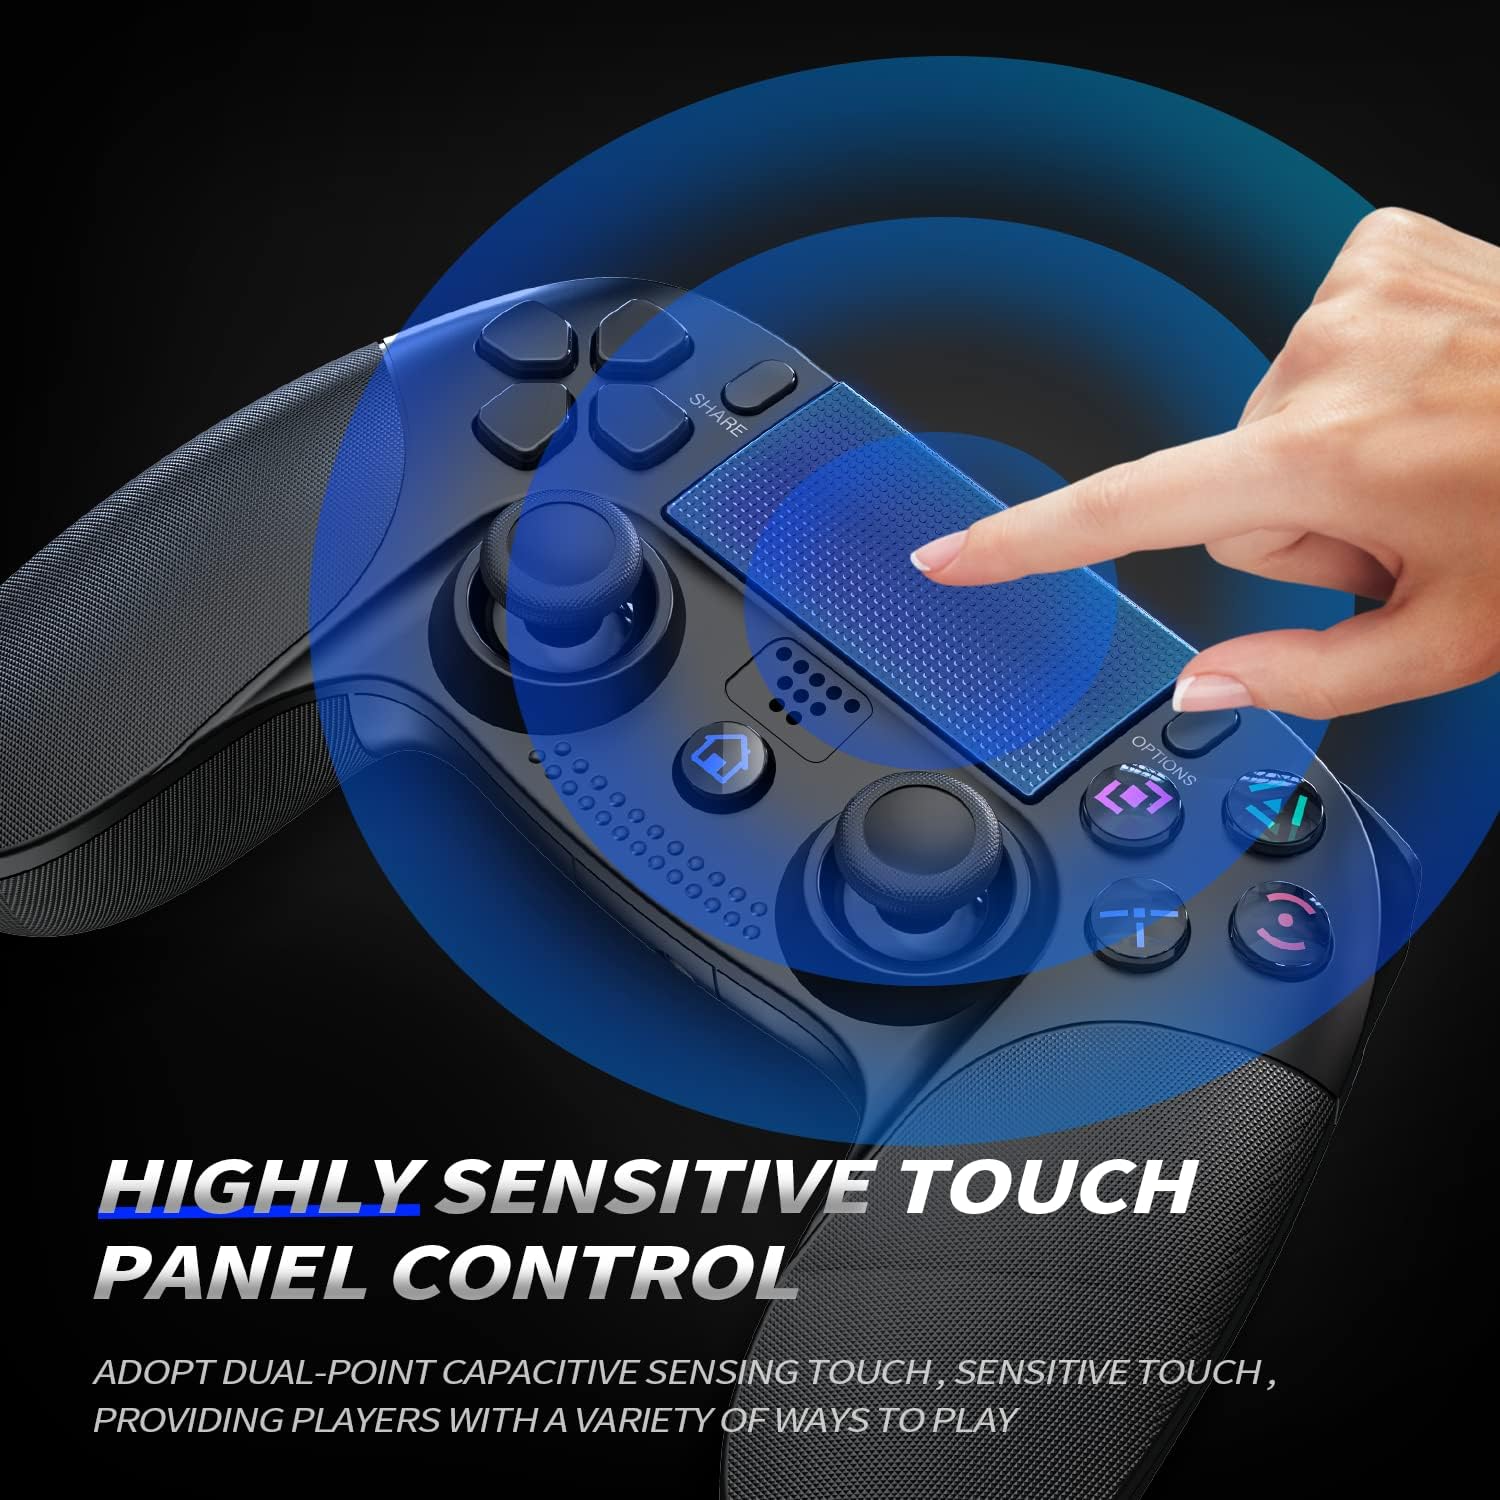
Image 2.4: A hand interacting with the controller's touchpad, highlighted with a blue glow, emphasizing its highly sensitive touch panel control for various gameplay methods.
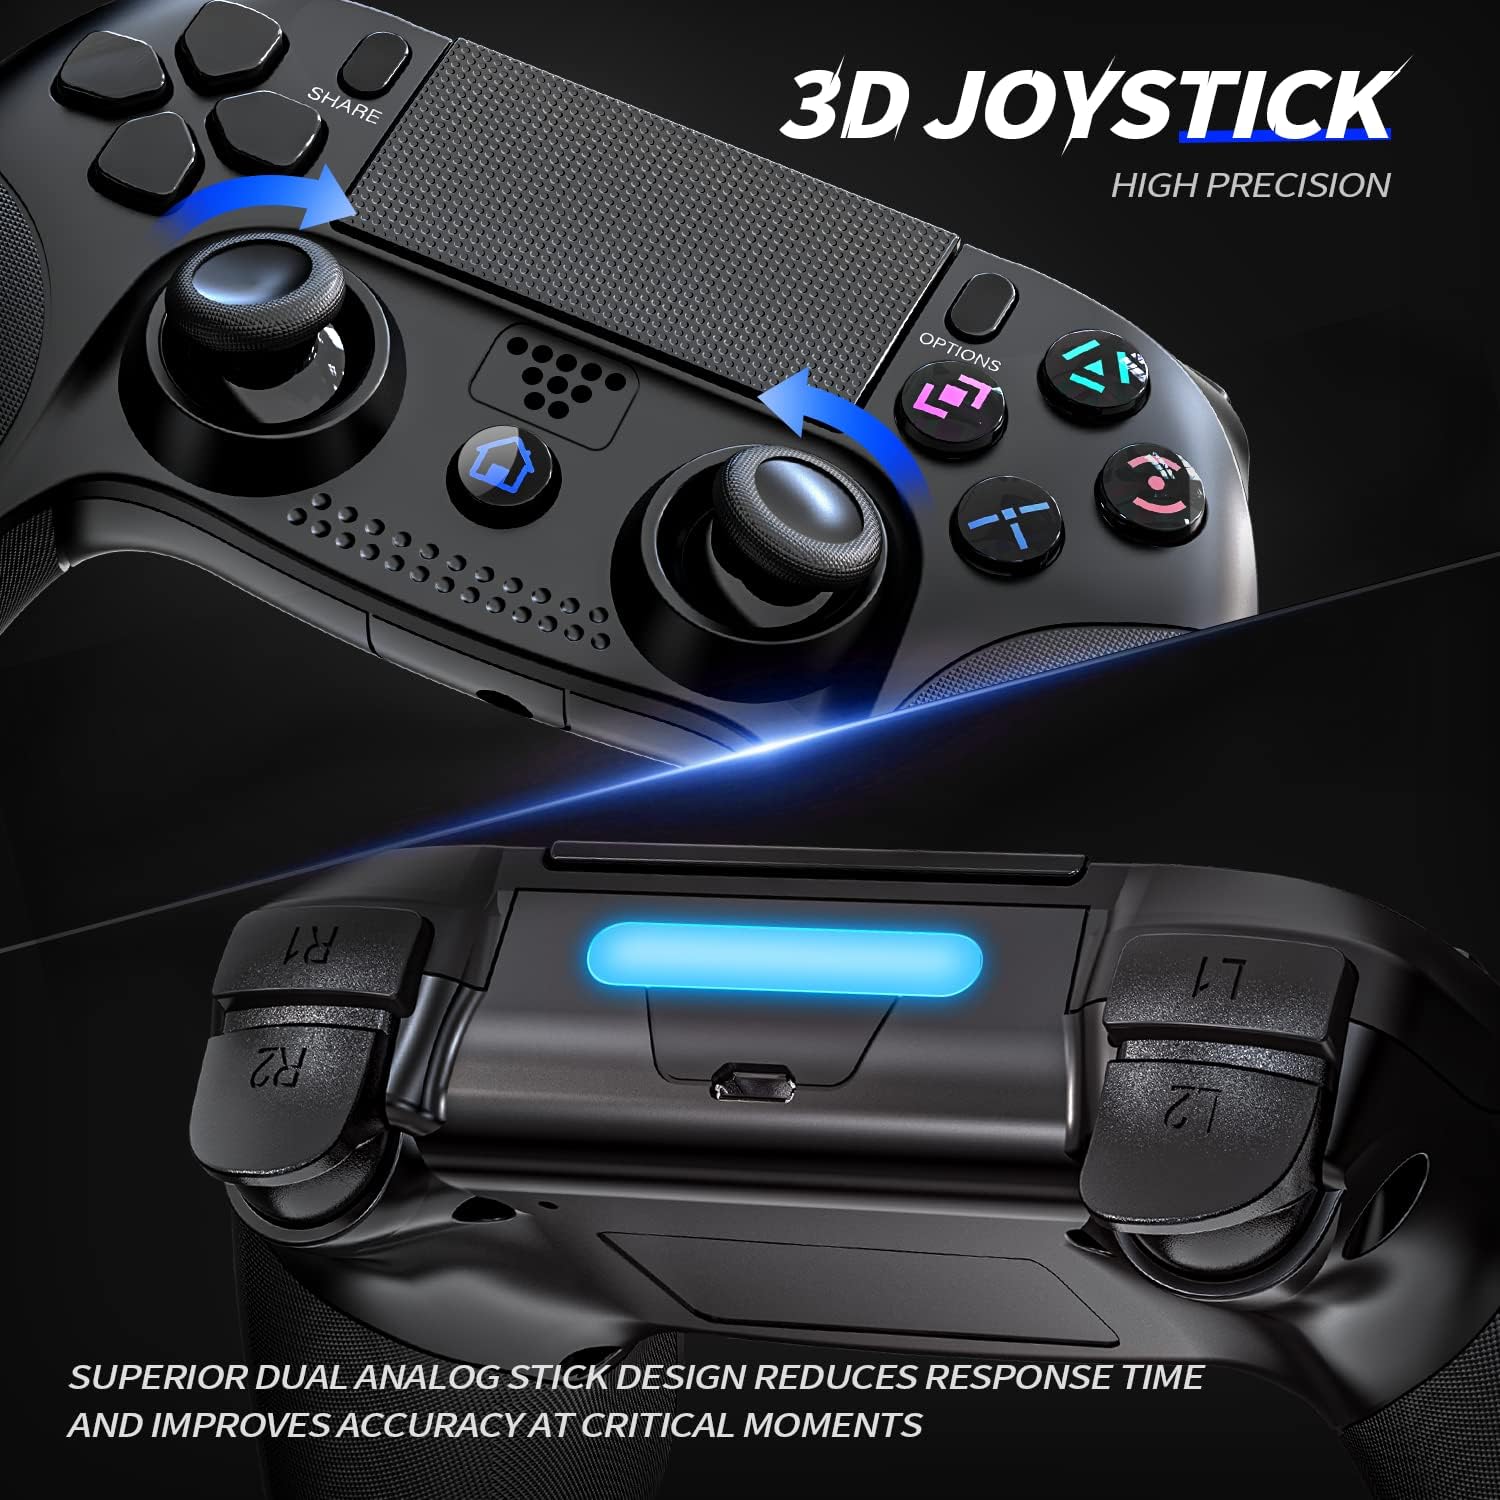
Image 2.5: Close-up of the controller's joysticks and triggers, highlighting the 3D joystick design for high precision and superior dual analog stick design for reduced response time and improved accuracy.
3. Setup and Connection
3.1 Initial Connection (PS4/PS4 Pro/PS4 Slim)
- Ensure your PS4 console is powered on.
- Connect the controller to your PS4 console using the included USB cable.
- Press the PS button (Home button) on the controller. The light bar will flash, indicating it's pairing.
- Once the light bar turns solid, the controller is successfully activated and connected. You can now disconnect the USB cable for wireless play.
3.2 Connecting to PC
To connect the controller to a PC, you can use either a USB cable or Bluetooth.
3.2.1 Wired Connection (PC)
- Connect the controller to your PC using a USB cable.
- The PC should automatically detect and install the necessary drivers.
- The controller will be recognized as a standard game controller.
3.2.2 Bluetooth Connection (PC)
- Ensure your PC has Bluetooth enabled.
- On your PC, go to Settings > Devices > Bluetooth & other devices.
- Select Add Bluetooth or other device > Bluetooth.
- On the controller, press and hold the SHARE button and the PS button simultaneously until the light bar starts flashing rapidly. This puts the controller into pairing mode.
- On your PC, select the controller (usually named "Wireless Controller" or similar) from the list of available devices.
- Once paired, the light bar on the controller will turn solid.
4. Operating the Controller
4.1 Basic Button Functions
- PS Button (Home Button): Powers on the controller, accesses the PS4 Home screen, or switches users.
- SHARE Button: Allows you to share screenshots and video clips, or start live broadcasts.
- OPTIONS Button: Used to access in-game menus or options.
- Directional Buttons (D-Pad): For navigation and specific game controls.
- Action Buttons (Triangle, Circle, Cross, Square): Standard game input buttons.
- L1/R1 Buttons: Shoulder buttons, often used for actions like aiming or firing.
- L2/R2 Triggers: Analog triggers for precise control, often used for acceleration/braking or shooting.
- Left/Right Analog Sticks: For movement and camera control. Pressing them down acts as L3/R3 buttons.
4.2 Touchpad Functionality
The touchpad supports dual-point capacitive sensing. It can be used for navigation, specific in-game actions, or as a clickable button (pressing down on the touchpad).
4.3 Audio Jack and Speaker
Connect a compatible headset to the 3.5mm stereo audio jack for in-game audio and voice chat. The built-in speaker provides additional audio cues for an immersive experience.
4.4 Sharing and Screenshots
Press the SHARE button to quickly access sharing options. You can upload videos and screenshots directly from your system or live stream your gameplay without interrupting your session.
5. Charging the Controller
The controller is equipped with a built-in 500mAh rechargeable battery.
- Charging Time: Approximately 2-3 hours for a full charge.
- Playing Time: Provides 6-8 hours of continuous gameplay on a full charge.
5.1 Charging Procedure
- Connect the controller to your PS4 console or a USB power adapter (5V/1A recommended) using the included USB cable.
- The light bar on the controller will slowly pulse orange while charging.
- Once fully charged, the light bar will turn off.
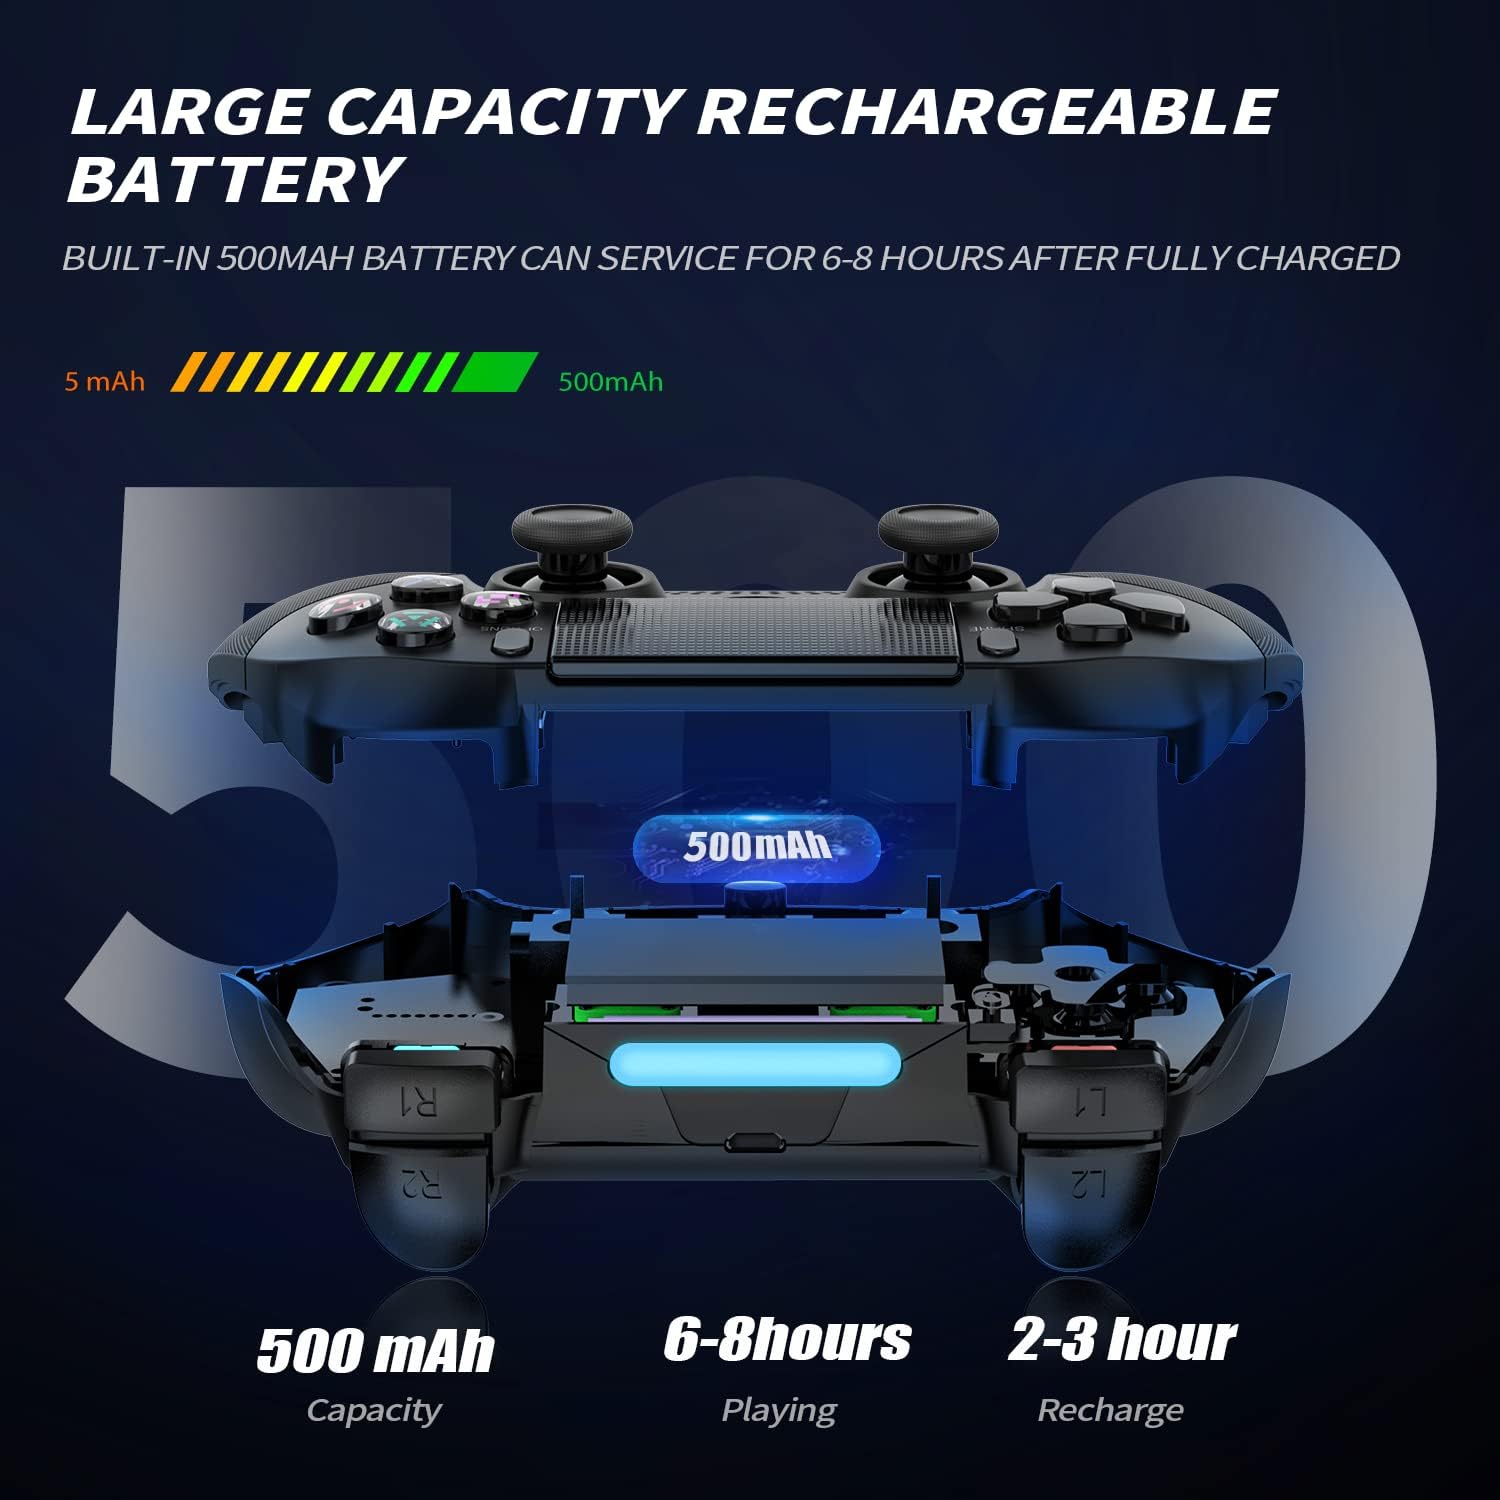
Image 5.1: An X-ray view of the controller highlighting its 500mAh battery, along with icons indicating 6-8 hours of playing time and 2-3 hours of recharge time.
6. Care and Maintenance
- Keep the controller clean by wiping it with a soft, dry cloth. Avoid using harsh chemicals or abrasive materials.
- Do not expose the controller to extreme temperatures, direct sunlight, or high humidity.
- Avoid dropping the controller or subjecting it to strong impacts.
- Store the controller in a safe place when not in use to prevent damage.
7. Troubleshooting
7.1 Controller Not Connecting/Responding
- Ensure the controller is charged. Connect it via USB cable to charge and try again.
- For initial connection, ensure you activate it with the USB cable as described in Section 3.1.
- Try resetting the controller: Locate the small reset button on the back of the controller (often inside a small hole near the L2 button). Use a thin object (like a straightened paperclip) to press and hold the button for 3-5 seconds. Then, reconnect the controller via USB.
- Ensure your console/PC's Bluetooth is enabled and functioning correctly.
7.2 Input Lag or Disconnections
- Ensure there are no strong electromagnetic interferences nearby (e.g., Wi-Fi routers, other wireless devices).
- Move closer to the console/PC to ensure you are within the 10-meter range.
- Try resetting the controller as described above.
7.3 Buttons Not Responding Correctly
- Ensure the controller is fully charged.
- Try resetting the controller.
- Clean around the buttons with a soft, dry cloth to remove any debris.
8. Product Specifications
| Feature | Specification |
|---|---|
| Model | Wireless Controller for PS4 |
| Compatibility | PS4, PS4 Pro, PS4 Slim, PC |
| Connectivity | Bluetooth 4.2, USB Wired |
| Wireless Range | Up to 10 meters |
| Battery Capacity | 500mAh Rechargeable Lithium-ion |
| Playing Time | 6-8 hours (approx.) |
| Charging Time | 2-3 hours (approx.) |
| Dimensions | 16.2 x 11.5 x 7.7 cm |
| Weight | 280 g |
| ASIN | B0D926LMXZ |
9. Warranty and Support
For warranty information or technical support, please refer to the product packaging or contact the retailer from whom you purchased the product. You may also visit the official Shiptree website for further assistance and contact details.