1. Introduction
Thank you for choosing the AUTO KSA AKM-36V250W E-bike Wheel Hub Motor Conversion Kit. This kit is designed to transform a standard bicycle into an electric bicycle, providing pedal assistance and throttle control. This manual provides essential information for the safe and correct installation, operation, and maintenance of your new e-bike conversion kit. Please read this manual thoroughly before installation and use to ensure optimal performance and safety.
2. Product Overview and Components
The AKM-36V250W E-bike Conversion Kit includes all necessary components to convert your bicycle's front wheel into an electric drive system. The kit is available with either a black or silver motor and is suitable for 74mm Brompton bikes, supporting various wheel sizes.

Image 2.1: Overview of the AKM-36V250W E-bike Conversion Kit components. This image displays the hub motor (available in black or silver), the controller unit, the display unit, wiring harnesses, brake levers with motor cut-off switches, and a pedal assist sensor.
Kit Contents:
- 36V 250W Front Hub Motor: Integrated into a wheel rim (various sizes available).
- Motor Controller: Manages power delivery to the motor.
- LCD Display Unit: Shows speed, battery level, assist level, and other ride data.
- Brake Levers: Include integrated motor cut-off switches for safety.
- Throttle: For independent power control.
- Pedal Assist Sensor (PAS): Detects pedaling and activates motor assistance.
- Wiring Harnesses: For connecting all electrical components.
3. Safety Guidelines
Your safety is paramount. Please adhere to the following guidelines:
- Always wear a helmet when riding your e-bike.
- Ensure all electrical connections are secure and waterproofed where necessary.
- Do not attempt to open or modify the motor or controller.
- Regularly check brake functionality before each ride.
- Be aware of local regulations regarding e-bike usage, speed limits, and power output.
- Keep hands and clothing clear of moving parts.
- Do not operate the e-bike in heavy rain or through deep puddles to prevent electrical damage.
4. Installation Guide
This section outlines the general steps for installing the e-bike conversion kit. Professional installation is recommended if you are unfamiliar with bicycle mechanics or electrical wiring.
4.1. Wheel Compatibility
The kit is designed for front wheel installation and is compatible with specific wheel sizes, including 16-inch, 16-1-3/8 inch (349), and 20-inch folding bike rims. Ensure your bicycle's front fork dropout width is 74mm for proper fitment.
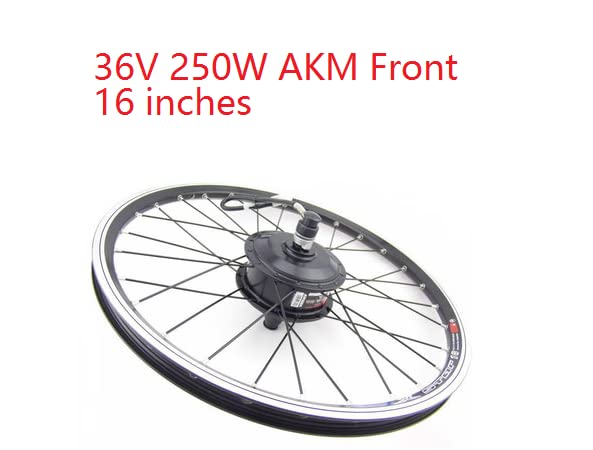
Image 4.1: The AKM-36V250W hub motor integrated into a 16-inch bicycle wheel.
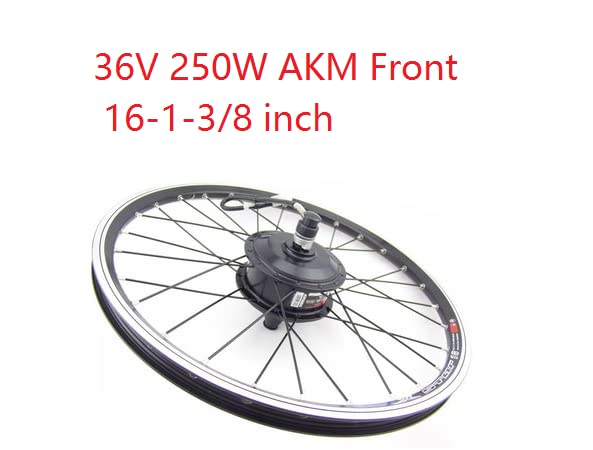
Image 4.2: The AKM-36V250W hub motor integrated into a 16-1-3/8 inch bicycle wheel.
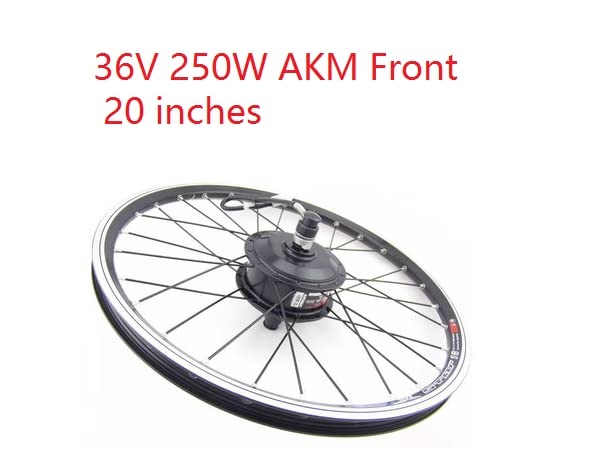
Image 4.3: The AKM-36V250W hub motor integrated into a 20-inch bicycle wheel.

Image 4.4: Detailed rim dimensions for 16-inch, 16-1-3/8 inch (349), and 20-inch folding bike wheels, showing width, ERD, outer diameter, and inner diameter.
4.2. Step-by-Step Installation
- Prepare the Bicycle: Secure your bicycle on a stand. Remove the existing front wheel.
- Install the Hub Motor Wheel: Carefully insert the new motor wheel into the front fork dropouts. Ensure the motor cable exits towards the rear of the bike and is not pinched. Secure the wheel with the provided axle nuts.
- Mount the Controller: Find a suitable, protected location on your bike frame (e.g., under the seat, on the downtube) to mount the controller. Ensure it is away from direct water spray and physical impact.
- Install Display and Controls: Mount the LCD display, brake levers, and throttle onto the handlebars in comfortable and accessible positions.
- Install Pedal Assist Sensor (PAS): Attach the PAS to the bottom bracket area, ensuring the sensor and magnet disc are correctly aligned and spaced.
- Connect Wiring: Connect all components to the controller using the provided wiring harnesses. Match the connectors carefully (they are often color-coded or uniquely shaped). Ensure all connections are firm and secure.
- Secure Cables: Use zip ties or cable wraps to neatly route and secure all cables along the frame, preventing them from interfering with moving parts or getting snagged.
- Install Battery (Not Included): Connect your compatible 36V e-bike battery to the controller's power input. Ensure the battery is securely mounted to the bike frame.
- Final Checks: Before riding, double-check all connections, ensure the wheel spins freely, and test the brakes and all electrical functions.
5. Operating Instructions
Once installed, operating your e-bike is straightforward.
5.1. Powering On/Off
- To Power On: Press and hold the power button on the LCD display unit for a few seconds until the screen illuminates.
- To Power Off: Press and hold the power button again until the display turns off.
5.2. Using the Display
The LCD display provides real-time information and allows you to adjust settings:
- Speed: Current riding speed.
- Battery Level: Indicates remaining battery charge.
- Assist Level: Use the '+' and '-' buttons to select your desired level of pedal assistance (typically 0-5). Level 0 provides no assistance.
- Trip Distance/Odometer: View current trip distance or total distance traveled.
5.3. Pedal Assist System (PAS)
The PAS engages the motor when you pedal. The level of assistance depends on the selected assist level on your display. Higher levels provide more motor power for easier pedaling.
5.4. Throttle Operation
The throttle provides power on demand, allowing you to accelerate without pedaling. Twist the throttle gently to engage the motor. Release the throttle to stop power delivery. Always use the throttle responsibly and be mindful of your surroundings.
5.5. Brake Levers
The included brake levers have integrated motor cut-off switches. When either brake lever is engaged, power to the motor is immediately cut, ensuring safe stopping.
6. Maintenance
Regular maintenance ensures the longevity and safe operation of your e-bike conversion kit.
- Inspect Wiring: Periodically check all electrical cables and connectors for wear, damage, or loose connections. Secure any loose wires.
- Clean Components: Keep the motor, controller, and display clean and free of dirt and debris. Use a damp cloth; avoid high-pressure washing.
- Motor Inspection: Ensure the motor is securely fastened in the fork. Listen for unusual noises during operation.
- Brake Check: Regularly inspect brake pads and cables. Ensure the motor cut-off function works correctly with both brake levers.
- Battery Care (for your separate battery): Follow the manufacturer's instructions for your e-bike battery. Typically, store in a cool, dry place and avoid fully discharging or overcharging.
- General Bicycle Maintenance: Continue with regular bicycle maintenance, including tire pressure, chain lubrication, and gear adjustments.
7. Troubleshooting
If you encounter issues, refer to this section before contacting support.
| Problem | Possible Cause | Solution |
|---|---|---|
| Motor not engaging / No power |
|
|
| Display not turning on |
|
|
| Inconsistent pedal assist |
|
|
| Motor making unusual noises |
|
|
8. Specifications
- Model:
- AKM-36V250W
- Motor Type:
- Front Wheel Hub Motor
- Voltage:
- 36V
- Power Output:
- 250W
- Dropout Width Compatibility:
- 74mm (suitable for Brompton bikes)
- Wheel Size Compatibility:
- 16 inch, 16-1-3/8 inch (349), 20 inch
- Material:
- Various (metal alloys, plastics)
- Origin:
- Mainland China
9. Warranty and Customer Support
Your AUTO KSA AKM-36V250W E-bike Wheel Hub Motor Conversion Kit comes with a comprehensive warranty and dedicated customer support.
- Warranty Policy: We commit to a 12-month warranty for all products. In case of any quality problems, we offer a full refund or replacement.
- Customer Service: Our customer service team is knowledgeable and responsive. If you have any questions, concerns, or require assistance with installation or troubleshooting, please do not hesitate to contact us. We are dedicated to ensuring 100% customer satisfaction.
For support, please refer to your purchase platform or contact the seller directly.


