1. Introduction
Thank you for choosing the Mastrad M Classic Plus Cooking Thermometer. This device is designed to provide precise temperature control for various cooking applications, ensuring perfect results every time. It features a programmable mode for different meat types and desired doneness levels, an alarm, and a remaining time display. The M Classic Plus is compatible with ovens, BBQs, and induction cooktops.
Please read this manual thoroughly before first use to ensure proper operation and to maximize the lifespan of your thermometer.
2. Important Safety Instructions
- Probe Handling: The probe tip is sharp. Handle with care to avoid injury.
- High Temperatures: The probe and cable are designed for high temperatures (up to 260°C for the probe, 210°C for general use). However, avoid direct flame contact with the cable.
- Main Unit: The main thermometer unit is not oven, BBQ, or induction compatible. Always keep the main unit outside the oven/BBQ.
- Cleaning: The main unit is not waterproof. Do not immerse it in water or other liquids. Clean only with a damp cloth. The probe can be hand-washed.
- Battery: Use only AAA batteries. Ensure correct polarity when inserting. Remove batteries if the device will not be used for an extended period.
- Children: Keep out of reach of children.
- Disassembly: Do not attempt to disassemble or repair the unit yourself. Contact customer support for assistance.
3. Package Contents
Verify that all items are present in your package:
- 1 x Mastrad M Classic Plus Cooking Thermometer Unit
- 1 x Stainless Steel Temperature Probe with 1-meter Cable
- 1 x AAA Battery
- 1 x User Manual (this document)

Image: The Mastrad M Classic Plus thermometer unit, showing the large digital screen, the stainless steel probe, and the 1-meter cable. This image illustrates the main components included in the package.
4. Setup
- Insert Battery: Open the battery compartment on the back of the main unit. Insert the included 1x AAA battery, ensuring the correct polarity (+/-). Close the compartment securely.
- Connect Probe: Insert the stainless steel probe's jack into the port on the side of the main thermometer unit. Ensure it is firmly connected.
- Power On: Press the Power button (usually marked with a power symbol) to turn on the device. The display will illuminate.
- Placement: The main unit features a magnetic back for convenient attachment to metallic surfaces, such as a refrigerator door or oven exterior (ensure it's not directly on a hot surface).
5. Operating Instructions
5.1. General Use
- Insert Probe: Carefully insert the stainless steel probe into the thickest part of the food, avoiding bones or gristle. Ensure the probe tip is fully immersed.
- Monitor Temperature: The large digital screen will display the current internal temperature of your food.

Image: The Mastrad M Classic Plus thermometer monitoring a chicken roasting in an oven. The main unit remains outside the oven, connected by its 1-meter cable, allowing for continuous temperature tracking.
5.2. Programmable Mode
The M Classic Plus offers pre-programmed settings for various types of meat and desired doneness levels.
- Select Meat Type: Use the MODE button to cycle through different meat options (e.g., Beef, Pork, Chicken, Lamb, Veal). The selected meat type will be highlighted on the display.
- Select Doneness: Once a meat type is selected, use the +/- buttons to choose your desired doneness level (e.g., Rare, Medium-Rare, Medium, Well-Done). The target temperature will automatically adjust.
- Start Monitoring: The thermometer will now monitor the food's temperature. An alarm will sound when the target temperature is reached.

Image: A close-up view of the Mastrad M Classic Plus display, illustrating the selection options for various meat types (Beef, Pork, Chicken, Lamb, Veal) and corresponding doneness levels (Rare, Medium, Well-Done). The display also indicates that the device supports multiple languages.

Image: A visual representation of different meat types (Beef, Pork, Lamb, Veal, Chicken) for which the M Classic Plus offers pre-programmed cooking settings.
5.3. Manual Temperature Setting
For specific recipes or custom temperatures, you can set the target temperature manually.
- Enter Manual Mode: Select the "MANUAL" option using the MODE button.
- Set Target Temperature: Use the +/- buttons to adjust the desired target temperature.
- Start Monitoring: The thermometer will alert you when the food reaches your manually set temperature.
5.4. Timer Function
The M Classic Plus includes a timer function for general cooking tasks.
- Activate Timer: Press the TIMER button (often indicated by a clock icon).
- Set Time: Use the +/- buttons to set the desired countdown time.
- Start/Stop Timer: Press the START/STOP button to begin or pause the countdown. An alarm will sound when the timer reaches zero.

Image: A pie baking in an oven, illustrating the use of the timer function for general cooking tasks. The timer icon highlights this feature.
6. Maintenance and Care
- Cleaning the Probe: After each use, carefully hand-wash the stainless steel probe with warm, soapy water. Rinse thoroughly and dry completely before storage. Do not put the probe cable or main unit in a dishwasher.
- Cleaning the Main Unit: Wipe the main unit with a soft, damp cloth. Do not use abrasive cleaners or immerse the unit in water.
- Storage: Store the thermometer and probe in a clean, dry place when not in use.
- Battery Replacement: Replace the AAA battery when the display becomes dim or the unit fails to power on.
7. Troubleshooting
| Problem | Possible Cause | Solution |
|---|---|---|
| Thermometer does not turn on. | Battery is dead or incorrectly inserted. | Check battery polarity. Replace with a new AAA battery. |
| Inaccurate temperature readings. | Probe not fully inserted or touching bone/gristle. Probe or cable damage. | Re-insert probe into the thickest part of the meat, away from bones. Inspect probe and cable for damage. If damaged, contact support for a replacement probe. |
| Alarm does not sound. | Volume too low or disabled. Target temperature not set. | Ensure alarm volume is audible. Verify that a target temperature is set in programmable or manual mode. |
| Display shows "LLL" or "HHH". | Temperature is outside the measurable range (0°C to 210°C) or probe is disconnected/damaged. | Ensure probe is properly connected. If the temperature is within range, the probe may be faulty. Contact support. |
8. Specifications
- Model: F73030
- Temperature Range: 0°C to 210°C (32°F to 410°F)
- Probe Material: Stainless Steel
- Cable Length: 1 meter (approximately 3.3 feet)
- Probe Immersion Depth: 25 cm (approximately 9.8 inches)
- Power Source: 1 x AAA Battery (included)
- Special Features: Alarm, High Precision, Timer, Programmable, Magnetic Back
- Display Type: Digital
- Compatibility: Oven, BBQ, Induction (probe and cable only; main unit must remain outside)
- Care Instructions: Hand wash probe only; wipe main unit with damp cloth.
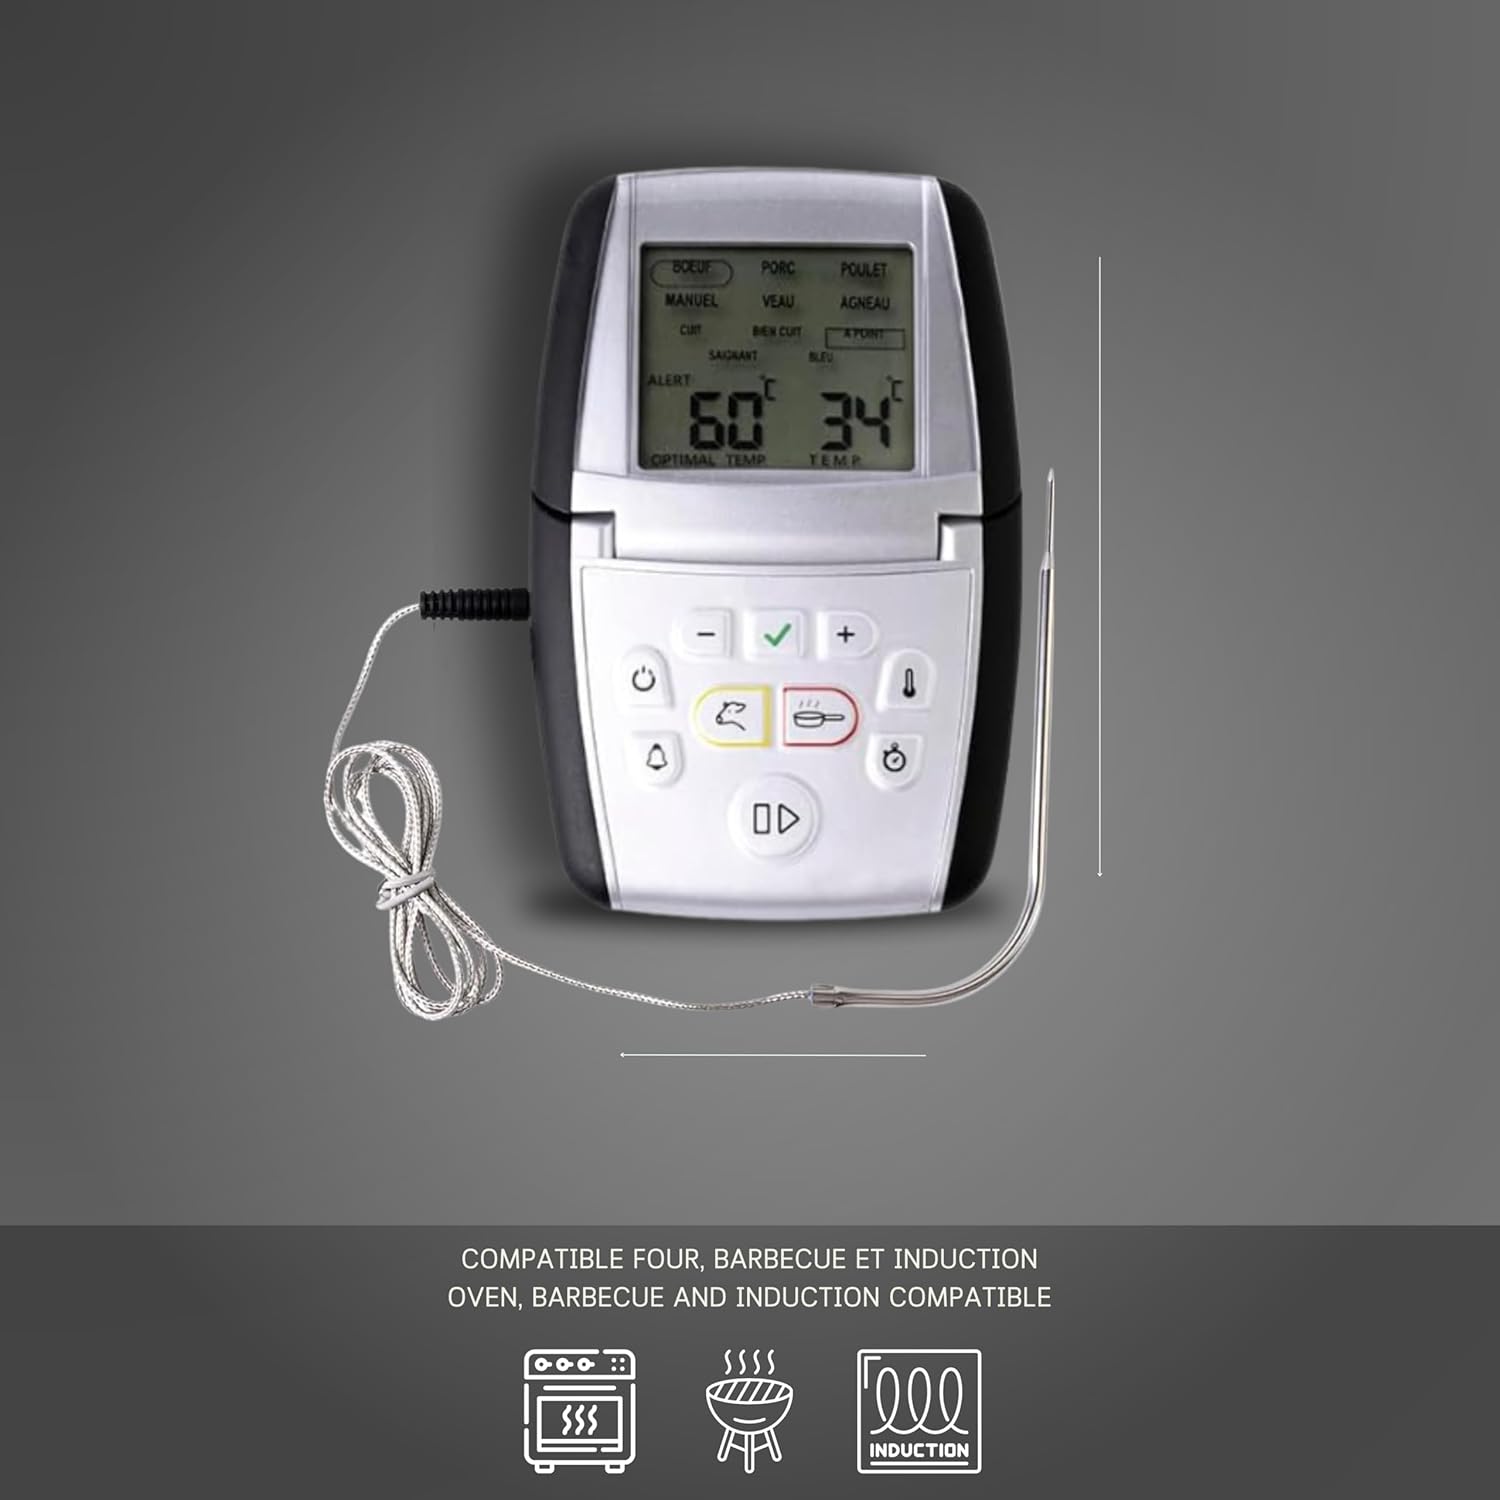
Image: The Mastrad M Classic Plus thermometer unit, highlighting its compatibility with various cooking methods including oven, BBQ, and induction cooktops. The icons visually represent these features.
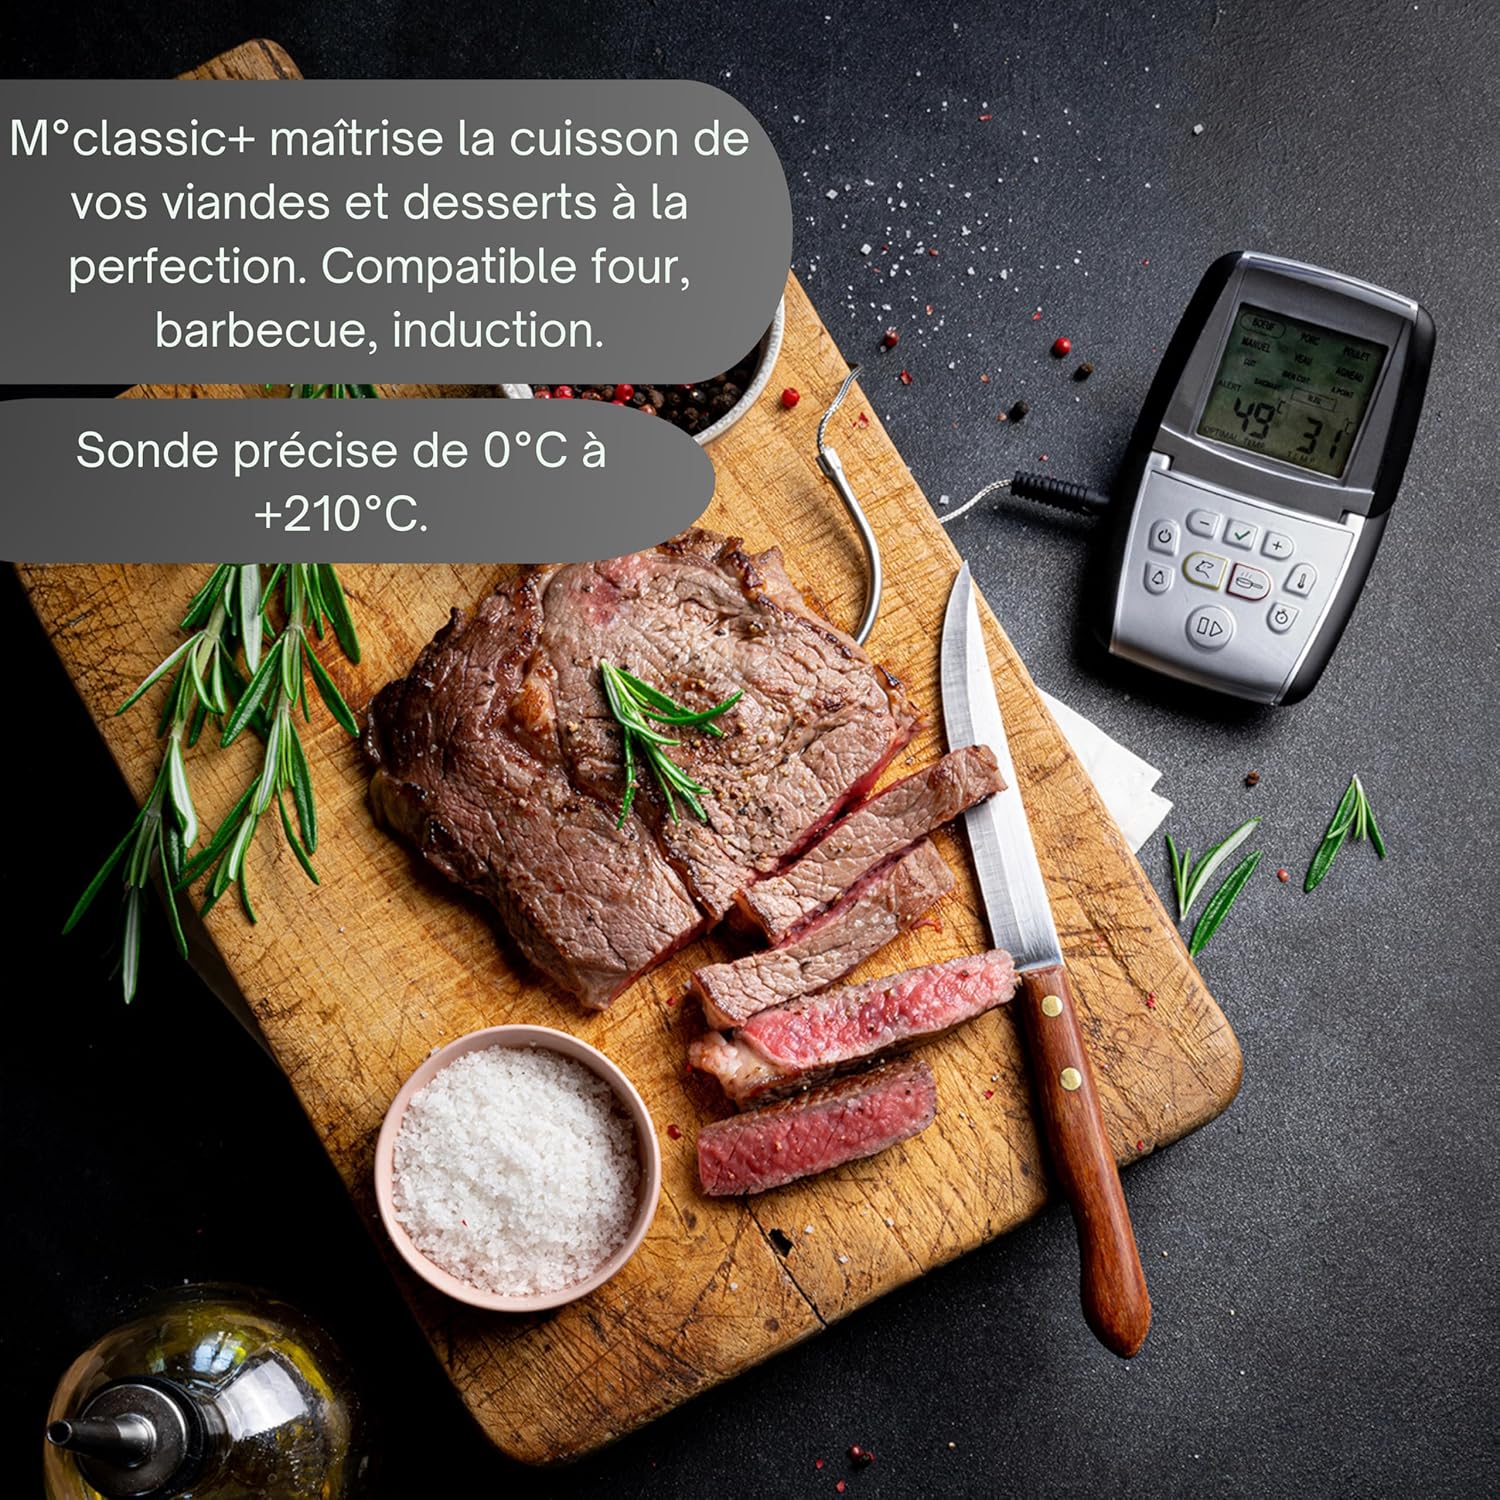
Image: A perfectly cooked steak alongside the Mastrad M Classic Plus thermometer, emphasizing its ability to precisely control cooking from 0°C to 210°C and its compatibility with ovens, BBQs, and induction cooking.
9. Warranty Information
The Mastrad M Classic Plus Cooking Thermometer comes with a 2-year warranty from the date of purchase. This warranty covers defects in materials and workmanship under normal use. It does not cover damage resulting from misuse, accidents, unauthorized modifications, or failure to follow the instructions in this manual.
Please retain your proof of purchase for warranty claims.
10. Customer Support
If you have any questions, require assistance, or need to make a warranty claim, please contact Mastrad customer support through their official website or the retailer where you purchased the product.
For more information, visit the official Mastrad website: www.mastrad.fr