MiOYOOW B0D8THSNJ1
MiOYOOW DIY Electronic Piano Soldering Practice Kit Instruction Manual
Introduction
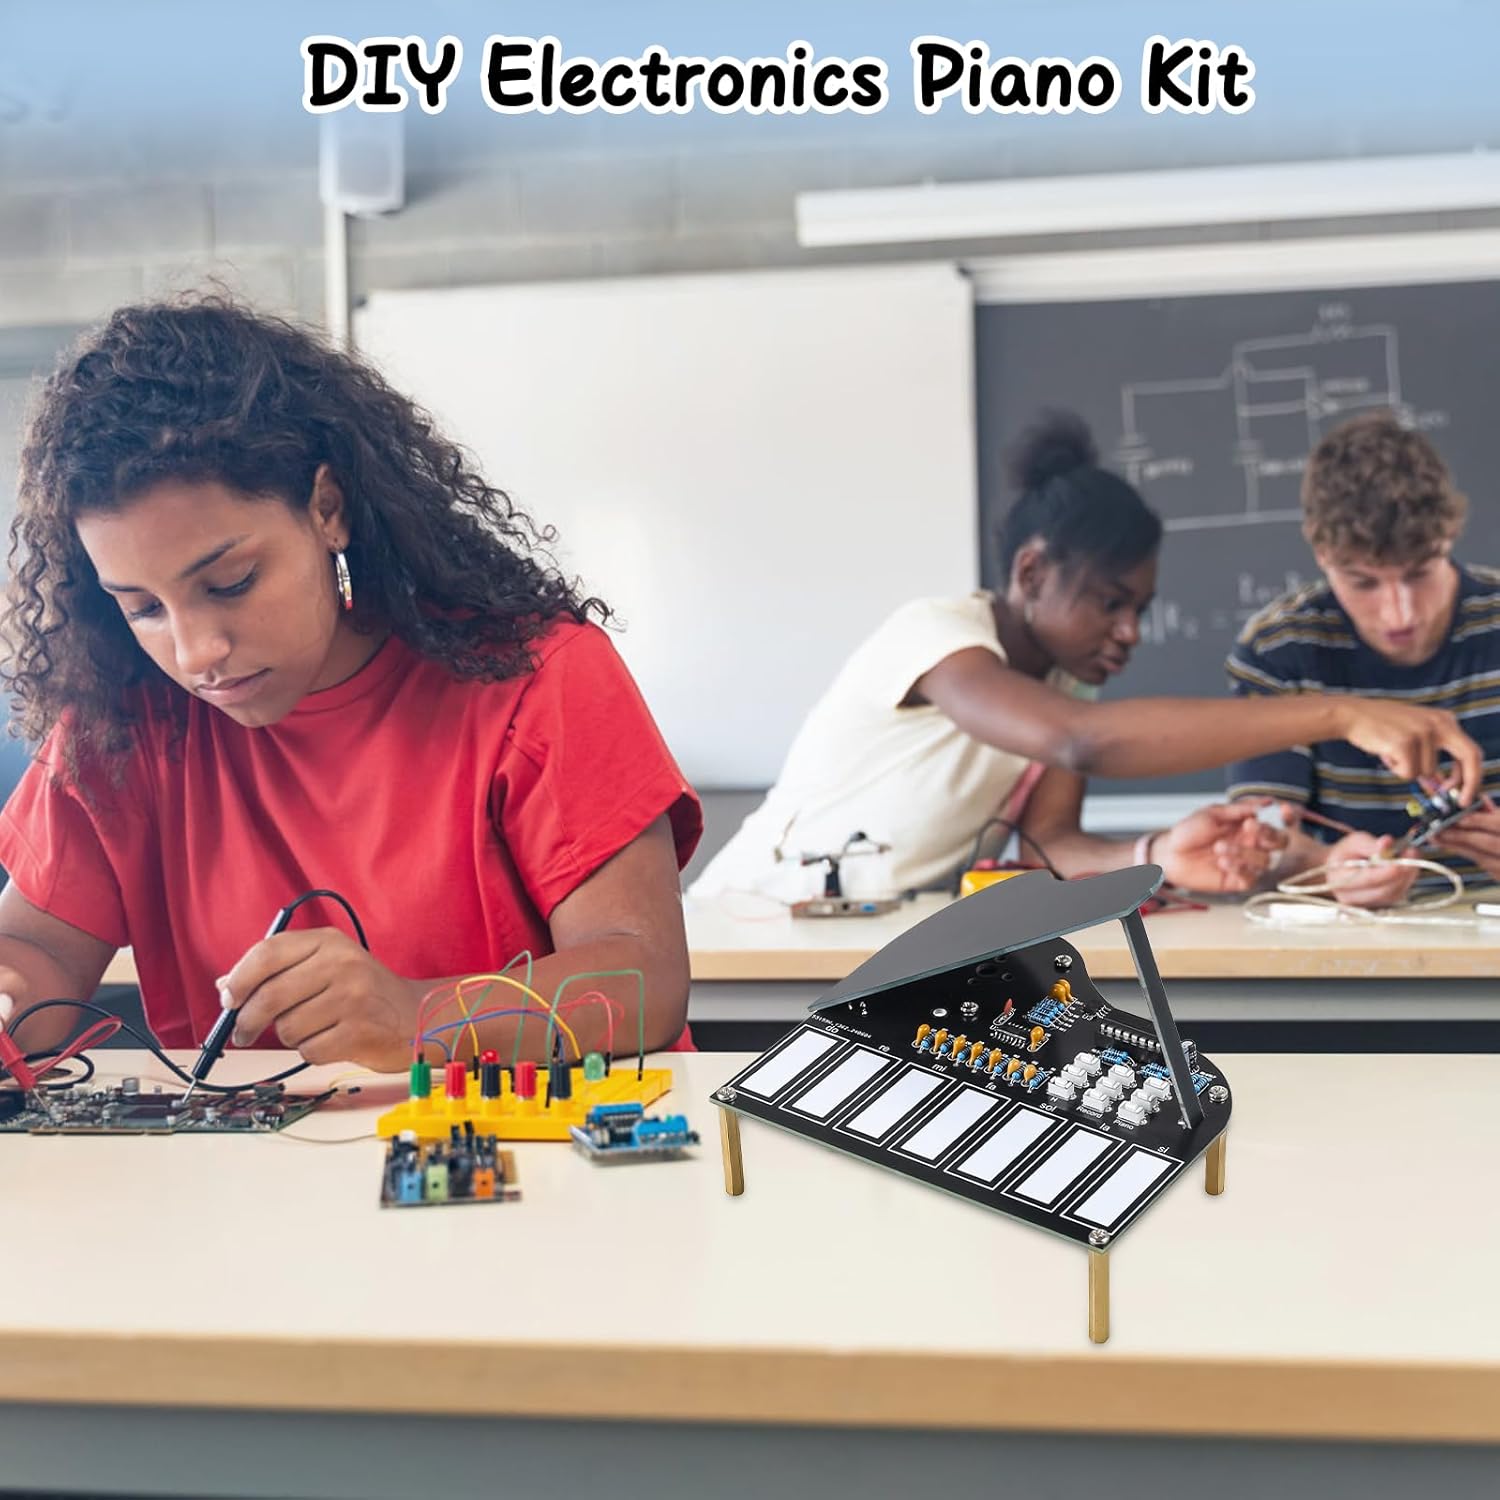
This manual provides detailed instructions for the assembly, operation, and maintenance of your MiOYOOW DIY Electronic Piano Soldering Practice Kit. This kit is designed to offer an engaging learning experience in electronics and basic music principles, suitable for STEM education and hobbyists. Upon successful assembly, you will have a functional 7-key mini musical instrument capable of producing piano, violin, and guitar tones, along with recording and playback features.

The fully assembled MiOYOOW DIY Electronic Piano Kit.
Safety Information
Please read and understand all safety instructions before beginning assembly. This kit involves soldering, which requires caution.
- Ventilation: Always work in a well-ventilated area to avoid inhaling solder fumes.
- Eye Protection: Wear safety glasses to protect your eyes from solder splashes or flying debris.
- Hot Surfaces: Soldering irons become very hot. Avoid touching the tip and allow components to cool before handling.
- Electrical Safety: Ensure your soldering iron and power supply are in good condition and used according to their instructions.
- Adult Supervision: This kit is recommended for ages 15 and up. Younger users should have adult supervision during assembly.
- Component Handling: Some components are small. Handle them carefully to prevent loss or damage.
What's in the Box
Carefully unpack your kit and verify that all components are present. Refer to the image below for a visual guide to the included parts.

Overview of all components included in the kit.
- Printed Circuit Board (PCB)
- Various Resistors
- Capacitors
- Integrated Circuits (ICs) and Sockets
- Push Buttons
- Speaker
- Power Cable (USB-A to barrel jack)
- Acrylic Piano Top Cover
- Standoffs and Screws
- Connecting Wires
- User Manual (Paper Version)
Setup and Assembly Instructions
This section guides you through the process of assembling your electronic piano kit. Follow the steps carefully, referring to the included paper manual for detailed diagrams. Basic soldering skills are required.
Assembly requires careful attention to detail and soldering.
1. Prepare Your Workspace
Ensure your workspace is clean, well-lit, and well-ventilated. Gather your tools: soldering iron, solder, flux, wire cutters, needle-nose pliers, and safety glasses.
2. Identify Components
Match each component from the kit to its corresponding label on the Printed Circuit Board (PCB). Pay close attention to resistor values and capacitor polarities where applicable.
3. Solder Smaller Components First
Begin by soldering the smallest components, such as resistors, diodes, and ceramic capacitors. Insert them into their designated holes on the PCB, bend the leads slightly to hold them in place, and then solder and trim the excess leads.
4. Solder Integrated Circuit (IC) Sockets
Solder the IC sockets onto the PCB. Ensure correct orientation (usually indicated by a notch on the socket and a corresponding mark on the PCB). Do not insert the ICs into the sockets until all soldering is complete to prevent heat damage.
5. Solder Larger Components
Proceed with larger components like electrolytic capacitors (observe polarity), push buttons, and the speaker. Ensure the speaker is correctly wired to its terminals.
6. Connect Power and Test
Once all components are soldered, carefully insert the ICs into their sockets, matching the notch on the IC with the notch on the socket. Connect the USB power cable. Before final assembly, perform a preliminary test to ensure basic functionality.
7. Final Assembly
Attach the acrylic piano top cover and the standoffs using the provided screws. Ensure all connections are secure and the structure is stable.
Operating Instructions
Your MiOYOOW Electronic Piano is now ready for use. This section explains its various functions.

Detailed view of the control buttons and keys.
1. Powering On
Connect the provided USB power cable to the piano and a suitable USB power source (e.g., computer USB port, USB wall adapter). The device will power on automatically.
2. Playing Notes (7 Touch-Sensitive Keys)
The piano features 7 touch-sensitive keys labeled "Do, Re, Mi, Fa, Sol, La, Si." Gently press each key to produce its corresponding musical note.
3. Changing Instrument Tones
The piano offers three distinct instrument tones: Piano, Violin, and Guitar. Use the dedicated buttons to switch between these tones:
- Piano Button: Selects the piano tone.
- Violin Button: Selects the violin tone.
- Guitar Button: Selects the guitar tone.

The kit offers Piano, Guitar, and Violin instrument sounds.
4. Adjusting Pitch
You can switch between three different pitch settings: Low, Medium, and High. Refer to the controls on the PCB for the specific buttons or switches that control pitch adjustment.
5. Recording and Playback
The kit includes a "Record and Play" function:
- Record Button: Press this button to begin recording your performance. Play your desired melody on the keys.
- Play Button: After recording, press this button to listen to your recorded melody.
- Delete Button: To clear all saved tracks and start a new recording, press the delete button.

Key features: 7 touch keys, 3 tones, 3 instruments, and record & play.
Maintenance
Proper care will ensure the longevity and optimal performance of your electronic piano kit.
- Cleaning: Use a soft, dry cloth to gently wipe the surface of the piano. Avoid using liquids or abrasive cleaners.
- Storage: Store the kit in a cool, dry place away from direct sunlight, extreme temperatures, and humidity.
- Handling: Avoid dropping the device or applying excessive force to the keys or buttons.
- Power: Disconnect the USB power cable when the device is not in use for extended periods.
Troubleshooting
If you encounter issues with your electronic piano, refer to the following common problems and solutions.
- No Sound or Power:
- Check if the USB power cable is securely connected to both the piano and the power source.
- Verify that the power source is functional.
- Inspect all solder joints on the PCB, especially around the power input and speaker connections, for cold joints or bridges.
- Ensure the speaker is correctly wired and not damaged.
- Keys Unresponsive:
- Check the solder joints for each key's connection to the PCB.
- Ensure the ICs are correctly seated in their sockets and oriented properly.
- Incorrect Tones or Functions:
- Re-check the soldering of the tone selection buttons and associated components.
- Verify that all components, especially resistors and capacitors, are in their correct positions and values.
- Distorted Sound:
- Inspect the speaker for any physical damage.
- Check solder joints around the audio output and speaker.
If problems persist after troubleshooting, please contact MiOYOOW customer support for further assistance.
Specifications
| Feature | Detail |
|---|---|
| Product Dimensions | 4.84 x 4.56 x 1.18 inches |
| Item Weight | 5.3 ounces |
| Model Number (ASIN) | B0D8THSNJ1 |
| Manufacturer Recommended Age | 15 years and up |
| Keys | 7 Touch-Sensitive Keys (Do, Re, Mi, Fa, Sol, La, Si) |
| Instrument Tones | Piano, Violin, Guitar |
| Pitch Settings | Low, Medium, High |
| Functions | Record, Playback, Delete |
| Power Source | USB (cable included) |
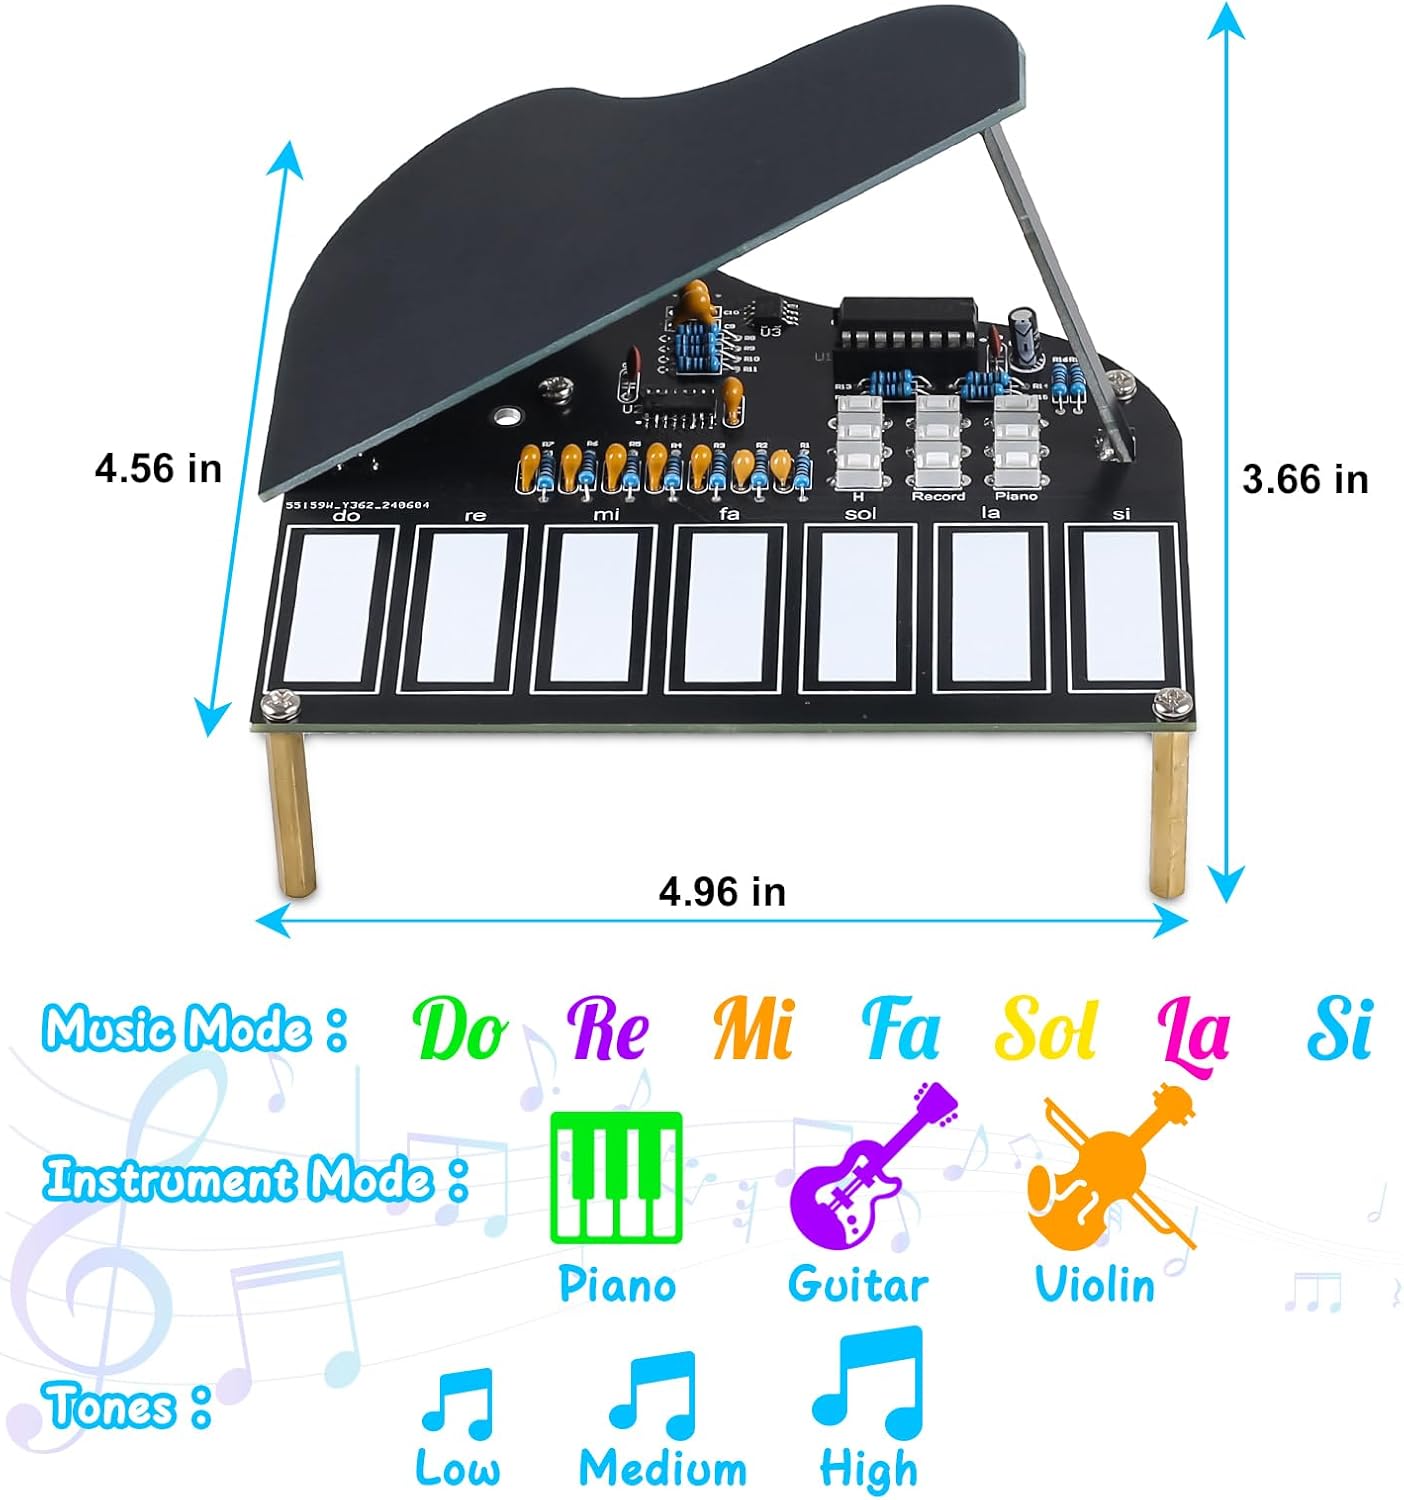
Product dimensions and feature overview.
Warranty and Support
For any questions, technical assistance, or warranty inquiries regarding your MiOYOOW DIY Electronic Piano Soldering Practice Kit, please contact the manufacturer directly. Refer to the packaging or the official MiOYOOW website for contact information.
Please retain your proof of purchase for warranty claims.
Ask a question about this manual
Ask about setup, troubleshooting, compatibility, parts, safety, or missing instructions. Manuals+ will review the question and use this page’s manual context to help answer it.