Graigar SW-6310A
SW-6310A Coating Thickness Gauge User Manual
Brand: Graigar | Model: SW-6310A
1. Introduction
The Graigar SW-6310A is a digital coating thickness gauge designed for precise and non-destructive measurement of coating thickness on both ferrous (Fe) and non-ferrous (NFe) metal substrates. Utilizing magnetic induction for Fe and eddy current for NFe, this device automatically detects the substrate type, providing accurate readings for various applications.
Key features include a large 2.0-inch segment screen with 180-degree flip for easy viewing, simple one-button operation, zero and multi-point calibration capabilities, and storage for up to 30 sets of measured data. Its portable and ergonomic design makes it suitable for use in manufacturing, metal-processing, chemical industries, and quality inspection.
2. Package Contents
Upon unboxing your SW-6310A Coating Thickness Gauge, please verify that all the following items are included:
- 1 x SW-6310A Thickness Gauge
- 1 x Iron Substrate
- 1 x Aluminum Substrate
- 1 x Lanyard
- 5 x Calibration Films (various thicknesses)
- 1 x User Manual (English)
- 1 x Storage Case

Image: The SW-6310A Coating Thickness Gauge neatly stored in its protective case, alongside the user manual.

Image: All components of the SW-6310A package laid out, including the gauge, user manual, calibration films, and both iron and aluminum substrates.
3. Product Overview
The SW-6310A features a compact and ergonomic design for comfortable handling. Familiarize yourself with its main components:
- Display Screen: A 2.0-inch large segment screen for clear display of measurements, units, and indicators.
- Control Buttons:
- REC: Record/Memory button.
- ▲ (Up Arrow): Navigation/Increase value.
- ▼ (Down Arrow) / ZERO: Navigation/Decrease value, also used for Zero-spot calibration.
- µm/mil: Unit switching button.
- SET / CAL: Menu/Setting button, also used for calibration.
- Measurement Probe: Located at the bottom of the device, this is the sensor that contacts the surface for measurement.
- Battery Compartment: Located on the back, for AAA batteries.

Image: Front view of the SW-6310A gauge, highlighting the display screen and the five control buttons.
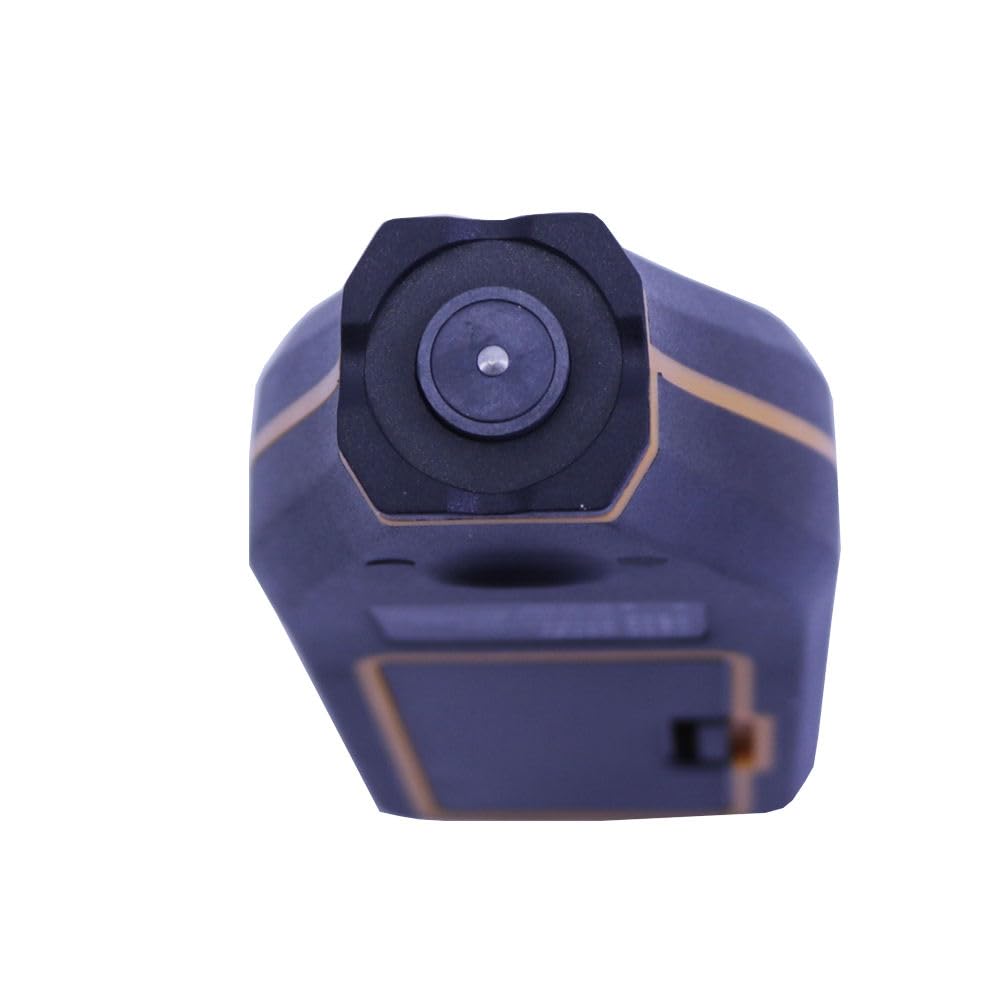
Image: Bottom view of the SW-6310A gauge, clearly showing the circular measurement probe.
4. Specifications
| Parameter | Description |
|---|---|
| Sensor Probe Type | Fe / NFe |
| Working Principle | Magnetic Induction (Fe) / Eddy Current (NFe) |
| Measurement Range | 0~1700µm (Magnetic & Non-magnetic material) |
| Units | µm, mil (1mil=25.4µm) |
| Accuracy | ±(2+2%*H)µm @ (0~500µm), ±(2.5%*H)µm @ (500~1700µm) |
| Resolution | 0.1µm (0-99.9µm), 1µm (100-1700µm) |
| Minimum Curvature Radius | Convex 5mm, Concave 30mm |
| Minimum Measuring Area | Magnetic material 25×25mm; Non-magnetic material 25×25mm |
| Minimum Substrate Thickness | Magnetic 0.2mm, Non-magnetic 0.05mm |
| Data Storage | 30 Groups |
| Screen | 2.0 inches large segment screen, 180 degree screen flip |
| Basic Measurement | Single / Continuous measurement |
| Calibration | Zero-spot calibration / Calibration-film calibration |
| Limiting Value Measurement | Yes |
| Memory/Delete Record | Yes |
| Operating Conditions | 0℃~50℃ (10%~80%RH) |
| Storage Conditions | -10℃~60℃ (10%~70%RH) |
| Power Supply | 2 * 1.5V AAA Batteries (NOT included) |
| Item Size | Approx. 120 * 52 * 26mm / 4.73 * 2.05 * 1.03in |
| Item Weight | Approx. 82g / 2.89oz |
5. Setup
5.1 Battery Installation
- Locate the battery compartment on the back of the device.
- Slide the battery cover open.
- Insert two (2) 1.5V AAA batteries, ensuring correct polarity (+/-).
- Close the battery cover securely.

Image: Rear view of the SW-6310A gauge, illustrating the location of the battery compartment.
5.2 Powering On/Off
- To power on the device, press any button.
- The device will automatically power off after a period of inactivity to conserve battery life.
6. Operating Instructions
6.1 Basic Measurement
The SW-6310A automatically detects the substrate type (Fe for magnetic, NFe for non-magnetic) and displays it on the LCD. The measurement can be performed in single or continuous mode.
- Ensure the gauge is powered on.
- Place the measurement probe firmly and perpendicularly onto the coated surface.
- The thickness reading will be displayed instantly on the screen. The screen can be flipped 180 degrees for convenient viewing from different angles.
- For continuous measurement, keep the probe on the surface and move it slowly across the area.
6.2 Unit Switching
Press the µm/mil button to toggle between micrometers (µm) and mils (mil). (1 mil = 25.4 µm).
6.3 Calibration
Calibration ensures the accuracy of your measurements. The device supports Zero-spot calibration and Calibration-film calibration.
6.3.1 Zero-spot Calibration
This calibration is performed on an uncoated substrate of the same material as the one you intend to measure.
- Place the probe firmly on a clean, uncoated ferrous (Fe) or non-ferrous (NFe) substrate.
- Press and hold the ZERO button until the display shows '0.0' or a similar indication of successful zeroing.
6.3.2 Calibration-film Calibration
Use the provided calibration films for multi-point calibration to improve accuracy across the measurement range.
- Perform Zero-spot calibration first on the bare substrate.
- Place a calibration film of known thickness on the substrate.
- Place the probe on the calibration film.
- Press the SET/CAL button to enter calibration mode.
- Use the ▲ and ▼ buttons to adjust the displayed value to match the known thickness of the calibration film.
- Press SET/CAL again to confirm and save the calibration point.
- Repeat for other calibration films if higher accuracy across the range is desired.
6.4 Data Storage and Recall
The device can store up to 30 groups of measured data. Stored data will not be lost upon power-off.
- To save a measurement, press the REC button after a stable reading is obtained.
- To recall stored data, press and hold the REC button. Use the ▲ and ▼ buttons to navigate through the stored records.
- Refer to the on-screen prompts or the full user manual for detailed instructions on deleting individual records or clearing all data.
6.5 Limiting Value Measurement
The gauge supports setting upper and lower limits for measurements. If a measurement falls outside these limits, the device may provide a visual or audible warning.
- Access the limiting value setting through the SET/CAL menu.
- Set your desired upper and lower thickness thresholds.
- When a measurement exceeds or falls below these limits, the device will indicate a warning.
7. Maintenance
Proper care and maintenance will ensure the longevity and accuracy of your SW-6310A Coating Thickness Gauge.
- Cleaning: Wipe the device with a soft, dry cloth. Do not use abrasive cleaners or solvents. Ensure the measurement probe is kept clean and free of debris.
- Storage: When not in use, store the gauge in its protective case in a dry place, away from direct sunlight and extreme temperatures.
- Battery: Remove batteries if the device will not be used for an extended period to prevent leakage.
- Operating Conditions: The device is designed to operate in temperatures from 0℃ to 50℃ (32℉ to 122℉) with relative humidity between 10% and 80%.
- Storage Conditions: For long-term storage, keep the device in temperatures from -10℃ to 60℃ (14℉ to 140℉) with relative humidity between 10% and 70%.
8. Troubleshooting
If you encounter issues with your SW-6310A, please refer to the following common solutions:
- Device does not power on: Check if the batteries are inserted correctly and have sufficient charge. Replace with new AAA batteries if necessary.
- Inaccurate readings:
- Ensure the probe is clean and free of dust or debris.
- Perform a Zero-spot calibration on an uncoated substrate.
- Perform a Calibration-film calibration using known thickness films.
- Ensure the substrate material matches the gauge's capabilities (Fe/NFe).
- Display shows 'OVER' or '---': The measurement may be outside the device's specified range (0-1700µm) or the probe is not making proper contact.
- Warning indicator active: Check your set upper/lower limiting values. The current measurement may be outside these predefined thresholds.
For issues not covered here, please contact customer support.
9. Warranty and Support
The Graigar SW-6310A Coating Thickness Gauge is manufactured to high-quality standards. For any technical assistance, warranty claims, or service inquiries, please contact Graigar customer support through their official channels. Please retain your purchase receipt as proof of purchase for warranty purposes.
Ask a question about this manual
Ask about setup, troubleshooting, compatibility, parts, safety, or missing instructions. Manuals+ will review the question and use this page’s manual context to help answer it.