Introduction
The Moistenland Automatic Drip Irrigation Kit is designed to simplify plant care for indoor houseplants. This system provides customizable watering schedules, delivering water directly to the root zone to minimize waste and prevent overwatering. It is an efficient and water-saving solution for maintaining healthy plants, even when you are away.
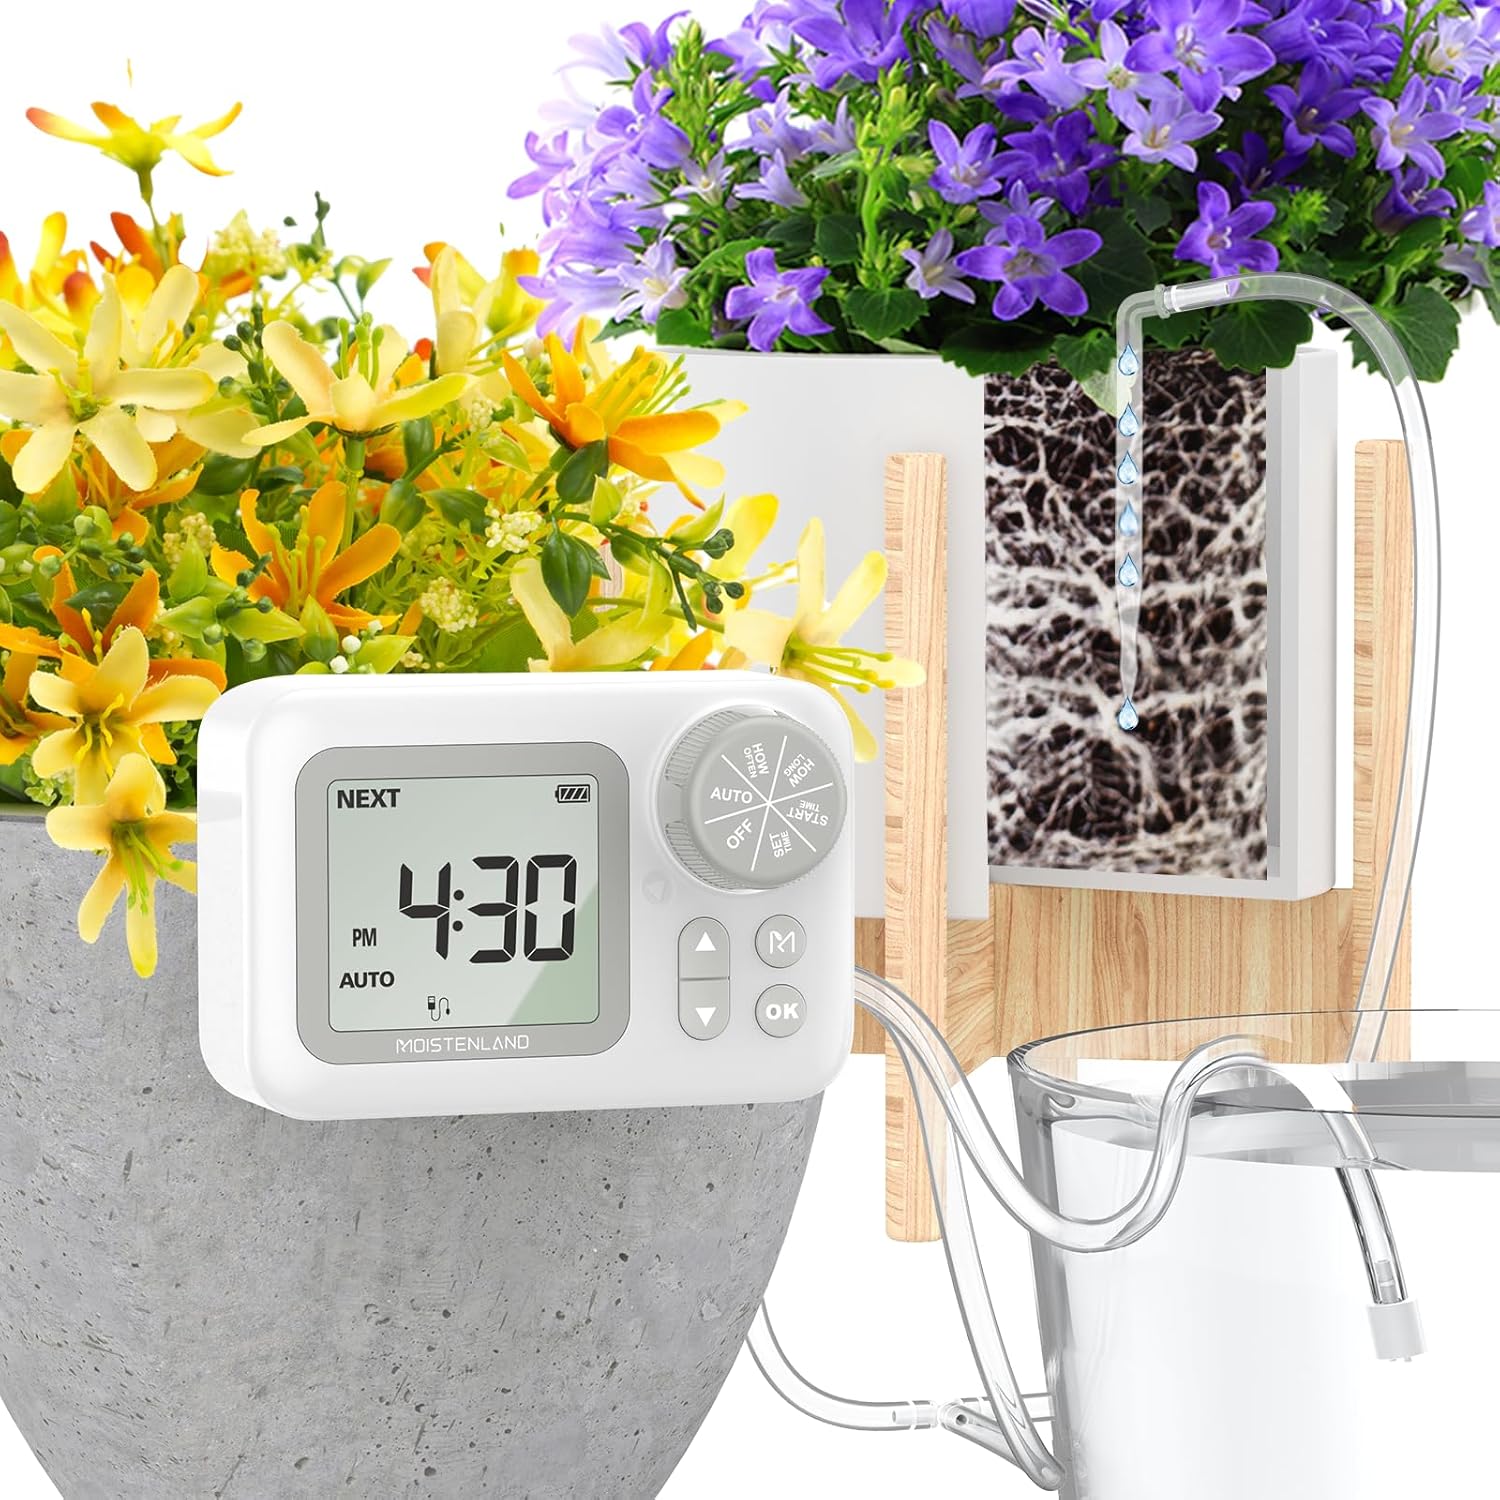
Figure 1: Moistenland Automatic Drip Irrigation Kit in use with potted plants.
What's in the Box
Your Moistenland Automatic Drip Irrigation Kit includes the following components:
- Drip Irrigation Kits (main unit, tubing, drippers, connectors)

Figure 2: Overview of the kit components, including the timer unit, tubing, and various connectors.
Specifications
| Feature | Detail |
|---|---|
| Brand | moistenland |
| Model Name | WPS015 |
| Material | Plastic |
| Item Weight | 0.65 Kilograms (1.43 Pounds) |
| Power Source | USB (DC 5V 1A) or Batteries (not included) |
| Display | 2.6 Inch LCD |
| Watering Capacity | Supports up to 15 potted indoor houseplants |
Setup
Follow these steps for a quick and easy installation of your drip irrigation system:
- Prepare the Unit: Insert 4 AA batteries (not included) into the battery compartment or connect the unit via the USB port (DC 5V 1A).
- Connect Tubing: Connect the provided tubing to the IN/OUT ports of the main unit. Ensure a secure fit.
- Cut Tubing to Length: Measure and cut the tubing to the desired lengths for each plant, allowing enough slack for placement.
- Attach Drippers/Stakes: Attach the watering stakes (drippers) to the ends of the tubing. These stakes will be inserted into the soil of your plants.
- Position Water Source: Place your water reservoir (e.g., a bucket or container) below the level of all potted plants to prevent the siphon effect. Alternatively, if you have ground potted plants, ensure the first dripper of the outline is higher than the water source level.
- Arrange Layout: Use the provided T-connectors and cross-connectors to create a customized layout for watering multiple plants. The system supports up to 15 pots. The length of tubing from the water source to the device's inlet should not exceed 1.5 meters. If the outlet tube is a straight line, the length from the first dripper to the last should not exceed 8 meters.
- Insert Drippers: Insert the watering stakes into the soil of each potted plant. For larger plants, consider inserting at least two drippers to ensure adequate watering.

Figure 3: Layout examples for connecting multiple plants.

Figure 4: Important tip on preventing the siphon effect.
Video 1: Official Moistenland video demonstrating the setup of the Indoor Drip Irrigation System.
Operating Instructions
The digital programmable water timer allows for precise control over your plant's watering schedule.

Figure 5: Timer unit with labeled components for setting schedules.
- Set Current Time (SET CLOCK): Rotate the knob to "SET CLOCK". Use the arrow buttons to adjust the current time (hour and minute), then press OK to confirm.
- Set Start Time (START): Rotate the knob to "START". Adjust the desired watering start time using the arrow buttons, then press OK.
- Set Watering Duration (HOW LONG): Rotate the knob to "HOW LONG". Use the arrow buttons to set the duration of each watering cycle (e.g., minutes, seconds). Press OK to confirm. The system supports up to 30 minutes duration.
- Set Watering Frequency (HOW OFTEN): Rotate the knob to "HOW OFTEN". Use the arrow buttons to set how often the system waters (e.g., every 12 hours, every 2 days). Press OK to confirm. The system supports up to 7 days frequency.
- Activate Automatic Mode (AUTO): Once all settings are configured, rotate the knob to "AUTO". The system will now operate according to your programmed schedule.
- Manual Watering: To manually water your plants outside of the schedule, press the 'M' button. This will initiate a watering cycle without affecting your programmed settings.
- Turn Off (OFF): To temporarily stop all watering, rotate the knob to "OFF".

Figure 6: Example of setting a watering schedule.
Maintenance
Regular maintenance ensures the longevity and optimal performance of your irrigation kit.
- Refill Water Reservoir: Remember to refill the water in the reservoir when it runs out to ensure continuous watering for your plants.
- Clean Filter: If the water flow becomes weak or stops, the internal filter may be clogged. Disassemble the filter and clean it thoroughly.
Video 2: Instructions on how to disassemble and clean a clogged filter.
Troubleshooting
Common issues and their solutions:
- Water keeps leaking from the dripper when the timer is stopped (Siphon Effect):
This occurs if the water source level is higher than the potted plants. Ensure the water source level is below all potted plants, or that the first dripper in the line is higher than the water source level.
- No water flow or weak flow:
Check if the water reservoir is empty and refill it. Inspect the filter for clogs and clean it as described in the Maintenance section. Ensure all tubing connections are secure and free from kinks.
- Timer not responding:
Check the battery level and replace batteries if necessary. Ensure the unit is properly powered via USB if not using batteries.
Warranty & Support
For warranty information or technical support, please refer to the product packaging or contact Moistenland customer service directly. Keep your purchase receipt for any warranty claims.