Introduction
This manual provides instructions for the safe and proper use of the ESXSWYDR BLX-A 5x20mm Fuse Holder. This product is designed to securely hold 5x20mm glass or ceramic fuses, providing protection for electrical circuits.
Package Contents:
- 10x BLX-A 5x20mm Fuse Holders (Fuses are NOT included)
Safety Information
Important Safety Instructions
- Always disconnect power before installing or replacing fuses or fuse holders.
- Use only fuses of the correct type and rating (5x20mm glass or ceramic) for your application.
- Do not exceed the maximum current rating of the fuse holder (e.g., 10A for the specified model).
- If you are unsure about electrical work, consult a qualified electrician.
- Keep out of reach of children.
Product Overview
Components
The BLX-A 5x20mm fuse holder consists of a main body and a screw-on cap. It is designed for panel mounting.
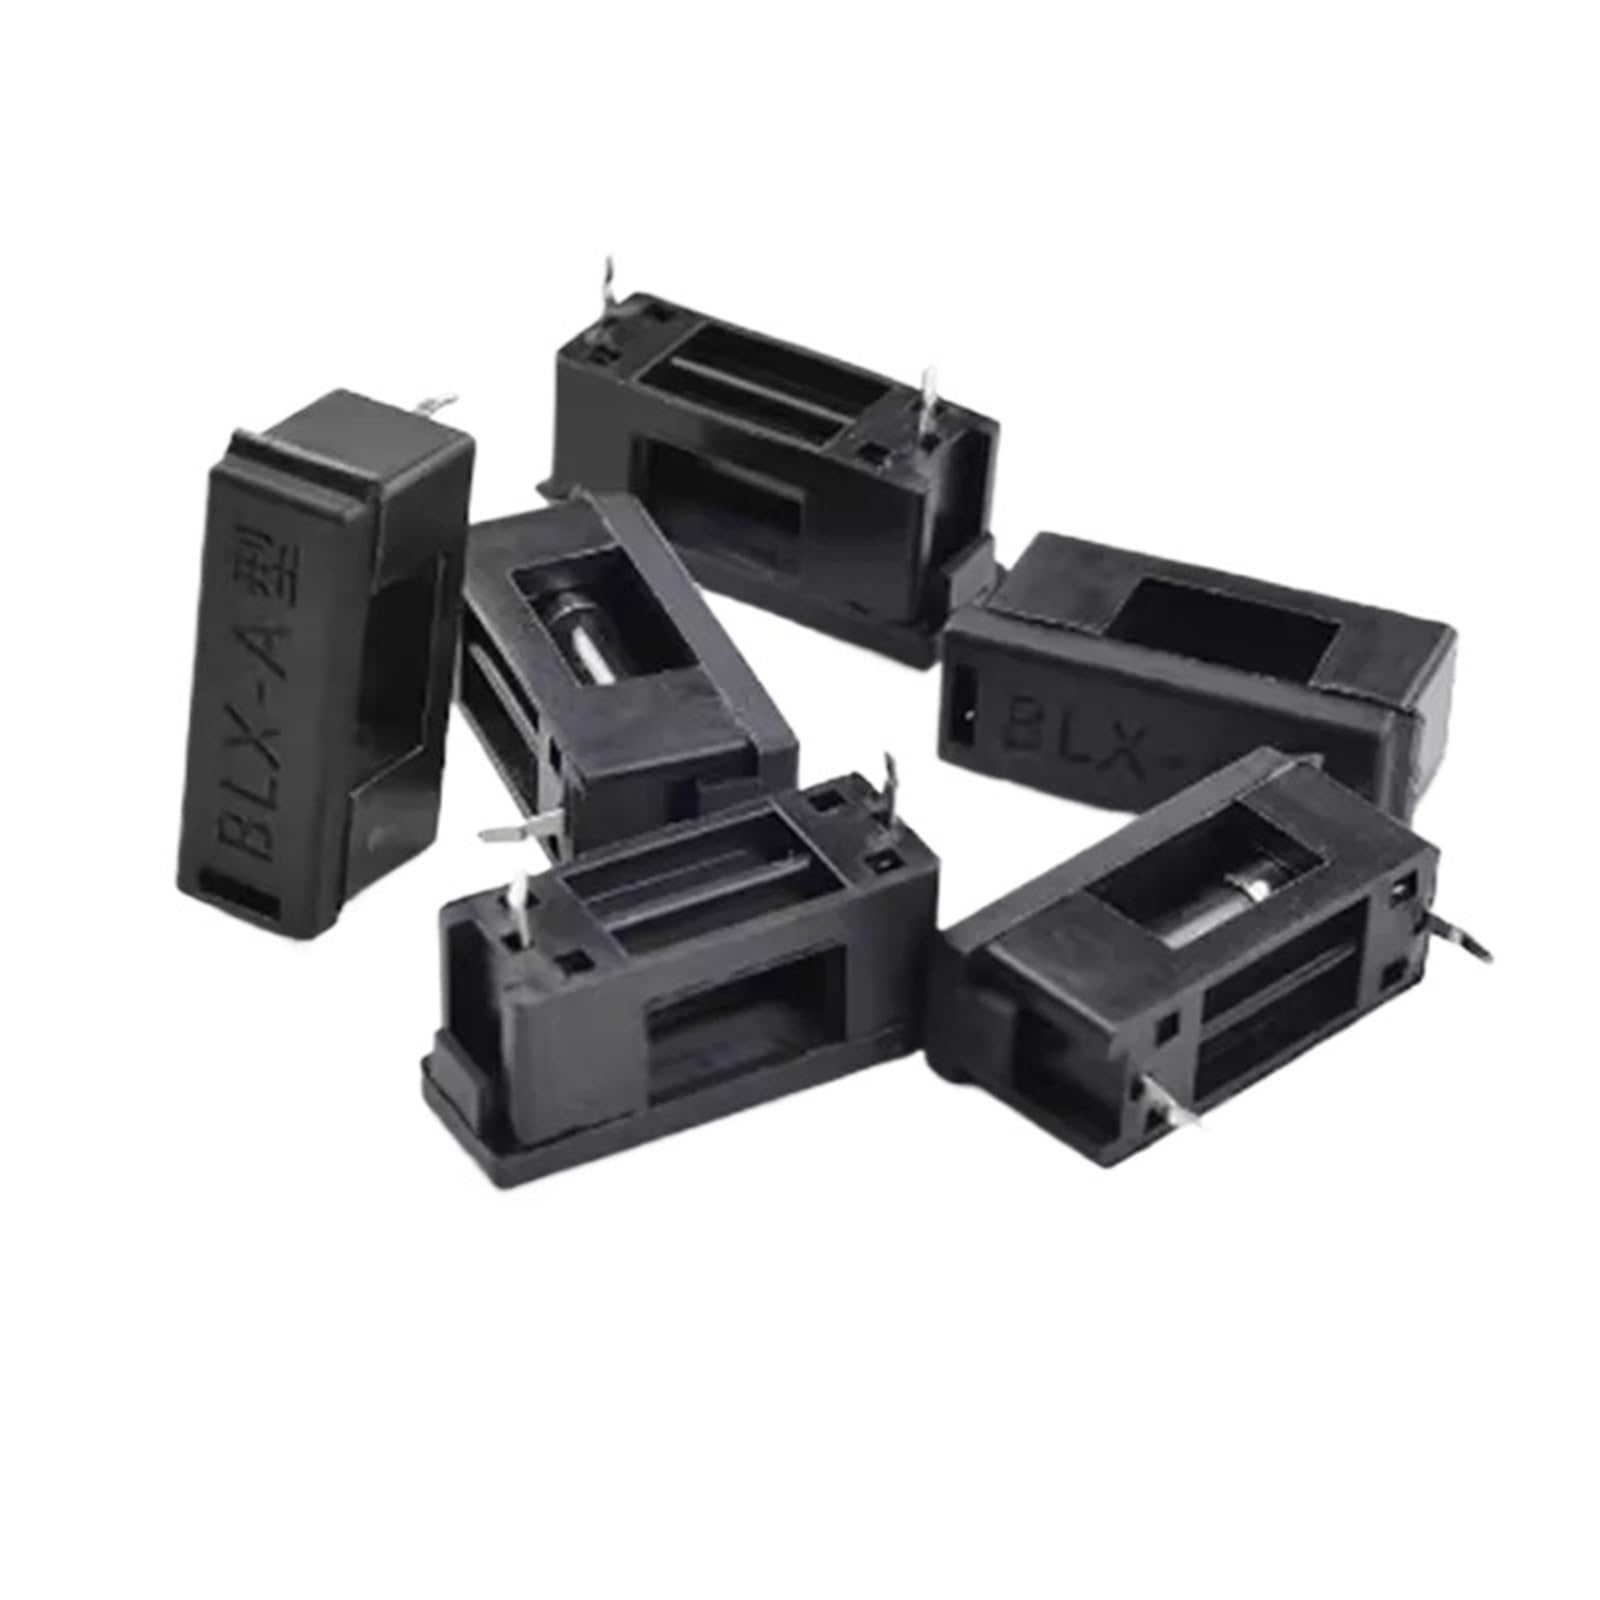
Image: A black BLX-A 5x20mm fuse holder, showing the main body and the screw-on cap. This particular model is designed to hold a 5x20mm fuse (fuse not included).
Setup and Installation
Installation Steps
- Power Disconnection: Ensure the power supply to the circuit is completely disconnected before beginning installation.
- Panel Mounting: Drill an appropriately sized hole in your panel for the fuse holder body. Insert the fuse holder body through the hole.
- Secure Mounting: Use the provided nut (if applicable, or secure mechanism) to fasten the fuse holder body firmly to the panel.
- Wiring: Connect the circuit wires to the terminals of the fuse holder. Ensure connections are secure and properly insulated.
- Fuse Insertion: Unscrew the cap of the fuse holder. Insert a compatible 5x20mm glass or ceramic fuse into the cap.
- Secure Cap: Screw the cap with the fuse firmly back onto the fuse holder body.
- Power Reconnection: Once installation is complete and all connections are secure, reconnect the power supply.
Operating Instructions
Normal Operation
The fuse holder is a passive component designed to protect your circuit. When a fuse is correctly installed, the circuit will operate normally.
Fuse Replacement
- Disconnect Power: Always disconnect the power supply to the circuit before attempting to replace a fuse.
- Unscrew Cap: Carefully unscrew the cap of the fuse holder. The blown fuse will typically be housed within the cap.
- Remove Blown Fuse: Remove the old, blown fuse from the cap.
- Insert New Fuse: Insert a new 5x20mm fuse of the correct amperage rating into the cap. Using an incorrect fuse rating can lead to damage or fire.
- Secure Cap: Screw the cap with the new fuse firmly back onto the fuse holder body.
- Reconnect Power: Reconnect the power supply to the circuit.
Maintenance
General Maintenance
- Periodically inspect the fuse holders for any signs of physical damage, corrosion, or loose connections.
- Ensure the caps are screwed on tightly to maintain proper contact and protection.
- Clean the exterior of the fuse holder with a dry, soft cloth if necessary. Do not use liquids or abrasive cleaners.
Troubleshooting
Common Issues
| Problem | Possible Cause | Solution |
|---|---|---|
| Circuit not receiving power | Blown fuse | Replace the fuse with one of the correct rating. Investigate the cause of the fuse blowing (e.g., short circuit, overload). |
| Fuse holder feels hot | Loose connection or excessive current | Disconnect power, check all connections for tightness. Ensure the fuse rating is appropriate for the circuit load. If the problem persists, consult a professional. |
Specifications
Product Specifications
- Model: BLX-A 5x20mm
- Fuse Type: Compatible with 5x20mm glass or ceramic fuses
- Current Rating: Up to 10A (for this specific variant, other variants may differ)
- Material: Black plastic body
- Mounting: Panel Mount
- Quantity: 10 pieces per pack (for this specific product listing)
- Brand: ESXSWYDR
- ASIN: B0D8LGD5KD
Warranty and Support
Warranty Information
Specific warranty details are not provided with this product. Please refer to the retailer's return policy or contact the manufacturer, ESXSWYDR, for further information regarding warranty and support.
Customer Support
For technical assistance or inquiries, please contact your point of purchase or the manufacturer directly.