1. Safety Information
Please read all safety instructions carefully before using the digital picture frame. Keep this manual for future reference.
- Do not expose the device to moisture, rain, or extreme temperatures.
- Avoid direct sunlight for prolonged periods to prevent screen damage.
- Use only the provided power adapter.
- Do not attempt to disassemble or repair the device yourself. Contact customer support for assistance.
- Keep the device away from strong magnetic fields.
2. Package Contents
Ensure all items are present in the package:
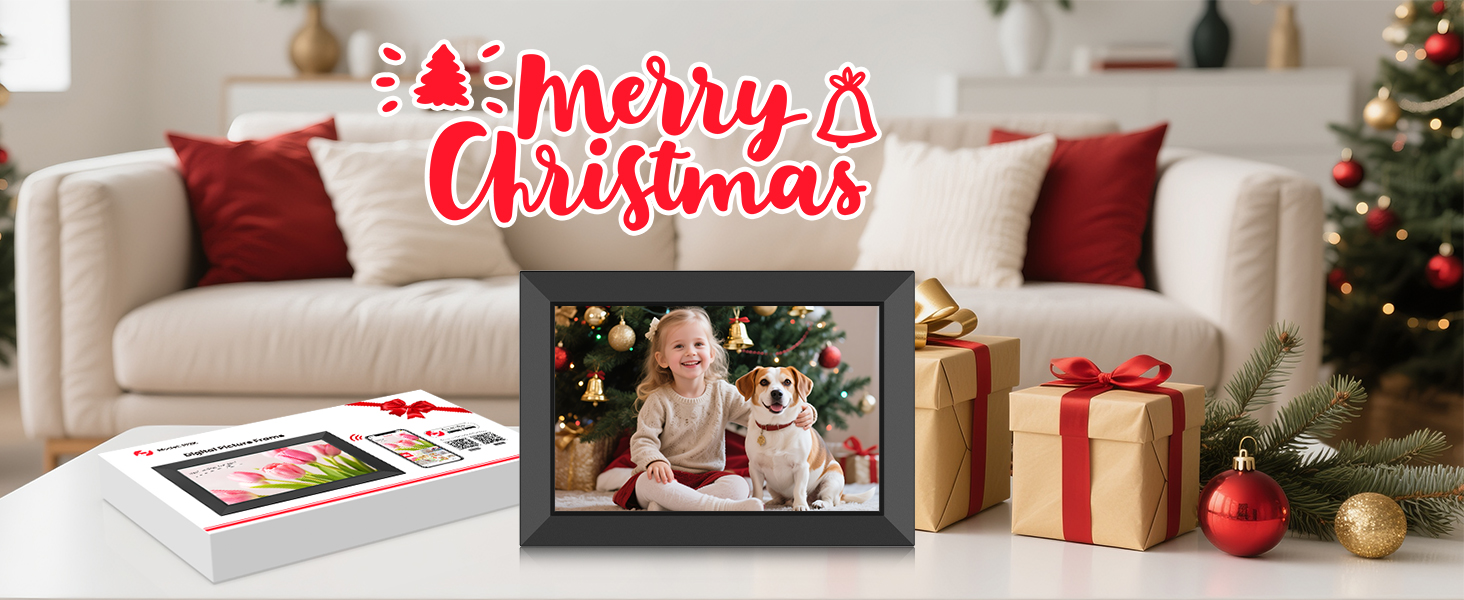
- MaxAngel Frameo 10.1 Inch WiFi Digital Picture Frame (M-102K)
- Power Adapter
- User Manual
- Frame Stand
3. Product Overview
3.1 Front View & Key Features
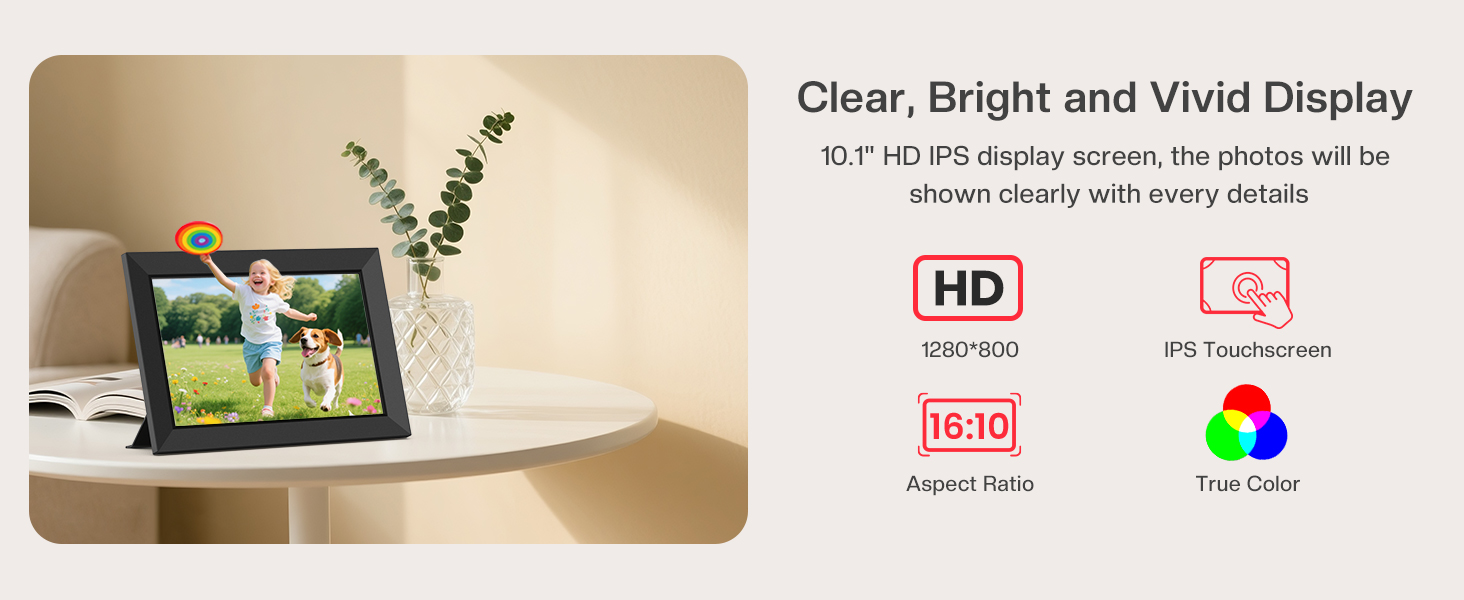
The MaxAngel Frameo digital picture frame features a 10.1-inch HD IPS touch screen for vivid photo and video display. It supports Wi-Fi connectivity for easy sharing.


3.2 Rear View & Ports
The rear of the frame includes essential ports and controls for power, external storage, and reset functions.
Ports and Buttons:
- DC Power Port: Connect the provided power adapter here. The frame requires continuous power.
- Micro USB: For connecting to a computer for data transfer (USB-A to Micro-USB cable not included).
- Micro SD: Insert a Micro SD card (up to 32GB, FAT32 format recommended) for expanded storage or direct photo/video transfer.
- Reset: A small button to reset the device if needed.
- Power Button: Located on the back for turning the device on/off or putting it to sleep.
4. Setup
4.1 Initial Power On
- Connect the power adapter to the DC Power Port on the back of the frame and plug it into a power outlet.
- The frame will automatically power on. Follow the on-screen prompts to select your preferred language.
4.2 Wi-Fi Connection
- On the setup screen, select your Wi-Fi network from the list.
- Enter your Wi-Fi password using the on-screen keyboard and tap 'Connect'.
- Once connected, the frame will display a unique Frame ID.
4.3 Frameo App Installation & Pairing
The Frameo app is essential for sending photos and videos to your digital frame.
- Download the 'Frameo' app from the App Store (iOS) or Google Play (Android) on your smartphone.
- Open the app and create an account.
- In the app, select 'Add Frame' and enter the unique Frame ID displayed on your digital picture frame.
- Your smartphone is now paired with the frame.
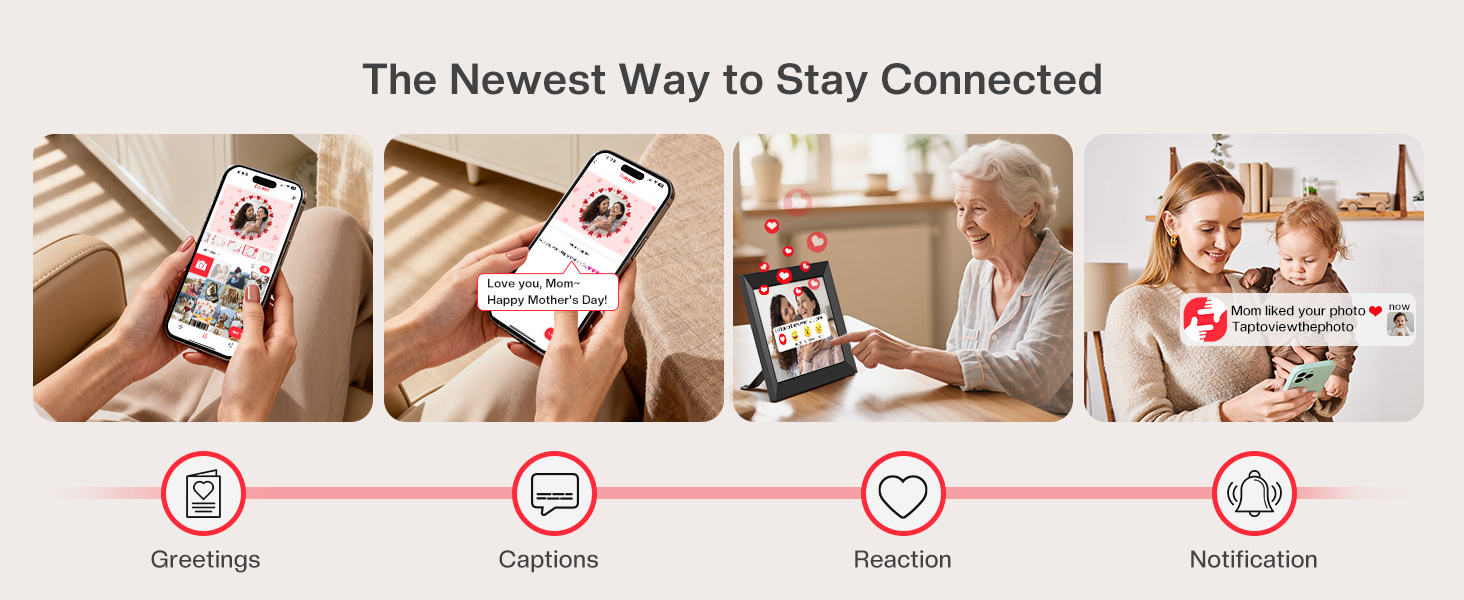
4.4 Adding Friends
You can invite friends and family to share photos directly to your frame.
- On your frame, tap the 'Add Friend' icon. A unique code will be generated.
- Share this code with your friends or family. They will need to enter this code in their Frameo app to connect to your frame.
- Once connected, they can send photos and videos to your frame from anywhere.

Video 4.1: Demonstration of sending photos to the Frameo WiFi Digital Frame, highlighting the ease of sharing moments with loved ones.
5. Operating Instructions
5.1 Sending Photos/Videos
Photos and videos can be sent to your frame using the Frameo app or via external storage.
- Via Frameo App: Select photos/videos (max 15 seconds for videos) in the app and choose your frame to send them.
- Via Micro-SD Card: Insert a FAT32 formatted Micro-SD card (up to 32GB) containing your media files into the Micro SD slot. The frame will prompt you to import.
- Via Micro USB: Connect the frame to a computer using a Micro USB cable (not included) to transfer files directly.

5.2 Managing Photos
Tap the screen to access management options:
- Album Creator: Organize photos into albums for better categorization.
- Hide: Temporarily remove a photo from the slideshow without deleting it.
- Delete: Permanently remove a photo or video from the frame.
- Adjust: Crop or rotate photos directly on the frame.

5.3 Slideshow Settings
Customize your slideshow experience through the settings menu:
- Timer: Set the duration each photo is displayed.
- Photo Display Order: Choose between chronological or random playback.
- Slideshow Widgets: Enable or disable captions, profile photos, clock, and weather display.
- Video Playback: Adjust video volume and playback settings.
5.4 Live Reactions
Send emojis to friends and family who have shared photos to your frame, fostering interactive sharing.
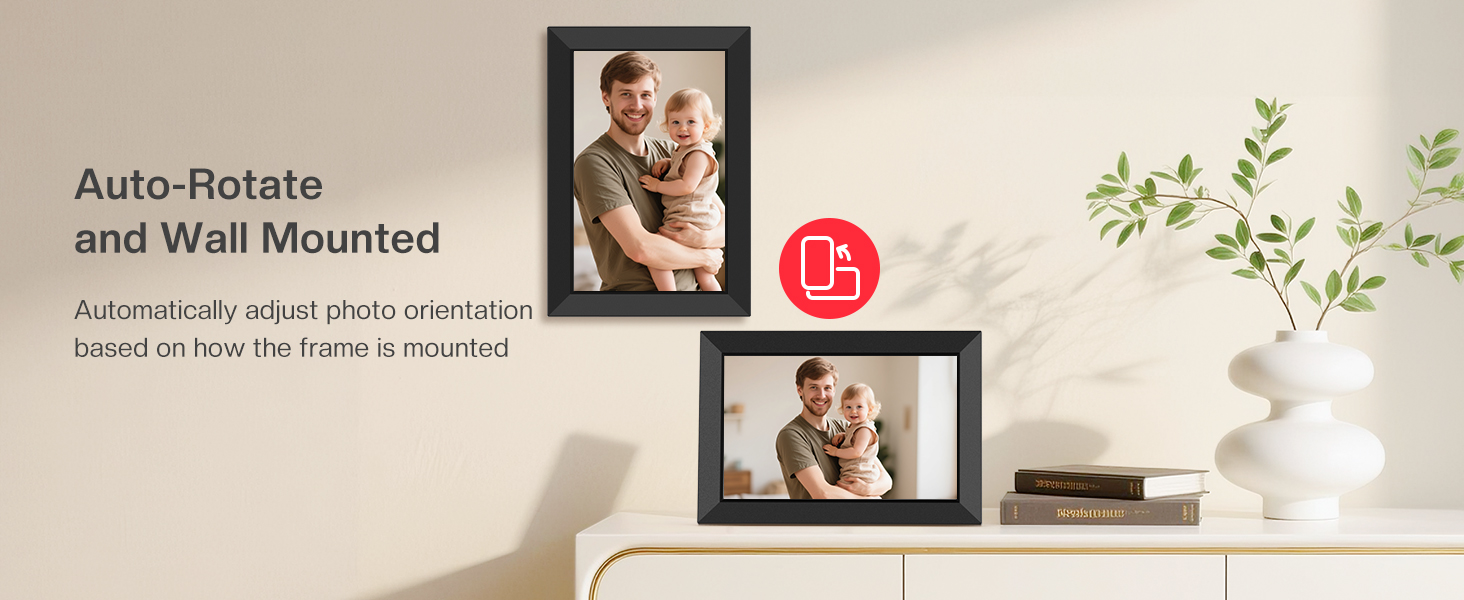
5.5 Auto-Rotate & Placement
The frame automatically adjusts photo orientation based on its physical position (portrait or landscape). It can be placed on a desk using the stand or wall-mounted.
5.6 Sleep Mode
Configure a power-saving sleep schedule. The screen will automatically turn off and on at your set times.

6. Maintenance
6.1 Cleaning
- Gently wipe the screen with a soft, lint-free cloth.
- Do not use abrasive cleaners or solvents.
6.2 Backup & Restore
Regularly back up your photos and settings to a Micro SD card to prevent data loss. The frame's settings menu provides options for backup and restore.
6.3 Micro-SD Card Formatting
For optimal compatibility, format Micro SD cards (up to 32GB) to 'FAT32' before use. Larger capacity cards (64GB, 128GB) may not function correctly.
7. Troubleshooting
| Issue | Possible Solution |
|---|---|
| Frame not powering on | Ensure the power adapter is securely connected to the frame and a working power outlet. |
| Cannot connect to Wi-Fi | Verify Wi-Fi password, ensure the frame is within range of the router, or try restarting the router. |
| Photos not appearing on frame | Check if photos were successfully sent via the app. Ensure Micro SD card is correctly inserted and formatted (FAT32). |
| Screen unresponsive | Try restarting the frame by unplugging and re-plugging the power adapter. If unresponsive, use the reset button. |
| Videos not playing or corrupted | Ensure videos sent via app are max 15 seconds. For Micro SD, check file format compatibility. |
8. Specifications
| Feature | Detail |
|---|---|
| Model Number | M-102K |
| Screen Size | 10.1 Inches |
| Resolution | 1280x800 HD |
| Display Type | IPS Touch Screen |
| Internal Storage | 32GB (holds 80,000+ photos) |
| External Storage | Micro SD card (up to 32GB, FAT32 format) |
| Connectivity | Wi-Fi |
| Product Dimensions | 10.5 x 7.2 x 0.99 inches |
| Item Weight | 1.72 pounds |
| Color | Black |
9. Warranty & Support
MaxAngel offers comprehensive support for your digital picture frame:
- 365-Day Warranty: Enjoy worry-free ownership with replacements for any quality issues within 1 year.
- Lifetime Technical Support: Access lifetime technical assistance for any product-related inquiries.
- Customer Service: Our dedicated after-sales team responds within 24 hours to any concerns via Amazon Message or email.
Video 9.1: An unboxing and overview of the 10.1" WiFi Digital Frame, highlighting its features and suitability as a gift.