1. Introduction
Welcome to your new FUKUMARU Automatic Pet Food Dispenser. This device is designed to provide scheduled and portion-controlled meals for your pets, ensuring a consistent feeding routine. Please read this manual thoroughly before operating the dispenser to ensure proper use and maintenance.
2. Important Safety Information
To prevent injury or damage, please observe the following safety precautions:
- Do not immerse the main unit in water or any other liquid.
- This appliance is for indoor use only.
- Keep out of reach of children and pets when not in use or during cleaning.
- Use only dry pet food with a diameter between 5-15mm.
- Ensure the power adapter is securely connected and the battery compartment is closed.
- Do not attempt to disassemble or repair the unit yourself. Contact customer support if issues arise.
- Dispose of batteries responsibly according to local regulations.
3. Package Contents
Please check that all items are present in the package:
- FUKUMARU Automatic Pet Food Dispenser Main Unit
- 2 x Stainless Steel Bowls
- USB Power Adapter
- USB Cable
- User Manual (this document)
- Dehydrating Bag (pre-installed or separate)
4. Product Overview
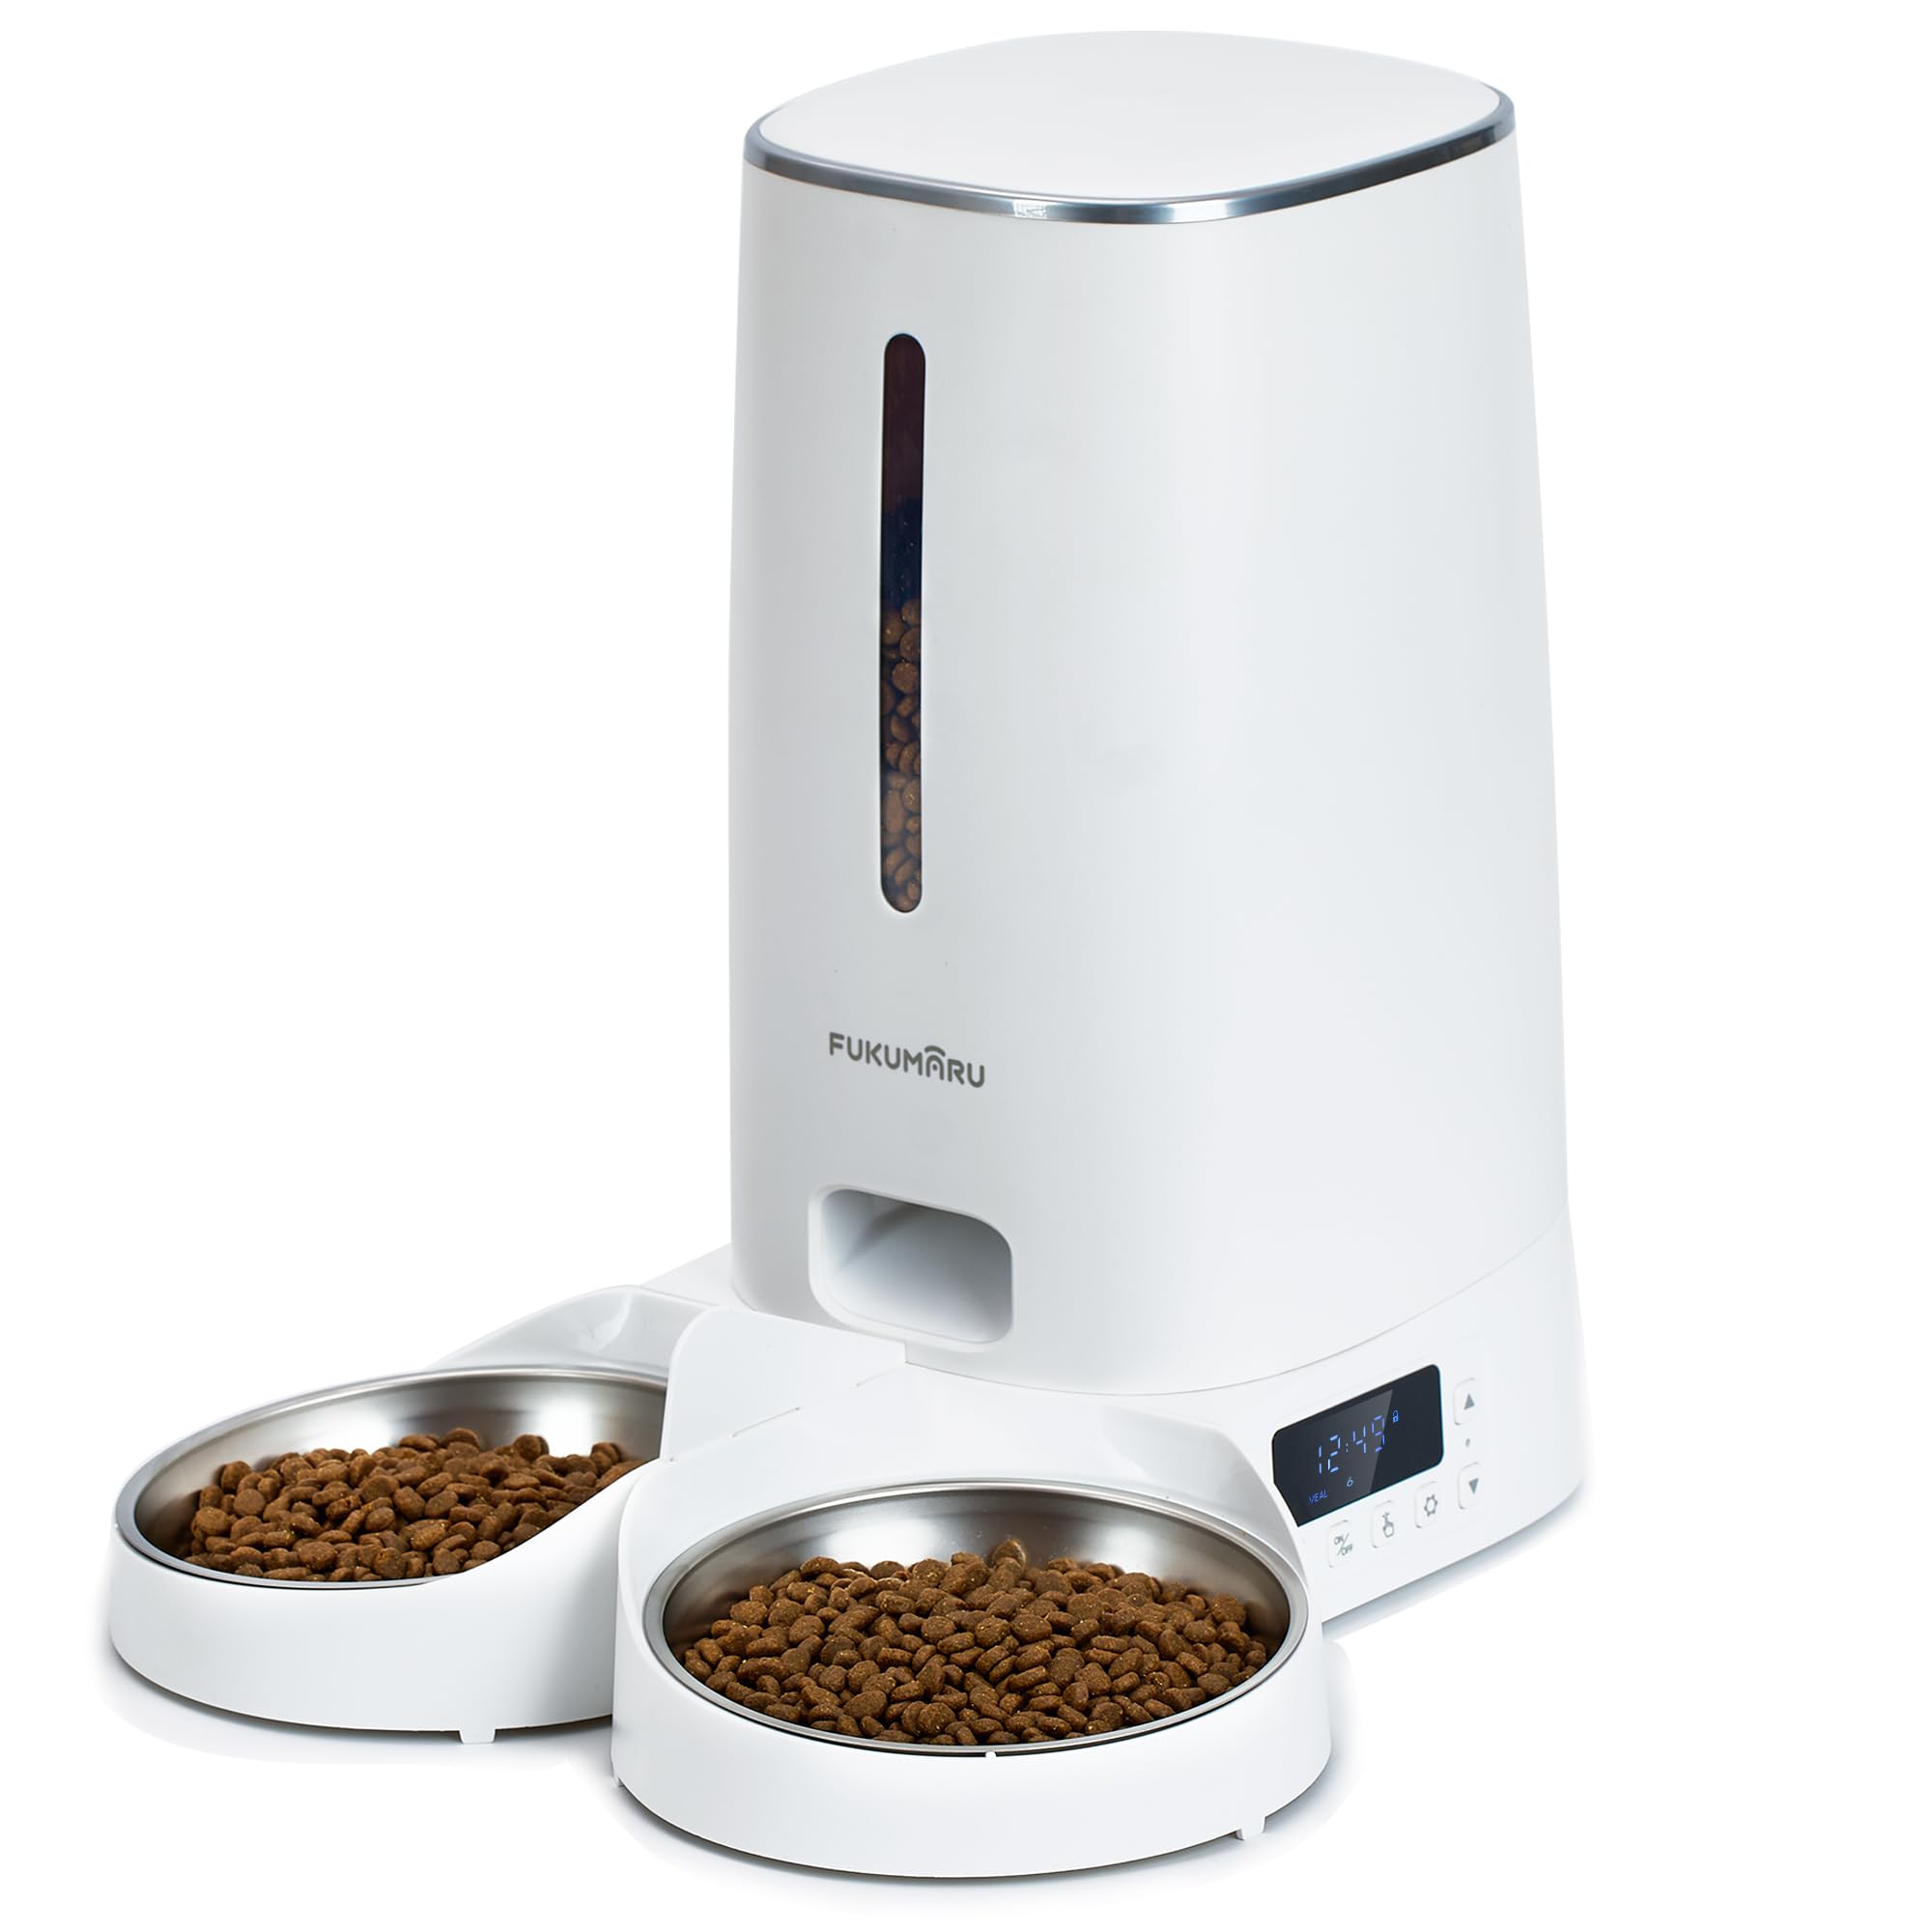
Image: FUKUMARU Automatic Pet Food Dispenser, showing the main unit, food container, control panel, and dual stainless steel bowls.
The FUKUMARU Automatic Pet Food Dispenser consists of several key components:
- Food Container: 4L capacity for dry pet food.
- Lid: Secures the food container and helps keep food fresh.
- Control Panel/LCD Screen: For programming meal times and portions.
- Food Outlet: Where food is dispensed.
- Base Unit: Houses the motor, electronics, and battery compartment.
- Stainless Steel Bowls: Two removable bowls for feeding multiple pets simultaneously.
- Rotor: Internal mechanism that dispenses food.
- Dehydrating Bag Compartment: Located under the lid, helps keep food fresh.
5. Setup
5.1 Power Supply
- USB Power: Connect the USB cable to the dispenser's power port and then to the USB power adapter. Plug the adapter into a standard wall outlet.
- Battery Backup: For uninterrupted operation during power outages, install 4 AA batteries (not included) into the battery compartment located at the bottom of the unit. Ensure correct polarity.
- It is recommended to use both power sources for reliability.
5.2 Assembly
- Place the main unit on a flat, stable surface.
- Insert the two stainless steel bowls into their designated slots on the base unit.
- Ensure the food container is securely seated on the base.
- Check that the dehydrating bag is correctly placed in its compartment under the lid.
- Close the lid securely.
5.3 Filling the Food Container
- Open the lid of the food container.
- Pour dry pet food into the container. Do not overfill. The maximum capacity is 4 liters (approximately 2kg of dry food).
- Close the lid firmly to maintain food freshness.
6. Operating Instructions
6.1 Control Panel Overview
The intuitive LCD screen and buttons allow for easy programming. Refer to the icons on the control panel for specific functions (e.g., Set, Up, Down, Manual Feed).
6.2 Setting Meal Times and Portions
The dispenser allows you to program up to 6 meals per day, with 0 to 60 servings per meal.
- Press the "Set" button to enter programming mode.
- Use the "Up" and "Down" buttons to adjust the current time. Press "Set" to confirm.
- Continue pressing "Set" to cycle through meal settings (Meal 1, Meal 2, etc.).
- For each meal, set the desired feeding time using "Up" and "Down" buttons, then press "Set".
- Next, set the number of servings (portions) for that meal using "Up" and "Down" buttons (0-60 servings). Press "Set" to confirm.
- Repeat for all desired meals. If a meal is not needed, set its servings to 0.
- Exit programming mode by holding the "Set" button or waiting for the screen to time out.
Note: The number of kibbles per serving may vary slightly depending on food size and density. Monitor your pet's intake and adjust servings as needed.
6.3 Manual Feeding
To dispense food instantly, press the "Manual Feed" button. Each press will dispense one serving. Hold the button for continuous feeding.
6.4 Dual Feeding Feature
The dispenser is designed with a dual-outlet system to evenly distribute food into the two stainless steel bowls, allowing two pets to eat simultaneously without conflict.
6.5 Smart App Connectivity (Optional)
This model supports WiFi connectivity and may offer smart app control for enhanced scheduling and monitoring features. Refer to the separate app instructions or product packaging for details on downloading and connecting the FUKUMARU app to your device.
7. Maintenance and Cleaning
Regular cleaning ensures hygiene and extends the life of your dispenser.
7.1 Disassembly for Cleaning
- Unplug the power adapter and remove batteries if installed.
- Remove any remaining food from the container.
- Rotate the button at the bottom of the automatic cat food dispenser to unlock and separate the food container from the base unit.
- Remove the stainless steel bowls.
- The rotor inside the food outlet can also be removed for thorough cleaning.
7.2 Cleaning Instructions
- Stainless Steel Bowls, Food Container, Lid, and Rotor: Wash with mild soap and water. Rinse thoroughly and dry completely before reassembly. These parts are removable and washable.
- Base Unit: Wipe the exterior with a soft, damp cloth. Do not submerge the base unit in water. Ensure no water enters the electronic components.
- Ensure all parts are completely dry before reassembling and adding food.
7.3 Dehydrating Bag Replacement
The dehydrating bag helps keep food fresh. Replace it every 1-3 months, or as needed, depending on humidity levels. New dehydrating bags can be purchased separately.
8. Troubleshooting
If you encounter issues with your dispenser, please refer to the following common problems and solutions:
| Problem | Possible Cause | Solution |
|---|---|---|
| Dispenser not powering on | No power from USB adapter; Batteries depleted or incorrectly installed. | Check USB connection and wall outlet. Replace or correctly install AA batteries. |
| Food not dispensing | Food container empty; Food jammed in outlet; Rotor blocked; Incorrect programming. | Refill food container. Clear any blockages in the food outlet/rotor. Verify meal settings. |
| Inconsistent portion sizes | Food kibble size/shape variation; Rotor mechanism obstruction. | Ensure food is within recommended size (5-15mm). Clean the rotor and food path. Adjust serving size if necessary. |
| Food spills from bowls | Bowls not properly seated; Overfilling. | Ensure bowls are securely in place. Reduce serving size if food overflows. |
| LCD screen not responding | Power issue; System error. | Check power supply. Try disconnecting and reconnecting power. If issue persists, contact support. |
9. Specifications
| Model Number | PTM-103-EU |
| Brand | FUKUMARU |
| Capacity | 4 Liters (approx. 2kg dry food) |
| Product Dimensions | 19.49 x 19.5 x 35 cm |
| Item Weight | 1.88 kg |
| Material | Acrylonitrile Butadiene Styrene, Stainless Steel |
| Power Supply | USB Power Adapter (included), 4 x AA Batteries (not included) |
| Max Meals per Day | 6 |
| Max Servings per Meal | 60 |
| Connectivity | WiFi (for Smart App features) |
| Target Species | Cats, Dogs |
10. Warranty and Support
FUKUMARU products are manufactured to high-quality standards. For warranty information, technical support, or customer service inquiries, please refer to the contact details provided on your product packaging or visit the official FUKUMARU website. Please have your model number (PTM-103-EU) and purchase information ready when contacting support.