1. Introduction
Thank you for choosing the XUANZIT Digital Wall Clock. This clock features a large LED display, showing time, date, day of the week, and indoor temperature. It includes an auto-brightness function for comfortable viewing and a low-reflectivity surface. This manual provides essential information for proper installation, operation, and maintenance.
Important Note: This is a plug-in LED wall clock and is not battery-operated for its primary function. Batteries are for memory backup only.

Image 1.1: XUANZIT Digital Wall Clock (Green Display)
2. Package Contents
Please check the package for the following items:
- Digital Wall Clock (8.0-inch)
- USB Power Cable (Length: 10Ft)
- USB Power Adapter (Output: DC 5V/1A)
- Adhesive Hook and Plastic Anchor with Screws
- User Manual
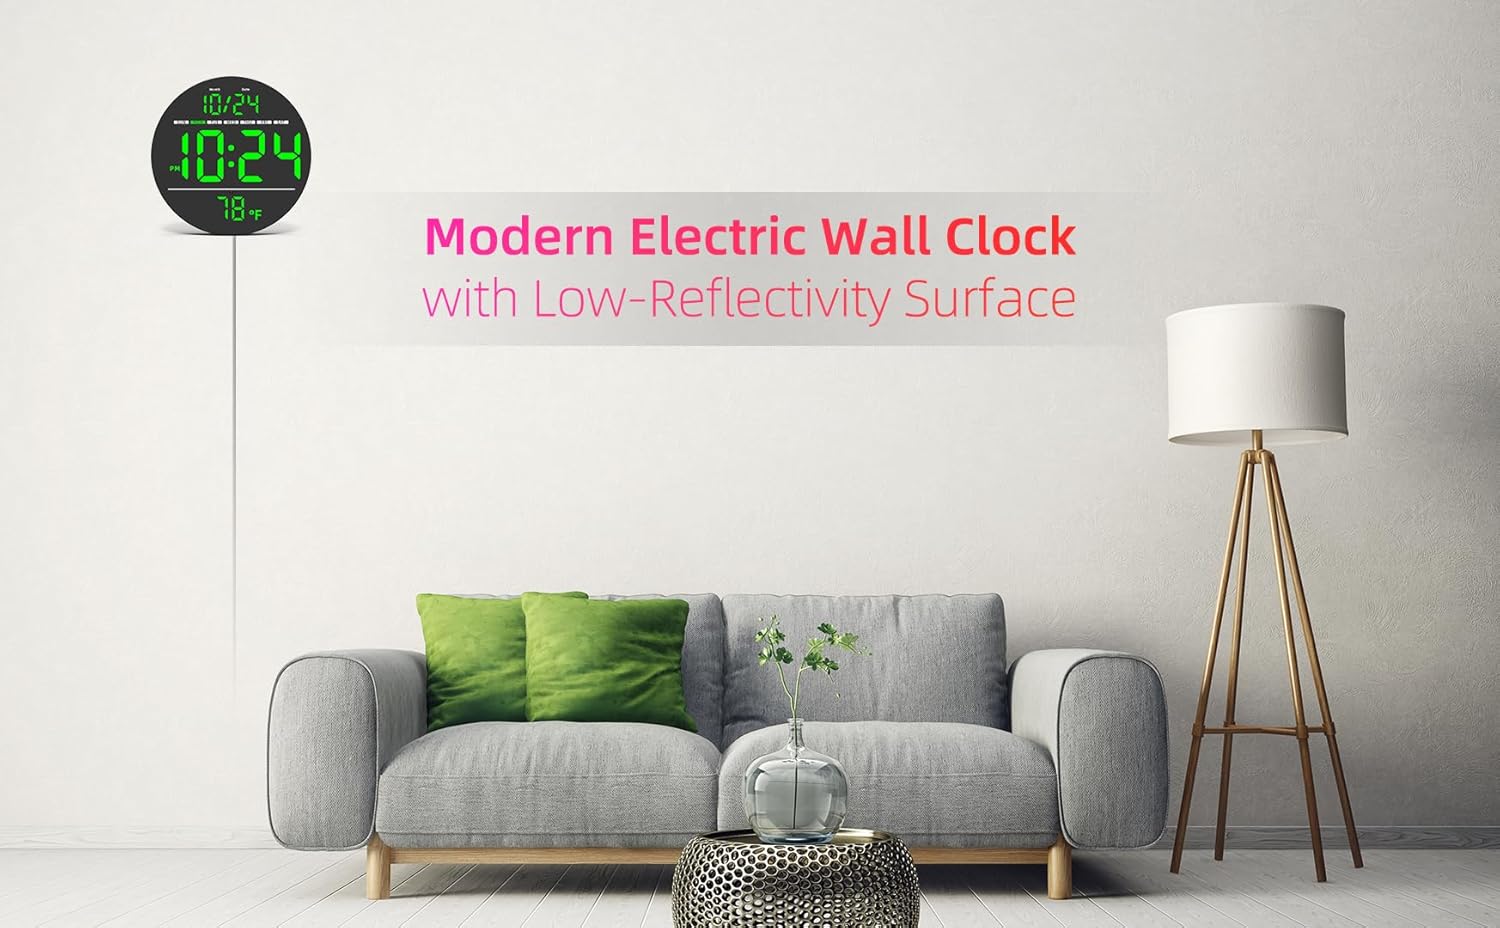
Image 2.1: Package Contents
3. Product Overview
3.1 Front Display Features

Image 3.1: Front Display Layout
- Month/Date Display: Shows the current month and day.
- Day of the Week Display: Indicates the current day (SUN, MON, TUE, WED, THU, FRI, SAT).
- Time Display: Large digits for hours and minutes.
- Temperature Display: Shows indoor temperature in °F or °C.
- Ambient Light Sensor: Automatically adjusts display brightness based on room lighting.
3.2 Back Panel Features

Image 3.2: Back Panel Controls
- Hanging Hole: For wall mounting.
- Ventilation Holes: For heat dissipation.
- Easy-Setting Buttons: Used for time and date adjustments, and format/unit switching. (Labeled 12/24 Hr Time-Set, +, -, °C/°F)
- Battery Compartment: Holds 1 x CR2032 battery for memory function during power outages.
- Concealed Power Jack: Input: DC 5V.
4. Setup
4.1 Power Connection
- Insert the small end of the USB Power Cable into the Concealed Power Jack on the back of the clock.
- Plug the USB Power Adapter into a standard electrical outlet.
- The clock display will illuminate.
Note: The clock requires continuous power via the USB cable and adapter to function. The CR2032 battery (not included) is for memory backup only, ensuring settings are retained during power interruptions.
4.2 Mounting
The clock can be wall-mounted using the provided adhesive hook or plastic anchor with screws. Choose a suitable location with access to a power outlet.
- Using Adhesive Hook: Clean the wall surface thoroughly. Peel off the protective film from the adhesive hook and firmly press it onto the desired location. Wait for a few hours for maximum adhesion before hanging the clock.
- Using Screws: Drill a small pilot hole at the desired location. Insert the plastic anchor, then screw in the screw, leaving a small portion exposed to hang the clock from the Hanging Hole.
5. Operating Instructions
5.1 Setting Time and Date
Use the buttons on the back of the clock to adjust settings.
- Press the '12/24 Hr Time-Set' button once to enter time setting mode. The hour digits will flash.
- Use the '+' and '-' buttons to adjust the hour. Press '12/24 Hr Time-Set' again to confirm and move to minute setting.
- Use the '+' and '-' buttons to adjust the minutes. Press '12/24 Hr Time-Set' again to confirm and move to year setting.
- Adjust the year, then month, then date using the '+' and '-' buttons, pressing '12/24 Hr Time-Set' after each to confirm and advance.
- After setting the date, press '12/24 Hr Time-Set' one last time to exit setting mode.
Video 5.1: Demonstration of setting the time, date, and switching formats on the XUANZIT Digital Wall Clock.
5.2 Switching 12/24 Hour Format
While in normal display mode, press the '12/24 Hr Time-Set' button briefly to toggle between 12-hour (with AM/PM indicator) and 24-hour formats.
5.3 Switching Temperature Unit
While in normal display mode, press the '°C/°F' button briefly to switch the temperature display between Celsius (°C) and Fahrenheit (°F).
5.4 Auto-Brightness Feature
The clock is equipped with an ambient light sensor that automatically adjusts the display brightness to one of three levels. This ensures optimal visibility in various lighting conditions and reduces glare in darker environments.

Image 5.2: Auto-Brightness and Format Switching
6. Maintenance
6.1 Cleaning
To clean the clock, gently wipe the display and casing with a soft, dry cloth. Avoid using abrasive cleaners, solvents, or spray cleaners directly on the clock, as these can damage the surface or internal components.
6.2 Memory Function Battery
The clock uses one CR2032 button cell battery (not included) for memory backup. This battery preserves your time and date settings during power outages. If the clock consistently loses its settings after being unplugged, the CR2032 battery may need replacement. To replace, open the battery compartment on the back of the clock, insert a new CR2032 battery with the correct polarity, and close the compartment.
7. Troubleshooting
- Clock display is off: Ensure the USB power cable is securely connected to both the clock and the power adapter, and that the adapter is plugged into a working electrical outlet.
- Time/Date is incorrect: Follow the instructions in Section 5.1 to reset the time and date. If settings are lost after a power interruption, check or replace the CR2032 memory backup battery.
- Temperature reading seems inaccurate: The built-in temperature sensor measures indoor temperature. Ensure the clock is not placed near heat sources (e.g., direct sunlight, heating vents) or cold drafts, which can affect readings. The sensor has an accuracy of ±2°F.
- Display is too bright/dim: The clock features auto-brightness. Ensure the ambient light sensor (small dot below the time display) is not obstructed. The brightness adjusts automatically based on ambient light.
8. Specifications
| Brand | XUANZIT |
| Model Number | XZT83G |
| Display Type | LED |
| Product Dimensions | 8"W x 8"H |
| Power Source | Corded Electric (DC 5V/1A) |
| Special Features | 10Ft Long USB Cable, 3-Level Auto-Brightness, 8-Inch Large LED Display, Plug-in (NOT-BATTERY-OPERATED) |
| Indoor/Outdoor Usage | Indoor |
| Material | Plastic |
| Memory Battery | 1 x CR2032 (not included) |
9. Warranty & Support
This XUANZIT Digital Wall Clock comes with a manufacturer's warranty. For specific warranty details, please refer to the documentation included with your purchase or contact XUANZIT customer support.
If you encounter any issues or have questions regarding your product, please contact our customer support team for assistance. Contact information can typically be found on the product packaging or the official XUANZIT website.