1. Important Safety Instructions
Please read all instructions carefully before using your Klarstein Ice Maker Machine. Keep this manual for future reference.
- Ensure the power supply voltage matches the rating label on the appliance.
- Do not immerse the appliance, power cord, or plug in water or other liquids.
- Unplug the appliance from the power outlet when not in use and before cleaning.
- Do not operate any appliance with a damaged cord or plug, or after the appliance malfunctions or has been damaged in any manner.
- Place the ice maker on a stable, level surface, away from direct sunlight and heat sources.
- Allow at least 10 cm (4 inches) of space around the appliance for proper ventilation.
- This appliance is not intended for use by persons (including children) with reduced physical, sensory or mental capabilities, or lack of experience and knowledge, unless they have been given supervision or instruction concerning use of the appliance by a person responsible for their safety.
- Use only potable water in the water reservoir.
2. Product Overview
Familiarize yourself with the components of your Klarstein Ice Maker Machine.

Figure 2.1: Front view of the Klarstein Ice Maker Machine with included accessories.

Figure 2.2: Interior view showing the ice basket and bullet-shaped ice cubes.
Components:
- Control Panel: Features power button, ice size selection, and indicator lights.
- Water Reservoir: Located beneath the ice basket, holds water for ice production.
- Ice Basket: Removable basket for collecting produced ice cubes.
- Ice Scoop: For convenient removal of ice cubes.
- Transparent Lid: Allows monitoring of the ice-making process.
3. Setup
Follow these steps to set up your ice maker for first use.
3.1 Unpacking
- Carefully remove the ice maker from its packaging.
- Remove all packaging materials, including any tape or protective films.
- Check for any damage during transit. If the appliance is damaged, do not use it and contact customer support.
3.2 Placement
- Place the ice maker on a firm, level, and stable surface.
- Ensure adequate ventilation by leaving at least 10 cm (4 inches) of space around the unit.
- Avoid placing the unit near heat sources (e.g., ovens, radiators) or in direct sunlight.
- Do not place the unit in an enclosed cabinet or on a soft surface where vents could be blocked.

Figure 3.1: Recommended placement and dimensions for the ice maker.
3.3 Initial Cleaning
Before first use, clean the interior of the ice maker.
- Remove the ice basket.
- Clean the interior with a soft cloth dampened with warm water and a mild detergent.
- Rinse thoroughly and wipe dry.
- Run a self-cleaning cycle (refer to Section 5.2) before making ice for consumption.
4. Operating Instructions
Follow these steps to produce ice cubes with your Klarstein Ice Maker Machine.

Figure 4.1: Quick start guide for ice production.
- Fill Water Tank: Open the lid and fill the water reservoir with potable water up to the 'MAX' fill line. Do not overfill.
- Connect Power: Plug the ice maker into a grounded electrical outlet.
- Power On: Press the 'POWER' button on the control panel to turn on the appliance.
- Select Ice Size: Press the 'SELECT' button to choose between small (S) or large (L) ice cube sizes. The corresponding indicator light will illuminate.
- Start Ice Production: The machine will automatically begin the ice-making cycle after a few seconds. The 'ICE MAKING' indicator light will be on.
- Monitor Progress: The first batch of ice cubes will be ready in approximately 7-9 minutes, depending on the selected size and ambient temperature.
- Ice Full Indicator: When the ice basket is full, the 'ICE FULL' indicator light will illuminate, and the machine will pause operation. Remove ice to resume production.
- Add Water Indicator: If the water level in the reservoir is too low, the 'ADD WATER' indicator light will illuminate, and the machine will pause. Add more water to resume.
- Turn Off: Press the 'POWER' button to turn off the ice maker when you are finished.
5. Maintenance
Regular cleaning and proper maintenance will ensure the longevity and optimal performance of your ice maker.
5.1 General Cleaning
- Always unplug the appliance before cleaning.
- Clean the exterior with a soft, damp cloth. Do not use abrasive cleaners or solvents.
- Remove the ice basket and clean it with warm, soapy water. Rinse and dry thoroughly.
- Drain any remaining water from the reservoir by removing the drain plug (usually located at the bottom or side of the unit).
- Clean the interior of the water reservoir and ice-making components with a soft cloth and a mild, food-safe cleaning solution. Rinse thoroughly with clean water.
5.2 Self-Cleaning Function
The ice maker features a self-cleaning function for convenient maintenance.
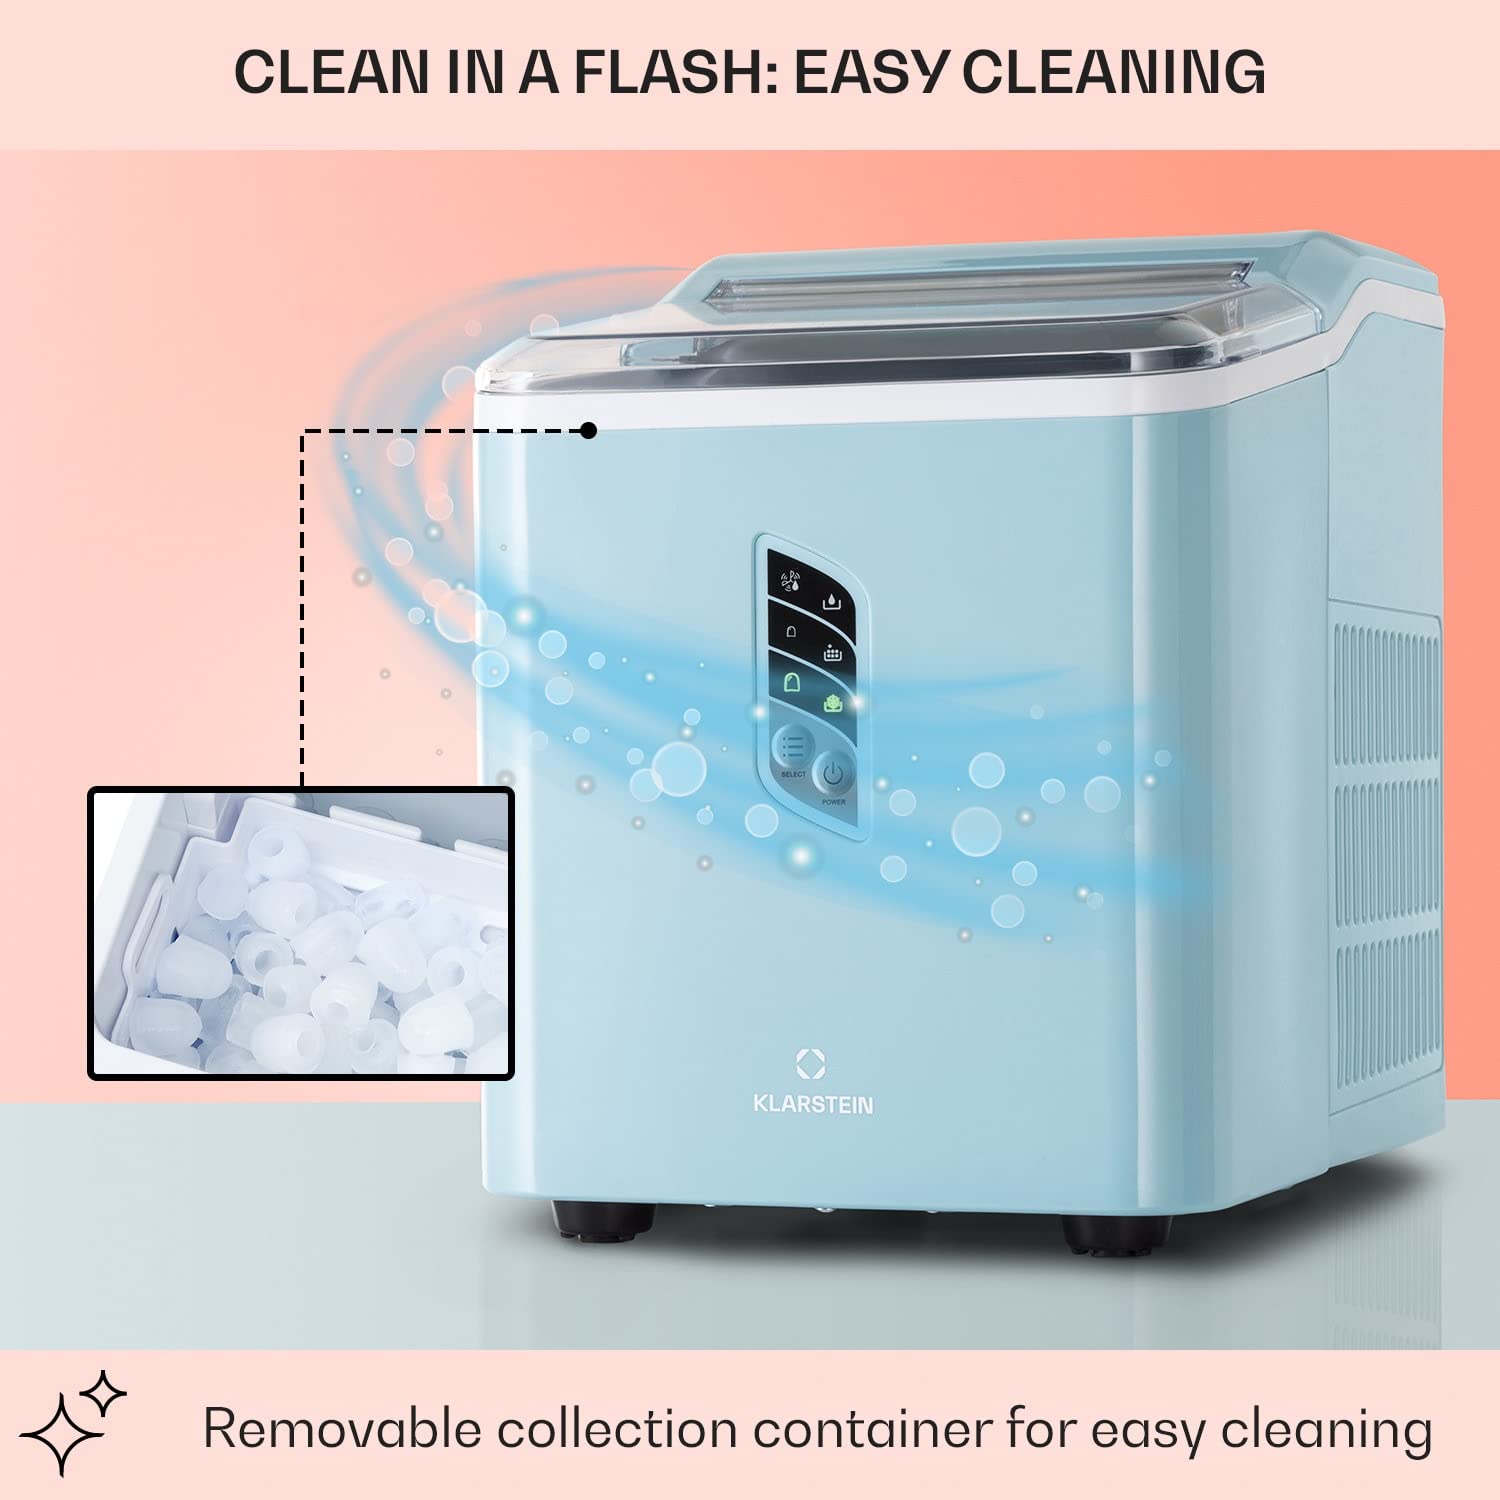
Figure 5.1: Self-cleaning function overview.
- Ensure the water reservoir is filled with clean water.
- Refer to your specific model's control panel for the self-cleaning activation method (often a long press of the 'SELECT' or 'POWER' button, or a dedicated 'CLEAN' button).
- The machine will circulate water through its system to clean internal components.
- Once the cycle is complete, drain the water from the reservoir and wipe the interior dry.
5.3 Storage
If storing the ice maker for an extended period:
- Perform a thorough cleaning and self-cleaning cycle.
- Ensure all internal components are completely dry to prevent mold or mildew growth.
- Store the appliance in a cool, dry place, away from direct sunlight.
6. Troubleshooting
Refer to this section for common issues and their solutions.
| Problem | Possible Cause | Solution |
|---|---|---|
| Ice maker not turning on | No power supply | Check if the power cord is securely plugged into a working outlet. |
| 'ADD WATER' indicator is on | Water reservoir is empty or low | Fill the water reservoir with potable water up to the 'MAX' line. |
| 'ICE FULL' indicator is on | Ice basket is full | Remove ice cubes from the basket. The machine will resume operation. |
| No ice production | Insufficient water, high ambient temperature, or air blockage | Ensure water is filled. Place the unit in a cooler environment. Check for proper ventilation. |
| Ice cubes are too small or clumpy | Water temperature too high, or first cycle | Use colder water. The first few cycles may produce smaller ice. Ensure proper ventilation. |
| Unusual noise during operation | Normal compressor operation, or unit not level | Some noise is normal. Ensure the unit is on a stable, level surface. |
7. Specifications
Technical data for the Klarstein Countertop Ice Maker Machine.
| Feature | Specification |
|---|---|
| Brand | KLARSTEIN |
| Model Name | Countertop Ice Maker |
| Product Dimensions (D x W x H) | 11.42" x 8.86" x 12.6" (29 x 22.5 x 32 cm) |
| Capacity (Water Reservoir) | 1.5 Liters |
| Ice Production Capacity | Up to 12 kg (26.5 lbs) per day |
| Ice Production Cycle | Approx. 7-9 minutes per batch |
| Wattage | 11500 watts (Note: This value seems unusually high for an ice maker and might be a data entry error. Please refer to the product label for accurate wattage.) |
| Voltage | 220 Volts |
| Item Weight | 7.6 Kilograms (16.7 lbs) |
| Refrigerant | R600a |
| Material Type | Stainless Steel |
8. Warranty and Support
For warranty information, technical support, or service inquiries, please refer to the warranty card included with your product or contact Klarstein customer service directly. Contact details can typically be found on the manufacturer's official website or on your purchase documentation.


