AMTIFO H50
AMTIFO H50 Magnetic Solar Backup Camera User Manual
Model: H50
1. Introduction
Thank you for choosing the AMTIFO H50 Magnetic Solar Backup Camera. This manual provides detailed instructions for the installation, operation, and maintenance of your new wireless backup camera system. Designed for ease of use, the H50 features a magnetic, scratch-proof mount and solar charging capabilities, making it ideal for RVs, trailers, trucks, and campers. Please read this manual thoroughly before use to ensure proper functionality and safety.
Note: This camera is specifically designed for compatibility with AMTIFO A8 and A9 systems. Please verify compatibility with your existing system before installation. If you have an A8 system, be aware there are multiple versions; contact us to confirm camera compatibility.
2. Safety Information
- Always ensure the camera is securely mounted before driving.
- Do not attempt to disassemble or modify the camera. This may void the warranty and cause damage.
- Keep the camera and its components away from extreme temperatures, direct sunlight for prolonged periods (when not in use for charging), and corrosive liquids.
- While the camera assists with backing up, always check your surroundings manually and use your mirrors. The camera is an aid, not a substitute for safe driving practices.
- Ensure the solar panel is clean and unobstructed for optimal charging performance.
3. What's in the Box
The AMTIFO H50 package includes the following components:
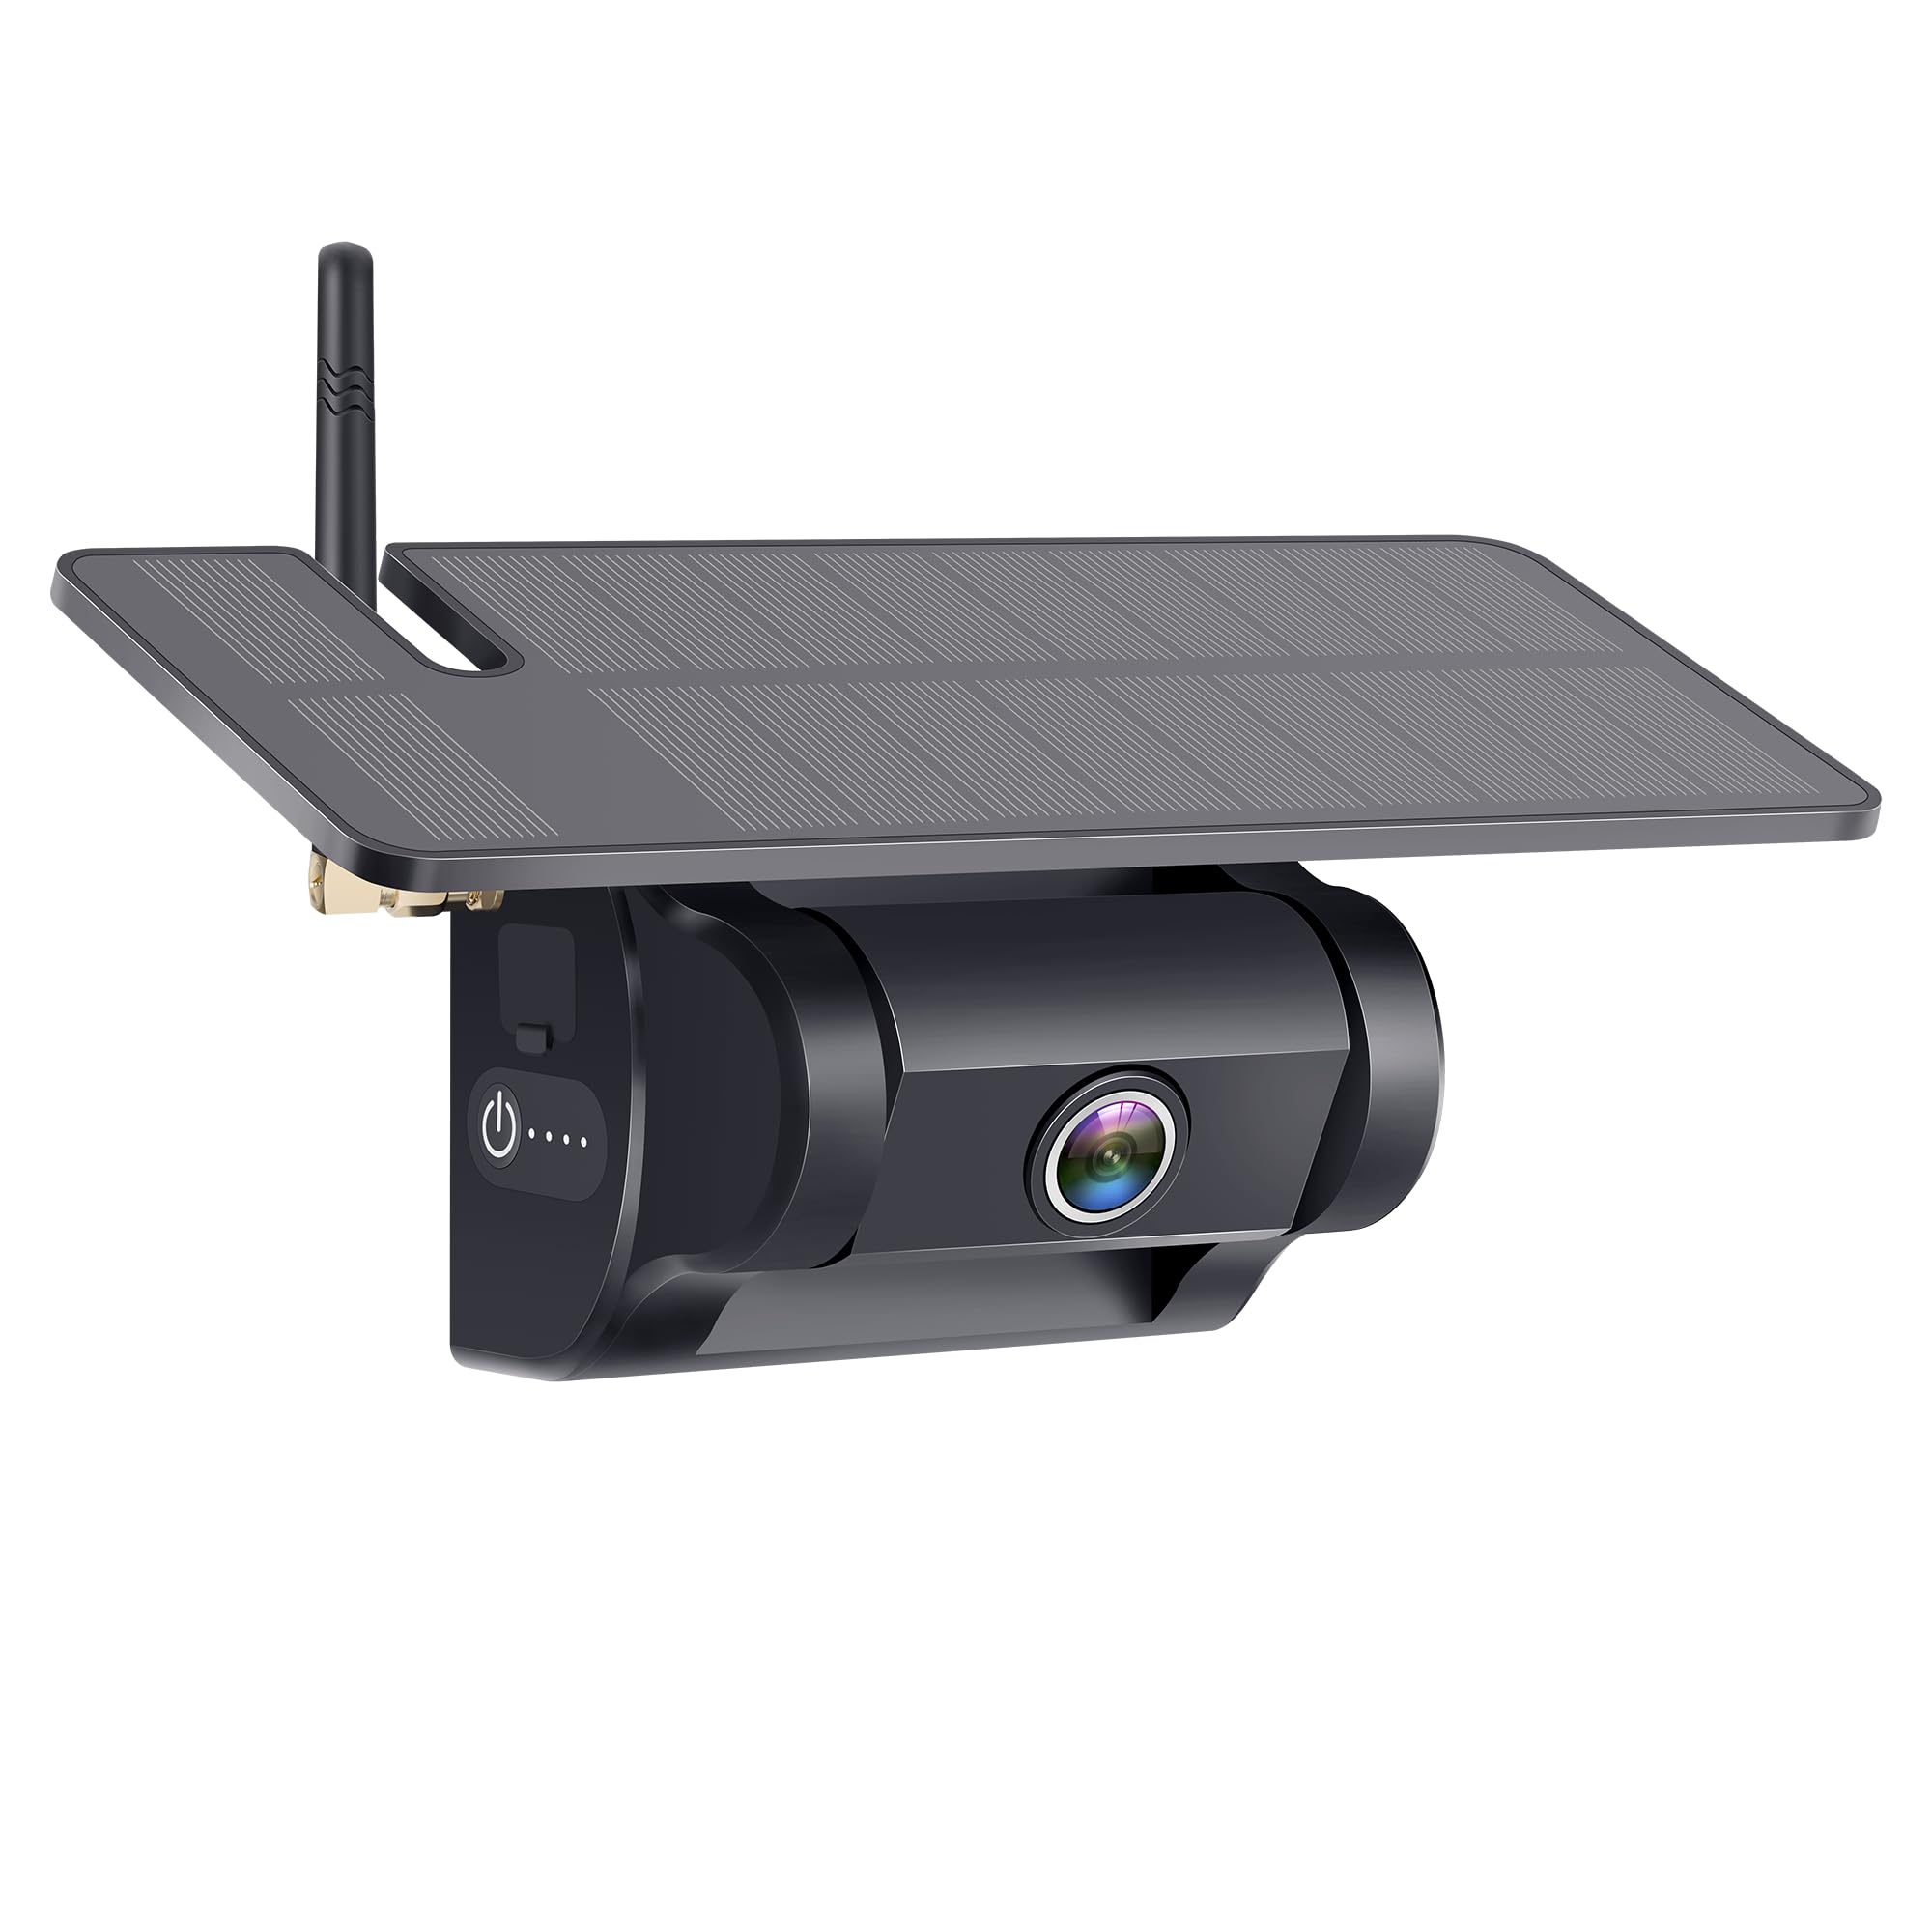
- AMTIFO H50 Magnetic Solar Backup Camera
- (Additional accessories like charging cable, mounting hardware, or manual may be included depending on the specific kit version. Please refer to your product packaging for a complete list.)
4. Setup and Installation
The AMTIFO H50 camera is designed for easy, install-free setup thanks to its magnetic mounting system and solar charging capability.
4.1 Charging the Camera
Before first use, it is recommended to fully charge the camera's internal battery. The camera features a solar panel for continuous charging in sunlight, but an initial charge via USB (cable not included, typically uses a standard micro-USB or USB-C) is advisable for optimal performance.
- Locate the charging port on the camera (usually protected by a rubber flap).
- Connect a compatible USB charging cable to the camera and a 5V USB power source (e.g., car charger, wall adapter, power bank).
- Allow the camera to charge until the charging indicator light (if present) shows a full charge, or for at least 4-6 hours.
- For solar charging, ensure the solar panel faces upwards and is exposed to direct sunlight when the vehicle is parked.
4.2 Mounting the Camera
The H50 camera utilizes a strong magnetic base for quick and secure attachment to any ferrous metal surface on your vehicle. Its scratch-proof design protects your vehicle's paint.
- Identify a suitable flat, metal surface at the rear of your vehicle (RV, trailer, truck, camper) that provides a clear view for the camera. Common locations include the bumper, license plate area, or rear door.
- Ensure the surface is clean and free of dirt or debris for optimal magnetic adhesion.
- Carefully place the magnetic base of the camera onto the chosen metal surface. The strong magnet will secure it in place.
- Adjust the camera angle to achieve the desired viewing perspective. The camera typically has an adjustable bracket.
- Verify the camera is firmly attached and will not shift during vehicle movement.
4.3 Pairing with Your Monitor (for A8/A9 systems)
The H50 camera is designed for wireless connection with compatible AMTIFO A8 or A9 monitors. The pairing process may vary slightly depending on your monitor model. Refer to your AMTIFO A8/A9 monitor's user manual for specific pairing instructions. Generally, the steps involve:
- Power on your AMTIFO A8 or A9 monitor.
- Access the pairing menu on the monitor (often labeled "Pairing," "Add Camera," or similar).
- Power on the H50 camera by pressing its power button. The camera will enter pairing mode.
- Follow the on-screen prompts on your monitor to complete the pairing process. Once paired, the camera's video feed should appear on the monitor.
5. Operating Instructions
5.1 Powering On/Off
- To power on the camera, press and hold the power button until the indicator lights illuminate.
- To power off the camera, press and hold the power button again until the indicator lights turn off.
5.2 Viewing the Camera Feed
Once the camera is powered on and successfully paired with your AMTIFO A8/A9 monitor, the live video feed will be displayed on the monitor. The monitor's functions (e.g., guidelines, image flip, multiple camera views) are controlled via the monitor itself. Refer to your monitor's manual for detailed operation.
5.3 Battery Indicator
The camera features indicator lights (e.g., four dots next to the power button) that show the current battery level. Monitor these lights to ensure the camera has sufficient power, especially during periods of low sunlight.
6. Maintenance
- Cleaning: Regularly clean the camera lens and solar panel with a soft, damp cloth. Avoid abrasive cleaners or solvents that could damage the surfaces. A clean solar panel ensures efficient charging.
- Battery Care: For optimal battery life, avoid completely draining the battery frequently. The solar panel helps maintain charge, but if storing the camera for extended periods, ensure it is fully charged before storage and periodically recharged.
- Magnetic Mount: Periodically check the magnetic mount for any debris that might interfere with its adhesion. Ensure the mounting surface on your vehicle is also clean.
- Storage: When not in use for extended periods, store the camera in a cool, dry place away from direct sunlight and extreme temperatures.
7. Troubleshooting
| Problem | Possible Cause | Solution |
|---|---|---|
| No image on monitor | Camera not powered on; Not paired; Out of range; Interference; Low battery. | Ensure camera is powered on. Re-pair the camera with the monitor. Move camera closer to monitor. Check for strong wireless interference. Charge the camera. |
| Image flickering or poor quality | Weak signal; Interference; Dirty lens. | Reduce distance between camera and monitor. Avoid sources of strong electromagnetic interference. Clean the camera lens. |
| Camera not charging via solar | Insufficient sunlight; Dirty solar panel; Obstructed panel. | Ensure direct sunlight exposure. Clean the solar panel. Remove any obstructions. |
| Camera not holding charge | Battery degradation; Extreme temperatures. | Ensure proper charging. If battery life significantly reduced, contact support. Avoid leaving in extreme heat/cold. |
8. Specifications
| Feature | Detail |
|---|---|
| Model Number | H50 |
| Dimensions (L x W x H) | 4.9" x 4.7" x 8.7" (12.4 x 11.9 x 22.1 cm) |
| Item Weight | 1.92 pounds (0.87 kg) |
| Power Source | Solar Powered / Internal Lithium Ion Battery |
| Voltage | 12 Volts |
| Wireless Connectivity | Yes |
| Compatible Devices | AMTIFO A8, AMTIFO A9 (check compatibility for A8 versions) |
| Installation Type | Magnetic Surface Mount |
| Real Angle of View | 170 Degrees |
9. Warranty and Support
AMTIFO products are designed for reliability and performance. For warranty information, technical support, or service inquiries, please contact AMTIFO customer support. Details can typically be found on the official AMTIFO website or through your purchase platform.
When contacting support, please have your product model number (H50) and purchase information ready.
For the latest information and support resources, visit the official AMTIFO store: AMTIFO Store on Amazon
Ask a question about this manual
Ask about setup, troubleshooting, compatibility, parts, safety, or missing instructions. Manuals+ will review the question and use this page’s manual context to help answer it.