1. Introduction and Overview
The Radioddity QT80 is a high-power 10-meter amateur ham radio mobile transceiver designed for robust and clear communication. With an impressive 80W output, it ensures strong signal transmission in various conditions. It supports multiple communication modes including FM, AM, SSB (USB, LSB), and PA, making it versatile for different applications. Advanced features like adjustable TX & RX noise reduction and Automatic Squelch Control (ASQ) provide crystal-clear audio, while the 7-color LCD display offers customizable visibility. This manual provides essential information for setting up, operating, maintaining, and troubleshooting your QT80 radio.

Figure 1: The Radioddity QT80 10 Meter Radio with its included microphone.
2. What's in the Box
Upon unpacking your Radioddity QT80, please verify that all the following components are included:
- 1 x QT80 Radio Unit
- 1 x Power Cable
- 1 x Mounting Bracket
- 1 x Microphone
- 1 x User Manual

Figure 2: All standard accessories and the QT80 radio unit.
3. Key Features
- 80W High Power Output: The QT80 delivers a robust 80 watts of power, ensuring clearer and stronger signals, especially beneficial in challenging communication environments. This high output is ideal for amateur radio enthusiasts and professional operators requiring reliable long-distance communication.
- Versatile Communication Modes: Seamlessly switch between FM (Frequency Modulation), AM (Amplitude Modulation), SSB (Single Sideband - USB/LSB), and PA (Public Address) modes. This versatility allows the radio to adapt to various communication needs, from casual use to specialized professional applications.
- Advanced Noise Reduction: Customize your listening experience with adjustable TX (Transmit) and RX (Receive) noise reduction. This feature minimizes background noise and enhances voice clarity, ensuring smooth and intelligible transmissions.
- ASQ Function (Automatic Squelch Control): The ASQ function intelligently filters out unwanted noise and static, providing a cleaner and more enjoyable listening experience without constant manual adjustments.
- 7-Color LCD Display: Personalize your radio's interface with a vibrant LCD display that offers 7 adjustable color options. Choose your preferred color for optimal visibility and to match your environment, enhancing your overall communication setup.

Figure 3: Visual representation of the 80W high power output capability.
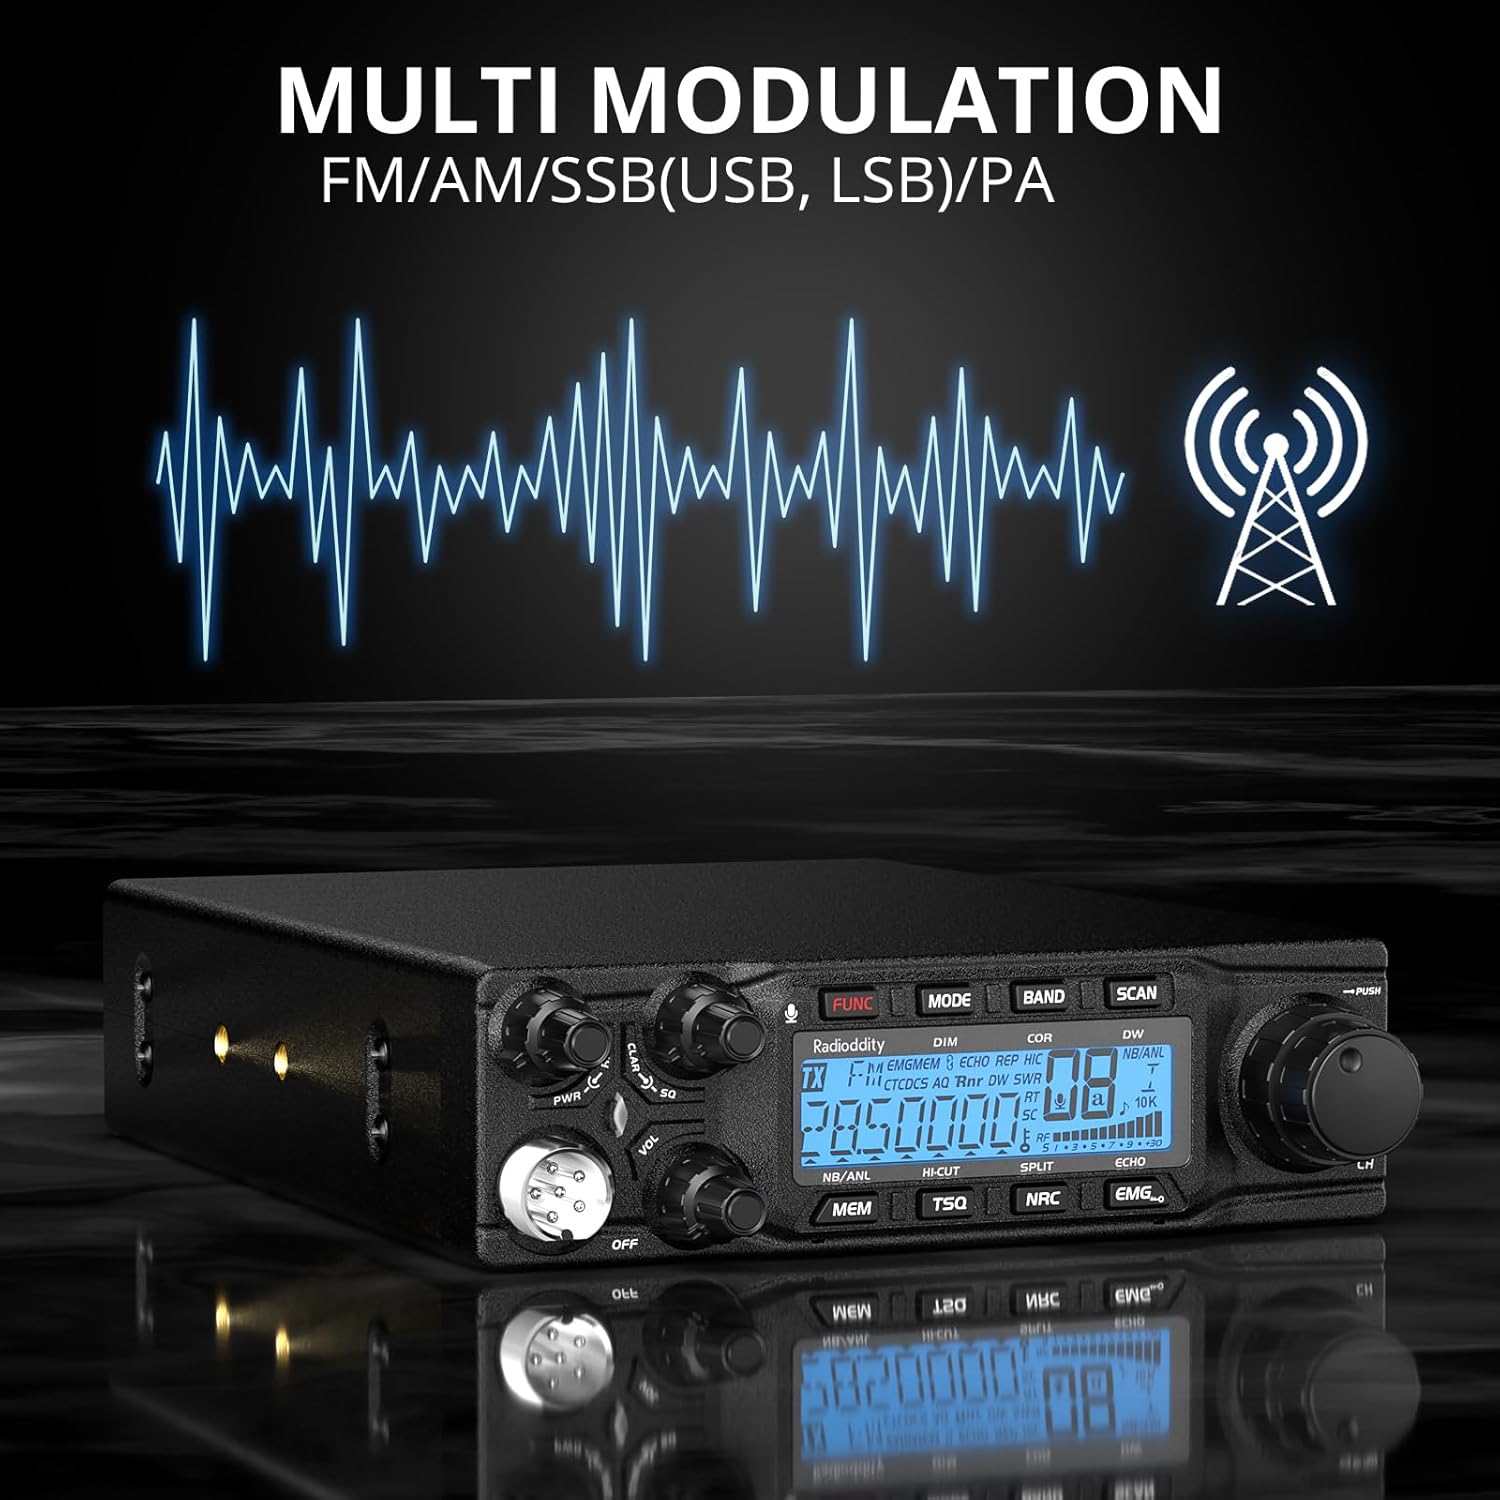
Figure 4: Illustration of the multi-modulation capabilities of the QT80.
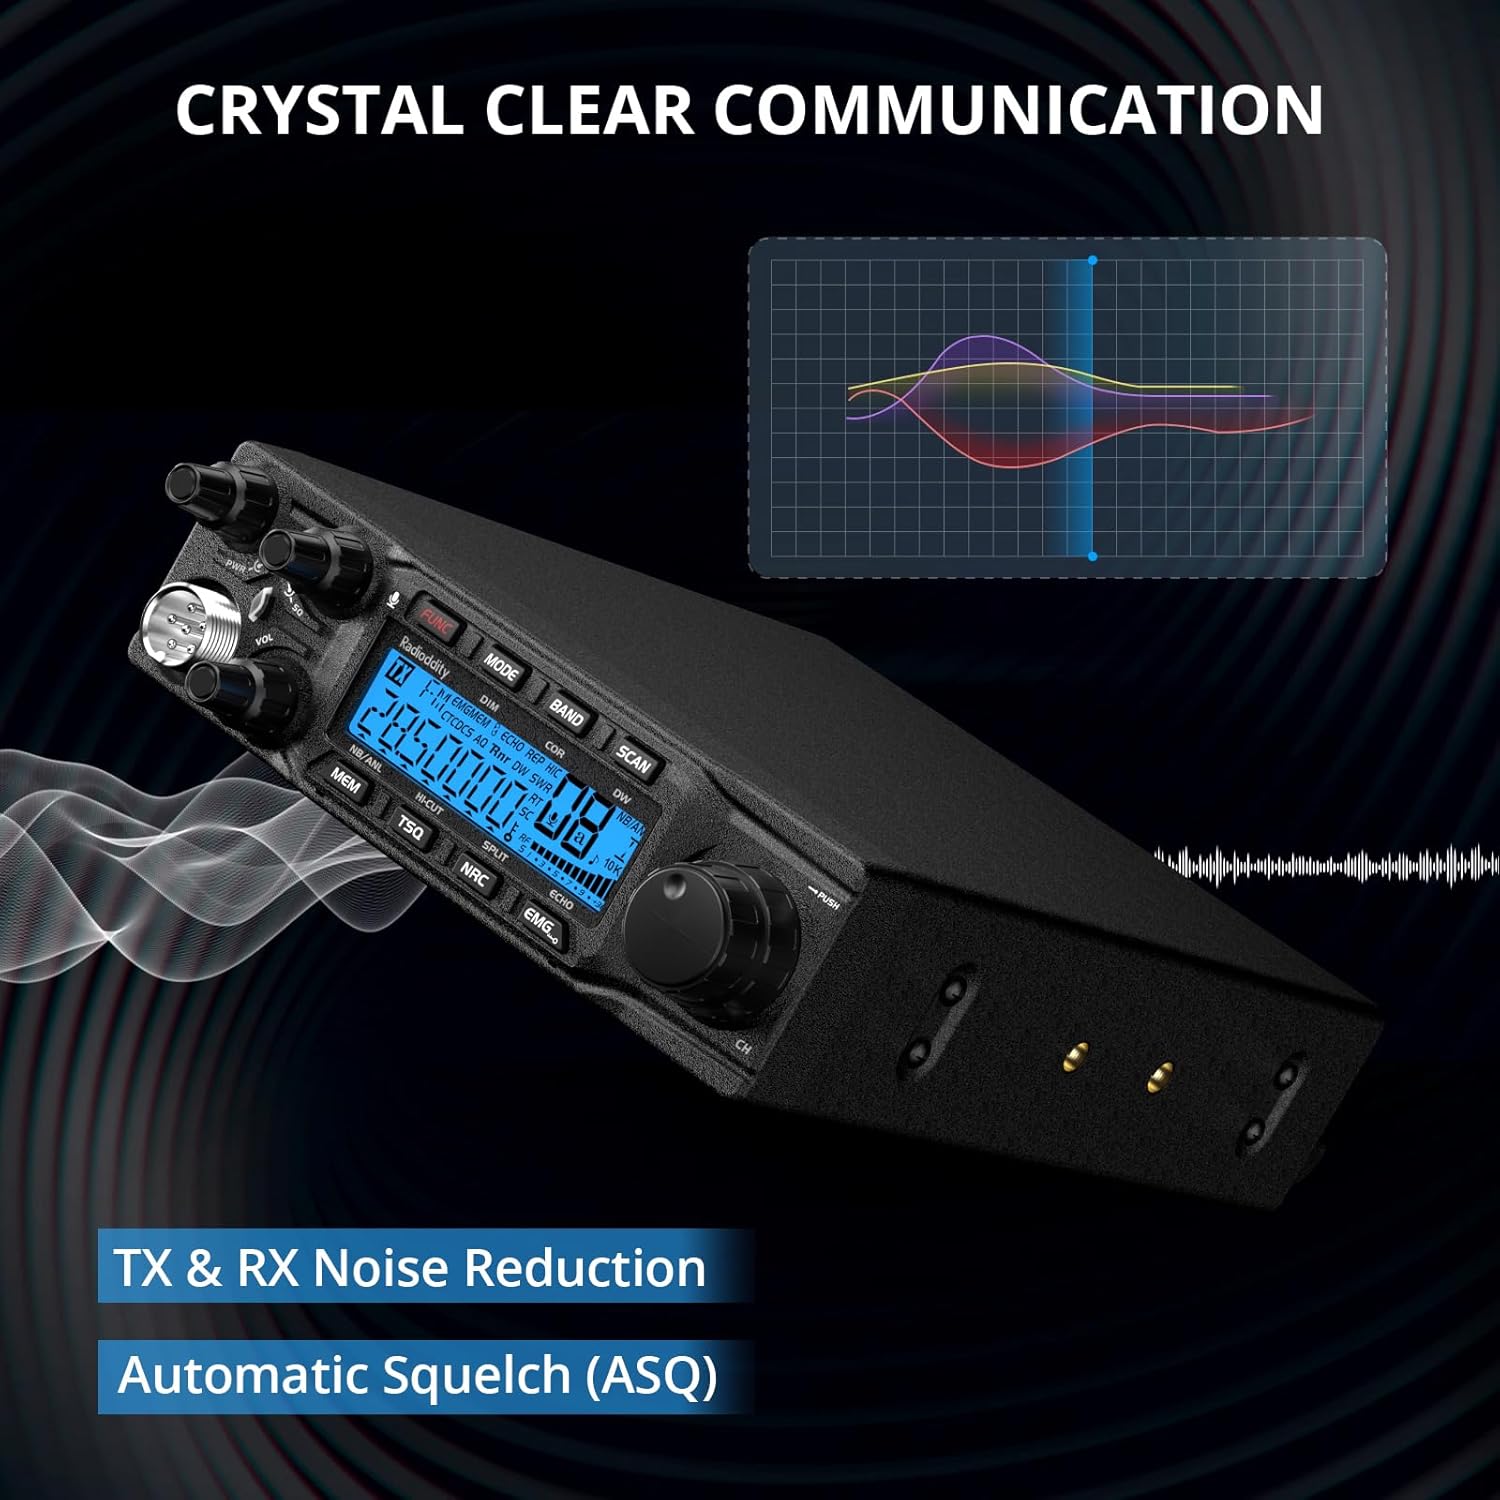
Figure 5: Depiction of crystal-clear communication enabled by noise reduction.

Figure 6: The QT80's customizable 7-color LCD display options.
4. Setup
Follow these steps for initial setup of your Radioddity QT80 radio:
- Mounting: Use the included mounting bracket to securely install the radio in your desired location. Ensure adequate ventilation around the unit.
- Power Connection: Connect the provided power cable to the radio's power input and to a stable 12V DC power source. Ensure correct polarity (red to positive, black to negative).
- Antenna Connection: Connect a suitable 10-meter antenna to the antenna connector on the rear of the radio. Ensure the antenna is properly tuned for the 28 MHz - 29.7 MHz frequency range to prevent damage to the transceiver.
- Microphone Connection: Plug the microphone into the dedicated microphone jack on the front panel of the radio.

Figure 7: Front panel layout of the QT80, showing various controls and ports.
5. Operating Instructions
Familiarize yourself with the controls and functions of your QT80 for optimal performance:
- Power On/Off & Volume: Use the 'PWR' knob (13 in Figure 7) to turn the radio on/off and adjust the audio volume.
- Channel/Frequency Selection: Rotate the 'CH' knob (14 in Figure 7) to select channels or adjust frequency. Push the knob to confirm selections or access sub-functions.
- Mode Switching: Press the 'MODE' button (2 in Figure 7) to cycle through available communication modes: FM, AM, SSB (USB, LSB), and PA.
- Noise Reduction (NRC) & ASQ: The 'NRC' button (7 in Figure 7) activates noise reduction. The ASQ function is typically integrated or can be adjusted via specific menu settings to filter static.
- LCD Display Customization: Access the display color settings via the menu (1 in Figure 7) to choose from 7 available colors for optimal visibility.
- RF Power Control: Adjust the RF power output using the dedicated control (9 in Figure 7) to match your communication needs and local regulations.
- RF Gain Control: Use the RF Gain control (10 in Figure 7) to adjust the sensitivity of the receiver, helping to reduce strong signals or noise.
- Squelch Control: The 'SQ' knob (11 in Figure 7) allows you to set the squelch level, muting background noise when no signal is present.

Figure 8: Detailed diagram of the QT80's front panel controls and their corresponding functions.
6. Maintenance
Proper maintenance ensures the longevity and optimal performance of your Radioddity QT80:
- Cleaning: Regularly wipe the radio's exterior with a soft, dry cloth. Avoid using harsh chemicals or abrasive cleaners.
- Ventilation: Ensure that the radio's ventilation openings are clear and unobstructed to prevent overheating.
- Storage: When not in use for extended periods, store the radio in a cool, dry place, away from direct sunlight and extreme temperatures.
- Water Resistance: Please note that the Radioddity QT80 is Not Water Resistant. Avoid exposure to moisture, rain, or splashes.
7. Troubleshooting
If you encounter issues with your Radioddity QT80, refer to the following common problems and solutions:
- No Power:
- Check power cable connections to the radio and power source.
- Verify the power source is providing 12V DC.
- Inspect the power cable for any damage.
- Excessive Static/Noise:
- Adjust the Squelch (SQ) knob to an appropriate level.
- Activate or adjust the Noise Reduction (NRC) function.
- Ensure your antenna is properly connected and tuned.
- No Transmission or Reception:
- Verify antenna connection and SWR (Standing Wave Ratio). High SWR can prevent transmission.
- Check the selected communication mode (FM, AM, SSB).
- Ensure the microphone is securely connected and functioning.
- Confirm you are on an active frequency or channel.
8. Specifications
Detailed technical specifications for the Radioddity QT80 10 Meter Radio:
| Feature | Specification |
|---|---|
| Brand | Radioddity |
| Model Number | QT80 |
| Item Weight | 4.44 pounds |
| Product Dimensions | 6.2 x 9.9 x 1.9 inches |
| Country of Origin | China |
| Number of Channels | 23 |
| Special Feature | Digital Display, TX & RX Noise Reduction |
| Frequency Range | 28 MHz - 29.7 MHz |
| Talking Range Maximum | 621 Mile |
| Tuner Technology | 10M |
| Voltage | 12 Volts (DC) |
| Water Resistance Level | Not Water Resistant |
| Included Components | 1 x QT80 radio, power cable, mounting bracket, microphone, user manual |
| Compatible Devices | Two-way radios on 28 MHz - 29.7 MHz frequency band, channel 23, and compatible accessories |

Figure 9: Physical dimensions of the Radioddity QT80 radio.
9. Warranty and Support
The Radioddity QT80 comes with an 18-month warranty from the date of purchase. This warranty covers manufacturing defects and ensures reliable operation under normal use conditions.
For technical support, warranty claims, or additional information, please visit the official Radioddity website or contact their customer service directly. Refer to the contact information provided in the packaging or on the official product page.


