1. Product Overview
The Dictien Portable Electric Air Pump is a versatile and compact device designed for inflating various items such as car tires, motorcycle tires, bicycle tires, and sports balls. Equipped with a powerful 150 PSI compressor and a 6000mAh rechargeable battery, it offers intelligent inflation with automatic shut-off, a digital display, and integrated LED lighting for convenience and safety.

Figure 1.1: The Dictien Portable Electric Air Pump shown with its included inflation nozzles and accessories, highlighting its compact design and readiness for various inflation tasks.

Figure 1.2: The compact and portable design of the air pump, easily fitting into a backpack, making it ideal for travel and on-the-go use.
Key Features:
- Portable Design: Compact (16x8x5 cm) and lightweight (600g), easily fits in a backpack or jacket pocket, making it an ideal travel companion for roadside emergencies.
- Versatile Applications: Comes with 5 adapters suitable for cars, motorcycles, bicycles, basketballs, and swimming aids, covering a wide range of inflation needs.
- Intelligent Inflation: Automatically stops when the preset target pressure (up to 150 PSI, ±1 PSI accuracy) is reached, ensuring safe and precise inflation.
- Digital Display: Features an LCD screen that shows real-time data in 4 units: PSI, KPA, BAR, and KG/CM², for accurate pressure monitoring.
- LED Lighting: Equipped with an ultra-bright LED light for easy night work, including Strobe and SOS modes for emergency situations.
- Power Bank Function: Can be used to charge other USB-C devices, adding to its utility.
2. Package Contents
Please check the package carefully to ensure all items are present and in good condition.
- 1 x Dictien Portable Electric Air Pump
- 1 x Air Hose
- 5 x Different Nozzle Adapters (e.g., Presta valve adapter, ball needle, swimming ring nozzle)
- 1 x USB-C Charging Cable
- 1 x Storage Bag
- 1 x User Manual (this document)

Figure 2.1: Illustration of the complete package contents, showing the main unit, various adapters, charging cable, and storage bag.
3. Safety Instructions
To ensure safe operation and prevent damage to the device or injury, please read and follow these safety guidelines:
- Do not leave the pump unattended during operation.
- Keep out of reach of children.
- Do not expose the device to rain or moisture.
- Avoid operating the pump in extremely hot or cold environments.
- Ensure the correct pressure is set for the item being inflated to prevent over-inflation and potential bursting.
- Do not block the air inlet/outlet during operation.
- If the device overheats, allow it to cool down before further use.
- Use only the provided charging cable and recommended power adapters.
- Do not disassemble or attempt to repair the device yourself. Contact customer support for assistance.
4. Setup
4.1 Charging the Device
Before first use, fully charge the air pump. Connect the provided USB-C charging cable to the pump's charging port and the other end to a suitable USB power adapter (not included) or a computer USB port. The display will indicate charging status.

Figure 4.1: The air pump connected for charging, demonstrating its multi-functional capabilities including power supply and emergency lighting.
4.2 Attaching the Air Hose and Adapters
- Screw the air hose securely into the inflation port of the air pump.
- Select the appropriate nozzle adapter for the item you wish to inflate (e.g., Schrader valve for car/motorcycle tires, Presta valve adapter for some bicycles, ball needle for sports balls).
- Attach the selected adapter to the free end of the air hose.
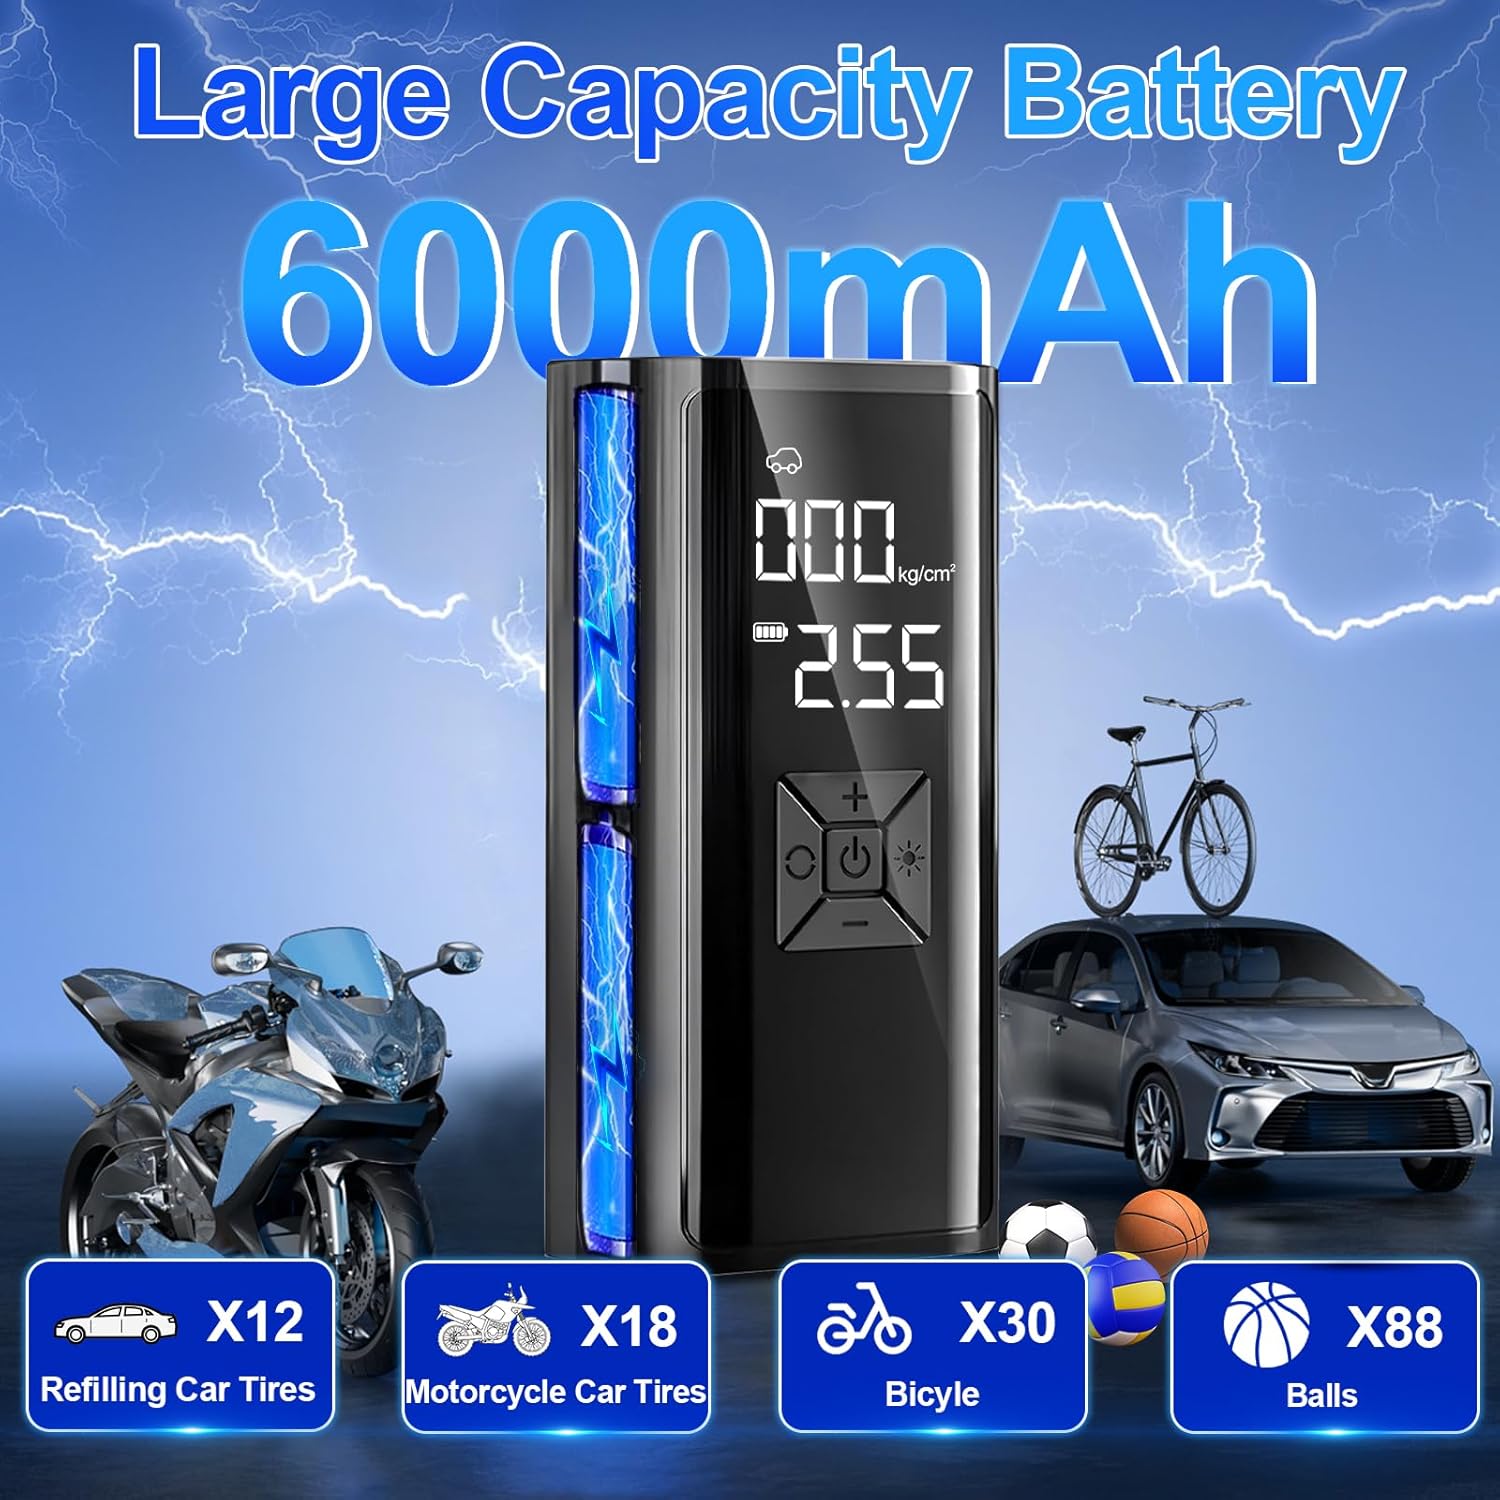
Figure 4.2: The air pump with its detachable hose and a selection of adapters, ready for different inflation tasks.
5. Operating Instructions
5.1 Powering On/Off
Press and hold the power button (usually marked with a power symbol) for a few seconds to turn the pump on or off. The digital display will light up.
5.2 Selecting Pressure Units
After powering on, press the 'M' button (Mode button) to cycle through the available pressure units: PSI, KPA, BAR, and KG/CM². Select the unit appropriate for your needs.

Figure 5.1: The pump's digital display and control panel, showing the current pressure reading and buttons for mode selection and pressure adjustment.
5.3 Setting Target Pressure
Use the '+' and '-' buttons to adjust the desired target pressure. Refer to the recommended pressure for your specific item (e.g., tire sidewall for vehicles, ball for sports equipment).
5.4 Inflation Process
- Install the tube: Securely attach the air hose to the pump.
- Connect to the tire/item: Connect the appropriate adapter and hose to the valve of the item to be inflated.
- Choose the right pressure: Set your desired target pressure using the '+' and '-' buttons.
- Start inflation: Press the inflation button (often the power button or a dedicated start button) to begin inflating. The pump will display the real-time pressure.
- Automatic inflation stop: The pump will automatically stop once the preset target pressure is reached.

Figure 5.2: Step-by-step guide for the inflation process, from connecting the hose to automatic shut-off.
5.5 Using LED Lighting
Press the light button (often marked with a light bulb symbol) to cycle through the LED light modes: constant on, strobe, and SOS. This feature is useful for night-time operations or emergencies.
5.6 Power Bank Function
To use the pump as a power bank, connect your device (e.g., smartphone) to the USB-C output port of the pump using a compatible charging cable. The pump's battery will then charge your device.
5.7 Wide Range of Applications

Figure 5.3: The versatility of the air pump, demonstrating its use across different vehicles and inflatable items.
6. Maintenance
6.1 Cleaning
Wipe the exterior of the pump with a soft, damp cloth. Do not use harsh chemicals or abrasive cleaners. Ensure the device is dry before storage.
6.2 Storage
Store the air pump and its accessories in the provided storage bag in a cool, dry place, away from direct sunlight and extreme temperatures. Ensure the battery is partially charged (around 50%) before long-term storage to prolong battery life.
6.3 Battery Care
To maximize battery lifespan, avoid fully discharging the battery frequently. Recharge the pump regularly, even if not in use, especially if stored for extended periods.
7. Troubleshooting
| Problem | Possible Cause | Solution |
|---|---|---|
| Pump does not turn on. | Low battery or no charge. | Charge the pump fully using the USB-C cable. |
| Pump inflates slowly or not at all. | Hose or adapter not securely connected; blocked air inlet/outlet; incorrect pressure setting. | Ensure all connections are tight. Check for obstructions. Verify target pressure is set correctly and is within the pump's range. |
| Pump stops prematurely. | Target pressure reached; overheating. | This is normal if target pressure is met. If not, allow the pump to cool down for 10-15 minutes before resuming use. |
| Inaccurate pressure reading. | Loose connection; sensor issue. | Ensure the hose and adapter are tightly connected to the valve. If problem persists, contact customer support. |
8. Specifications
| Feature | Detail |
|---|---|
| Model Number | REXZER23 |
| Dimensions | 16 x 8 x 5 cm |
| Weight | 600 grams |
| Max Pressure | 150 PSI |
| Battery Type | Lithium-Ion (1 included) |
| Battery Capacity | 6000mAh |
| Voltage | 12 Volts |
| Noise Level | 1 dB |
| Charging Port | USB-C |
9. Warranty and Support
Dictien products are manufactured to high-quality standards. For warranty information, technical support, or any questions regarding your product, please contact the seller or manufacturer directly through the platform where you purchased the item. Please retain your proof of purchase for warranty claims.
For further assistance, please visit the official Dictien website or contact their customer service team.