
1. Introduction
This manual provides essential information for the safe and efficient operation of your GCSOAR MPPT Solar Charge Controller 60A (WiFi). Please read it thoroughly before installation and use.

Image: The GCSOAR MPPT Solar Charge Controller 60A, shown with its WiFi adapter and a smartphone displaying the iConnect app interface for remote monitoring.
2. Safety Information
Always prioritize safety during installation and operation. Failure to follow these instructions may result in personal injury or damage to the equipment.
- Ensure all connections are secure and correct polarity is observed to prevent damage to the controller and battery.
- Install the controller in a well-ventilated area to prevent overheating. The device features a cooling fan for optimal performance.
- Avoid short-circuiting the solar panel or battery terminals.
- Wear appropriate personal protective equipment (PPE) during installation.
- The controller is equipped with multiple protection features including reverse polarity, overcharging, over-discharging, overload, short-circuiting, overheating, and reverse current protection.

Image: A diagram highlighting the various safety features of the GCSOAR MPPT Solar Charge Controller, including over-current, over-voltage, undervoltage, short-circuit, over-temperature, and battery disconnect protection.
3. Product Features
- 12V/24V/48V Auto Detect & Multiple Battery Adaptation: Supports solar panel input up to 800W (12V), 1600W (24V), or 3200W (48V). Features common negative grounding and is compatible with Sealed Lead Acid, GEL, Flooded, LiFePO4, and Li(NiCoMn)O2 Lithium Batteries. Includes a user mode for custom battery parameter settings.
- Innovative MPPT Design: Achieves high tracking efficiency up to 99% and peak conversion efficiency of 98%. Optimizes charging even in cloudy conditions. Can reactivate over-discharged batteries (at 0 volt) with a small current.
- 4-Stage Safe Charging: Offers 4-stage charging (Bulk, Absorption, Float, and Equalization) for Lead Acid Batteries and 2-stage charging (Bulk and Absorption) for Lithium batteries, including Lithium Reactivation. Intelligent charging prolongs battery life.
- Extremely Safe: CE, FCC, IEC, ETL, RED, UL, and RoHS certified. Features a cooling fan and insulated shell for high-temperature safety. Comprehensive system protection against reverse polarity, battery overcharging, over-discharging, overload, short-circuiting, overheating, and reverse current.
- Real-Time Monitoring: Monitor consumption and custom parameters directly. Communication port allows connection to Bluetooth (CM-B01) or WiFi (CM-W01) adapters for remote monitoring via the iConnect App.

Image: An illustration demonstrating the GCSOAR MPPT Solar Charge Controller's compatibility with different battery types: LiFePO4, Sealed, Flooded, GEL, and AGM.
4. Setup and Installation
Follow these steps carefully to ensure proper installation and operation of your solar charge controller.
4.1. Connection Order
Connect the solar system components in the following order:
- Connect the battery to the controller.
- Connect the DC load to the controller (if applicable).
- Connect the PV panel to the controller.
To disconnect the system, reverse the order: 1. Disconnect PV panel, 2. Disconnect DC load, 3. Disconnect battery.

Image: A detailed wiring diagram illustrating the correct connection sequence for the solar panel, battery, and DC load to the GCSOAR MPPT Solar Charge Controller.
4.2. Wiring Considerations
Ensure appropriate wire gauges are used for all connections to prevent overheating and ensure efficient power transfer. Refer to local electrical codes and the controller's specifications for recommended wire sizes.
4.3. Mounting
Mount the controller in a vertical position on a non-flammable surface, ensuring adequate airflow around the unit for proper cooling. The controller features a fan for active cooling.

Image: The GCSOAR MPPT Solar Charge Controller with its dimensions (240mm/9.44in height, 190mm/7.48in width, 100mm/3.93in depth) and a view of its cooling fan.
4.4. System Voltage and Input Power
The controller automatically detects 12V, 24V, or 48V DC system voltage. Ensure your solar panel configuration matches the supported input power for your battery voltage.

Image: Visual representation of the maximum input power for 12V (800W), 24V (1600W), and 48V (3200W) battery systems with the GCSOAR MPPT Solar Charge Controller.
4.5. Installation Video
Video Description: This video provides a comprehensive overview of the GCSOAR 60A solar charge controller, including its features and basic connection steps for 12V, 24V, and 48V systems. It demonstrates the physical aspects and initial setup of the controller.
5. Operating Instructions
The GCSOAR MPPT Solar Charge Controller features an LCD display and an optional app for monitoring and control.
5.1. LCD Display Operation
The LCD display cycles through various parameters. Use the MENU, UP, DOWN, and OK buttons to navigate and adjust settings.

Image: A visual guide to the GCSOAR MPPT Solar Charge Controller's LCD display, showing various parameters like battery voltage, PV power, accumulated charging power, float voltage, boost voltage, battery type, controller temperature, load mode, load disconnect voltage, and load reconnect voltage. It also explains how to navigate the menu and adjust settings.
5.2. APP Remote Monitoring (iConnect)
The iConnect app allows for real-time monitoring and parameter adjustment via a WiFi adapter (CM-W01).
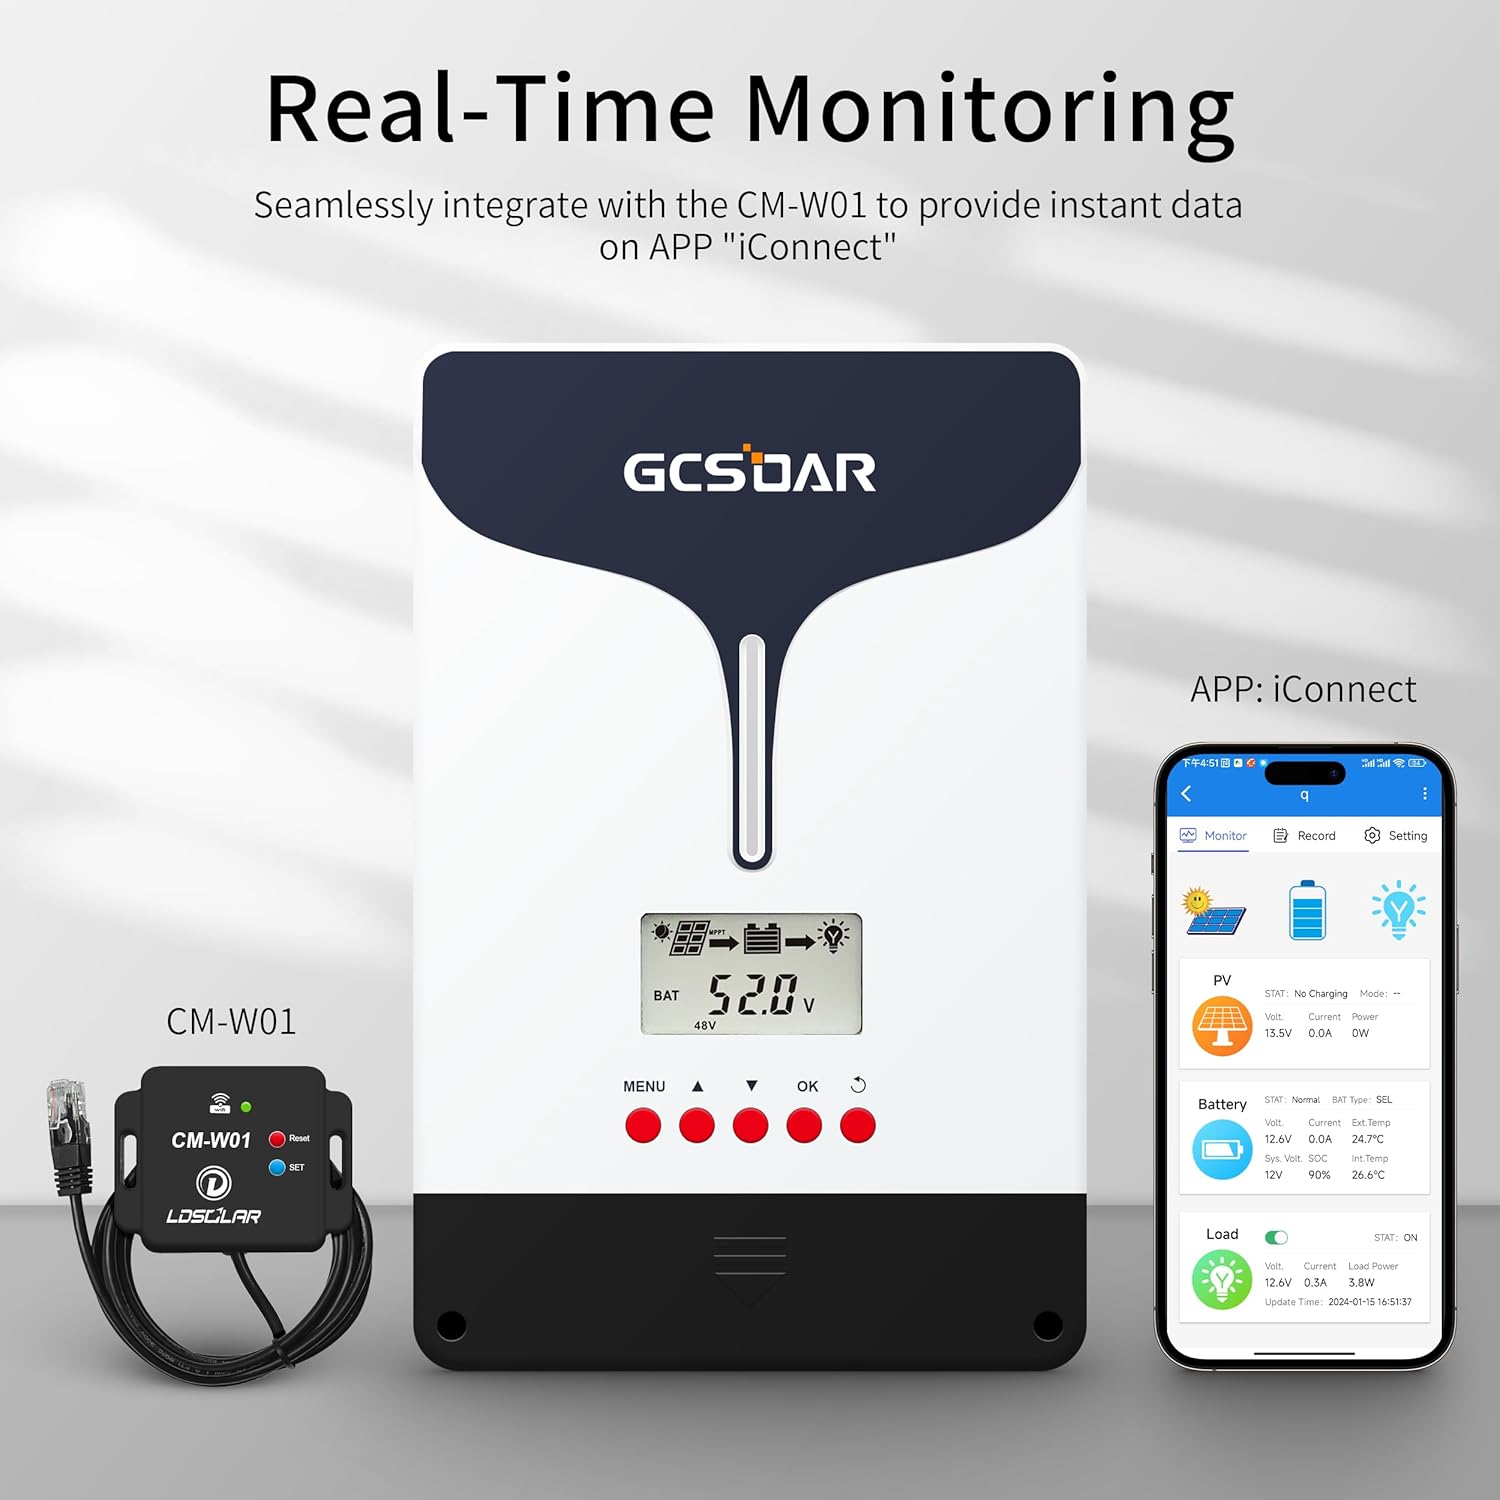
Image: A smartphone displaying the iConnect app, showing real-time monitoring data for the solar system, including PV and battery status.

Image: Multiple screenshots of the iConnect app demonstrating its capabilities: monitoring real-time solar system data, recording charging and discharging data, and setting various parameters like battery type and system voltage.
5.3. Downloading the iConnect App
Search for "LD iConnect" on your device's app store or scan the QR code in the manual. You can also download it from the official website.

Image: A smartphone screen displaying the iConnect app download options, including QR codes for the Apple App Store, Google Play, and the LDSOLAR website.
6. Maintenance
Regular maintenance ensures the longevity and optimal performance of your GCSOAR MPPT Solar Charge Controller.
- Periodically check all wiring connections for tightness and corrosion.
- Keep the controller clean and free from dust and debris. Ensure the cooling fan is not obstructed.
- Monitor the system's performance via the LCD display or iConnect app to detect any anomalies early.
- Ensure batteries are properly maintained according to their manufacturer's guidelines.
7. Troubleshooting
If you encounter issues with your GCSOAR MPPT Solar Charge Controller, refer to the following common troubleshooting tips:
- No Power/Display: Check battery connections and ensure they are secure and correctly polarized. Verify battery voltage is within the operating range.
- No Charging: Ensure solar panels are connected correctly and receiving sufficient sunlight. Check for any shading on the panels. Verify PV voltage is within the controller's specifications.
- Fault Indicator On: Refer to the specific fault code displayed on the LCD or app for detailed information and corrective actions. Common faults include over-voltage, over-current, short-circuit, and reverse polarity.
- Inaccurate Readings: Ensure all sensors (e.g., temperature sensor) are correctly installed and functioning.
- App Connectivity Issues: Verify the WiFi adapter (CM-W01) is properly connected and configured. Ensure your smartphone is within range and connected to the same network as the adapter.
8. Specifications
| Feature | Detail |
|---|---|
| Brand | GCSOAR |
| Model | MPPT 60A (WiFi) |
| System Voltage | 12V/24V/48V Auto Detect |
| Max PV Voltage | 150V |
| Max PV Input Power (12V Battery) | 800W |
| Max PV Input Power (24V Battery) | 1600W |
| Max PV Input Power (48V Battery) | 3200W |
| Battery Compatibility | Sealed Lead Acid, GEL, Flooded, LiFePO4, Li(NiCoMn)O2 Lithium Battery (User Mode for custom parameters) |
| Grounding | Common Negative Grounding |
| Charging Stages | 4-stage (Lead Acid), 2-stage (Lithium) with Reactivation |
| Communication | WiFi Adapter (CM-W01) / Bluetooth Adapter (CM-B01) for App Monitoring |
| Display Type | LCD |
| Cooling | Fan Cooling |
| Certifications | CE, FCC, IEC, ETL, RED, UL, RoHS |
| Package Dimensions | 11.4 x 9.25 x 5.5 inches |
| Item Weight | 6.18 pounds |
9. Warranty and Support
For warranty information, technical support, or service inquiries, please refer to the contact details provided with your product packaging or visit the official GCSOAR website.