IENQBVL IENQBVL
Carburetor Instruction Manual
For Subaru Robin EH25 8.5HP Engine
Brand: IENQBVL | Model: EH25-2 EH25
1. Product Overview
This manual provides essential information for the installation, operation, and maintenance of the IENQBVL Carburetor, designed for Subaru Robin EH25 8.5HP engines. This component is crucial for regulating the air-fuel mixture, ensuring optimal engine performance.
The carburetor automatically adjusts the appropriate concentration based on varying engine operating conditions. It is engineered for impact and vibration resistance, contributing to maximum portability and reliability of your equipment.
This product is a direct replacement for lost or damaged original parts, simplifying the repair process and saving time and effort.
2. Package Contents
- 1 x Carburetor (EH25-2 EH25)
Please inspect all components upon receipt to ensure no damage occurred during shipping.
3. Installation Guide
Installation of this carburetor is designed to be straightforward. However, it is recommended that installation be performed by individuals with mechanical knowledge or experience with small engines.
Safety Precautions:
- Ensure the engine is cool and turned off before beginning any work.
- Disconnect the spark plug wire to prevent accidental starting.
- Work in a well-ventilated area.
- Wear appropriate personal protective equipment (e.g., gloves, eye protection).
Installation Steps:
- Preparation: Locate the existing carburetor on your Subaru Robin EH25 8.5HP engine. Have basic tools ready, such as wrenches, screwdrivers, and a fuel line clamp.
- Fuel Line Disconnection: Clamp the fuel line to prevent fuel leakage. Carefully disconnect the fuel line from the old carburetor.
- Linkage and Gasket Removal: Disconnect any throttle linkages, choke linkages, and springs attached to the old carburetor. Note their positions for reassembly. Remove the mounting nuts or bolts securing the old carburetor to the engine. Carefully remove the old carburetor and any old gaskets.
- New Carburetor Installation: Ensure the mounting surface is clean. Place new gaskets (not included, typically reused or purchased separately) in their correct positions. Mount the new IENQBVL carburetor onto the engine, aligning it with the mounting studs/holes.
- Secure and Reconnect: Secure the carburetor with the mounting nuts/bolts, tightening them evenly. Reconnect all throttle and choke linkages and springs exactly as they were on the old carburetor. Reconnect the fuel line and remove the clamp.
- Final Checks: Inspect all connections for tightness and ensure there are no fuel leaks. Reconnect the spark plug wire.
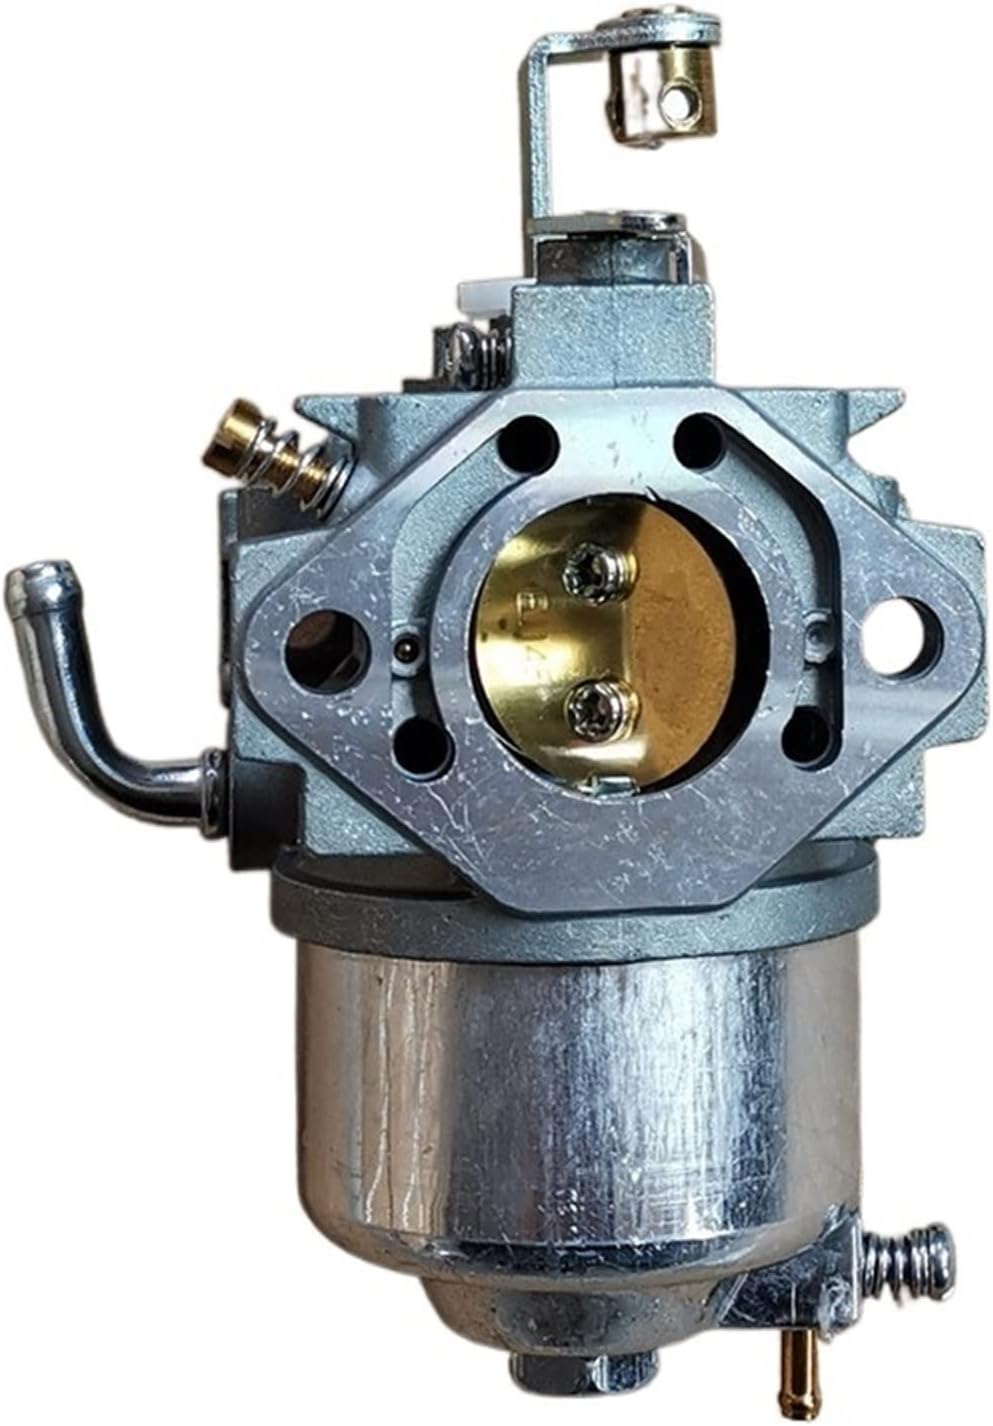
Figure 3.1: Front view of the IENQBVL Carburetor, showing the main body and fuel inlet. This image illustrates the general appearance of the carburetor before installation.

Figure 3.2: Side view of the IENQBVL Carburetor, highlighting the various ports and adjustment screws. This perspective is useful for identifying connection points during installation.
4. Operating Principles
The carburetor's primary function is to mix air and fuel in the correct ratio for combustion within the engine. It achieves this by creating a vacuum that draws fuel from the tank and atomizes it into the incoming air stream.
Key Components and Their Role:
- Float Bowl: Stores a small reservoir of fuel.
- Float and Needle Valve: Regulates the fuel level in the float bowl.
- Jets: Precisely meter the amount of fuel entering the air stream.
- Venturi: A constricted section that increases air velocity and creates a pressure drop, drawing fuel from the jets.
- Throttle Valve: Controls the amount of air-fuel mixture entering the engine, thereby regulating engine speed.
- Choke Valve: Enriches the fuel mixture for cold starts by restricting airflow.
Once installed, the carburetor operates automatically, adjusting the fuel delivery based on engine demand and throttle position. No specific user operation is required beyond starting and stopping the engine as per your equipment's manual.
5. Maintenance
Regular maintenance of your carburetor is essential for ensuring long-term performance and reliability of your engine. A clean carburetor prevents common issues like rough idling, stalling, and poor fuel efficiency.
Recommended Maintenance Schedule:
- Every 50 hours of operation or Annually: Inspect the carburetor for external dirt and debris.
- Every 100 hours of operation or Bi-Annually: Consider a more thorough cleaning, especially if using fuel without stabilizer or if the equipment is stored for extended periods.
Cleaning Procedure:
- Disassembly: Carefully remove the carburetor from the engine as described in the installation section. Disassemble the float bowl and remove the float and needle valve.
- Inspection: Inspect all internal components for clogs, corrosion, or wear. Pay close attention to the jets, which are prone to clogging.
- Cleaning: Use a specialized carburetor cleaner spray to clean all passages and components. Ensure all small holes and jets are clear. Compressed air can be used to blow out passages. Do not use wire or hard objects to clear jets as this can damage them.
- Reassembly: Reassemble the carburetor, ensuring all gaskets are properly seated and components are tightened to specification.
- Reinstallation: Reinstall the carburetor onto the engine.
Always use fresh, clean fuel and consider using a fuel stabilizer, especially during off-season storage, to prevent fuel degradation and carburetor clogging.

Figure 5.1: Another side view of the IENQBVL Carburetor, highlighting the mounting flange and various external connections. This view is helpful for identifying areas that may accumulate dirt.
6. Troubleshooting
This section provides solutions to common issues that may arise with your carburetor. If the problem persists after following these steps, consult a qualified technician.
| Problem | Possible Cause | Solution |
|---|---|---|
| Engine will not start | Clogged fuel filter or fuel line Clogged carburetor jets No fuel in tank Improper choke setting | Check/replace fuel filter; clear fuel line Clean carburetor jets (refer to Maintenance) Fill fuel tank Adjust choke for cold start, then open for running |
| Engine runs rough or stalls | Dirty carburetor Incorrect idle speed adjustment Stale or contaminated fuel | Clean carburetor Adjust idle screw (refer to engine manual) Drain old fuel, refill with fresh fuel and stabilizer |
| Engine lacks power | Partially clogged jets Air filter dirty Improper fuel mixture | Clean carburetor jets Clean or replace air filter Ensure carburetor is clean and functioning correctly |
| Fuel leaks from carburetor | Damaged float or needle valve Worn gaskets Loose connections | Inspect and replace float/needle valve Replace gaskets Tighten all fuel line and mounting connections |
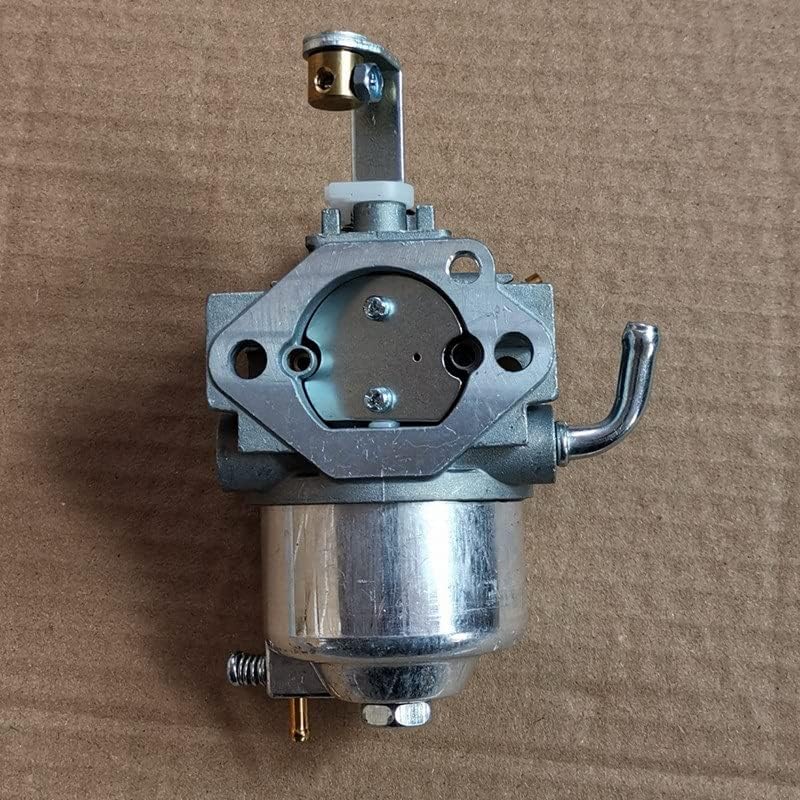
Figure 6.1: Top view of the IENQBVL Carburetor, illustrating the air intake and fuel line connection points. This view can assist in identifying potential leak sources or areas requiring inspection.
7. Specifications
| Attribute | Detail |
|---|---|
| Brand | IENQBVL |
| Model Compatibility | Subaru Robin EH25 8.5HP Engine |
| Part Number | 254-62533-10, EH25-2, EH25 |
| Material | Carbide |
| Item Weight | 361 g (approx. 0.79 lbs) |
| Package Dimensions | 2.54 x 2.54 x 2.54 cm (approx. 1 x 1 x 1 inch) |
| ASIN | B0D86RFLPT |
Note: Dimensions and weight are approximate and may vary slightly.
8. Warranty and Support
Specific warranty details for this product are not provided in the available information. For warranty claims or technical support, please contact the seller or manufacturer directly through your purchase platform.
Always refer to the original equipment manufacturer's manual for your Subaru Robin EH25 8.5HP engine for comprehensive operational and safety guidelines.
Ask a question about this manual
Ask about setup, troubleshooting, compatibility, parts, safety, or missing instructions. Manuals+ will review the question and use this page’s manual context to help answer it.