Kuvings AUTO 6
Kuvings AUTO6 Gunmetal Cold Press Slow Juicer User Manual
Model: AUTO 6
1. Introduction
This manual provides essential information for the safe and efficient operation, maintenance, and care of your Kuvings AUTO6 Gunmetal Cold Press Slow Juicer. Please read all instructions carefully before using the appliance for the first time and retain this manual for future reference.
The Kuvings AUTO6 is designed to extract juice from various fruits, vegetables, and leafy greens using a slow-press method, preserving nutrients and flavor. It features automatic fruit cutting technology and patented JMCS technology for enhanced juice yield.
2. Important Safety Instructions
- Always ensure the juicer is properly assembled before operation.
- Do not insert fingers or other objects into the feeding chute while the appliance is operating. Use the provided pusher if necessary.
- Unplug the juicer from the power outlet before cleaning, disassembling, or assembling parts.
- Keep the appliance out of reach of children.
- Do not operate the juicer if the power cord or plug is damaged.
- Avoid using abrasive cleaning agents or harsh chemicals on any part of the juicer.
- Ensure the topset is properly tightened for the safety function to allow operation.
3. Product Components (What's in the Box)
Familiarize yourself with the components of your Kuvings AUTO6 juicer:
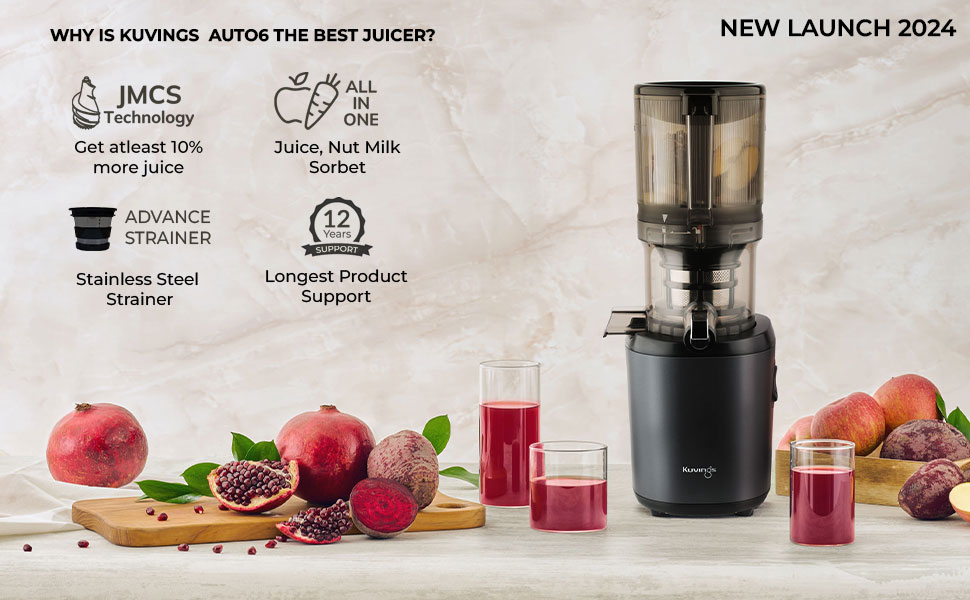
Image: Overview of the Kuvings AUTO6 Cold Press Juicer components, including the motor base, juice bowl, auto hopper lid, pulp and juice jars, pusher, auger, juice strainer, user manual, and cleaning brush.
- Motor Base
- Juice Bowl
- Auto Hopper Lid
- Pulp & Juice Jar
- Pusher
- Auger
- Juice Strainer (Stainless Steel)
- User Manual
- Cleaning Brush
4. Setup and Assembly
Follow these steps to assemble your Kuvings AUTO6 juicer:
- Place the Motor Base on a stable, flat surface.
- Align the Juice Bowl with the Motor Base and rotate until it locks securely into place.
- Insert the Juice Strainer into the Juice Bowl. Ensure it is seated correctly.
- Place the Auger into the center of the Juice Strainer, pressing down firmly until it clicks into position.
- Attach the Auto Hopper Lid onto the Juice Bowl, aligning the arrows and rotating until it locks. The juicer will not operate if the lid is not securely fastened.
- Position the Pulp Jar and Juice Jar under their respective spouts.
5. Operating Instructions
Preparation of Ingredients
- Wash all fruits and vegetables thoroughly.
- For ingredients with hard seeds or pits (e.g., peaches, plums), remove them before juicing.
- The AUTO6 features automatic cutting technology, reducing the need for extensive pre-cutting. However, very large or fibrous ingredients may benefit from being cut into smaller pieces to fit comfortably into the auto hopper.
Juicing Process
- Plug the juicer into a power outlet.
- Turn on the juicer using the power switch.
- Place prepared ingredients into the Auto Hopper Lid. The juicer's internal mechanism will automatically cut and feed the ingredients.
- For continuous juicing, additional ingredients can be added to the auto hopper during operation.
- The patented JMCS Technology ensures maximum juice extraction, yielding at least 10% more juice compared to other juicers.
- Once juicing is complete, turn off the juicer and unplug it.
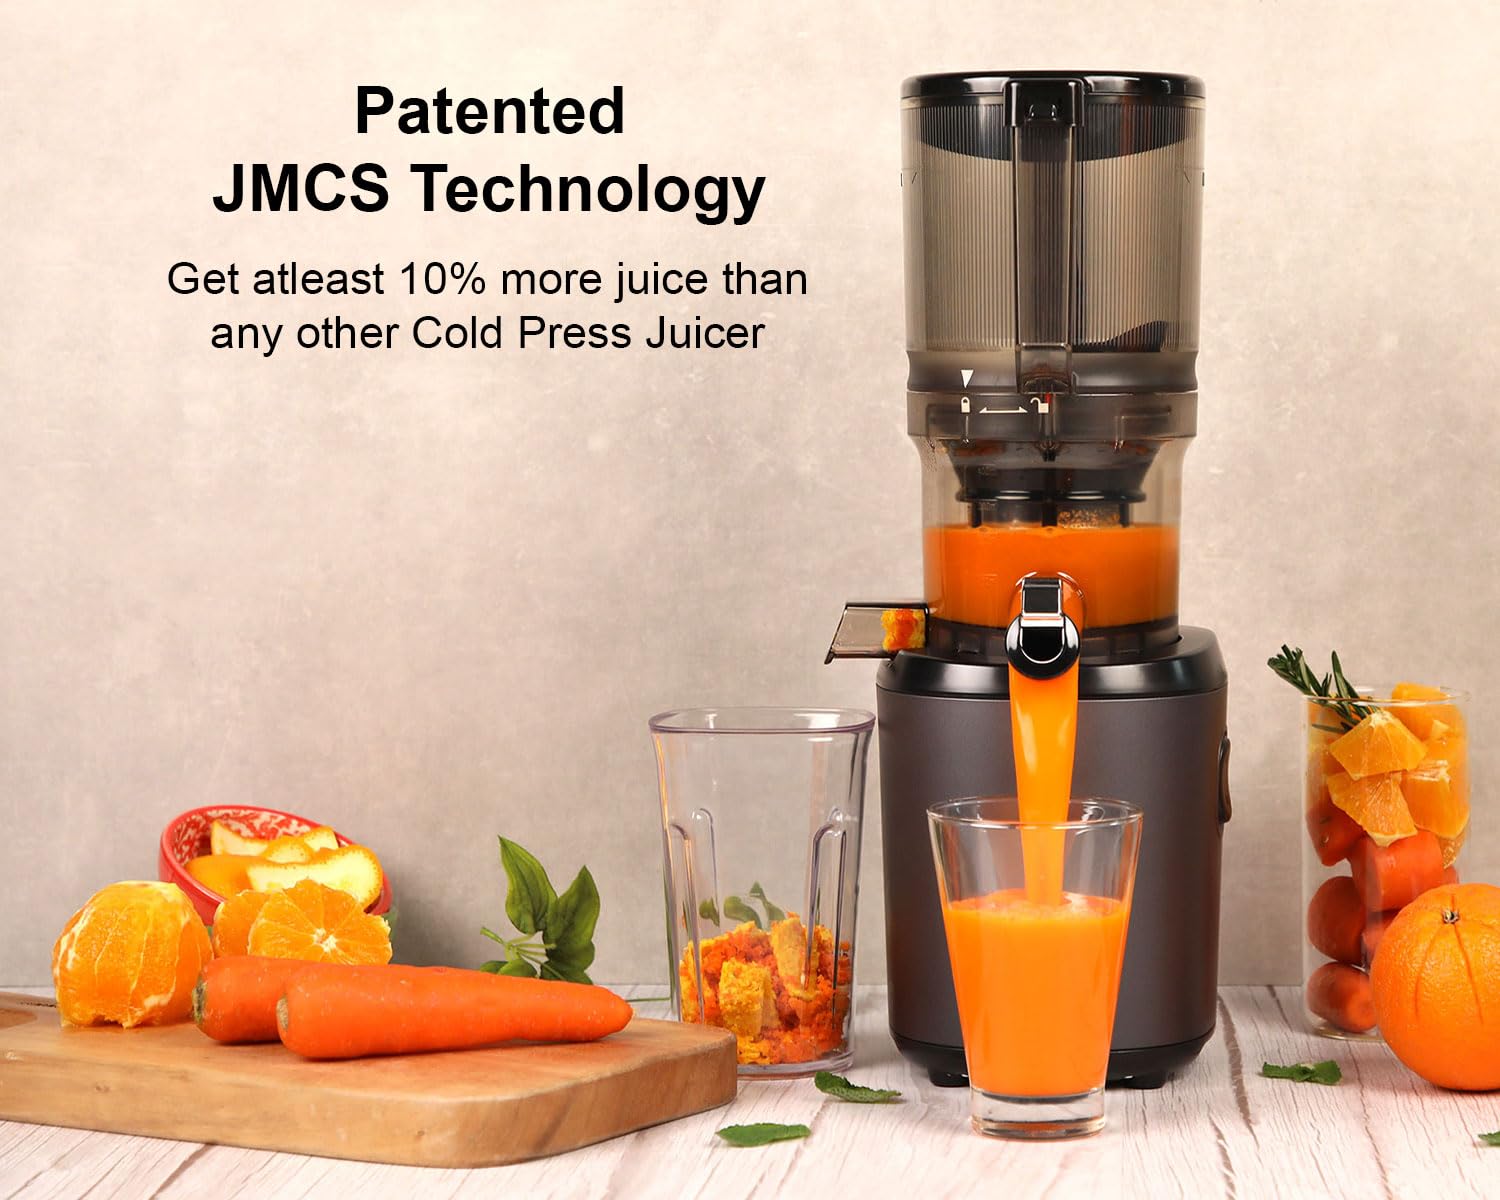
Image: The Kuvings AUTO6 Cold Press Juicer in operation, extracting green juice from leafy greens and fruits into a glass.

Image: The Kuvings AUTO6 Juicer showcasing its Patented JMCS Technology, which contributes to a higher juice yield.
6. Maintenance and Cleaning
Regular cleaning is crucial for maintaining the performance and longevity of your juicer.
Disassembly for Cleaning
- Ensure the juicer is turned off and unplugged.
- Remove the Auto Hopper Lid by rotating it counter-clockwise.
- Lift out the Auger, then the Juice Strainer, and finally the Juice Bowl from the Motor Base.
Cleaning Procedure
- Rinse all detachable parts (Juice Bowl, Strainer, Auger, Lid, Jars) under running water immediately after use to prevent pulp from drying.
- Use the provided patented green cleaning tool kit and cleaning brush to thoroughly clean the Juice Strainer, removing any trapped pulp.
- Wash all parts with warm, soapy water.
- Rinse thoroughly and allow all parts to air dry completely before reassembling or storing.
- Wipe the Motor Base with a damp cloth. Never immerse the Motor Base in water.
7. Troubleshooting
| Problem | Possible Cause | Solution |
|---|---|---|
| Juicer does not turn on. | Power cord not plugged in; Topset not assembled correctly. | Ensure power cord is securely plugged in. Reassemble the topset, ensuring the Auto Hopper Lid is locked into place. |
| Excessive vibration or noise. | Improper assembly; Hard ingredients. | Disassemble and reassemble all parts carefully. Ensure ingredients are appropriate for juicing and not excessively hard. |
| Pulp is wet. | Overfeeding; Soft ingredients. | Feed ingredients at a slower pace. For very soft fruits, alternate with harder vegetables. |
| Juice leaks from the base. | Juice Bowl not properly seated. | Ensure the Juice Bowl is correctly aligned and locked onto the Motor Base. |
8. Specifications
- Brand: Kuvings
- Model: AUTO 6 Gunmetal
- Colour: Black
- Special Feature: Cold Press Juicer with Unique Auto Cutting Auger
- Product Dimensions: 46D x 28W x 36H Centimeters
- Finish Type: Lacquered
- Product Care Instructions: Clean Thoroughly after Every Use
- Capacity: 1700 Cubic Centimetres
- Maximum Power: 200 Watts
- Power Source: Corded Electric
- Blade Material: Stainless Steel
- Manufacturer: NUC Electronics
- Country of Origin: China
- Item Weight: 8 kg
- Included Components: Cold Press Juicer (main unit)
9. Warranty and Support
Warranty Information
The Kuvings AUTO6 Juicer comes with a 12-year warranty on the motor, ensuring long-term peace of mind. Please refer to your warranty card for specific terms and conditions.
Customer Support
Kuvings India provides dedicated support with offices across India. For any queries regarding demonstration, installation, service requirements, or product knowledge, please contact customer care.

Image: Map illustrating Kuvings India offices and service points across the country, along with contact details for support.
Toll-Free Number: 1800 102 2239
(Monday to Saturday, 10 am to 6 pm)
Ask a question about this manual
Ask about setup, troubleshooting, compatibility, parts, safety, or missing instructions. Manuals+ will review the question and use this page’s manual context to help answer it.