Sunoony CD-20
Sunoony Portable CD Player
Model: CD-20
User Manual
1. Introduction
Thank you for purchasing the Sunoony Portable CD Player. This manual provides essential information for setting up, operating, and maintaining your device. Please read it thoroughly before use to ensure optimal performance and longevity.

Image: The Sunoony Portable CD Player, model CD-20, shown with its packaging and included accessories.
2. What's in the Box
- CD Player x1
- Type-C Cable x1
- User Manual x1
- AUX Cable x1

Image: All items included in the product packaging: the CD player, Type-C cable, user manual, and AUX cable.
3. Setup
3.1 Power Supply
The CD player can be powered by two methods:
- 2 AA Batteries: Insert two AA batteries (not included) into the battery compartment on the bottom of the player. Ensure correct polarity.
- Type-C Cable: Connect the provided Type-C cable to the DC IN 5V port on the player and plug the other end into a USB power adapter (not included) or a compatible USB port.
Note: This CD player does not have a built-in rechargeable battery.

Image: Illustration of the two power supply options: 2 AA batteries and connection via Type-C cable.
3.2 Connecting Headphones or AUX
The player does not have a built-in speaker. You must connect headphones or an external audio device to listen.
- Headphones: Plug your 3.5mm headphones (not included) into the headphone jack on the side of the player.
- AUX Output: Use the provided AUX cable to connect the player to an AUX-enabled stereo system or car audio system.
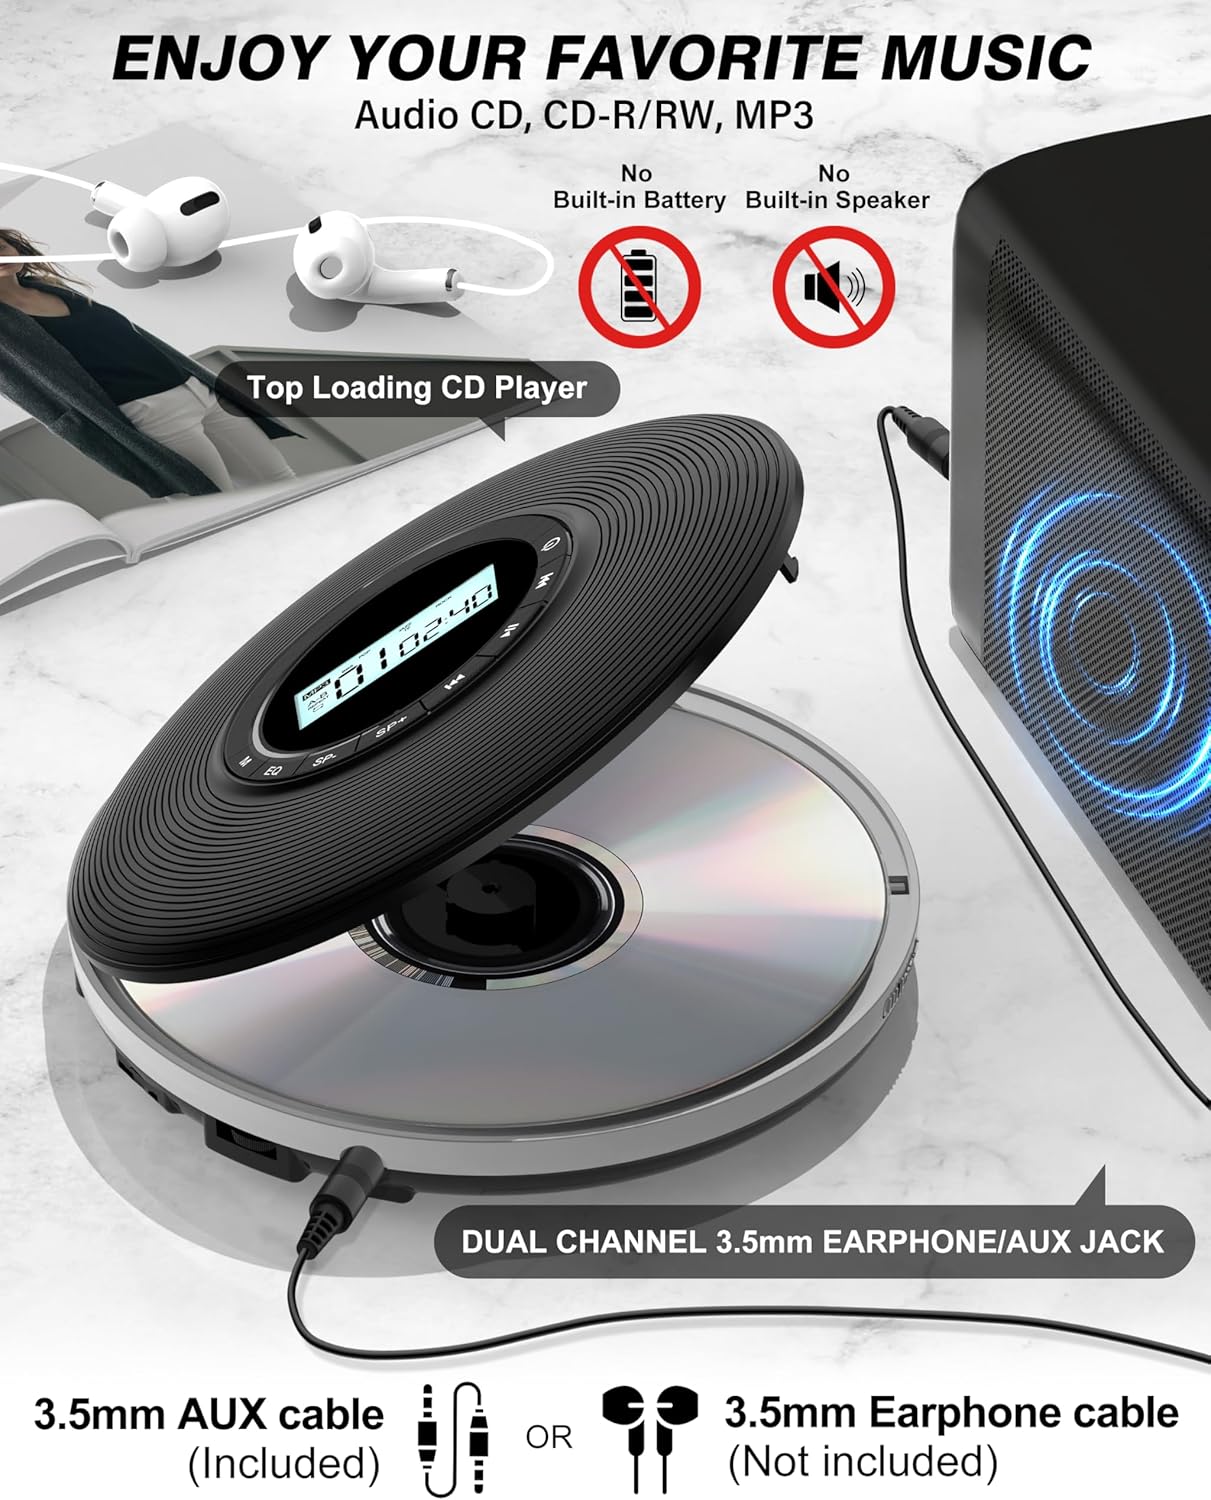
Image: The CD player connected to headphones and an external speaker, demonstrating the 3.5mm earphone/AUX jack.
4. Operating Instructions
4.1 Basic Controls
The player features an intuitive button layout and an LCD screen for easy navigation.
- Power Button: Press to turn on/off.
- Play/Pause: Start or pause playback.
- Next/Previous: Skip to the next or previous track.
- Volume Control: Adjust the audio output level.
- EQ (Equalizer): Cycle through different sound modes (e.g., Pop, Rock, Jazz, BBS, Normal).
- Mode (M): Select playback modes (e.g., Repeat One, Repeat All, Intro, Shuffle).
- SP+/SP- (Speed Adjustment): Adjust playback speed.
- HOLD Switch: Located on the bottom, slide to ON to lock all buttons and prevent accidental presses. Slide to OFF to enable button functions.
Image: A clear view of the player's top panel, highlighting the LCD screen and various control buttons.
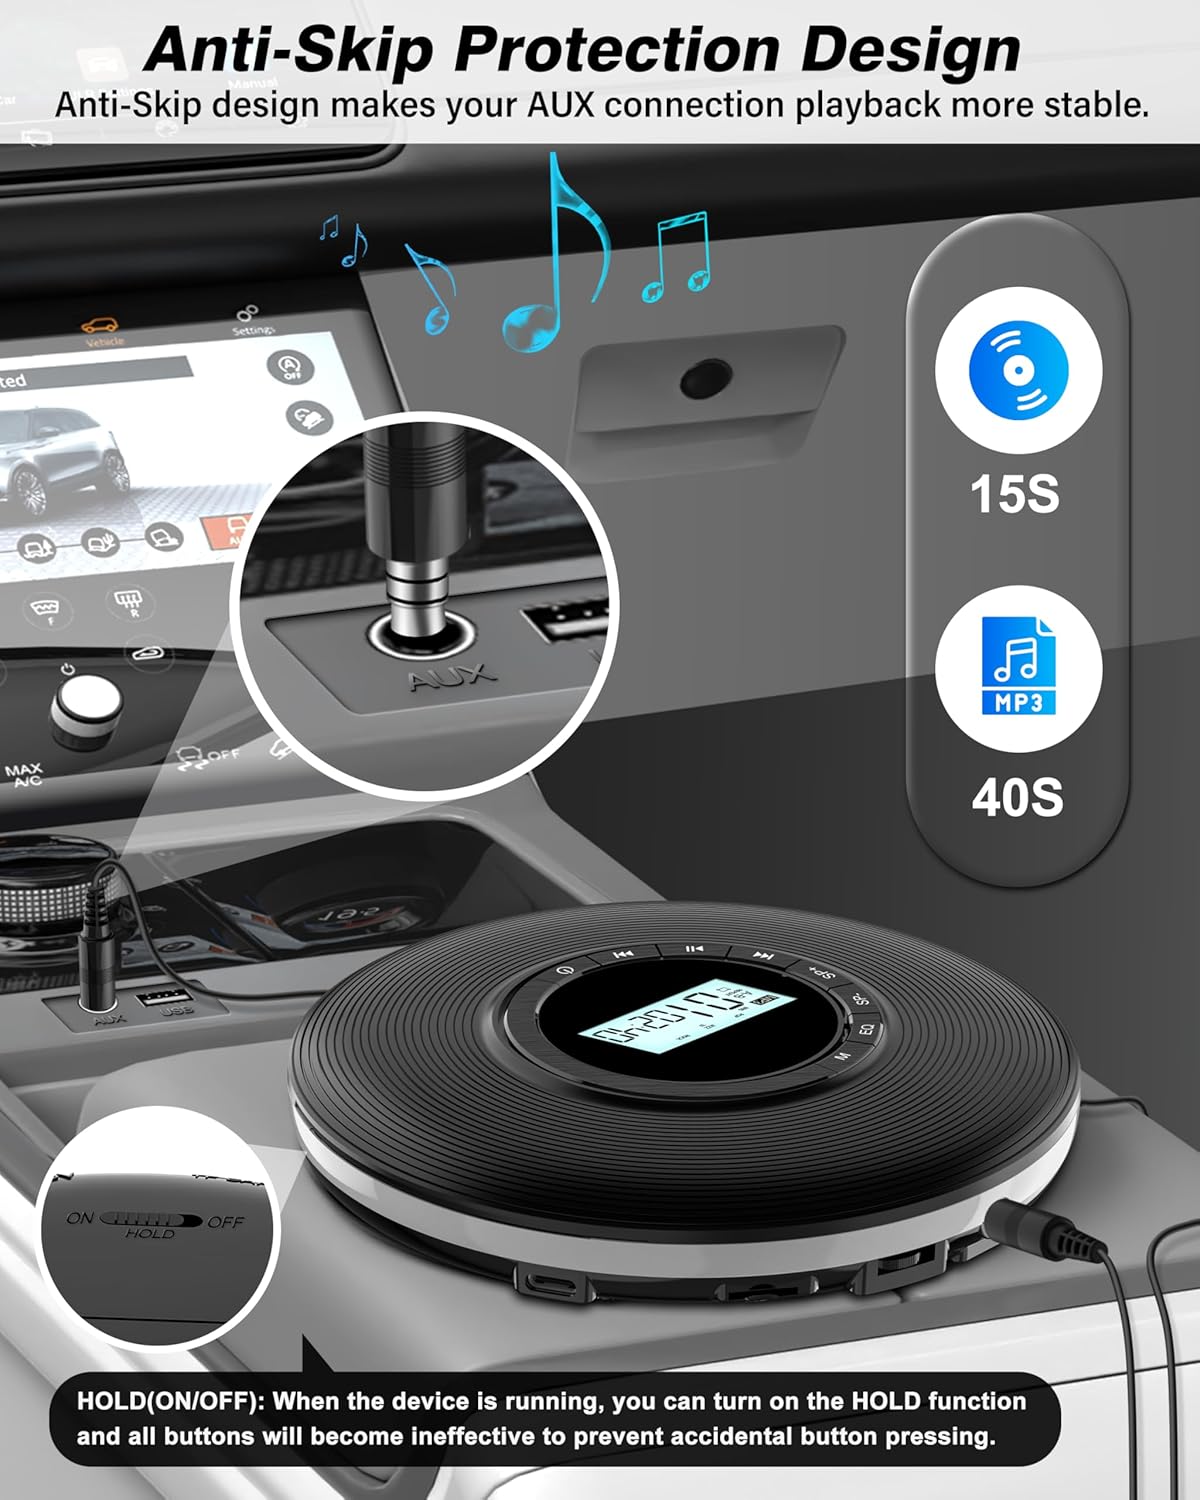
Image: The bottom of the CD player, indicating the location and function of the HOLD switch to prevent accidental button presses.
4.2 CD Playback
- Slide the "OPEN" button to open the CD compartment.
- Carefully place a CD/CD-R/CD-RW disc onto the spindle, label side up.
- Close the CD compartment firmly until it clicks.
- Press the Power button to turn on the device. The player will read the disc and begin playback automatically.
For a visual guide on placing and removing CDs, please watch the video below:
Video: Demonstrates the correct procedure for placing and removing CDs from the player.
4.3 SD Card Playback
The player supports SD cards up to 32GB, compatible with MP3/WMA formats.
- Insert a TF/SD card into the TF Slot on the side of the player.
- The player will automatically switch to TF card mode and begin playback.
- Use the Next/Previous buttons to navigate tracks and SP+/SP- for speed adjustment.

Image: The CD player with a TF card inserted, illustrating the TF card playback feature and available EQ modes.
4.4 Anti-Skip and Anti-Shock Protection
The player is equipped with anti-skip and anti-shock technology to ensure uninterrupted listening:
- Provides 15 seconds of anti-skip protection for CD audio.
- Provides 40 seconds of shockproof protection for MP3 CD discs.
Image: The CD player positioned in a car, demonstrating its anti-skip protection feature for stable playback.
4.5 Turning Off the Player
To turn off the player, long press the Power button until the display turns off.
Video: A short demonstration on how to properly turn off the CD player.
5. Maintenance
- Keep the player clean by wiping it with a soft, dry cloth.
- Avoid exposing the device to extreme temperatures, direct sunlight, or high humidity.
- Do not disassemble the player. Refer to qualified service personnel for repairs.
- Remove batteries if the player will not be used for an extended period.
6. Troubleshooting
| Problem | Possible Cause | Solution |
|---|---|---|
| Player does not turn on. | No power / Dead batteries. | Ensure Type-C cable is properly connected or replace AA batteries. |
| Disc skipping or not playing. | Dirty or scratched disc / Player moved excessively. | Clean the disc. Ensure the player is on a stable surface or utilize anti-skip feature. |
| No sound. | Headphones not connected / Volume too low / HOLD switch is ON. | Connect headphones, increase volume, or slide HOLD switch to OFF. |
| Buttons not responding. | HOLD switch is ON. | Slide the HOLD switch to OFF. |
7. Specifications
- Product Dimensions: 5.59 x 5.59 x 1.14 inches
- Item Weight: 0.64 ounces
- Manufacturer: Sunoony
- Model Number: CD-20
- Country of Origin: China
- Supported Disc Formats: CD/CD-R/CD-RW, MP3 CD
- SD Card Support: Up to 32GB (MP3/WMA formats)
- Power Supply: 2*AA Batteries or Type-C Cable (DC IN 5V)
- Headphone Jack: 3.5mm
- Anti-Skip Protection: 15 seconds (CD), 40 seconds (MP3)
8. Warranty and Support
Sunoony is committed to providing quality products and excellent customer service.
- 30-Day Money Back Guarantee: If you are not satisfied with your product.
- 12-Month Replacement Warranty: For product defects or malfunctions.
- Lifetime Support: Dedicated customer service for the lifespan of the product.
- 24/7 Customer Service: Professional after-sales support team available to assist you.
For any inquiries or support, please refer to the contact information provided in your product packaging or visit the official Sunoony store on Amazon.

Image: Sunoony's commitment to customer satisfaction and support.
Ask a question about this manual
Ask about setup, troubleshooting, compatibility, parts, safety, or missing instructions. Manuals+ will review the question and use this page’s manual context to help answer it.