
1. Introduction
Thank you for choosing the PawHut Pet Feeding Station. This elevated feeding station is designed to provide a convenient and organized solution for your pet's mealtime and storage needs. It features concealed feeding bowls, adjustable storage options, and practical accessory hooks, all within a stylish cabinet design. This manual provides essential information for assembly, operation, and maintenance to ensure safe and effective use of your product.


2. Safety Information
- Keep this product out of reach of pets when not in use to prevent accidental damage or injury.
- Ensure all components are properly assembled and secured according to the instructions to prevent instability or collapse.
- Do not exceed the maximum weight limit of 66 pounds (30 kg) for the cabinet.
- Periodically check all fasteners to ensure they remain tight.
- Avoid prolonged exposure to moisture to prevent damage to the engineered wood material. Immediately wipe up any spills.
3. Package Contents
Before beginning assembly, please verify that all parts listed below are present and undamaged. If any parts are missing or damaged, please contact customer service.
- Cabinet Panels (various sizes for sides, top, bottom, back, doors, drawer)
- Adjustable Shelf
- 2 Stainless Steel Bowls
- 3 Accessory Hooks
- Drawer Slides and Hardware
- Assembly Hardware (screws, dowels, cam locks, handles, hinges, magnetic catches)
- Instruction Manual
4. Assembly Instructions
Assembly is required for this product. Please follow these steps carefully. It is recommended to have a second person assist with assembly for stability and ease.
Step 1: Prepare for Assembly
- Unpack all components and lay them out on a clean, soft surface (e.g., a blanket or cardboard) to prevent scratches.
- Identify each part by comparing it with the parts list and diagrams provided in the included instruction manual.
- Gather necessary tools (e.g., screwdriver, hammer).
Step 2: Assemble the Main Cabinet Frame
- Attach the side panels to the bottom panel using the provided hardware (dowels and screws/cam locks). Ensure the pre-drilled holes for the adjustable shelf supports are facing inwards.
- Secure the back panel into the grooves or attach it to the rear of the cabinet frame using small nails or screws.
Step 3: Install the Adjustable Shelf
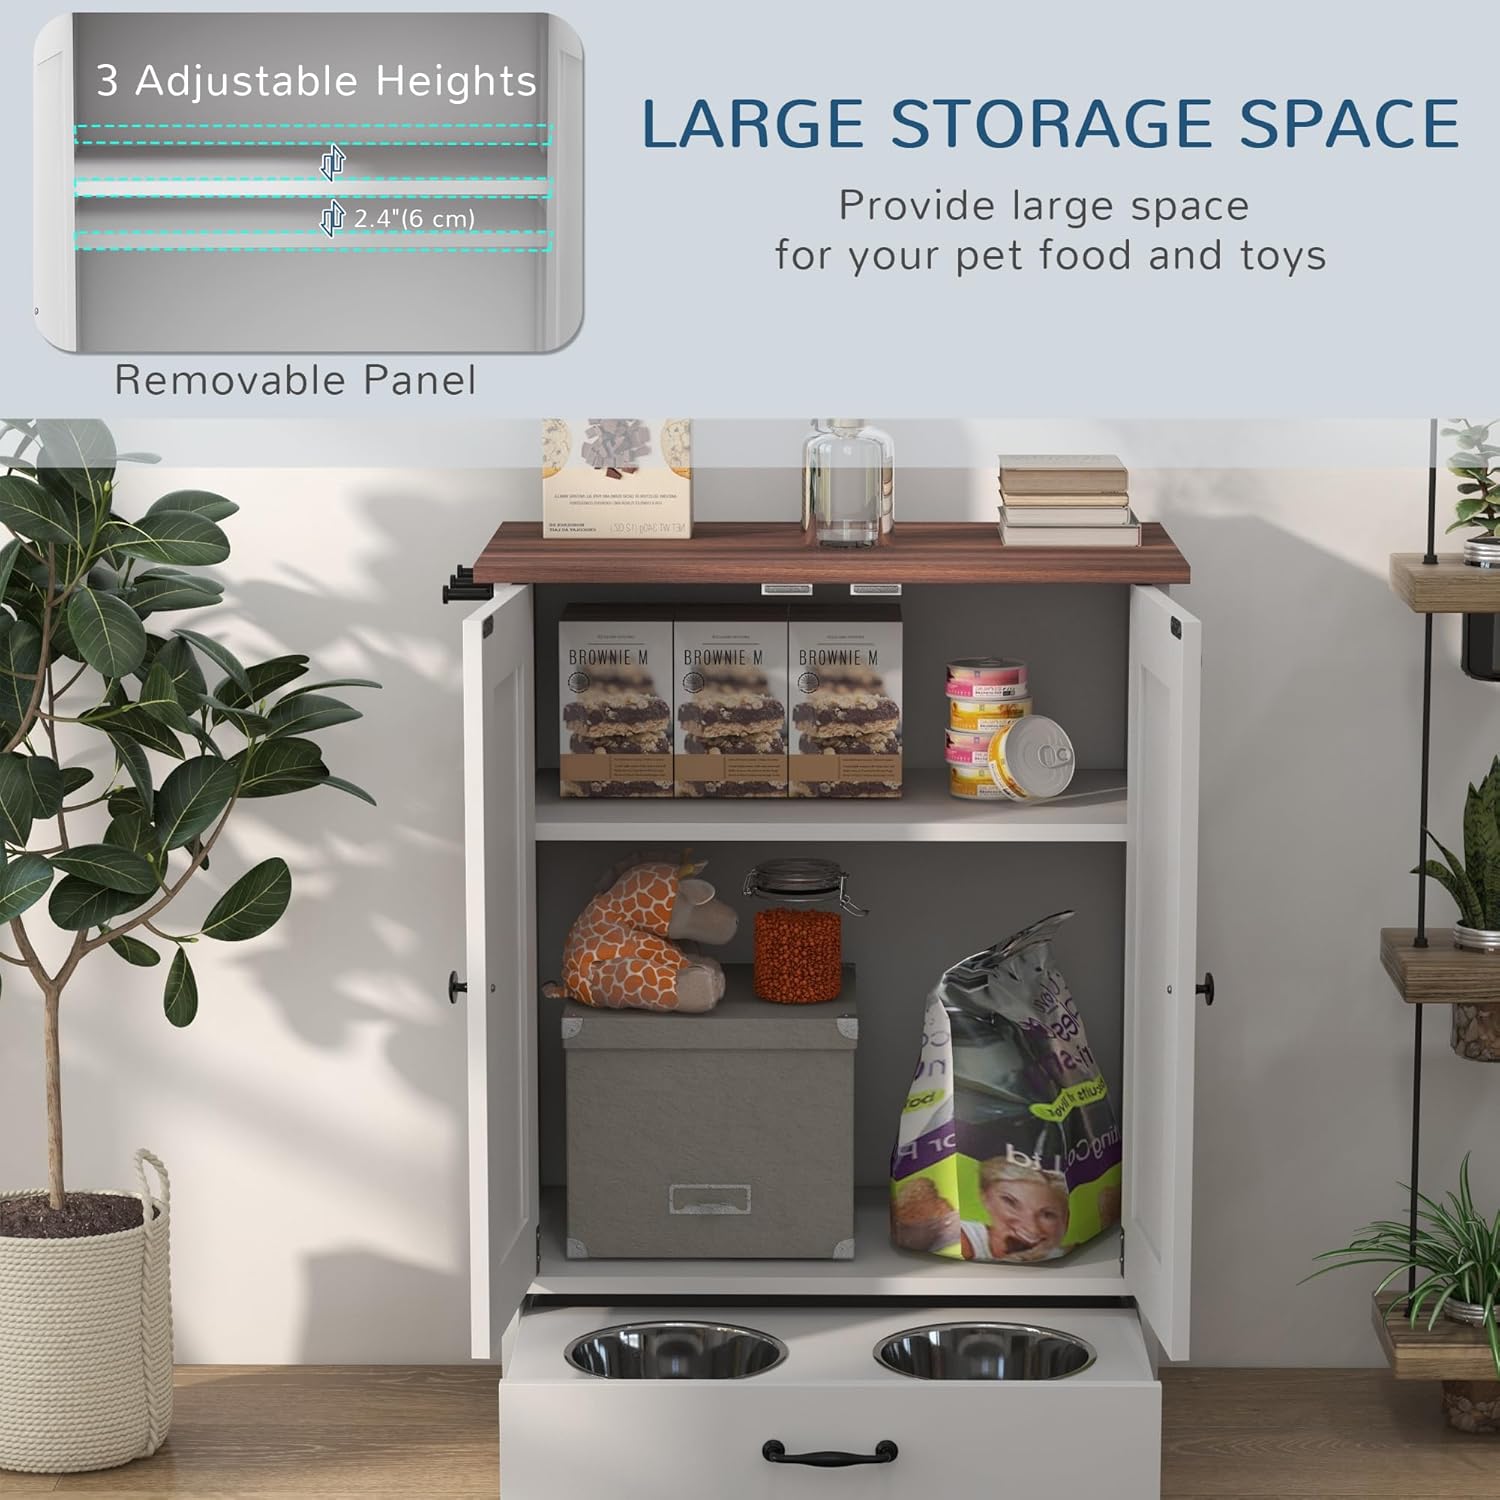
- Insert the shelf support pins into the desired holes on the inner side panels. The cabinet offers three adjustable shelf positions.
- Place the adjustable shelf onto the support pins.
Step 4: Attach Cabinet Doors
- Attach the hinges to the cabinet doors and then to the main cabinet frame.
- Install the door handles.
- Install the magnetic catches on the inside of the cabinet and on the doors to keep them securely closed.
Step 5: Assemble and Install the Pull-Out Drawer


- Assemble the drawer box using the designated panels and hardware.
- Attach the drawer slides to the sides of the drawer box and the corresponding slides to the inside of the cabinet base. Ensure they are correctly oriented for smooth operation.
- Carefully insert the assembled drawer into the cabinet, aligning the slides.
- Place the two stainless steel bowls into the designated cutouts in the drawer.
- Attach the drawer handle.
Step 6: Attach Side Hooks


- Screw the three accessory hooks into the pre-drilled holes on the side of the cabinet.
Step 7: Place Top Surface
- Place the top surface panel onto the assembled cabinet. Secure it if fasteners are provided.
5. Operating Instructions
5.1 Using the Feeding Bowls
- To access the feeding bowls, gently pull the bottom drawer outwards until it is fully extended.
- Fill the stainless steel bowls with your pet's food and water.
- After your pet has finished eating, push the drawer back into the cabinet to conceal the bowls and maintain a tidy space.
5.2 Utilizing Storage Space
- Open the cabinet doors to access the internal storage compartment.
- The internal shelf can be adjusted to three different heights to accommodate various sizes of pet food bags, treats, or toys. To adjust, remove the shelf, reposition the support pins, and reinsert the shelf.
- The large top surface can be used for additional storage or as a display area.
5.3 Using Accessory Hooks
- The three hooks located on the side of the cabinet are suitable for hanging leashes, collars, or other small pet accessories, keeping them organized and easily accessible.
6. Maintenance and Cleaning
6.1 Cleaning the Bowls
- The stainless steel bowls are removable for easy cleaning.
- They are dishwasher safe, or can be washed by hand with warm, soapy water. Rinse thoroughly and dry before returning to the drawer.
6.2 Cleaning the Cabinet
- Wipe the cabinet surfaces with a soft, damp cloth. Avoid abrasive cleaners or harsh chemicals, which can damage the finish.
- Immediately wipe up any water spills or moisture to prevent swelling or damage to the engineered wood.
- Regularly dust the surfaces to maintain appearance.
7. Troubleshooting
Issue: Difficulty with Assembly
Solution: Carefully review the provided assembly diagrams and instructions for each step. Ensure all parts are correctly identified and oriented before fastening. Some parts, like drawer slides or magnetic catches, may consist of multiple pieces that need to be separated before installation. If you encounter persistent difficulties, please contact PawHut customer support for assistance.
Issue: Drawer slides back in when pet is eating
Solution: Ensure the drawer is pulled out completely to its full extension. The drawer is designed to slide smoothly, and while it does not feature a locking mechanism, ensuring it is fully extended can provide more stability. If your pet frequently pushes the drawer closed, consider placing a small, temporary stopper behind the drawer when in use, or gently guiding your pet to eat from the bowls without pushing the drawer.
8. Specifications

| Feature | Detail |
|---|---|
| Model Number | D08-059V00WT |
| Overall Dimensions | 23.6" L x 13.8" W x 31.5" H (60 cm L x 35 cm W x 80 cm H) |
| Bowl Capacity | 37 oz (1100 ml) per bowl |
| Weight Limit | 66 lbs (30 kg) |
| Material | Engineered Wood, Stainless Steel (bowls) |
| Color | White with Wood Grain Top |
| Adjustable Shelf | 3 height positions |
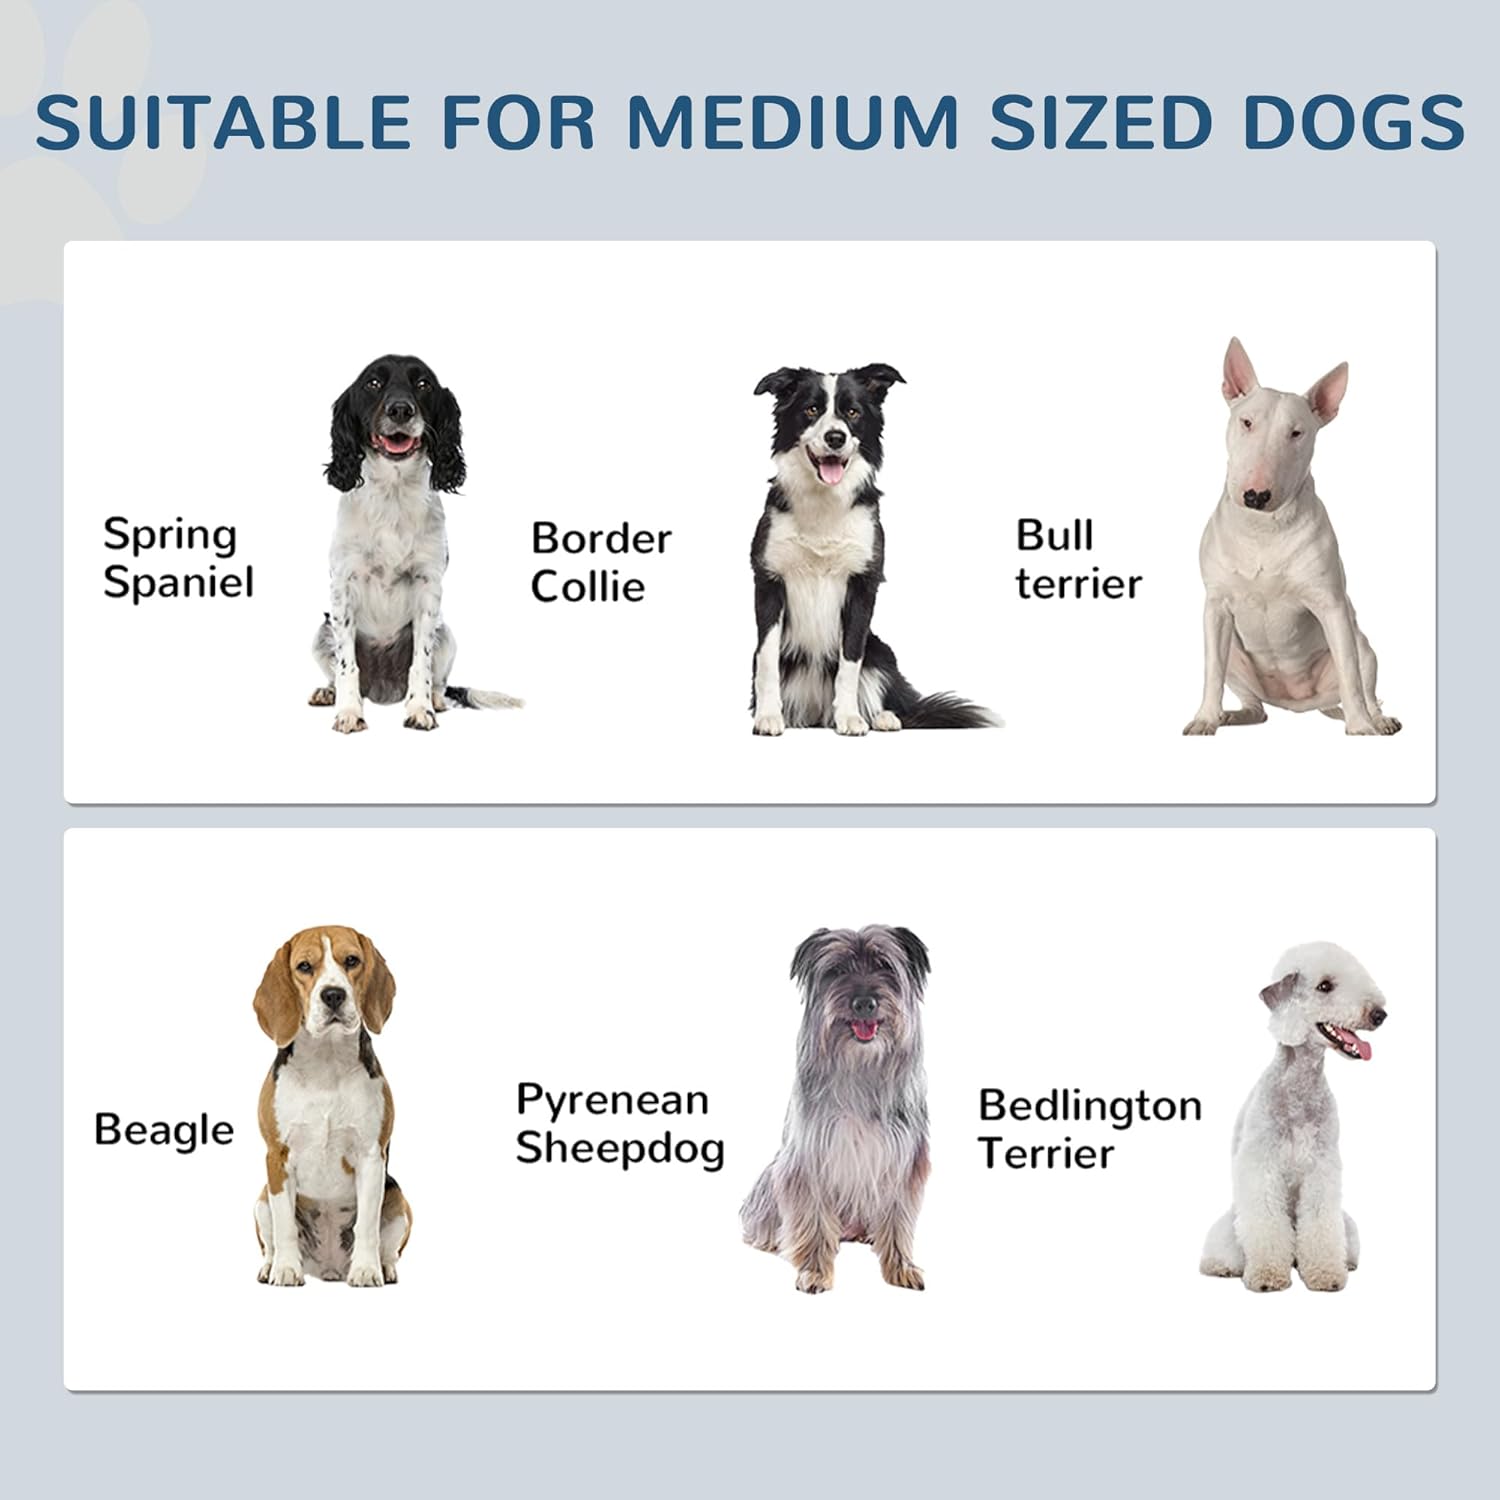
| Suitable For | Medium-sized pets (14"-20" shoulder height) |
9. Warranty and Support
PawHut products are designed for quality and durability. For any questions regarding assembly, operation, missing parts, or potential defects, please contact PawHut customer service. Please have your model number (D08-059V00WT) and purchase information ready when contacting support.
Contact information can typically be found on the packaging or the retailer's website where the product was purchased.