AceGamer LBER-SW-01
AceGamer Wireless Game Controller User Manual
Model: LBER-SW-01
Introduction
Thank you for choosing the AceGamer Wireless Game Controller. This controller is designed to provide an enhanced gaming experience across multiple platforms, including Nintendo Switch, Switch Lite, Switch OLED, Windows, iOS, and Android devices. It features advanced functionalities such as a 6-axis gyroscope, adjustable vibration, programmable back buttons, and a multi-speed turbo function. Please read this manual carefully to ensure proper use and to maximize your gaming enjoyment.

Image: Front view of the AceGamer Wireless Game Controller, showcasing its blue and red grips and central button layout.
Package Contents
- 1 x AceGamer Wireless Game Controller
- 1 x USB Charging Cable
- 1 x User Manual (this document)
Setup and Connection
Initial Charging
Before first use, fully charge the controller. Connect the provided USB charging cable to the controller's charging port and the other end to a USB power source (e.g., console, PC, USB wall adapter). The charging time is approximately 3-4 hours for a full charge.
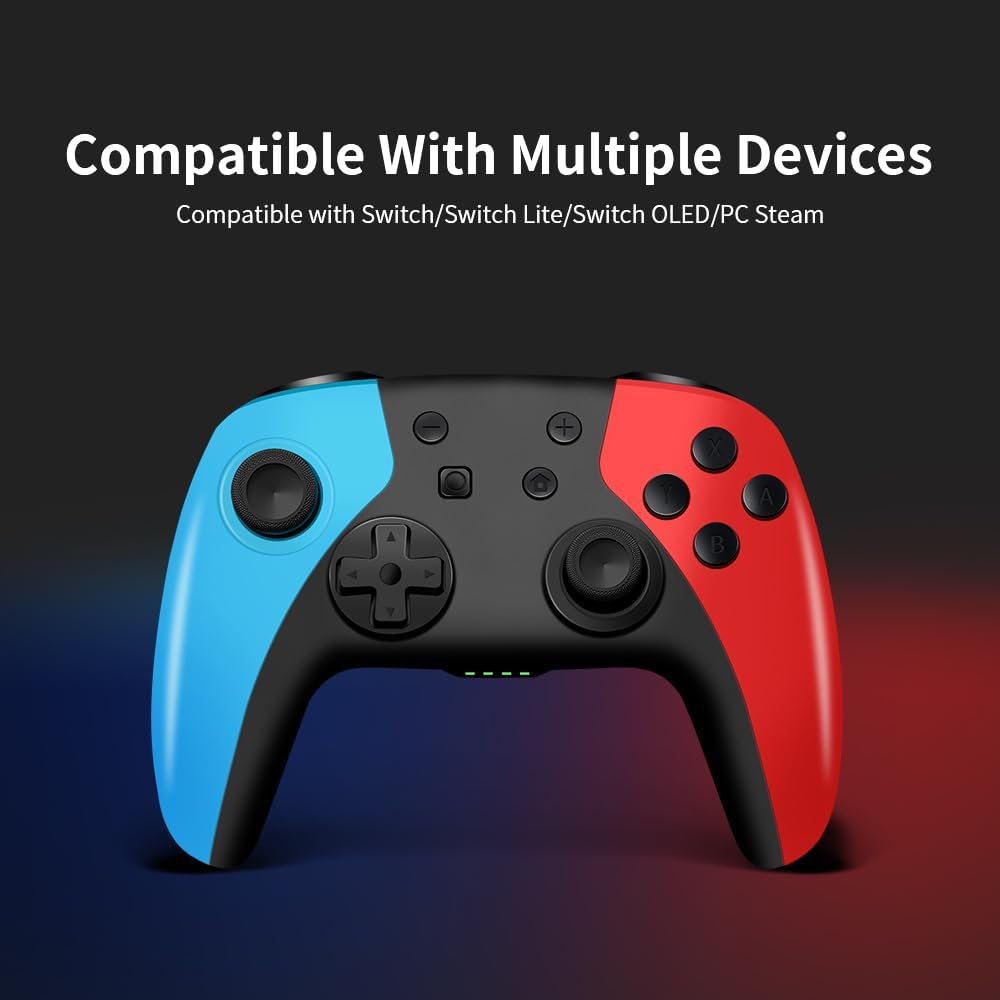
Image: Close-up of the controller showing a battery icon and indicating a large capacity battery for extended game time and quick charging.
Connecting to Nintendo Switch/Switch Lite/OLED
- From the HOME Menu, select "Controllers" > "Change Grip/Order".
- On the controller, press and hold the HOME button for 3-5 seconds until the LED indicators start flashing rapidly.
- Once connected, the corresponding player LED(s) on the controller will light up solid.
- The controller supports the "Wake Up" function. Press the HOME button to wake up your Switch console from sleep mode.
Note: Third-party products are not manufactured by Nintendo Switch. Do not touch the joysticks when connecting, as this may cause drift.
Connecting to Windows PC
The controller can be connected to a Windows PC via USB cable or Bluetooth.
- USB Connection: Connect the controller to your PC using the USB cable. The PC should automatically detect and install the necessary drivers.
- Bluetooth Connection:
- Ensure your PC has Bluetooth enabled.
- Go to PC Settings > Devices > Bluetooth & other devices.
- Select "Add Bluetooth or other device" > "Bluetooth".
- On the controller, press and hold the HOME button for 3-5 seconds until the LED indicators flash.
- Select "Pro Controller" or similar from the list of available devices on your PC.
Connecting to iOS/Android Devices
- Enable Bluetooth on your iOS or Android device.
- On the controller, press and hold the HOME button for 3-5 seconds until the LED indicators flash.
- Search for "Pro Controller" or similar in your device's Bluetooth settings and select to pair.

Image: The controller displayed with text indicating compatibility with Switch, Switch Lite, Switch OLED, and PC Steam.
Operating Instructions
Basic Controls
The controller features standard button layouts for intuitive gameplay:
- A/B/X/Y Buttons: Standard action buttons.
- Directional Pad (D-Pad): For precise directional input.
- Left/Right Analog Sticks: For movement and camera control. Features Hall Effect joysticks for high precision and wear resistance, reducing drift.
- L/R Buttons: Shoulder buttons.
- ZL/ZR Buttons: Trigger buttons.
- HOME Button: Powers on/off the controller, wakes up the console, returns to home menu.
- Screenshot Button: Captures screenshots.
- +/- Buttons: Plus and Minus buttons for in-game menus.

Image: A hand holding the controller, highlighting the Hall Effect Joystick for precision and the ergonomic grip design.
Motion Control (6-Axis Gyro Sensor)
The built-in 6-axis gyroscope allows for precise motion control, enhancing your experience in games that utilize tilt or motion input. This feature helps you react quickly and improves sports game experiences.
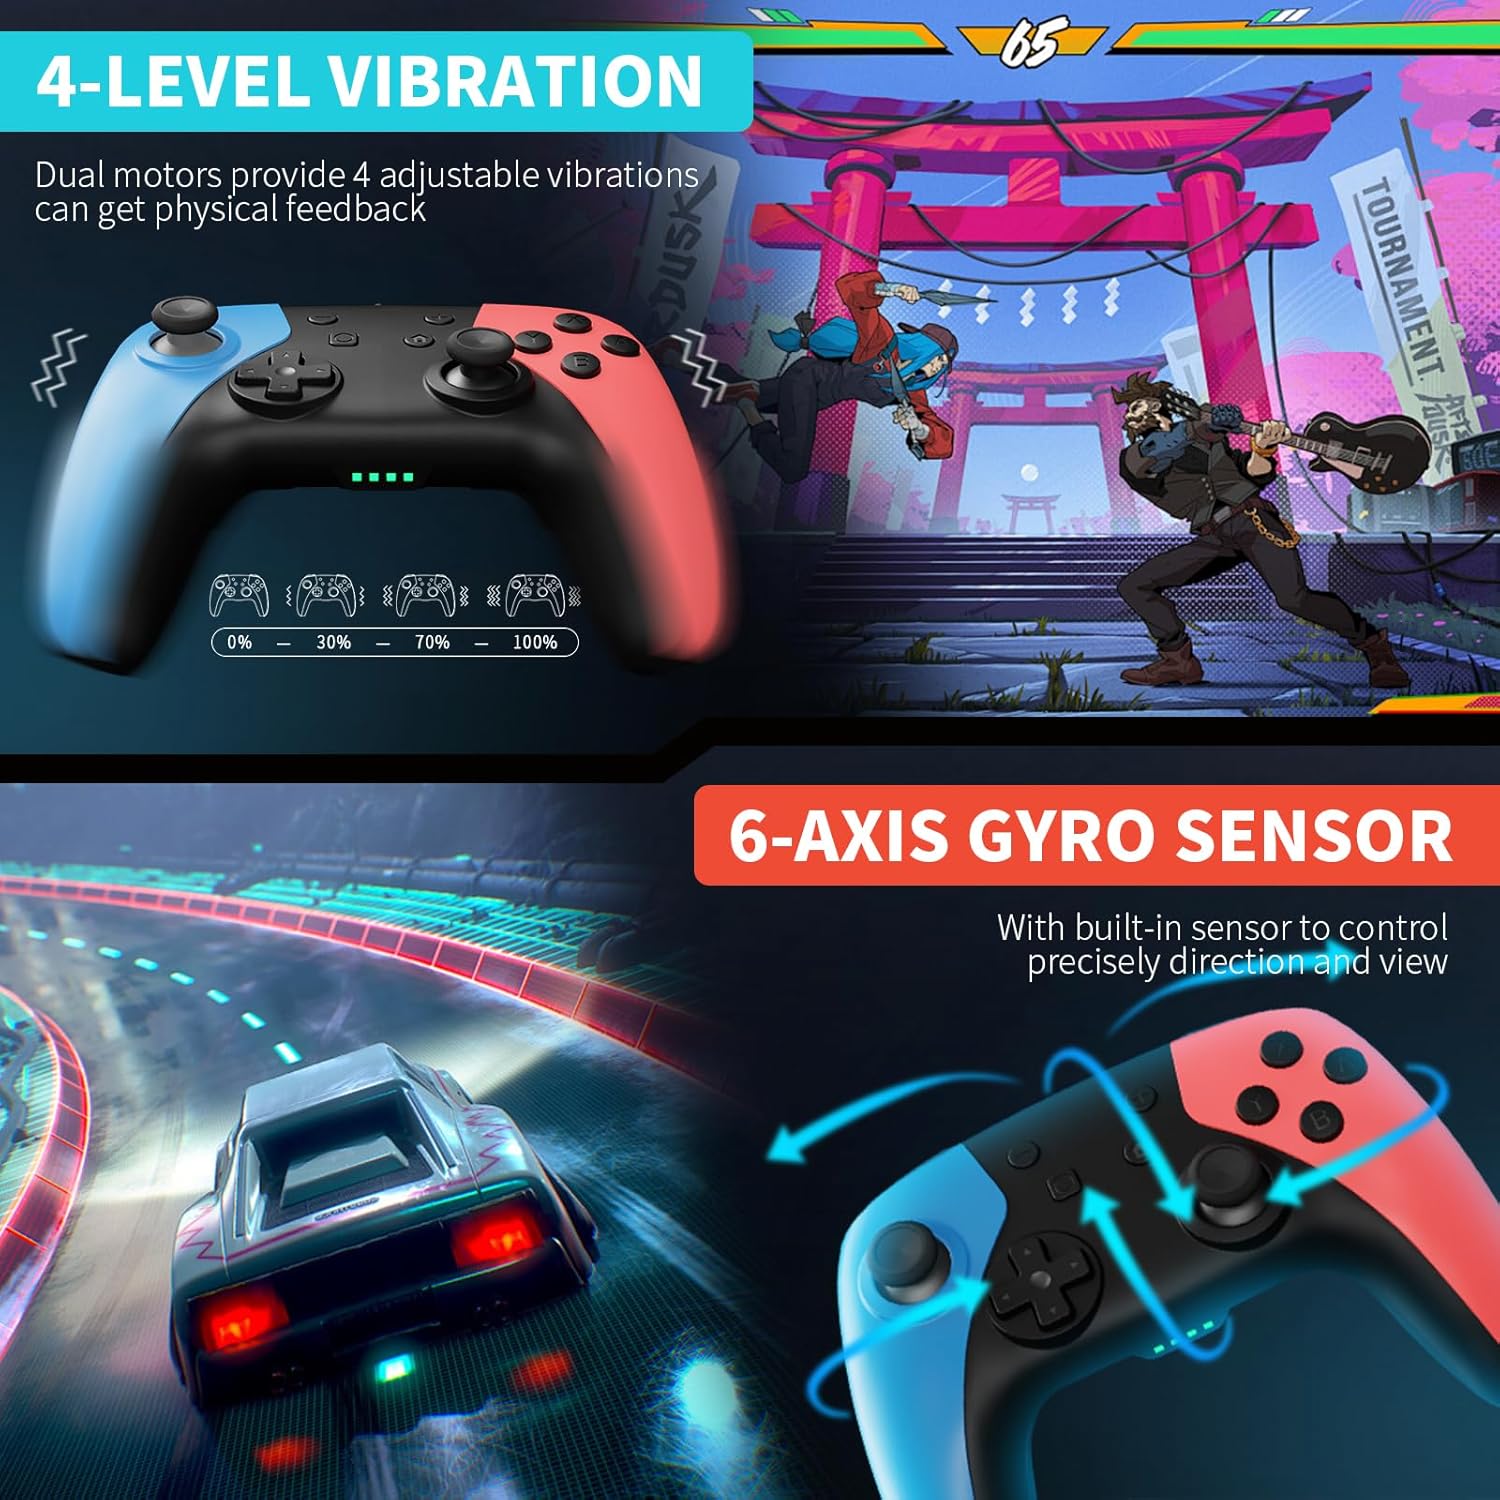
Image: Split image showing the controller's 4-level vibration feedback and the 6-axis gyro sensor in action, illustrating precise direction and view control in games.
Vibration Feedback (4 Levels)
The controller features dual vibration motors with 4 adjustable feedback levels (0%, 30%, 70%, 100%). You can adjust the vibration intensity to your preference for immersive physical feedback during gameplay. There is a dedicated button to control the vibration level.
Programmable Keys (M1/M2)
The controller includes two additional programmable back buttons, M1 and M2, located on the underside. These buttons can be mapped to any single or multiple combination of A/B/X/Y/L/ZL/R/ZR/L3/R3/D-Pad buttons, simplifying complex skill operations.
Programming Modes:
- Single Mapping: Assign a single button function to M1 or M2.
- Multiple Mapping: Assign a sequence of up to 16 button presses to M1 or M2.

Image: Rear view of the controller highlighting the M1 and M2 programmable keys and illustrating the range of buttons that can be mapped to them.
Turbo Burst Function (3 Speeds)
The turbo function allows for rapid, continuous input of a button press. It supports both automatic and manual turbo modes with three adjustable speeds:
- 5 shots/second
- 12 shots/second
- 20 shots/second
Refer to the quick start guide for specific button combinations to activate and adjust the turbo function.

Image: The controller shown in a gaming context, illustrating the three adjustable turbo speeds (5, 12, and 20 shots/second).
Battery Life and Power Management
The controller is equipped with a 1000mAh built-in lithium battery, providing approximately 12 hours of continuous gameplay on a full charge. To conserve battery, the controller will automatically power off after 5 minutes of inactivity.
Maintenance
- Cleaning: Use a soft, dry cloth to clean the controller. Avoid using harsh chemicals or abrasive materials.
- Storage: Store the controller in a cool, dry place away from direct sunlight and extreme temperatures.
- Battery Care: To prolong battery life, avoid fully discharging the battery frequently. Charge the controller regularly, even if not in use for extended periods.
- Handling: Do not drop or subject the controller to strong impacts. Avoid pulling the cable forcefully when disconnecting.
Troubleshooting
Controller Not Connecting/Pairing
- Ensure the controller is fully charged.
- Verify Bluetooth is enabled on your device (Switch, PC, phone).
- Make sure the controller is in pairing mode (LEDs flashing rapidly).
- Remove previous pairings from your device's Bluetooth list and try pairing again.
- Restart your console/device and the controller.
Buttons/Joysticks Unresponsive
- Ensure the controller is properly connected.
- Check battery level.
- Perform a soft reset by pressing the small reset button (if available, usually a pinhole) on the back of the controller, or by holding the HOME button for 10 seconds.
- For joystick drift, ensure joysticks are centered when connecting. If issues persist, contact support.
Charging Issues
- Ensure the USB cable is securely connected to both the controller and the power source.
- Try a different USB port or power adapter.
- Use the original charging cable provided with the controller.
Specifications
| Model Number | LBER-SW-01 |
|---|---|
| Compatibility | Nintendo Switch, Switch Lite, Switch OLED, Windows PC, iOS, Android |
| Battery Capacity | 1000 mAh Lithium Battery |
| Charging Time | Approx. 3-4 hours |
| Play Time | Approx. 12 hours |
| Dimensions | 17.2 x 11.7 x 7.1 cm (6.77 x 4.61 x 2.8 inches) |
| Weight | 331 grams (0.73 lbs) |
| Special Features | 6-Axis Gyro Sensor, 4-Level Vibration, Programmable M1/M2 Keys, 3-Speed Turbo, Hall Effect Joysticks, Wake Up Function |
Warranty and Support
AceGamer offers a warranty service for this product. If you have any questions or encounter any problems with your controller, please contact our customer support team for immediate assistance. We are committed to providing a satisfactory solution.
For support, please visit our official website or contact us via the details provided on your purchase platform.
Ask a question about this manual
Ask about setup, troubleshooting, compatibility, parts, safety, or missing instructions. Manuals+ will review the question and use this page’s manual context to help answer it.