1. Introduction
This manual provides detailed instructions for the installation, operation, and maintenance of your Podofo 2 Wireless Reversing Cameras Set. This system is designed to enhance driving safety by providing clear rear and side views for trucks, trailers, campers, and buses, featuring a 9-inch IPS monitor, HD 720P cameras, loop recording, IP68 waterproofing, and Blind Spot Detection (BSD).
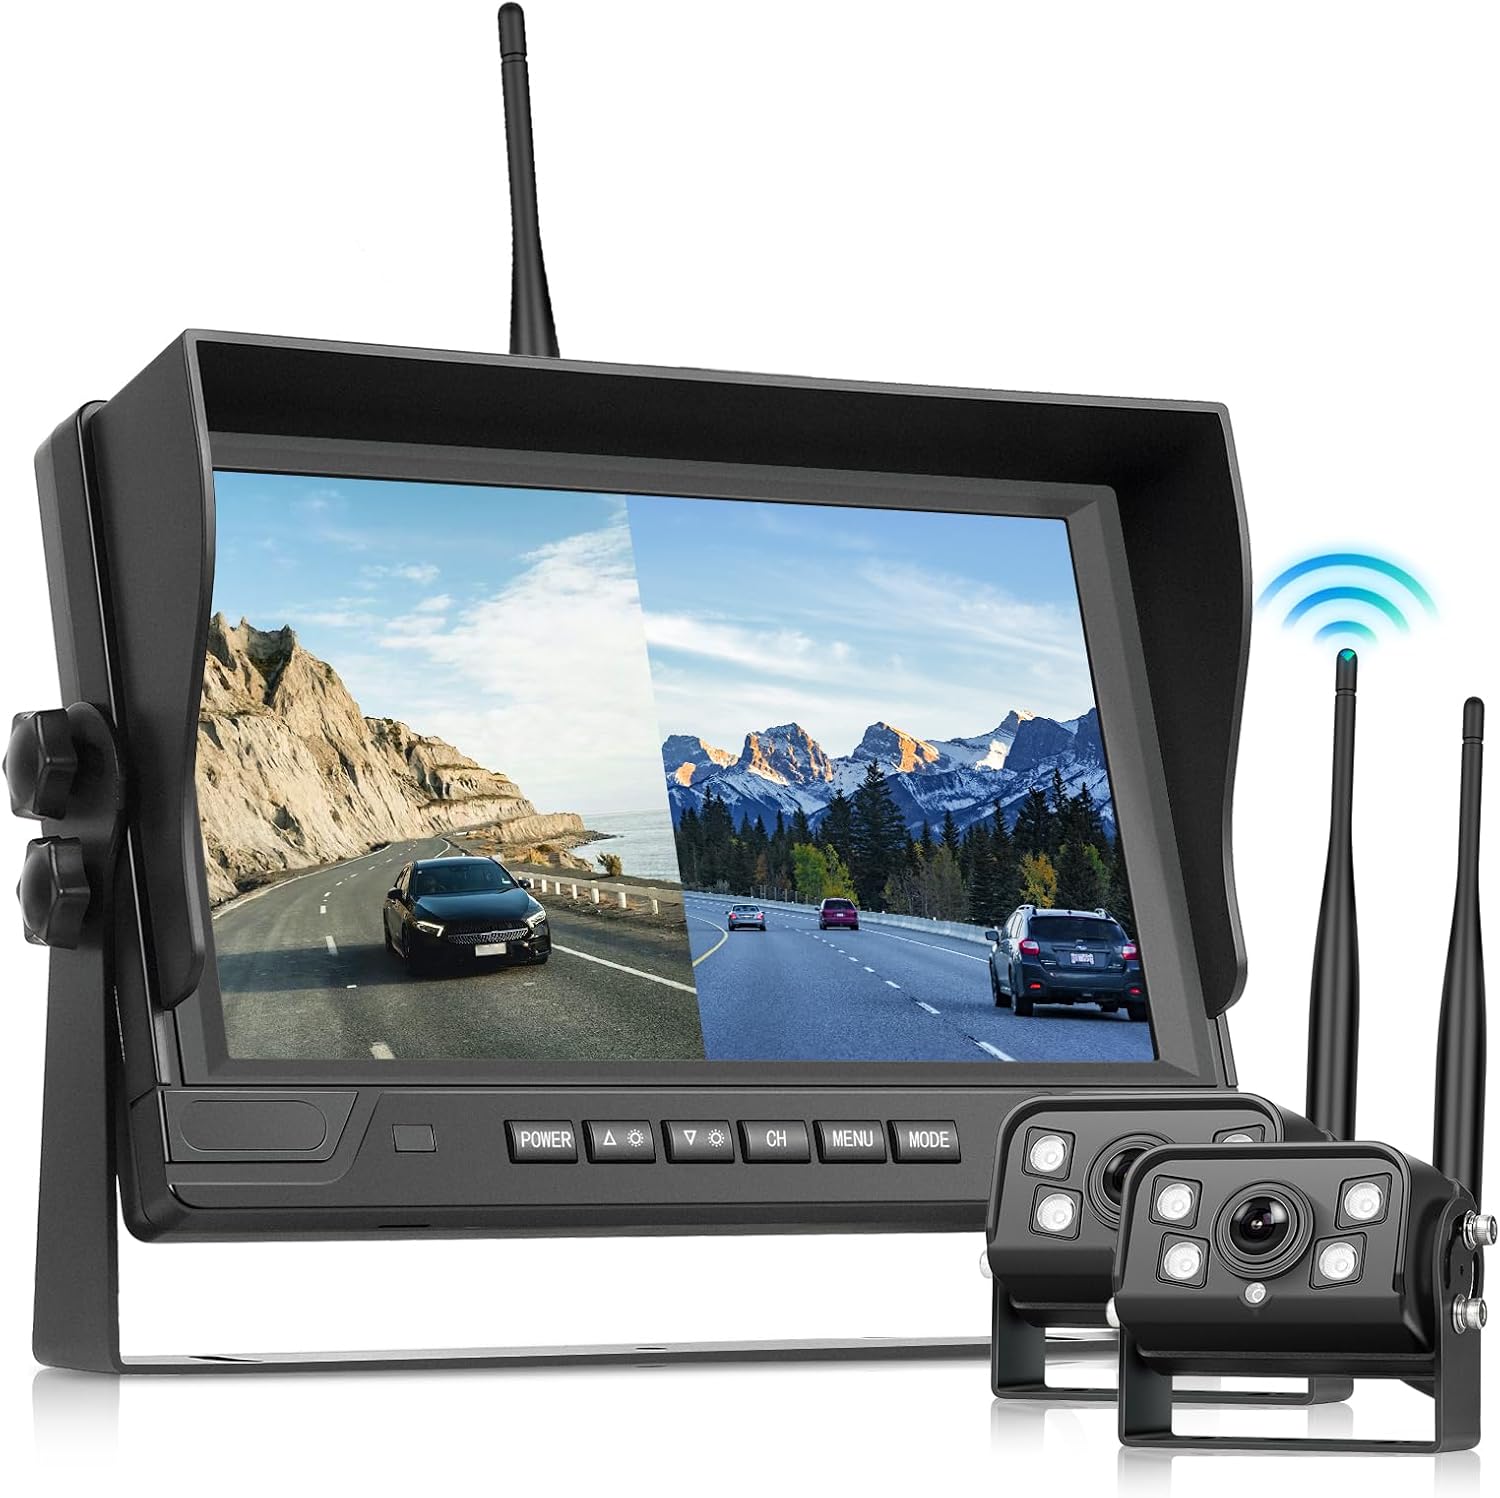
Image: The Podofo 2 Wireless Reversing Cameras Set, showing the 9-inch IPS monitor and two wireless cameras with antennas.
2. Package Contents
Please verify that all items listed below are included in your package. If any items are missing or damaged, please contact customer support.
- 1 x Monitor
- 2 x Rear View Cameras
- 1 x Cigarette Lighter Power Cable
- 3 x Extension Cables
- 1 x Holder (Bracket)
- 3 x Antenna Heads
- 1 x Sticker
- 1 x Remote Control (without battery)
- 1 x Manual (English version)
- Multiple Screws

Image: A visual representation of all components included in the Podofo 2 Wireless Reversing Cameras Set package, along with their dimensions.
3. Specifications
Monitor Specifications:
- Screen Size: 9 inches
- Resolution: 1024 x 600 pixels
- Voltage: 12V-24V
- Power: 5 W
- Operating Temperature: -4 °F ~ 176 °F (-20 °C ~ 80 °C)
- Split Screen: Supported
- Language: Chinese, English
- Display Technology: IPS LCD
- Product Dimensions: 22.8L x 6.8W x 17.5H cm
Camera Specifications:
- Resolution: 720P
- Viewing Angle: 105° [H] 150° [D]
- Voltage: DC12V-24V
- Waterproof Level: IP68
- Operating Temperature: -4 °F ~ 176 °F (-20 °C ~ 80 °C)
- Image Sensor: 1/2.9 inch sensor
- Optical Sensor Technology: CMOS

Image: The 9-inch large screen monitor, highlighting its size and clarity for vehicle monitoring.
4. Safety Information
Please read and understand all safety instructions before installing and operating the device. Failure to follow these instructions may result in injury or damage to the product.
- Ensure the power supply voltage matches the device's requirements (12V-24V).
- Do not attempt to disassemble or modify the device.
- Keep the device away from extreme temperatures, direct sunlight, and moisture.
- Install cameras securely to prevent detachment during vehicle movement.
- Always check your surroundings manually in addition to using the camera system, as it is an aid and not a substitute for safe driving practices.
- Disconnect power before performing any installation or maintenance.
5. Setup and Installation
5.1 Mounting the Monitor
- Attach the provided holder (bracket) to the monitor using the screws.
- Choose a suitable location on your dashboard or windshield that does not obstruct your view or interfere with airbags.
- Securely mount the monitor using the bracket.
5.2 Mounting the Cameras
- Identify suitable locations for the two cameras, typically at the rear of the vehicle and potentially on the side for blind spot monitoring.
- Ensure the chosen location provides a clear view and is protected from excessive impact.
- Securely attach the cameras using the provided screws.
- Attach the antenna heads to the cameras.
5.3 Wiring and Power Connection
The system supports both cigarette lighter power and direct wiring to the vehicle's electrical system (12V-24V).
- Cigarette Lighter Power: Connect the cigarette lighter power cable to the monitor and plug it into your vehicle's cigarette lighter socket.
- Direct Wiring: For a more permanent installation, connect the red wire to a positive 12V-24V power source and the black wire to a negative/ground source. Ensure proper insulation for all connections.
- Connect the cameras to their respective power sources (typically reverse light power for rear camera, or constant power for continuous monitoring).
- The cameras and monitor establish a stable wireless signal automatically.

Image: A diagram illustrating the power connection methods for the monitor and cameras, including using a cigarette lighter adapter or direct wiring to 12V-36V power.

Image: Depiction of the stable wireless signal transmission between the camera mounted on a trailer and the monitor in the truck cabin.
6. Operating Instructions
6.1 Monitor Controls
The monitor features several buttons for easy operation:
- POWER: Turns the monitor on/off.
- CH (Channel): Switches between camera views (CH1, CH2) or split-screen modes.
- MENU: Accesses the main menu for settings adjustments.
- MODE: Changes display modes (e.g., single view, split screen).
- Arrow Buttons (Up/Down): Navigate menu options or adjust values.
6.2 Split Screen Functionality
The monitor supports displaying images from both cameras simultaneously in a split-screen mode, providing a comprehensive view of your surroundings.

Image: The monitor screen showing various 2-channel split screen configurations, allowing simultaneous viewing of multiple camera feeds.
6.3 Loop Recording and Dash Cam Functionality
The system includes HD 720P cameras that support loop recording. This allows the system to function as a dash cam, continuously recording footage. When the storage is full, older files are automatically overwritten.
6.4 IP68 Waterproof and Night Vision
The cameras are designed with IP68 waterproof rating, ensuring reliable operation in various weather conditions. Super night vision capabilities provide clear images even in dimly lit environments.

Image: Visual representation of the system's IP68 waterproof rating with water splashing on the monitor and camera, alongside an icon indicating loop recording functionality.
6.5 Blind Spot Detection (BSD)
The system features Blind Spot Detection (BSD) to alert you to vehicles in your blind spots, helping to prevent accidental collisions during lane changes or turns.

Image: An illustration demonstrating the Blind Spot Detection (BSD) feature, showing how the system detects objects in blind spots and provides alerts on the monitor.
7. Maintenance
Regular maintenance ensures optimal performance and longevity of your camera system.
- Cleaning: Use a soft, damp cloth to clean the monitor screen and camera lenses. Avoid abrasive cleaners or solvents.
- Cable Inspection: Periodically check all cables and connections for wear, damage, or loose connections.
- Firmware Updates: Check the manufacturer's website for any available firmware updates to improve performance or add features.
- Camera Lens Clarity: Ensure camera lenses are free from dirt, mud, snow, or ice for clear image transmission.
8. Troubleshooting
If you encounter issues with your Podofo Wireless Reversing Cameras Set, refer to the following common problems and solutions:
| Problem | Possible Cause | Solution |
|---|---|---|
| No image on monitor |
|
|
| Image is blurry or distorted |
|
|
| Remote control not working |
|
|
If the problem persists after trying these solutions, please contact Podofo customer support for further assistance.
9. Warranty and Support
For warranty information, technical support, or service inquiries, please refer to the warranty card included with your product or visit the official Podofo website. Keep your purchase receipt as proof of purchase for warranty claims.
Website: www.podofo.com (Example link, actual link may vary)
Email: support@podofo.com (Example email, actual email may vary)