
Introduction
Thank you for choosing the DOVOX Marine Stereo Receiver. This manual provides essential information for the proper installation, operation, and maintenance of your new marine audio system. Please read this manual thoroughly before use to ensure optimal performance and safety.
Safety Information
- Ensure proper wiring connections to prevent short circuits and electrical damage.
- Do not expose the unit to extreme temperatures or direct sunlight for prolonged periods.
- Avoid disassembling the unit. Refer all servicing to qualified personnel.
- Clean the unit with a soft, dry cloth. Do not use abrasive cleaners or solvents.
- Always ensure your vehicle's battery is disconnected before installation to prevent electrical hazards.
Package Contents
Verify that all items are present in the box:
- DOVOX Marine Stereo Receiver
- Wiring Harness
- Infrared Remote Control
- Mounting Kits
- User Manual
Product Overview
The DOVOX Marine Stereo Receiver features a standard single DIN chassis designed for marine environments. The front panel includes a digital LCD display, various control buttons, and input ports for convenient operation.
Front Panel Controls and Ports
- Power/Mode Button: Turns the unit on/off and switches between audio sources (AM/FM, Bluetooth, USB, SD, Aux).
- Volume Knob: Adjusts audio volume. Press to access audio settings (Bass, Treble, Balance, Fader, EQ).
- Built-in Microphone: For hands-free Bluetooth calling.
- Push-to-Talk Button: Activates voice assistant (Siri/Google Assistant).
- USB Port: For media playback and 2.1A charging.
- Micro SD Card Slot: For media playback.
- AUX-IN Jack (3.5mm): For connecting external audio devices.
- Preset Buttons (1-6): Store and recall radio stations; also used for track navigation in media modes.
Setup
Installation and Wiring
Proper installation is crucial for the performance and longevity of your marine stereo. Consult a professional installer if you are unsure about any steps.
- Mounting: Install the unit into a single DIN opening in your dashboard. Secure it using the provided mounting hardware.
- Wiring: Connect the wiring harness according to the diagram provided with the unit. Ensure all connections are secure and insulated.
- Power Connection: It is essential to connect both the Red (Accessory) and Yellow (Constant 12V B+) wires for the unit to power on correctly. Unlike some other receivers, the yellow B+ wire is not optional for basic operation.
- Speaker Connections: Connect your marine speakers to the corresponding speaker wires from the harness.
- Antenna Connection: Connect your marine antenna for AM/FM reception.
- RCA Pre-outs: If expanding your sound system with external amplifiers or subwoofers, connect RCA cables to the 4V RCA pre-outputs (front/rear) and subwoofer ports.
- Final Check: Before powering on, double-check all connections to ensure they are correct and free from shorts.
Operating Instructions
Power On/Off and Mode Selection
- Press the Power/Mode button to turn the unit on. Press and hold to turn it off.
- Briefly press the Power/Mode button to cycle through available audio sources: AM/FM Radio, Bluetooth, USB, SD, and AUX.
Bluetooth Pairing and Hands-Free Calling
The marine stereo features an integrated microphone for hands-free communication.
- Ensure the stereo is in Bluetooth mode. The display will show "BT" or similar.
- On your mobile device, enable Bluetooth and search for available devices. Select "DOVOX" (or similar pairing name) from the list.
- Once paired, you can make or receive calls directly through the stereo. The integrated microphone on the front panel ensures clear communication.

The image displays the DOVOX Marine Stereo Receiver installed in a boat's dashboard. A close-up highlights the integrated microphone, enabling hands-free Bluetooth communication.
Wireless Audio Streaming (A2DP)
Stream music wirelessly from your Bluetooth-enabled devices.
- Pair your device as described above.
- Start playing music on your smartphone, tablet, or MP3 player. The audio will stream directly to the stereo.
- Control playback (play/pause, skip tracks) using the stereo's buttons or your connected device.

This image illustrates the stereo's A2DP Bluetooth audio streaming capability. A smartphone is shown connected, playing music, with icons for popular streaming services like Spotify and Pandora.
Push-to-Talk Voice Control
Activate your smartphone's voice assistant directly from the stereo.
- Ensure your smartphone is paired via Bluetooth.
- Press the dedicated Push-to-Talk button on the stereo's front panel.
- Your device's voice assistant (Siri or Google Assistant) will activate, allowing you to issue commands for music, navigation, and more.

The image demonstrates the Push-to-Talk voice control feature. By pressing a dedicated button, users can activate voice assistants like Siri or Google Assistant for various commands.
AM/FM Radio Operation
- Select FM or AM mode using the Mode button.
- Use the Tune Up/Down buttons to manually search for stations.
- Press and hold Tune Up/Down to automatically scan for the next strong station.
- To save a station, tune to the desired frequency, then press and hold one of the Preset buttons (1-6) until you hear a beep.
USB, SD, Aux-In Playback and USB Charging
The stereo supports various digital media inputs and offers convenient USB charging.
- USB Playback: Insert a USB flash drive into the USB port. The unit will automatically switch to USB mode and begin playing compatible audio files (e.g., MP3).
- SD Card Playback: Insert a Micro SD card into the SD card slot. The unit will switch to SD mode and play compatible audio files.
- Aux-In: Connect an external audio device (e.g., MP3 player) to the 3.5mm AUX-IN jack using an audio cable. Select AUX mode.
- USB Charging: The USB port provides 2.1A charging output, allowing you to charge your smartphone or other USB-powered devices while enjoying music.

The image details the versatile media input options available on the stereo, including a 3.5mm Aux-in jack, USB port for flash drives and charging, and a MicroSD card slot for digital audio playback.
Expanding Your Sound System and Audio Customization
Enhance your listening experience with external components and built-in equalization.
- RCA Pre-outputs: The unit features 4V RCA pre-outputs (front/rear) and two subwoofer ports, allowing you to connect external amplifiers and subwoofers for a more powerful audio setup, supporting up to 300W peak power.
- Built-in EQ: Press the volume knob to access audio settings. Adjust Bass, Treble, Balance, Fader, and select from various preset equalizer options to tailor the sound to your preference.
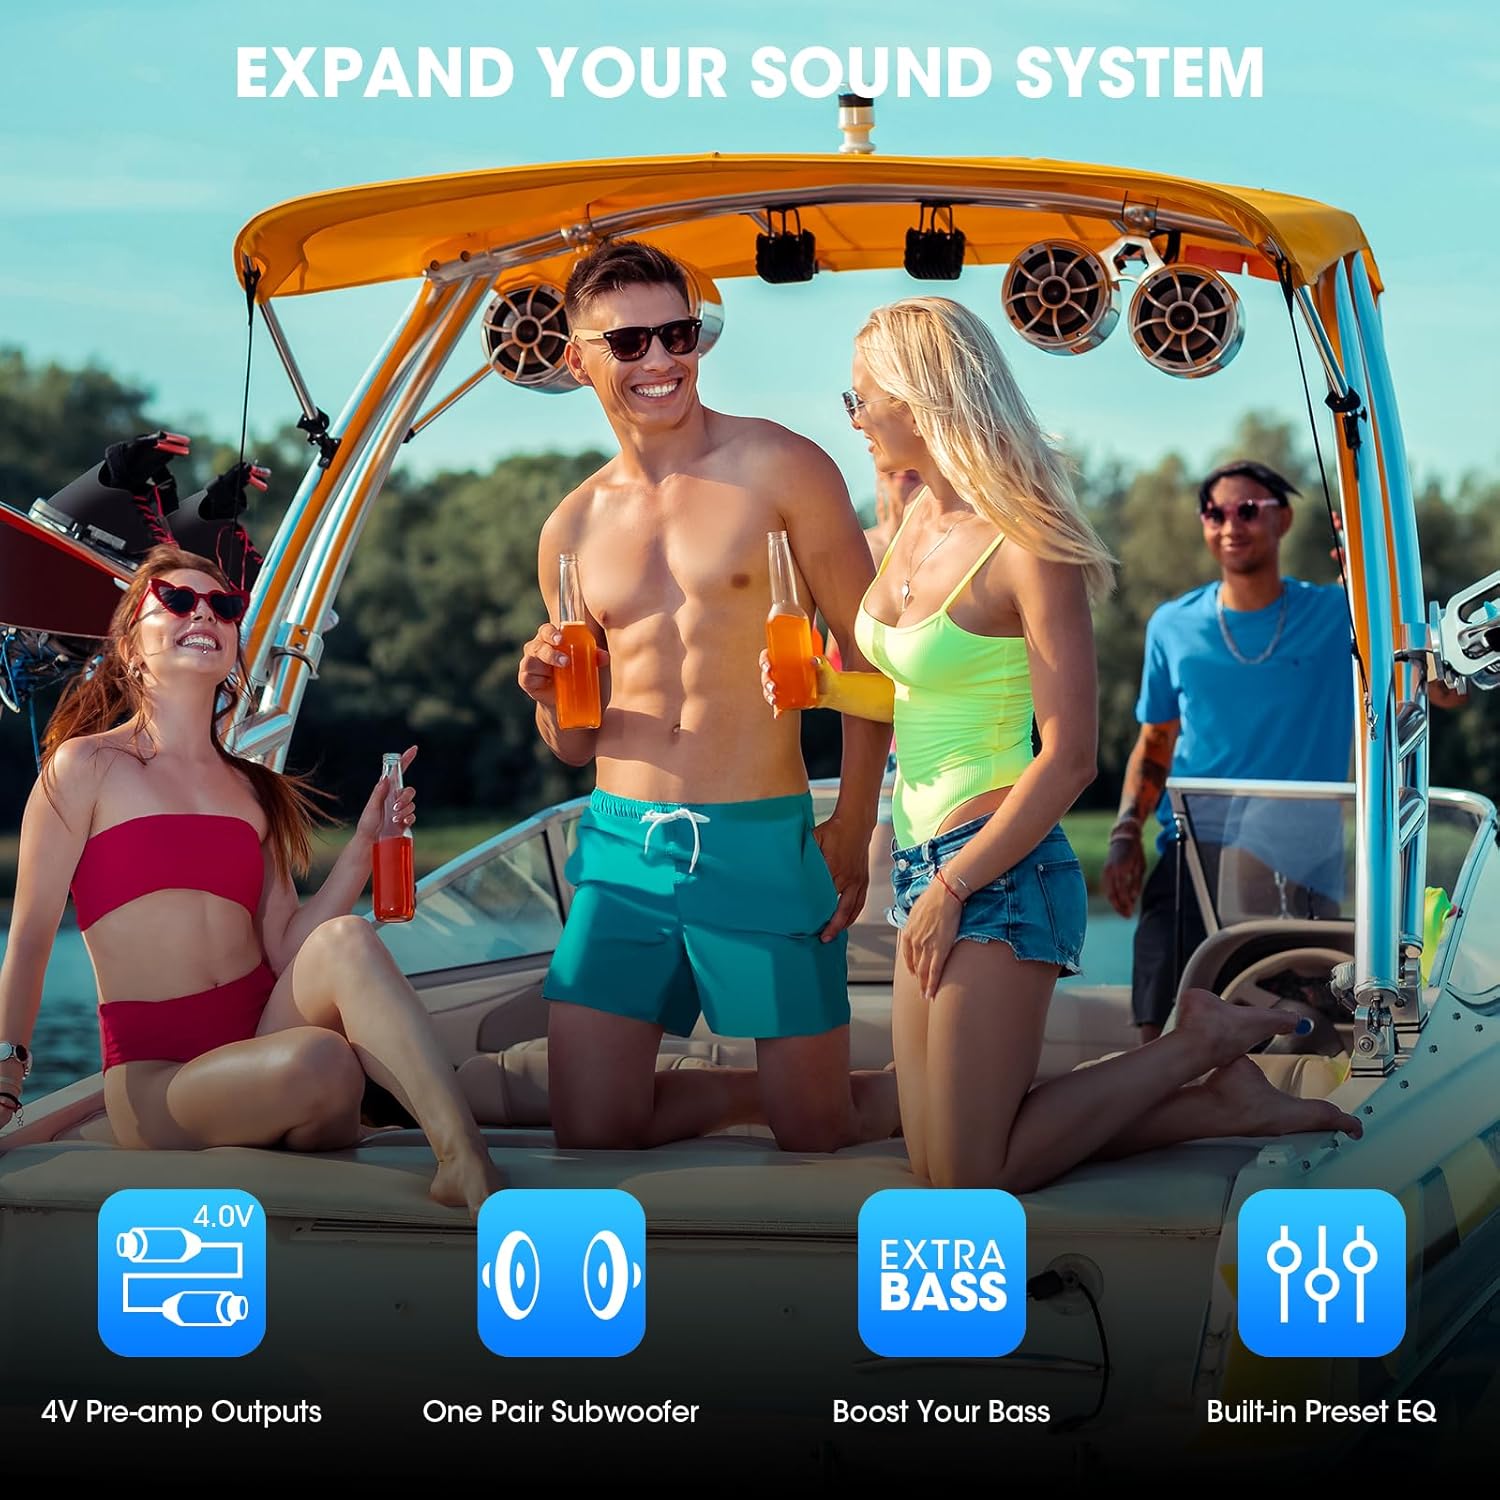
This image highlights the stereo's capabilities for expanding and customizing the audio system. It features 4V pre-amp outputs, support for one pair of subwoofers, a bass boost function, and built-in preset equalizer options.
Wireless Control (Remote & App)
Control your stereo conveniently using the included remote control or a compatible smartphone application.
- Infrared Remote Control: Use the provided remote to control power, volume, mode, track selection, and other functions. Note: The remote control does not include a battery. A CR2025 button battery is required for operation.
- Smartphone App Control: Download the compatible control app (refer to product packaging or manufacturer website for details) to manage your stereo via Bluetooth from your smartphone.

This image illustrates the various control methods for the stereo, featuring a physical remote control and the option to manage functions via a smartphone application.
Maintenance
- Cleaning: Wipe the unit's surface with a soft, dry cloth. For stubborn dirt, use a slightly damp cloth and then dry thoroughly. Do not use harsh chemicals or abrasive materials.
- Connections: Periodically check all wiring connections to ensure they are secure and free from corrosion, especially in marine environments.
- Storage: If the unit will not be used for an extended period, ensure it is powered off and, if possible, protected from extreme environmental conditions.
Troubleshooting
| Problem | Possible Cause | Solution |
|---|---|---|
| Unit does not power on. | Incorrect wiring; Blown fuse; Insufficient power supply. | Check that both Red (Accessory) and Yellow (Constant 12V B+) wires are correctly connected. Verify the fuse is intact. Ensure stable 12V power supply. |
| No audio output. | Volume too low; Incorrect source selected; Speaker wires disconnected. | Increase volume. Select the correct audio source. Check speaker wire connections. |
| Bluetooth pairing fails. | Bluetooth not enabled on device; Device too far; Stereo not in pairing mode. | Ensure Bluetooth is active on your device. Move device closer to the stereo. Ensure stereo is in Bluetooth mode and discoverable. |
| Remote control not working. | No battery; Dead battery; Obstruction between remote and unit. | Insert a CR2025 battery. Replace battery if dead. Remove any obstructions and point remote directly at the unit. |
| Poor radio reception. | Antenna not connected; Weak signal area; Damaged antenna. | Ensure antenna is securely connected. Try moving to an area with better signal. Check antenna for damage. |
Specifications
| Feature | Specification |
|---|---|
| Brand | DOVOX |
| Model Number | 079a2c8c-463b-4958-830f-64da4c1d9fa0 |
| Connectivity Technology | Auxiliary, Bluetooth, USB |
| Controller Type | Push Button, Remote Control |
| Special Features | Push-to-Talk, Built-in Bluetooth Hands-Free, Subwoofer RCA Output, AM/FM Tuner, Equalizer, SD Card Input, USB Charge, Auxiliary Input, Multi-color Illumination, Digital Display |
| Compatible Devices | Amplifier, Subwoofer, Speaker, Smartphone |
| Connector Type | RCA |
| Audio Output Mode | Stereo |
| Surround Sound Channel Configuration | 4.2 |
| Color | Marine White Stereo |
| Product Dimensions (D x W x H) | 9.4 x 18.8 x 5.1 centimeters |
| Number of Audio Channels | 4.2 |
| Wattage (Output) | 300 Watts |
| Internet Applications | Pandora, Spotify |
| Digital Media Format | MP3 audio |
| Number of Items | 1 |
Warranty and Support
Information regarding specific warranty terms and customer support contact details is not available in the provided product data. Please refer to the product packaging or the manufacturer's official website for warranty information and technical support.