Pepisky F4 (Black)
Portable Cube Timer User Manual
Brand: Pepisky | Model: F4 (Black)
1. Introduction
The Pepisky Portable Cube Timer is a versatile and compact time management tool designed for various activities such as studying, cooking, office tasks, and sports. Featuring a gravity sensor for intuitive operation, an LED screen, and multiple alarm options, this timer helps in cultivating self-discipline and improving time efficiency.
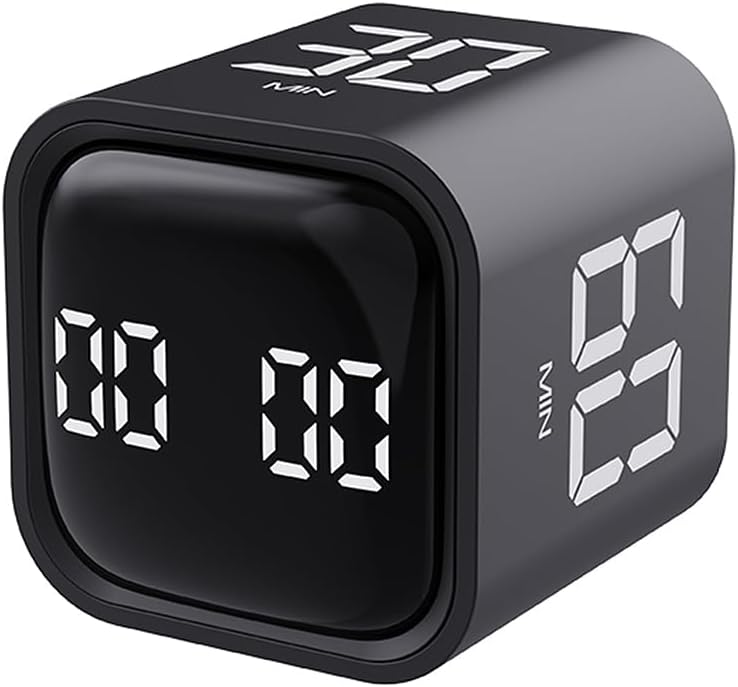
Figure 1: Pepisky Portable Cube Timer (Black). This image displays the compact, cube-shaped timer with its digital LED display showing preset time values.
Its user-friendly design allows for quick setup and operation, making it suitable for all ages. The timer supports preset countdowns (5, 10, 30, 60 minutes) activated by simply flipping the cube, as well as custom timing and count-up functions.

Figure 2: Timers in use for time management. This image shows both black and white versions of the timer, highlighting their use as a visual time manager to cultivate self-discipline.
2. Package Contents
Please check the package contents upon unboxing to ensure all items are present:
- 1 x Cube Timer (Black)
- 1 x Type-C Cable
- 1 x User Manual
3. Specifications
| Product Number | F4 |
| Product Color | Black |
| Product Size | 44x44x46mm (1.73x1.73x1.81 inches) |
| Product Weight | 47.5g (1.68 oz) |
| Product Material | ABS |
| Battery Capacity | 500mAh |
| Working Temperature | 0°C - 50°C (32°F - 122°F) |
| Standby Power Consumption | <20uA |
| Sleep Power Consumption | <150uA |
| Working Current | 11mA |
| Charging Current | 500mA |
| Alarm Levels | Mute, Vibrate, Loud (90~100dB), Quiet (70~80dB) |
| Package Size | 64x64x65mm (2.5x2.5x2.5 inches) |
| Package Weight | 81.3g (2.86 oz) |

Figure 3: Product dimensions. This image illustrates the physical dimensions of both the black and white versions of the cube timer.
4. Setup
4.1 Charging the Timer
Before first use, or when the battery is low, charge the timer using the provided Type-C cable.
- Connect the Type-C end of the cable to the charging port on the timer.
- Connect the USB-A end of the cable to a standard USB power adapter (not included) or a computer USB port.
- The LED screen may indicate charging status. A full charge provides up to 1200 minutes of operation time.
4.2 Initial Power On
The timer is designed for immediate use. It features a gravity sensor chip, meaning it powers on and begins timing as soon as a numbered side is facing upwards. No manual power button is typically required for initial activation.
5. Operating the Timer
The Pepisky Cube Timer offers intuitive operation through its gravity sensing technology and various modes.
5.1 Preset Countdown (Gravity Sensing Mode)
The timer comes with preset countdowns for 5, 10, 30, and 60 minutes. To activate a preset:
- Identify the desired time (e.g., "5 MIN", "10 MIN", "30 MIN", "60 MIN") printed on one of the timer's faces.
- Place the timer on a flat surface with the desired time facing directly upwards. The timer will automatically begin counting down from that preset time.
- The LED screen will display the remaining time.
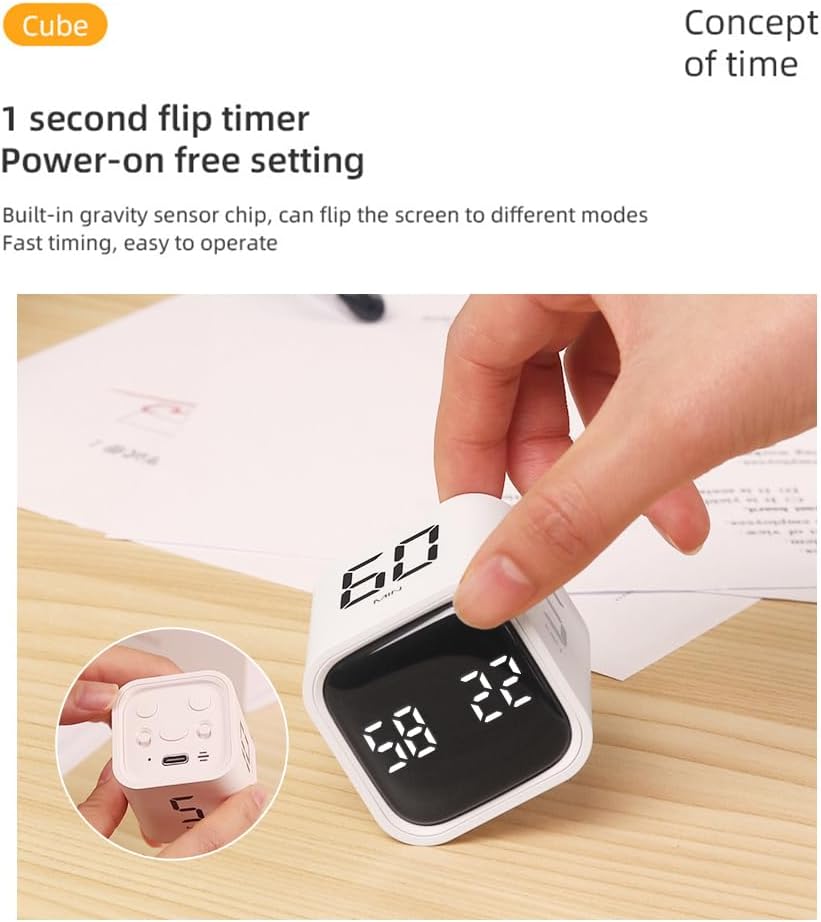
Figure 4: Activating a preset timer. This image demonstrates how to activate a preset countdown by placing the desired time value face-up.
5.2 Custom Countdown / Count-Up (Manual Mode)
The timer also supports custom countdowns and a count-up function. The image "Two-speed mode Gravity sensing/manual mode" suggests a way to switch to manual mode, likely by placing the timer on a side without a preset number, or a specific button press.
- To set a custom countdown: Place the timer on the side that displays "00 00" or a blank face. Use the '+' and '-' buttons (if present, implied by "Plus/minus" icon) to adjust the desired time. Once set, flip the timer to start the countdown.
- To use as a count-up timer: Place the timer on the side that displays "00 00" or a blank face. It will start counting up from zero.

Figure 5: Manual mode operation. This image indicates the presence of a manual mode, allowing for custom time settings beyond the gravity-activated presets.
5.3 Pause and Resume
To pause a running timer, gently flip the timer to a neutral side (e.g., the side with the charging port or a blank face) or press a designated pause button if available. To resume, flip it back to the active timing face or press the resume button.

Figure 6: Feature icons. This image displays various icons representing the timer's functionalities, including pause and mute options.
5.4 Alarm Settings (Mute, Vibrate, Sound)
The timer offers multiple alarm levels to suit different environments:
- Mute: For silent operation, ideal for libraries or quiet offices.
- Vibrate: Provides a discreet alert without sound.
- Quiet Sound: A softer audible alarm (70~80dB).
- Loud Sound: A strong audible alarm (90~100dB).
To switch between alarm modes, locate the dedicated button(s) on the timer (often indicated by a speaker icon or similar) and press to cycle through the options.
5.5 Clearing the Display
To clear the current time displayed on the screen and reset it to zero, gently flip the timer to the side designated for clearing the value. This is often indicated by a specific icon or a blank face that resets the timer.
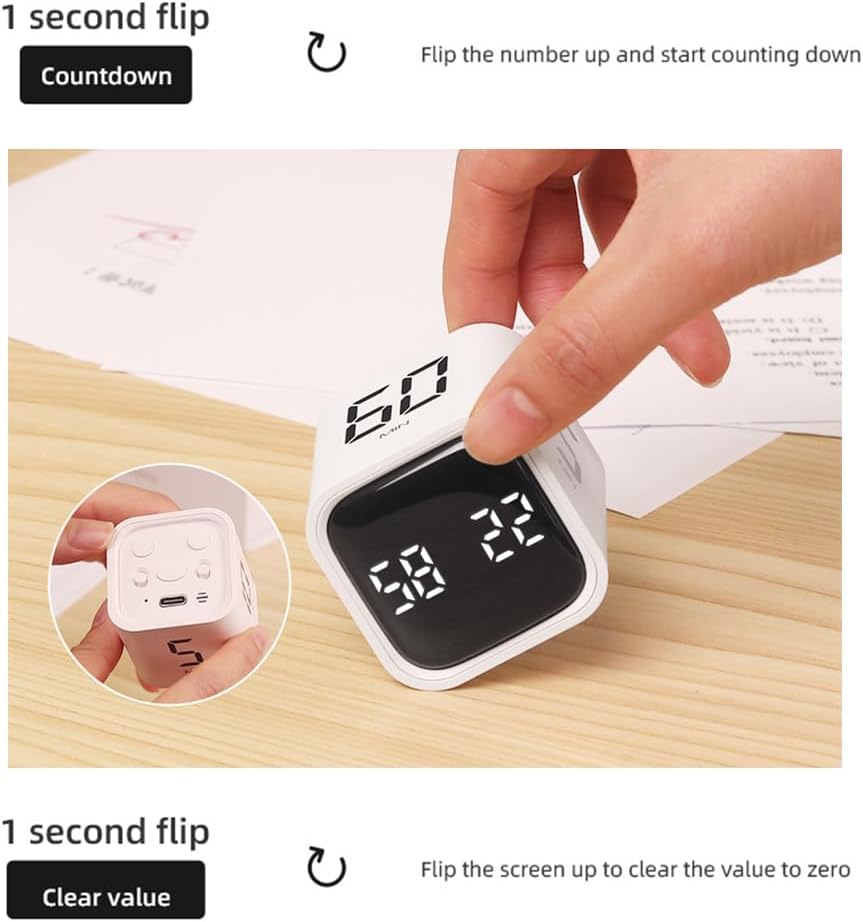
Figure 7: Clearing the timer. This image illustrates the action of flipping the timer to clear the displayed value, resetting it to zero.
6. Maintenance
Proper care will ensure the longevity and optimal performance of your Pepisky Cube Timer.
- Cleaning: Wipe the timer with a soft, dry, or slightly damp cloth. Do not use abrasive cleaners, solvents, or immerse the device in water.
- Storage: Store the timer in a cool, dry place away from direct sunlight and extreme temperatures.
- Handling: Avoid dropping the timer or subjecting it to strong impacts, as this may damage the internal components, including the gravity sensor.
- Battery Care: For long-term storage, it is recommended to charge the timer to about 50% every few months to preserve battery health.
7. Troubleshooting
If you encounter any issues with your Pepisky Cube Timer, please refer to the following common solutions:
- Timer not responding/displaying:
- Ensure the timer is sufficiently charged. Connect it to a power source using the Type-C cable.
- Try flipping the timer to different numbered faces to activate the gravity sensor.
- Alarm not sounding/vibrating:
- Check the alarm settings. You may have set it to "Mute". Cycle through the alarm modes to select "Vibrate", "Quiet Sound", or "Loud Sound".
- Ensure the timer is not in a low power state.
- Inaccurate timing:
- Ensure the timer is placed on a stable, flat surface when in use.
- Avoid extreme temperatures that might affect electronic components.
- Charging issues:
- Verify that the Type-C cable is securely connected to both the timer and the power source.
- Try using a different USB power adapter or USB port.
8. Warranty and Support
Pepisky products are manufactured with high-quality standards. For specific warranty information, please refer to the warranty card included with your purchase or visit the official Pepisky website. If you require technical assistance or have questions not covered in this manual, please contact Pepisky customer support through their official channels.
For the latest support information and contact details, please visit: www.pepisky.com/support (Note: This is a placeholder URL as no specific support link was provided).
Ask a question about this manual
Ask about setup, troubleshooting, compatibility, parts, safety, or missing instructions. Manuals+ will review the question and use this page’s manual context to help answer it.