
Introduction
Thank you for choosing the Mornajina 15 Degree Mini Belt Sander. This manual provides essential information for the safe and efficient operation, maintenance, and troubleshooting of your new tool. Please read this manual thoroughly before use and keep it for future reference.
This mini belt sander is designed for precision tasks such as knife making, metalworking, and woodworking, offering adjustable speeds and a fixed 15-degree sanding angle for optimal results.
Safety Instructions
Always follow basic safety precautions to reduce the risk of fire, electric shock, and personal injury.
- Wear appropriate personal protective equipment (PPE), including safety glasses and gloves.
- Ensure the work area is clean, well-lit, and free from obstructions.
- Keep children and bystanders away from the operating area.
- Do not operate the sander in damp or wet conditions.
- Always unplug the tool before making adjustments, changing accessories, or performing maintenance.
- Secure the workpiece firmly before sanding.
- Avoid forcing the tool; let the sander do the work.
- Inspect the power cord and plug for damage before each use.
Package Contents
Verify that all items listed below are present in your package:

Image: Overview of the Mornajina 15 Degree Mini Belt Sander kit, showing the main unit, power adapter, various sanding belts, buffing wheel, grinding wheel, metal buffing compound, Allen wrenches, and screws.
- 1 x Mini Belt Sander (170mm x 100mm x 50mm / 6.7 × 4 x 2 inches)
- 30 x Sanding Belts (330mm x 30mm / 13 × 1.2 inches) - various grits (120, 320, 600, 800, 1000)
- 1 x Bench Grinding Wheel
- 1 x Buffing Polishing Wheel
- 1 x Metal Buffing Polishing Compound
- 1 x Dust Cover
- 3 x Allen Wrenches
- 2 x Screws (for woodworking table fixing)
- 1 x Power Adapter (7 adjustable speeds)
Product Specifications

Image: Detailed product specifications including dimensions, speed, and power, along with a visual representation of the sander's size.
| Feature | Specification |
|---|---|
| Product Name | 15 Degree Mini Belt Sander |
| Input Voltage | 110V ~ 120V |
| Output Power | 12V ~ 24V |
| Product Size | 170mm x 100mm x 50mm (6.7" x 4" x 2") |
| Speed Regulation Mode | 7 Speeds Adjustable |
| Product Speed | 4000 ~ 9000 RPM |
| Maximum Speed | 9000 RPM |
| Product Weight | 1.4 KG |
| Material | Stainless Steel |
| Belt Size | 330mm x 30mm (1.2" x 13") Sanding Belts |
| Switch Mode | Two Way Switch |
| Motor Model | Double Output Shaft 775 |
Setup and Assembly
Before operating the sander, ensure it is properly assembled and secured.
Component Identification

Image: Labeled diagram showing key components of the belt sander, including electric motors, sand belt, rolling wheel, power interface, switch, wooden table fixing screw holes, and shock-absorbing feet.
Familiarize yourself with the parts of the sander as shown in the diagram above.
Grinding Wheel Installation
- Step 1: Remove the protective case. Carefully detach the protective cover from the motor shaft.
- Step 2: Insert the grinding wheel. Slide the grinding wheel onto the motor shaft, ensuring it fits snugly.
- Step 3: Tighten the screws. Use the provided Allen wrench to tighten the retaining screws on the grinding wheel, securing it in place.
- Step 4: Check for secureness. Gently tug on the grinding wheel to confirm it is firmly attached and does not wobble.

Image: Four-panel visual guide demonstrating the installation of the grinding wheel: removing the protective case, inserting the wheel, tightening screws, and checking for secure attachment.
Sanding Belt Installation/Removal
The sander features an efficient three-step quick disassembly for belt changes.
- Step 1: Release tension. Press down on the spring-loaded mechanism to release tension on the sanding belt.
- Step 2: Remove old belt. Slide the old sanding belt off the rollers.
- Step 3: Install new belt. Place the new sanding belt over the rollers, ensuring it is centered. Release the tension mechanism to secure the new belt.

Image: Three-panel visual guide showing the process of removing and installing a sanding belt by releasing tension and sliding the belt on/off the rollers.
The sander is equipped with shock-absorbing feet for stability. For additional security, use the provided screws to fix the sander to a wooden workbench.
Operating Instructions
Powering On and Speed Adjustment
- Connect the power adapter to the sander's power interface and then plug it into a standard 110V-120V electrical outlet.
- Use the two-way switch to turn the sander ON.
- Adjust the speed using the controls on the power adapter. The sander offers 7 adjustable speeds, ranging from 4000 to 9000 RPM. Select an appropriate speed for your material and task.
Sanding and Polishing Techniques
This mini belt sander is versatile for various applications:
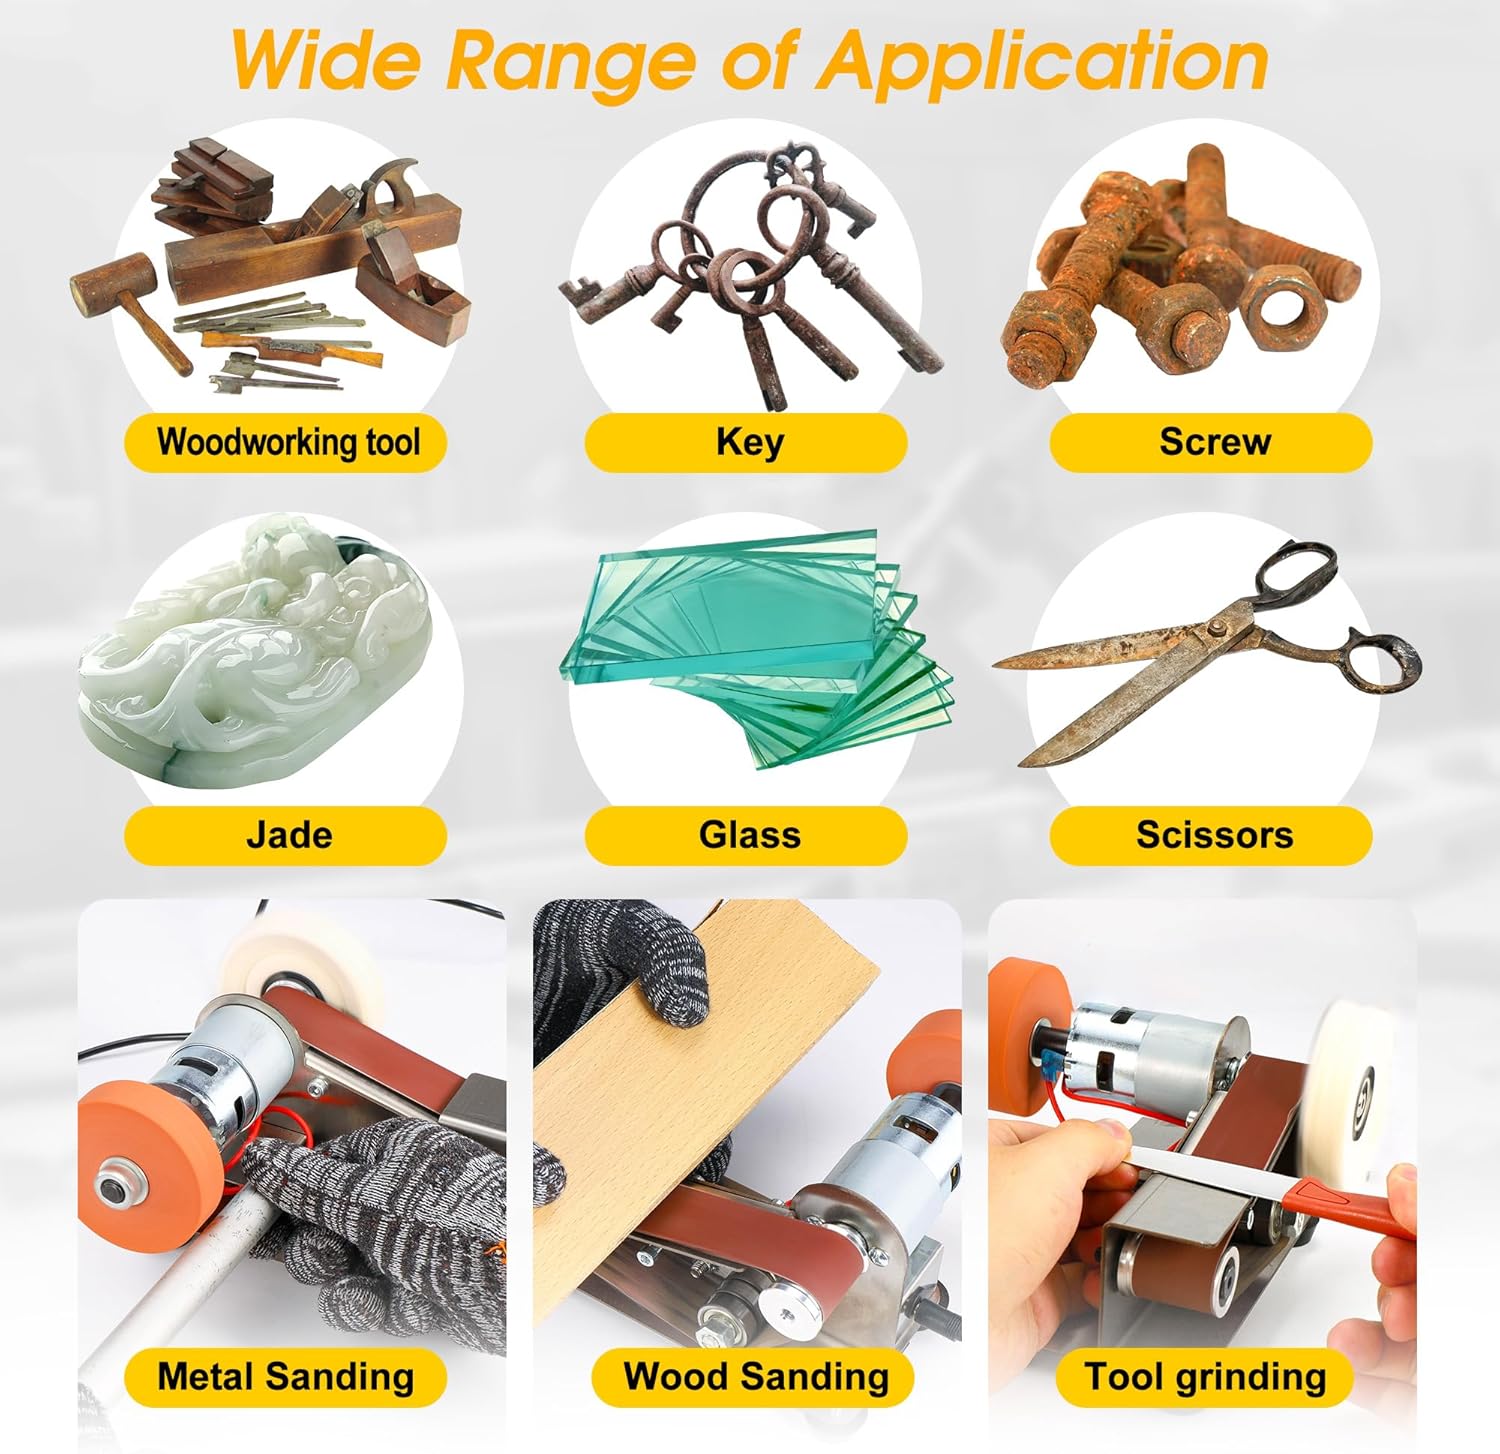
Image: Visual examples of the sander's wide range of applications, such as sanding woodworking tools, keys, screws, jade, glass, scissors, and demonstrating metal sanding, wood sanding, and tool grinding.
- Knife Sharpening: The fixed 15-degree angle is ideal for sharpening knives. Gently guide the blade against the sanding belt, maintaining consistent pressure and angle.
- Metal Sanding: Use appropriate grit sanding belts for metal surfaces. Apply light, even pressure and move the workpiece smoothly across the belt.
- Wood Sanding: For woodworking, start with coarser grits to remove material and progress to finer grits for a smooth finish.
- Polishing: Attach the buffing polishing wheel and apply the metal buffing polishing compound for a high-gloss finish on metals.
- Grinding: Use the bench grinding wheel for general grinding tasks.
Always ensure the workpiece is held securely and move it steadily across the sanding or grinding surface. Avoid excessive pressure, which can lead to overheating or damage to the workpiece or tool.
Demonstration Video: Knife Sharpening
Video: A demonstration of using the Mornajina Mini Belt Sander to sharpen a knife, showcasing the polishing process and the resulting sharp edge. This video highlights the effectiveness of the tool for knife maintenance.
Maintenance
Regular maintenance ensures the longevity and optimal performance of your belt sander.
- Cleaning: After each use, unplug the sander and use a brush or compressed air to remove dust and debris from the motor, belts, and wheels. Use the provided dust cover to minimize debris accumulation during operation.
- Belt Replacement: Replace sanding belts when they become worn or lose their abrasive quality. Refer to the "Sanding Belt Installation/Removal" section for instructions.
- Inspection: Periodically inspect the power cord, switch, and all moving parts for signs of wear or damage. Do not use the tool if any part is damaged.
- Storage: Store the sander in a clean, dry place, away from direct sunlight and extreme temperatures.
Troubleshooting
If you encounter issues with your Mornajina Mini Belt Sander, refer to the following common problems and solutions:
| Problem | Possible Cause | Solution |
|---|---|---|
| Sander does not turn on. | No power supply; faulty switch; damaged power adapter. | Check power connection and outlet. Ensure switch is in the ON position. Inspect power adapter for damage. |
| Belt slips or stops. | Belt too loose; worn belt; excessive pressure on workpiece. | Ensure belt is properly tensioned. Replace worn belt. Reduce pressure on workpiece. |
| Excessive vibration or noise. | Loose components; unbalanced wheel/belt; damaged motor. | Check all screws and fasteners for tightness. Ensure grinding/buffing wheels and sanding belt are correctly installed and balanced. If motor is damaged, contact support. |
| Poor sanding/polishing results. | Worn belt/wheel; incorrect grit; insufficient speed. | Replace worn abrasive. Use appropriate grit for the material. Adjust speed to a higher setting if needed. |
If the problem persists after attempting these solutions, please contact customer support.
Warranty and Customer Support
Mornajina products are manufactured to high-quality standards. For warranty information or technical assistance, please refer to your purchase documentation or contact Mornajina customer support through the retailer where the product was purchased.
Please have your model number (15 Degree Belt Sander) and purchase date available when contacting support.