1. Introduction
This manual provides detailed instructions for the installation, operation, and maintenance of your ISNATCH RFID Access Control Keypad. This device is designed for local access control using a PIN code entered on the touch keypad or an RFID card. It is suitable for various applications including private homes, B&Bs, offices, and businesses.
Please read this manual thoroughly before installation and use to ensure proper function and safety.
2. Safety Information
- Ensure all wiring is performed by a qualified professional to prevent electrical hazards.
- Disconnect power before performing any installation or maintenance.
- Do not attempt to disassemble or modify the device, as this will void the warranty and may cause damage or injury.
- Keep the device away from strong electromagnetic fields.
- Use only the specified power supply voltage.
3. Product Overview
The ISNATCH RFID Access Control Keypad is a robust and versatile access solution. It features an illuminated touch keypad for easy operation in low-light conditions and an integrated RFID reader for card-based access. The device is IP66 rated, ensuring protection against dust and powerful water jets, making it suitable for outdoor environments.

Figure 3.1: Front view of the ISNATCH RFID Access Control Keypad, showing the sleek black design and touch sensitive number pad.
Key Features:
- Access Control: Supports local access via PIN code or RFID card.
- Master Card: Includes a master card for quick and easy configuration of user codes and cards.
- Durability: IP66 certified for resistance against water, dust, and atmospheric agents, suitable for outdoor installation.
- External Bell Support: Features a button and input for connecting a wired external doorbell.
- Versatile Relay: Equipped with a clean contact relay (NO-NC) for connection to gate control units, automation systems, or electric locks.
- Illuminated Keypad: Soft-Touch backlit keypad for optimized use at night.
- Status LED: An integrated LED indicates different operating statuses with varying colors.
4. Setup and Installation
4.1 Mounting the Device
Choose a suitable location for installation, ensuring it is within reach and provides clear visibility. The device is designed for surface mounting.
- Mark the drilling points on the wall using the device as a template.
- Drill holes and insert wall plugs if necessary.
- Secure the device to the wall using appropriate screws.

Figure 4.1: The ISNATCH RFID Access Control Keypad installed on a door, showing its typical application.
4.2 Wiring Diagram
The device includes a multi-core cable for connections. Refer to the following general wiring guidelines. Always consult a qualified electrician for wiring.
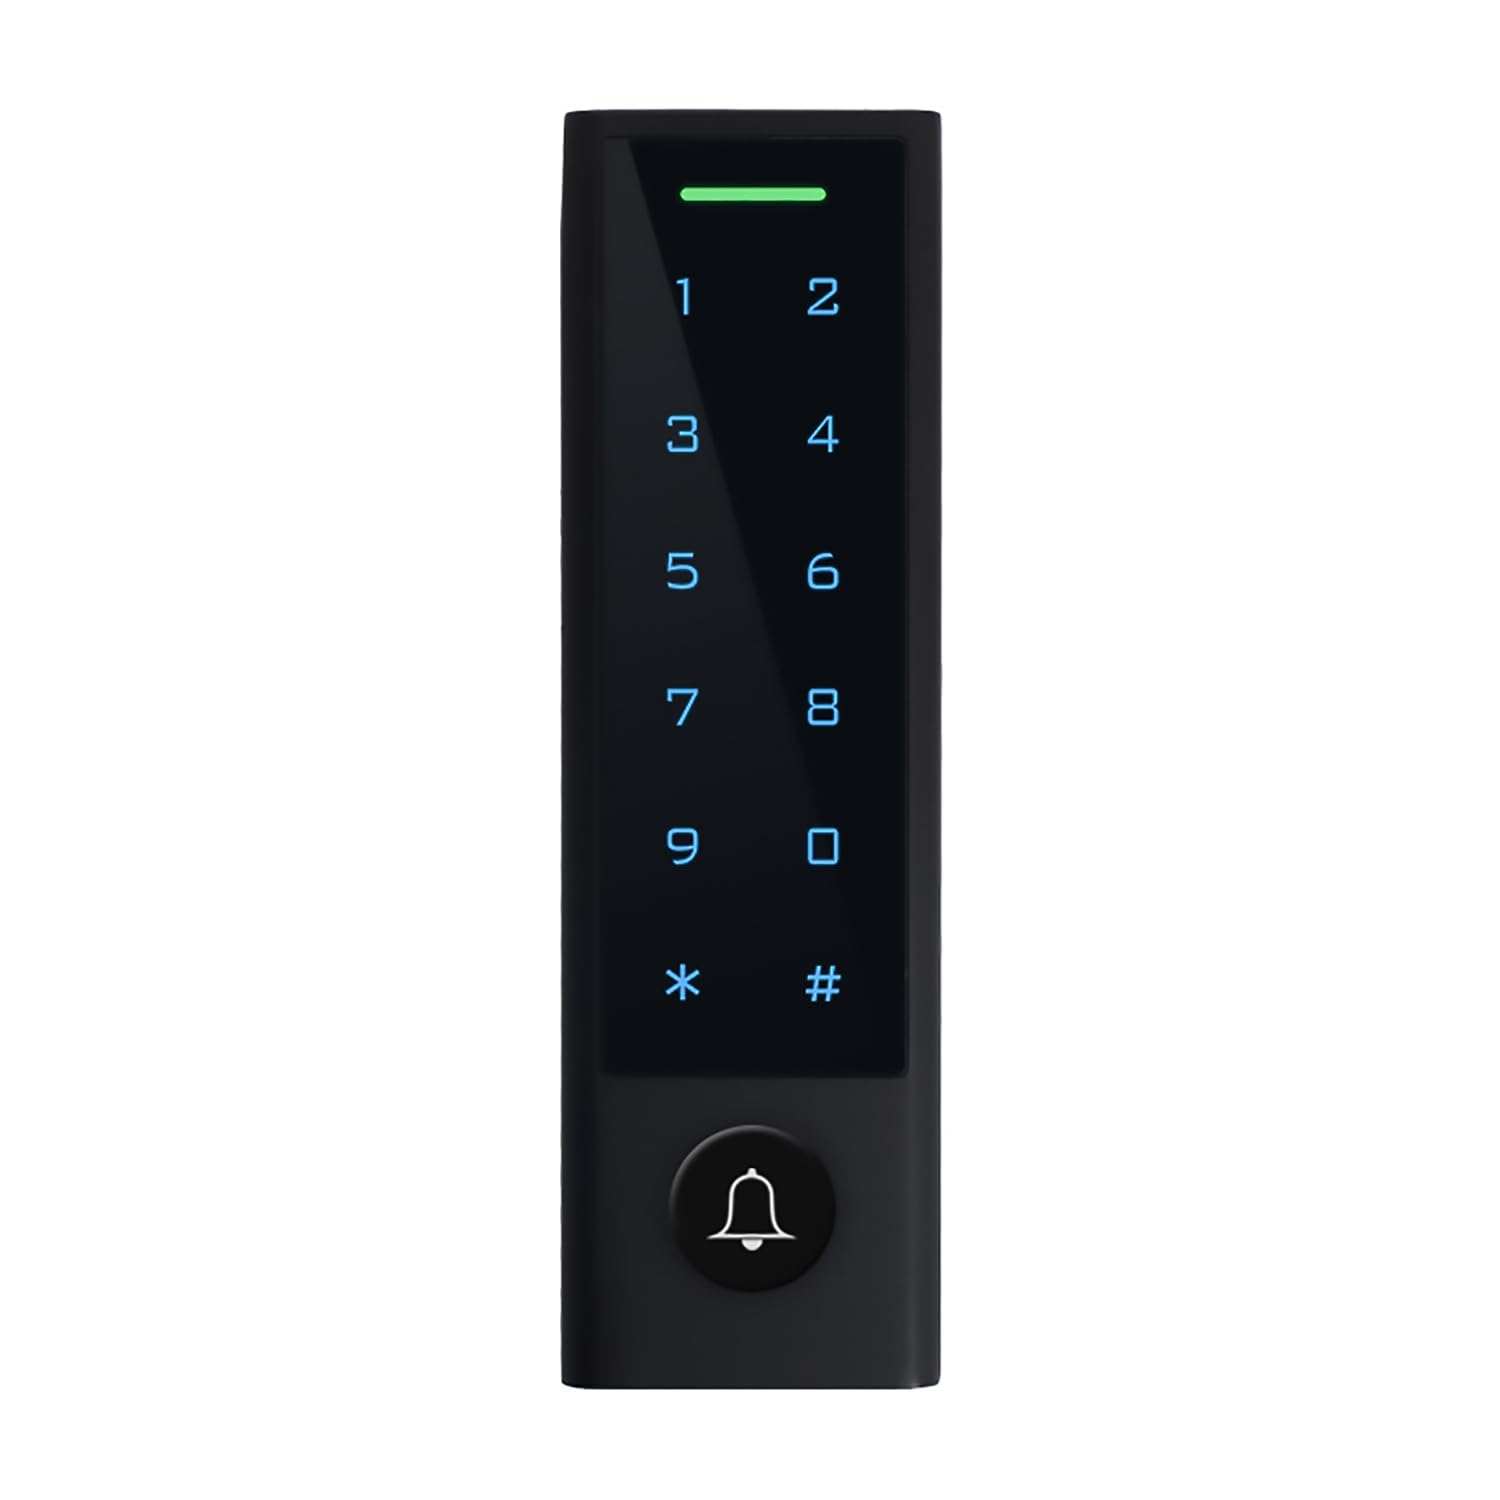
Figure 4.2: Rear view of the device showing the wiring harness.
- Red Wire: +12V DC Power Input
- Black Wire: GND (Ground)
- Green Wire: Data (for specific access control systems, if applicable)
- White Wire: Data (for specific access control systems, if applicable)
- Yellow/Blue Wires: Relay contacts (NO/NC) for connecting to electric locks or gate openers.
- Orange Wires: Doorbell connection.
Connect the power supply (typically 12V DC) to the Red (+) and Black (-) wires. Connect the relay wires to your electric lock or gate opener according to its requirements (Normally Open or Normally Closed).
4.3 Initial Power-Up and Master Card Configuration
Upon initial power-up, the device will enter programming mode. Use the provided master card to set up the system.
- Apply power to the device. The LED indicator will show a specific color (e.g., red) indicating programming mode.
- Present the master card to the RFID reader area. The LED will change color (e.g., green) to confirm master card recognition.
- You can now proceed to add user PINs and RFID cards as described in the Operating Instructions section.
5. Operating Instructions
5.1 Adding User PINs
- Present the master card to enter programming mode.
- Press # then 1 (or specific programming code as per device manual, if different).
- Enter the new 6-digit PIN code, then press #.
- Re-enter the same 6-digit PIN code, then press # to confirm.
- Present the master card again to exit programming mode.
5.2 Adding RFID Cards
- Present the master card to enter programming mode.
- Press # then 2 (or specific programming code).
- Present the new RFID card to the reader. The device will beep to confirm registration.
- To add more cards, present them one by one.
- Present the master card again to exit programming mode.
5.3 Deleting User PINs/Cards
To delete a specific PIN or card, you typically need to enter programming mode and follow the deletion procedure outlined in the full product manual. For bulk deletion, there might be a reset function.
5.4 Granting Access
- Using PIN: Enter your 6-digit PIN code on the keypad, then press #. The door will unlock for a set duration.
- Using RFID Card: Present your registered RFID card to the reader area. The door will unlock for a set duration.
5.5 Doorbell Function
If an external doorbell is connected, pressing the bell icon on the keypad will activate the doorbell.
6. Maintenance
- Cleaning: Wipe the keypad and casing with a soft, damp cloth. Do not use abrasive cleaners or solvents.
- Connection Check: Periodically inspect wiring connections for any signs of wear or corrosion.
- Functionality Test: Regularly test the access control function with both PINs and RFID cards to ensure proper operation.
7. Troubleshooting
- Device not powering on: Check power supply connections and ensure correct voltage.
- Keypad unresponsive: Ensure the device is powered. If backlit, check for any error indicators.
- Door not unlocking: Verify that the correct PIN or RFID card is being used. Check wiring to the electric lock/gate opener. Ensure the relay is functioning correctly.
- RFID card not recognized: Ensure the card is correctly registered. Try presenting the card closer to the reader.
- LED indicator shows error: Refer to the full product manual for specific LED error codes and their meanings.
8. Specifications
| Attribute | Detail |
|---|---|
| Brand | ISNATCH |
| Closure Type | Electronic |
| Dimensions (LxWxH) | 22 x 44 x 150 mm |
| Color | Black |
| Protection Rating | IP66 (Waterproof and Dustproof) |
| Access Methods | RFID Card, 6-digit PIN |
| Keypad | Soft-Touch, Backlit |

Figure 8.1: Dimensions of the ISNATCH RFID Access Control Keypad.
9. Warranty and Support
For warranty information and technical support, please refer to the documentation provided with your purchase or contact your retailer. Keep your proof of purchase for warranty claims.