1. Introduction
Thank you for choosing the Yoidesu 1080P HD Dash Cam. This device is designed to provide reliable video recording of your journeys, enhancing driving safety and providing evidence in case of incidents. It features 1080P HD recording, ultra-wide angle view, night vision, 24-hour parking mode, motion detection, and loop recording, all viewable on a clear 3.16-inch screen.
Please read this manual thoroughly before installation and operation to ensure proper use and to maximize the performance and lifespan of your dash cam.
2. Package Contents
Carefully unpack the box and ensure all items listed below are present and in good condition. If any items are missing or damaged, please contact customer support.
- Dash Cam (Main Unit)
- Cable (Power Cable)
- Instruction Manual
- Backup Camera (Rear Camera)
- Screws (2x for rear camera mounting)
- License Plate Sticker (for rear camera mounting)
- Suction Cup Base (for front dash cam mounting)

Figure 2.1: Contents of the Yoidesu Dash Cam package.
3. Product Overview
The Yoidesu Dash Cam is equipped with advanced features to provide comprehensive vehicle surveillance.
Key Features:
- 1080P HD Video Recording: Captures clear, detailed driving recordings with a wide-angle lens.
- Microlight Night Vision: Ensures clear video recording in low-light conditions, improving visibility at night.
- 3.16-inch HD Display: Provides real-time viewing, easy setup, and supports automatic switching for the backup camera.
- Dual Lens Directional Monitoring: Covers both front and rear views for all-around driving safety. Includes an extended 6-meter cable for flexible rear camera installation.
- Parking Mode: Automatically records 30-second video clips when the vehicle is hit or motion is detected while parked (requires external power supply).
- Loop Recording: Automatically overwrites the oldest footage when the memory card is full, ensuring continuous recording.
- Emergency Crash Lock (G-Sensor): Adjustable sensitivity to automatically lock and protect video footage during collisions.

Figure 3.1: Front and rear views of the Dash Cam.

Figure 3.2: Overview of the Dash Cam's core functions.
4. Setup and Installation
Follow these steps for proper installation of your Yoidesu Dash Cam.
4.1 Front Dash Cam Installation
- Prepare the Memory Card: Insert a high-speed small memory card (Class 10 or higher, 4GB to 32GB capacity) into the dash cam's memory card slot. Ensure the card is formatted before first use via the camera settings.
- Mount the Front Camera: Attach the suction cup base to the dash cam. Choose a suitable position on your windshield, typically behind the rearview mirror, ensuring it does not obstruct your view. Clean the windshield surface thoroughly before attaching the suction cup for a secure hold.
- Connect Power: Plug the power cord into the dash cam's Type-C power interface. Route the cable neatly along the windshield edge and dashboard to the vehicle's cigarette lighter socket. Plug the other end of the power cord into the cigarette lighter.
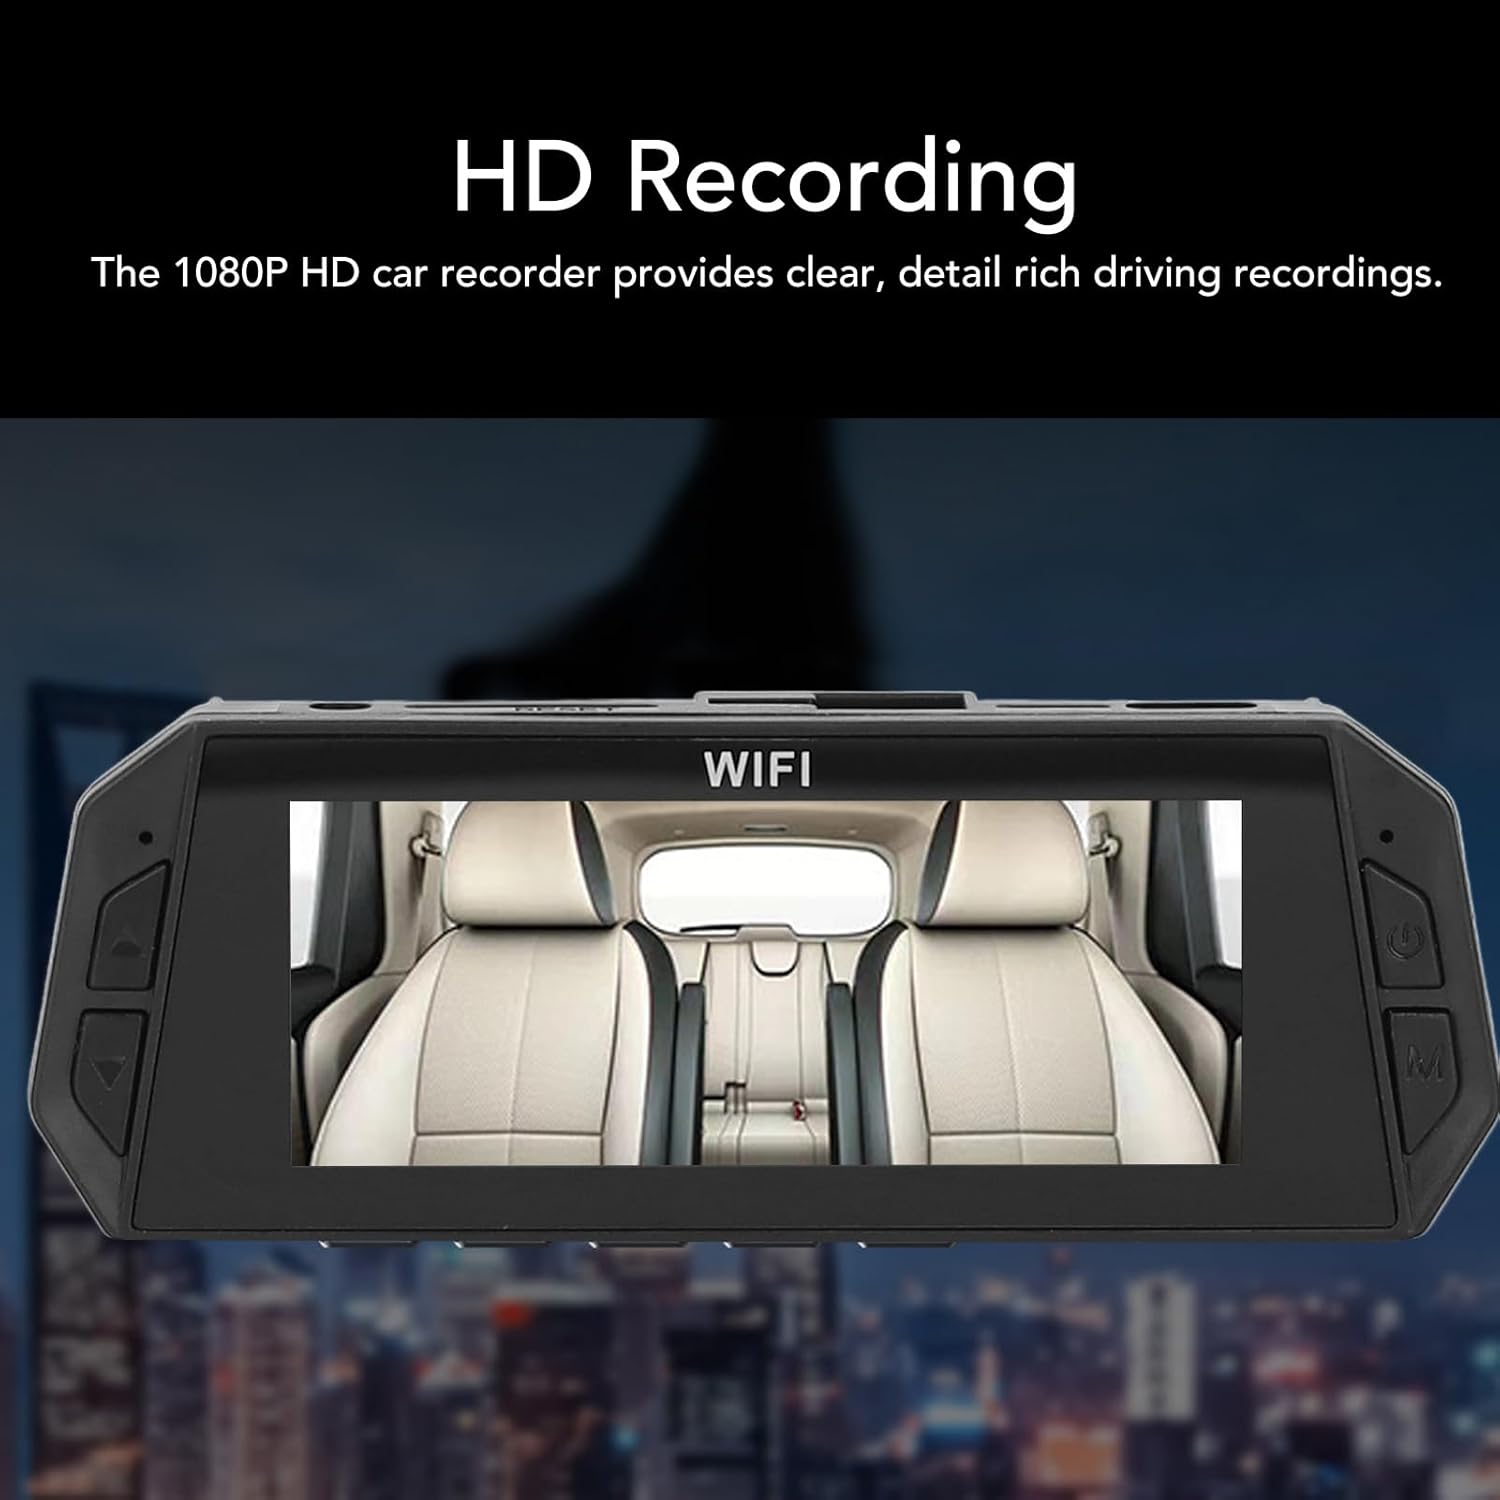
Figure 4.1: Front Dash Cam mounted on the windshield.
4.2 Rear Camera Installation
The rear camera provides additional coverage and a reversing visual function.
- Mount the Rear Camera: Identify a suitable location near your license plate. Use the provided screws and license plate sticker to securely mount the rear camera.
- Connect to Front Dash Cam: Plug the 4-stage connector of the rear camera cable into the designated port on the front dash cam.
- Connect to Reverse Light (Optional for Reversing Visual Function): For the reversing visual function to activate automatically when shifting into reverse, connect the red wire from the rear camera cable to your vehicle's reverse light power module. If this connection is not made, the rear camera will still record, but the reversing visual overlay may not function automatically.

Figure 4.2: Reversing visual function displayed on the dash cam screen.
5. Operating Instructions
This section details the basic operation of your Yoidesu Dash Cam.
5.1 Power On/Off
- Automatic Operation: The dash cam will automatically power on and begin recording when your vehicle's ignition is turned on (and power is supplied via the cigarette lighter). It will automatically power off shortly after the ignition is turned off.
- Manual Operation: Press and hold the power button (usually located on the side or bottom of the unit) to manually turn the dash cam on or off.
5.2 Recording Modes
- Continuous Recording: Once powered on, the dash cam will continuously record video. The footage is saved in short segments (e.g., 1, 3, or 5 minutes) to the memory card.
- Loop Recording: When the memory card is full, the oldest unlocked video files will be automatically overwritten by new recordings. This ensures that recording never stops due to a full card.

Figure 5.1: Seamless Loop Recording functionality.
5.3 G-Sensor (Emergency Crash Lock)
The built-in G-sensor detects sudden impacts or collisions. When triggered, it automatically locks the current video segment, preventing it from being overwritten by loop recording. The sensitivity of the G-sensor can usually be adjusted in the settings menu.

Figure 5.2: Emergency Crash Lock feature.
5.4 24-Hour Parking Mode
When your vehicle is parked and the ignition is off, the dash cam can enter parking mode. In this mode, if the vehicle is hit by a collision or motion is detected in front of the car, the dash cam will automatically record a 30-second video clip.
Important Note:
The 24-hour parking mode requires a continuous power supply to the dash cam even when the vehicle is off. This typically involves connecting the dash cam to a dedicated hardwire kit (not included) or an external power bank/car battery. Without a continuous power supply, the parking mode will not function.
5.5 Night Vision
The dash cam utilizes microlight night vision technology to enhance video clarity in low-light conditions, ensuring that recordings remain clear even at night.
5.6 Menu Settings
Access the menu settings to configure various options such as video resolution, loop recording duration, G-sensor sensitivity, date/time, and memory card formatting. Refer to the on-screen prompts for navigation.
6. Maintenance
- Clean the Lenses: Regularly clean the front and rear camera lenses with a soft, lint-free cloth to ensure clear video quality. Avoid abrasive materials.
- Memory Card Care: Format the memory card periodically (e.g., once a month) to maintain optimal performance and prevent data corruption. Always use a high-speed (Class 10 or higher) memory card.
- Temperature: Avoid exposing the dash cam to extreme temperatures for extended periods. While designed for automotive use, prolonged direct sunlight in a parked car can affect its lifespan.
- Firmware Updates: Check the manufacturer's website periodically for any available firmware updates. Updates can improve performance and add new features.
7. Troubleshooting
If you encounter issues with your dash cam, please refer to the following common problems and solutions:
- Dash Cam does not power on:
- Ensure the power cable is securely connected to both the dash cam and the cigarette lighter socket.
- Check if the vehicle's cigarette lighter socket is receiving power. Test with another device if possible.
- The internal battery might be depleted. Connect to power and allow it to charge for a few minutes.
- "Memory Card Full" error or recording stops:
- Ensure loop recording is enabled in the settings.
- Format the memory card through the dash cam's menu.
- Replace the memory card with a new, high-speed (Class 10 or higher) card if the issue persists.
- Reduce G-sensor sensitivity if too many emergency videos are being locked, filling up the card.
- Poor video quality:
- Clean the camera lenses.
- Ensure the protective film has been removed from the lenses.
- Check video resolution settings; ensure it's set to 1080P.
- Ensure the windshield is clean where the camera is mounted.
- Rear camera not displaying or recording:
- Check all connections of the rear camera cable to both the rear camera and the front dash cam.
- Ensure the rear camera cable is not damaged.
- Parking mode not working:
- Verify that the dash cam is receiving continuous power when the vehicle is off (e.g., via a hardwire kit or external power source).
- Check parking mode settings in the menu.
If the problem persists after trying these solutions, please contact Yoidesu customer support for further assistance.
8. Specifications
Technical specifications for the Yoidesu 1080P HD Dash Cam (Model Yoidesudr401ug5kp).
| Feature | Specification |
|---|---|
| Main Camera Recording Resolution | 1080P (Maximum) |
| Secondary Camera Recording Resolution | 720P (Maximum) |
| Video Format | MOV |
| Image Format | JPG |
| Display Size | 3.16 inches Color Display |
| Display Resolution | 800x480 |
| Battery Type | Lithium Ion Battery (Built-in) |
| Battery Capacity | 150mAh |
| Memory Card Support | Maximum 32GB (Class 10 or higher, excluded) |
| Operating Temperature | -40 to 70 Degree Celsius |
| Recorder Power Interface | Type C |
| Motion Detection | Supported |
| Loop Recording | Supported |
| Product Dimensions (L x W x H) | 5.9" x 4.33" x 2.75" |
| Model Number | Yoidesudr401ug5kp |
9. Warranty and Support
Yoidesu products are manufactured to high-quality standards. For warranty information, technical support, or any questions regarding your product, please refer to the warranty card included in your package or visit the official Yoidesu website.
Please retain your proof of purchase for warranty claims.