
Introduction
This manual provides detailed instructions for the installation, operation, and maintenance of your Ant Esports Crystal Z3 Mid-Tower Computer Case. Please read this guide thoroughly before beginning assembly to ensure proper setup and safe usage. This case is designed to support ATX, M-ATX, and ITX motherboards, offering ample space for various components and efficient cooling solutions.
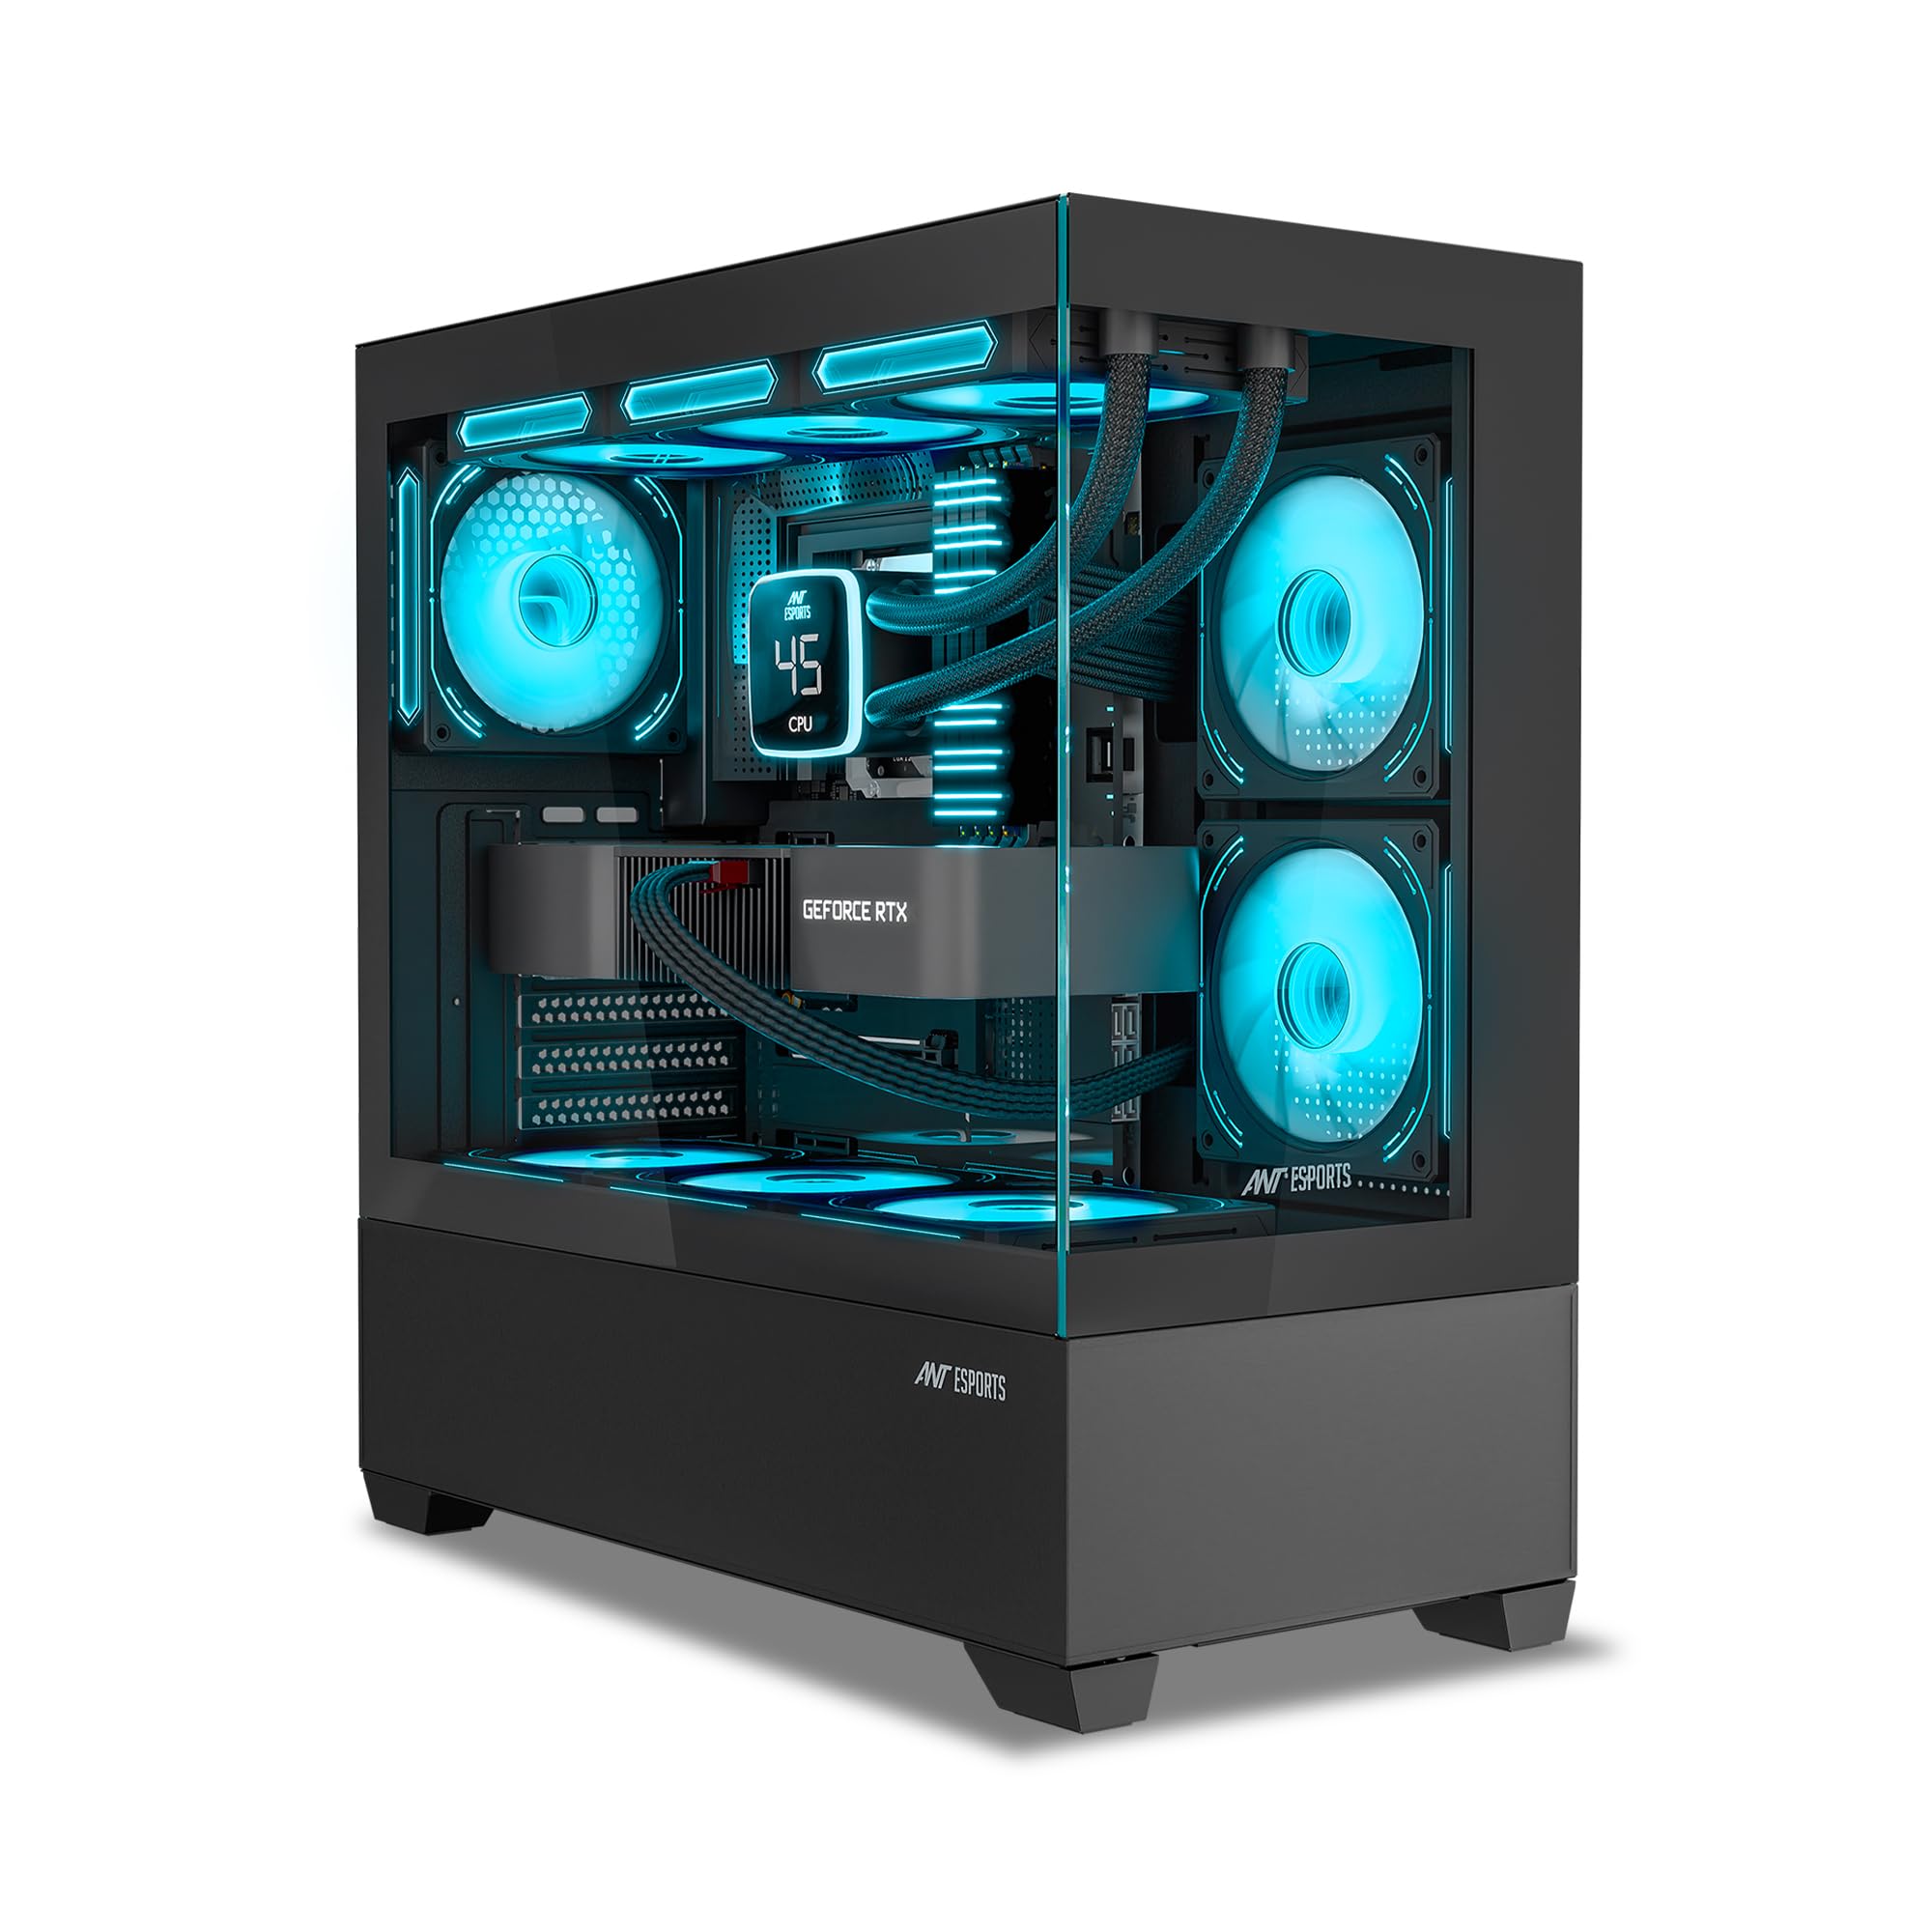
Figure 1: Ant Esports Crystal Z3 Mid-Tower Computer Case overview.
Safety Precautions
- Always disconnect the power supply from the wall outlet before installing or removing any components.
- Handle tempered glass panels with care to prevent breakage.
- Wear anti-static wrist straps to prevent electrostatic discharge (ESD) damage to sensitive components.
- Keep small parts and tools away from children.
- Ensure proper ventilation around the case to prevent overheating.
Package Contents
Verify that all components are present before beginning installation:
- Ant Esports Crystal Z3 Mid-Tower Computer Case
- Accessory box (screws, standoffs, cable ties)
- Pre-installed 3 ARGB Fans (120mm)
Setup and Installation
1. Preparing the Case
Carefully remove the tempered glass side panel and the rear metal panel to access the interior of the case. These panels are designed for easy removal to facilitate hardware installation and cable management.

Figure 2: Side panels can be removed easily for convenient hardware installation and cable management.
2. Motherboard Installation
Install the appropriate standoffs for your motherboard size (ATX, M-ATX, or ITX). Carefully place your motherboard into the case, aligning it with the standoffs and the I/O shield opening. Secure the motherboard with screws.

Figure 3: Hardware support for CPU cooler height (165mm max) and VGA card length (415mm max).
3. Storage Drive Installation
The Crystal Z3 supports 2 x 3.5" HDDs and 1 x 2.5" SSD. Mount your storage drives in the designated bays. For 3.5" HDDs, use the drive cage located at the bottom. For 2.5" SSDs, use the dedicated mounting point.

Figure 4: Locations for 3.5" HDDs, 2.5" SSD, and Power Supply Unit (PSU) with 200mm clearance.
4. Power Supply Unit (PSU) Installation
Install your PSU into the bottom mount compartment. Secure it with screws from the rear of the case. Ensure all necessary cables are routed through the cable management cutouts.
5. Expansion Card Installation (GPU, etc.)
Remove the necessary expansion slot covers from the rear of the case. Insert your graphics card or other expansion cards into the PCIe slots on your motherboard and secure them with screws. The case supports 7 expansion slots.

Figure 5: The case provides 7 expansion slots for graphics cards and other add-on cards.
6. Fan and Cooling System Installation
The Crystal Z3 comes with 3 pre-installed 120mm ARGB fans. Additional fans and liquid cooling radiators can be installed as per the specifications. For optimal cooling, install fans in a positive air pressure configuration (more intake than exhaust).
- Fan Support: Top (3 x 120mm), Bottom (3 x 120mm), Rear (1 x 120mm), Side (2 x 120mm).
- Liquid Cooling Support: Top (240/280/360mm), Rear (120mm).

Figure 6: Recommended fan installation for positive air pressure configuration to optimize cooling performance.

Figure 7: The case supports up to 9 fans and 360mm liquid coolers for superior thermal performance.
7. Cable Management
Utilize the cable routing cutouts and tie-down points behind the motherboard tray to organize cables. This improves airflow and aesthetics.
Operating Instructions
Front I/O Panel Functions
The Ant Esports Crystal Z3 features a conveniently located I/O panel for easy access to essential ports and controls.

Figure 8: Front I/O Panel with USB 3.0, USB 2.0, Audio, Mic, Power, and Reset buttons.
- Power Button: Press to turn the computer on or off.
- Reset Button: Press to restart the computer.
- USB 3.0 Port (x1): For high-speed data transfer with compatible devices.
- USB 2.0 Ports (x2): For connecting peripherals such as keyboards, mice, or other USB devices.
- Audio Jack: For connecting headphones or speakers.
- Microphone Jack: For connecting a microphone.
Ensure all I/O panel cables are correctly connected to your motherboard headers during installation.
Maintenance
Regular maintenance helps ensure optimal performance and longevity of your computer case and components.
- Dust Filter Cleaning: The case includes dust filters to prevent dust buildup. Periodically remove and clean these filters with compressed air or water (ensure they are completely dry before reinstallation).
- Interior Cleaning: Use compressed air to remove dust from internal components and fans. Avoid using liquid cleaners directly on electronic parts.
- Exterior Cleaning: Wipe the exterior surfaces with a soft, damp cloth. Avoid abrasive cleaners that may scratch the finish or tempered glass.
Troubleshooting
If you encounter issues with your Ant Esports Crystal Z3 case, consider the following common troubleshooting steps:
- No Power:
- Ensure the PSU is properly connected to the wall outlet and switched on.
- Verify all power cables from the PSU are securely connected to the motherboard and components.
- Check that the front panel power button cable is correctly connected to the motherboard's front panel header.
- Fans Not Spinning/ARGB Not Lighting Up:
- Confirm fan power cables are connected to the motherboard or fan controller.
- Check ARGB cables are connected to the motherboard's ARGB header or a dedicated ARGB controller.
- Ensure fan headers are enabled in the BIOS/UEFI settings.
- USB Ports Not Functioning:
- Verify the USB 3.0 and USB 2.0 front panel cables are correctly connected to the corresponding headers on your motherboard.
- Audio Jacks Not Working:
- Ensure the HD Audio front panel cable is securely connected to the motherboard's audio header.
- Check audio settings in your operating system.
For further assistance, refer to your motherboard manual or contact Ant Esports customer support.
Specifications
Detailed technical specifications for the Ant Esports Crystal Z3 Mid-Tower Computer Case:
| Feature | Detail |
|---|---|
| Product Dimensions (L x W x H) | 435 x 218 x 454 mm |
| Motherboard Compatibility | ATX, M-ATX, ITX |
| Materials | ABS + SPCC + Tempered Glass |
| Drive Bays | 2 x 3.5" HDD, 1 x 2.5" SSD |
| Expansion Slots | 7 |
| Fan Support (Top) | 3 x 120mm |
| Fan Support (Bottom) | 3 x 120mm |
| Fan Support (Rear) | 1 x 120mm |
| Fan Support (Side) | 2 x 120mm |
| Liquid Cooling Support (Top) | 240mm / 280mm / 360mm |
| Liquid Cooling Support (Rear) | 120mm |
| Pre-installed Fans | 3 x 120mm ARGB (2 Side, 1 Rear) |
| VGA Card Length (Maximum) | 415 mm |
| CPU Cooler Height (Maximum) | 165 mm |
| I/O Panel | 1 x USB 3.0, 2 x USB 2.0, 1 x Audio, 1 x Mic, Power & Reset Button |
| Special Features | Dust Filter, Tempered Glass Front & Side Panel |
| Item Weight | 5.9 Kilograms |

Figure 9: Detailed specifications table for the Crystal Z3 case.

Figure 10: Product dimensions of the Ant Esports Crystal Z3 case.
Warranty Information
The Ant Esports Crystal Z3 Mid-Tower Computer Case comes with a 1-Year Warranty from the date of purchase. This warranty covers manufacturing defects and material faults under normal use. It does not cover damage caused by misuse, accident, modification, or unauthorized repair.
Please retain your proof of purchase for warranty claims.
Customer Support
For technical support, warranty claims, or any inquiries regarding your Ant Esports Crystal Z3 computer case, please contact:
- Manufacturer: Ant Esports
- Importer: Acro Engineering Company
- Refer to the official Ant Esports website for the most current contact information.
