Introduction
This manual provides detailed instructions for the setup, operation, maintenance, and troubleshooting of your Ducky ProjectD Tinker 75 RGB Barebone Mechanical Keyboard. Please read this manual thoroughly before using the product to ensure proper functionality and longevity.
Product Overview
The Ducky ProjectD Tinker 75 RGB is a 75% layout barebone mechanical keyboard designed for customization and gaming. It features a compact design, RGB backlighting, and hot-swappable switch sockets, allowing users to easily install their preferred mechanical switches and keycaps.

Image: Top view of the Ducky ProjectD Tinker 75 RGB Barebone Mechanical Keyboard, showcasing its 75% layout and empty switch sockets.
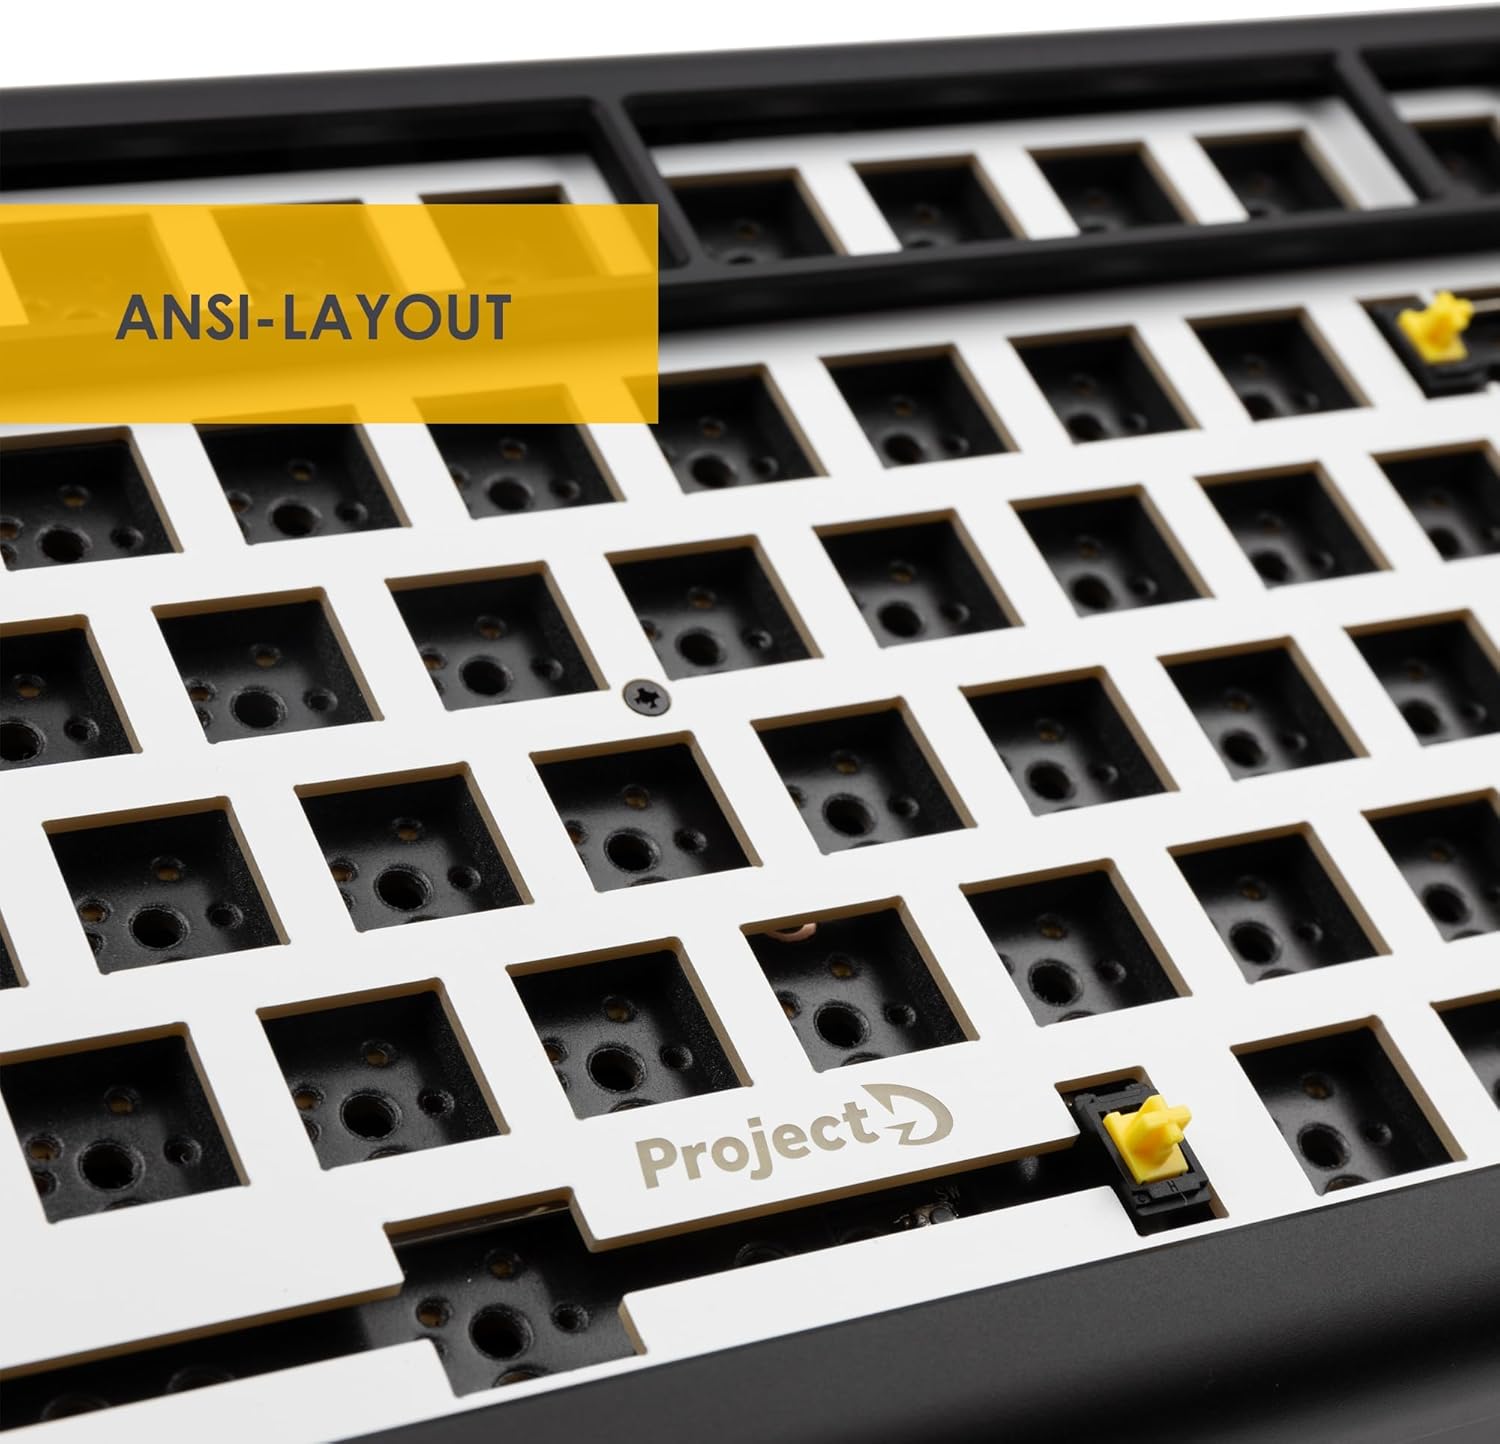
Image: Close-up view of the keyboard's ANSI layout, highlighting the arrangement of switch sockets.
What's in the Box
Please check the contents of the package upon unboxing:
- 1 x Ducky ProjectD Tinker 75 RGB Barebone Mechanical Keyboard
- 1 x USB Cable
Note: Mechanical switches and keycaps are not included with this barebone model and must be purchased separately.
Setup
- Install Mechanical Switches: Carefully align the pins of your desired 3-pin or 5-pin mechanical switches with the hot-swappable sockets on the keyboard PCB. Press down gently until the switch clicks into place. Ensure all switches are fully seated.
- Install Keycaps: Once all switches are installed, place your preferred keycaps onto the stems of the mechanical switches. Press down firmly but gently to secure them.
- Connect the USB Cable: Plug the USB-C end of the provided cable into the port on the keyboard. Connect the other end (USB-A) to an available USB port on your computer.
- Initial Power-On: The keyboard should be automatically recognized by your operating system. The RGB backlighting will illuminate, indicating it is powered on.

Image: Close-up of the hot-swappable switch sockets, ready for switch installation.
Operating Instructions
The Ducky ProjectD Tinker 75 RGB functions as a standard keyboard. Below are details on its special features:
- RGB Backlighting: The keyboard features customizable RGB backlighting. Specific lighting modes and color adjustments can typically be controlled via dedicated key combinations (often involving the Fn key) or through Ducky's proprietary software (if available for this model). Refer to Ducky's official website for software downloads and detailed lighting control instructions.
- Function Layer (Fn Key): The Fn key (usually located near the right Alt or Ctrl key) allows access to secondary functions printed on some keycaps (e.g., media controls, volume adjustment, lighting effects). Press and hold the Fn key, then press the desired function key.

Image: Keyboard with RGB backlighting active, showing various colors illuminating the switch sockets.
Maintenance
- Cleaning:
- Disconnect the keyboard from your computer before cleaning.
- Use a soft brush or compressed air to remove dust and debris from between keycaps and switches.
- For stubborn dirt, gently wipe the keycaps and case with a slightly damp, lint-free cloth. Avoid excessive moisture.
- Switch and Keycap Replacement:
- Due to the hot-swappable design, switches can be removed and replaced without soldering. Use a switch puller tool to carefully extract switches.
- Keycaps can be removed using a keycap puller tool.
- When installing new switches or keycaps, follow the steps outlined in the "Setup" section.
Troubleshooting
- Keyboard Not Responding:
- Ensure the USB cable is securely connected to both the keyboard and the computer.
- Try connecting the keyboard to a different USB port on your computer.
- Test the keyboard on another computer to rule out system-specific issues.
- RGB Lighting Not Working/Incorrect:
- Check if the lighting is turned off or set to a very dim level using the keyboard's function keys.
- Ensure all switches are fully seated, as loose switches can sometimes affect lighting.
- If using Ducky software, ensure it is up to date and correctly configured.
- Keys Not Registering:
- Carefully remove the keycap and switch for the affected key.
- Inspect the switch pins for any bends or damage. Straighten gently if bent.
- Reinsert the switch firmly into the socket, ensuring it is fully seated.
- If the issue persists, try swapping the problematic switch with a known working switch to determine if the switch or the socket is at fault.
Specifications
| Feature | Detail |
|---|---|
| Model Number | 2383AST-ANSI01 |
| Layout | 75% ANSI |
| Connectivity | USB-C |
| Compatible Devices | PC |
| Keyboard Type | Barebone Mechanical |
| Special Features | Customizable Switches (Hot-swappable), RGB Backlighting |
| Backlighting Color Support | RGB |
| Product Dimensions | 12.99 x 6.1 x 1.77 inches (33 x 15.5 x 4.5 cm) |
| Item Weight | 1.76 pounds (0.8 kg) |
| Material | Plastic (ABS) |
| Manufacturer | Ducky |

Image: Bottom view of the keyboard, highlighting the ABS plastic casing.
Warranty and Support
For warranty information, technical support, or to download the latest software and firmware for your Ducky ProjectD Tinker 75 RGB keyboard, please visit the official Ducky website:
Please retain your proof of purchase for warranty claims.