Product Overview
The FITCAMX 4K Dash Cam is engineered for seamless integration into your Volvo XC40 and XC40 Recharge (Model B) vehicles, providing a factory-installed appearance. It records high-definition video to capture critical driving events.
Key Features
- OEM Style Integration: Designed to fit perfectly behind the rearview mirror cover, ensuring no exposed wires and a clean aesthetic.
- High Clarity 4K Video: Records ultra-clear video at 2160P/30fps, utilizing an f/1.6 large aperture and CMOS sensor for superior image quality.
- WDR Technology: Automatically adjusts exposure to record vivid moments with accurate colors, even in challenging low-light or high-contrast conditions.
- Built-in WiFi & APP Control: Connects to the dedicated FITCAMX APP for real-time video viewing, management, and downloading footage directly to your smartphone.
- Loop Recording: Continuously records video, automatically overwriting the oldest unlocked footage when the storage card is full.
- G-Sensor: Detects sudden impacts or collisions, automatically saving and locking relevant footage to a protected folder to prevent overwriting.
Vehicle Compatibility
This FITCAMX dash camera is specifically designed for Volvo XC40 and XC40 Recharge 2021-2025 vehicle styles (Model B). To ensure proper fitment, please compare the shape of your vehicle's rearview mirror cover with the images provided below.

Image: Comparison of rearview mirror covers for Volvo XC40 Model A and Model B. Ensure your vehicle's cover matches Model B for proper fitment.
What's in the Box
Please verify that all components are present in your package:
- 1x 4K Front Dash Cam
- 1x Power Cable
- 1x User Manual (this document)
- 1x Removal Pry Tool
Note: For used items, an SD card is not included.
Setup and Installation
Follow these steps carefully to install your FITCAMX 4K Dash Cam. A pry tool is included to assist with panel removal.
- Remove the large cover: Gently pry off the large cover located behind your rearview mirror using the provided pry tool.
- Remove the triangular cover: Locate and remove the smaller triangular cover.
- Remove the small back cover: Detach the small back cover to expose the wiring.
- Connect the Y-cable: Disconnect the existing green plug from the vehicle's wiring harness. Connect the provided Y-cable to both the vehicle's harness and the original green plug.
- Mount the camera: Attach the dash camera unit to the large cover. Ensure it is securely fastened.
- Reinstall covers: Carefully reattach the large cover with the dash cam mounted to the windshield, ensuring all clips are secure and wires are tucked away.
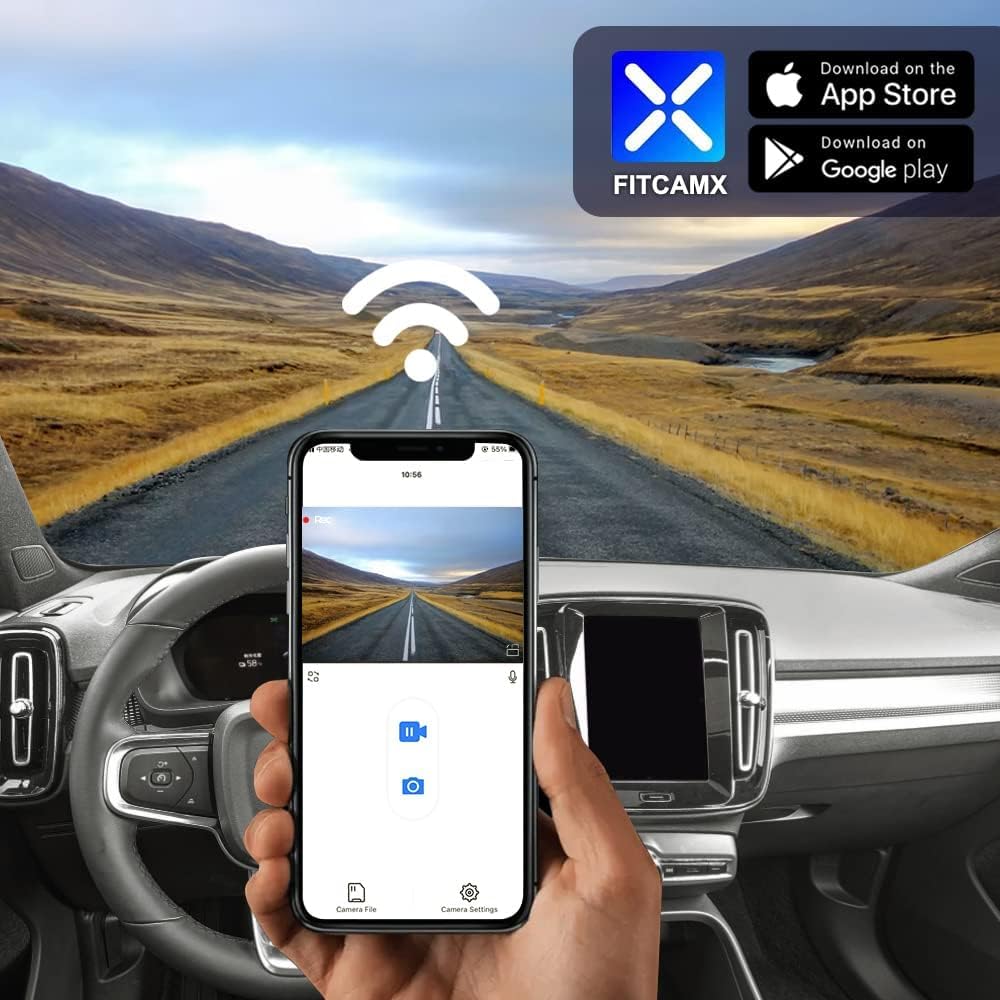
Image: Step-by-step visual guide for installing the dash camera, showing the removal of covers and connection points.
Video: Official installation guide for the FITCAMX dash cam in a Volvo vehicle. This video demonstrates the process of removing covers, connecting the power cable, and mounting the camera.
Operating Instructions
Automatic Recording
The dash camera will automatically begin recording when your vehicle starts. There is no need to manually activate recording each time you drive.
Using the FITCAMX App
The FITCAMX app allows you to view live footage, manage recorded videos, and download important clips to your smartphone.
- Download the App: Search for "FITCAMX" on the App Store (iOS) or Google Play (Android) and install it.
- Connect via WiFi: Turn on the dash cam's built-in WiFi. On your smartphone, go to WiFi settings and connect to the FITCAMX dash cam's network.
- Access Features: Open the FITCAMX app to access live view, playback, and settings.
Note: If you experience issues with live preview, temporarily turn off cellular data or Bluetooth on your phone. This will not affect the normal operation of CarPlay or Android Auto.

Image: The FITCAMX mobile application interface, showing live video feed and control options.
Loop Recording
The dash cam features loop recording, which means it continuously records video. When the storage card is full, the oldest unlocked footage will be automatically overwritten by new recordings.
G-Sensor and Emergency Locks
The built-in G-Sensor detects sudden impacts or collisions. In such an event, the camera will automatically save and lock the current video footage into a protected folder, preventing it from being overwritten by loop recording. This ensures critical evidence is preserved.

Image: Visual representation of loop recording overwriting old files and the G-Sensor locking emergency footage.
Note: This dash camera does NOT include a parking mode feature.
Maintenance
Cleaning
To maintain optimal video quality, regularly clean the dash cam lens with a soft, lint-free cloth. Avoid using abrasive cleaners or solvents.
Storage Card Management
While loop recording manages storage, it is recommended to periodically format the SD card (if you install one) through the app or camera settings to ensure optimal performance and prevent data corruption. Back up any important footage before formatting.
Temperature Considerations
The dash cam is designed to operate in temperatures ranging from -20°C to 85°C (-4°F to 185°F). Extreme temperatures outside this range may affect performance or cause damage.
Troubleshooting
Common Issues and Solutions
- No Power/Not Recording:
- Ensure the power cable is securely connected to both the dash cam and the vehicle's power source.
- Verify that the vehicle's ignition is on.
- App Connection Issues (No Preview):
- Temporarily disable cellular data and Bluetooth on your smartphone when connecting to the dash cam's WiFi.
- Ensure you are connected to the correct FITCAMX WiFi network.
- Video Quality Issues:
- Clean the camera lens.
- Ensure the camera is securely mounted and not vibrating.
- SD Card Errors:
- Format the SD card (if installed) using the FITCAMX app or camera settings.
- If issues persist, try a new, high-quality SD card (Class 10 or U3 recommended).
Frequently Asked Questions
- How to ensure the correct model?
Compare your vehicle's style, year, and rearview mirror cover shape. Contact FITCAMX customer service for detailed confirmation if unsure.
- Can I use CarPlay/Bluetooth when driving?
Yes. Your phone cannot be connected to CarPlay and the dash cam's WiFi simultaneously for live viewing, but the camera records automatically. You do not need to keep WiFi connected to the camera at all times for it to record.
- Can I add a rear camera with a front cam already installed?
No. The PCB boards are different for front-only and front+rear camera systems. If you wish to upgrade to a front+rear setup, you would need to replace the entire unit.
Specifications
| Feature | Detail |
|---|---|
| Brand | FITCAMX |
| Model Name | B |
| Compatible Vehicle Model | Volvo XC40 & XC40 Recharge (Model B) |
| CPU | Novatek |
| APP | Android/iOS (FITCAMX App) |
| Shell Material | PC+ABS |
| Aperture | f/1.6 |
| WiFi | 2.4Ghz |
| Video Resolution | Front 2160P (4K) Only |
| Frame Rate | 30 fps |
| Optical Sensor Technology | CMOS |
| Operating Temperature | -20°C to 85°C (-4°F to 185°F) |
| Item Weight | 1 Pound |
| Item Dimensions (D x W x H) | 9"D x 7"W x 4"H |
Warranty Information
The FITCAMX 4K Dash Cam comes with a 1-Year Warranty. For warranty claims or service, please contact customer support through the official channels.
Customer Support
For any questions, technical assistance, or support regarding your FITCAMX dash camera, please visit the official FITCAMX store or contact their customer service.
Official FITCAMX Store: FITCAMX Brand Store
The manufacturer, Dongguan Daozhi Electronic Technology Co., Ltd, is committed to providing prompt response and lifetime after-sales support.