1. Introduction
This manual provides detailed instructions for the installation, configuration, and operation of your Generic U14 WiFi Extender/Enhancer. This device is designed to expand the coverage of your existing wireless network, providing a more stable and far-reaching internet connection.
Please read this manual thoroughly before using the device to ensure proper setup and optimal performance.
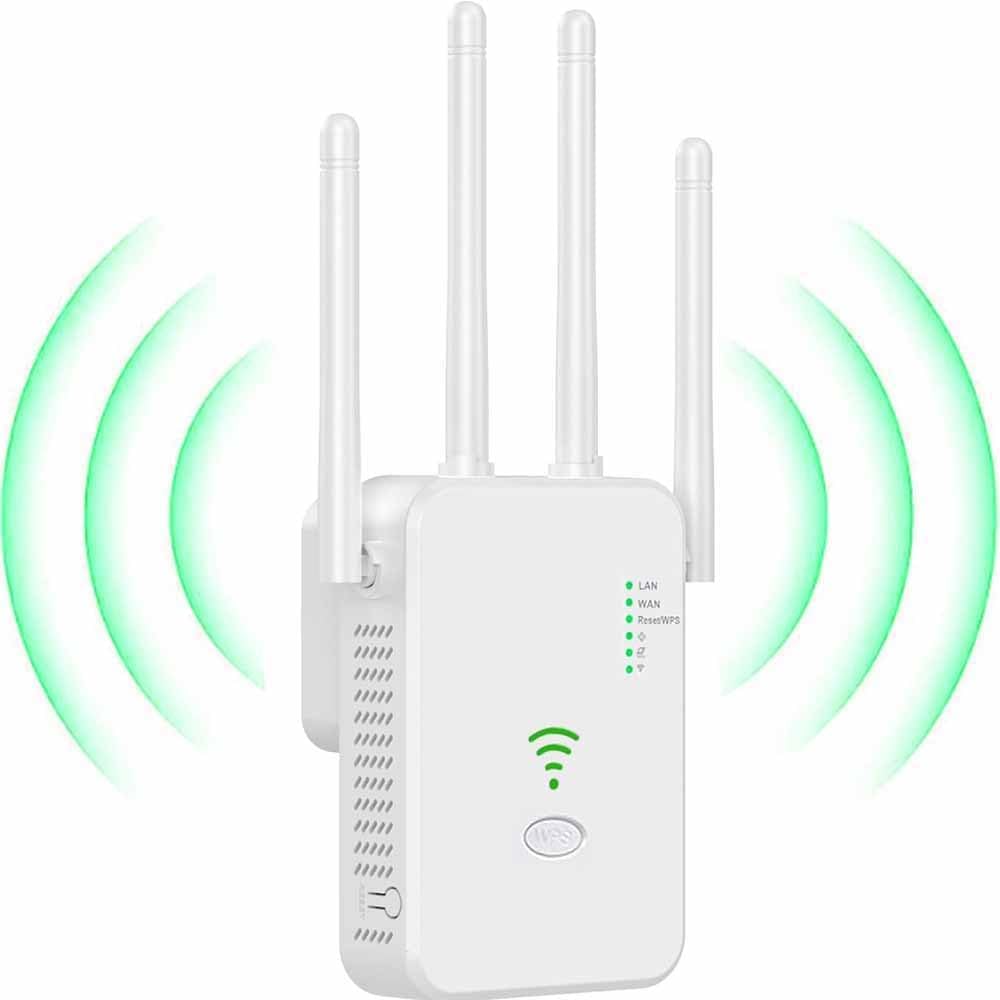
Image 1.1: The Generic U14 WiFi Extender, a white rectangular device with four adjustable antennas, showing green signal waves emanating from it, indicating wireless signal extension.
2. Features Overview
- High-Speed Wireless Extension: Extends existing network coverage with speeds up to 300Mbps at 2.4GHz, minimizing data transmission losses for high-definition streaming and gaming.
- Extensive Coverage: Increases WiFi coverage up to 2640 square feet, accommodating up to 25 devices, with enhanced penetration through walls.
- Multiple Operating Modes: Supports Repeater, Access Point (AP), and Router modes for versatile network expansion and configuration.
- Wired Connectivity: Includes two Ethernet ports (1 LAN, 1 WAN) for connecting wired devices such as smart TVs or desktop computers.
- Four Adjustable Antennas: Equipped with four external antennas to provide excellent and stable signal coverage throughout your home or office.
- Enhanced Security: Supports WPA/WPA2 security protocols to protect your network from unauthorized access and ensure data privacy.
- Easy Setup: Simple configuration via PC, smartphone, or laptop, with smart indicator lights to assist in optimal placement.
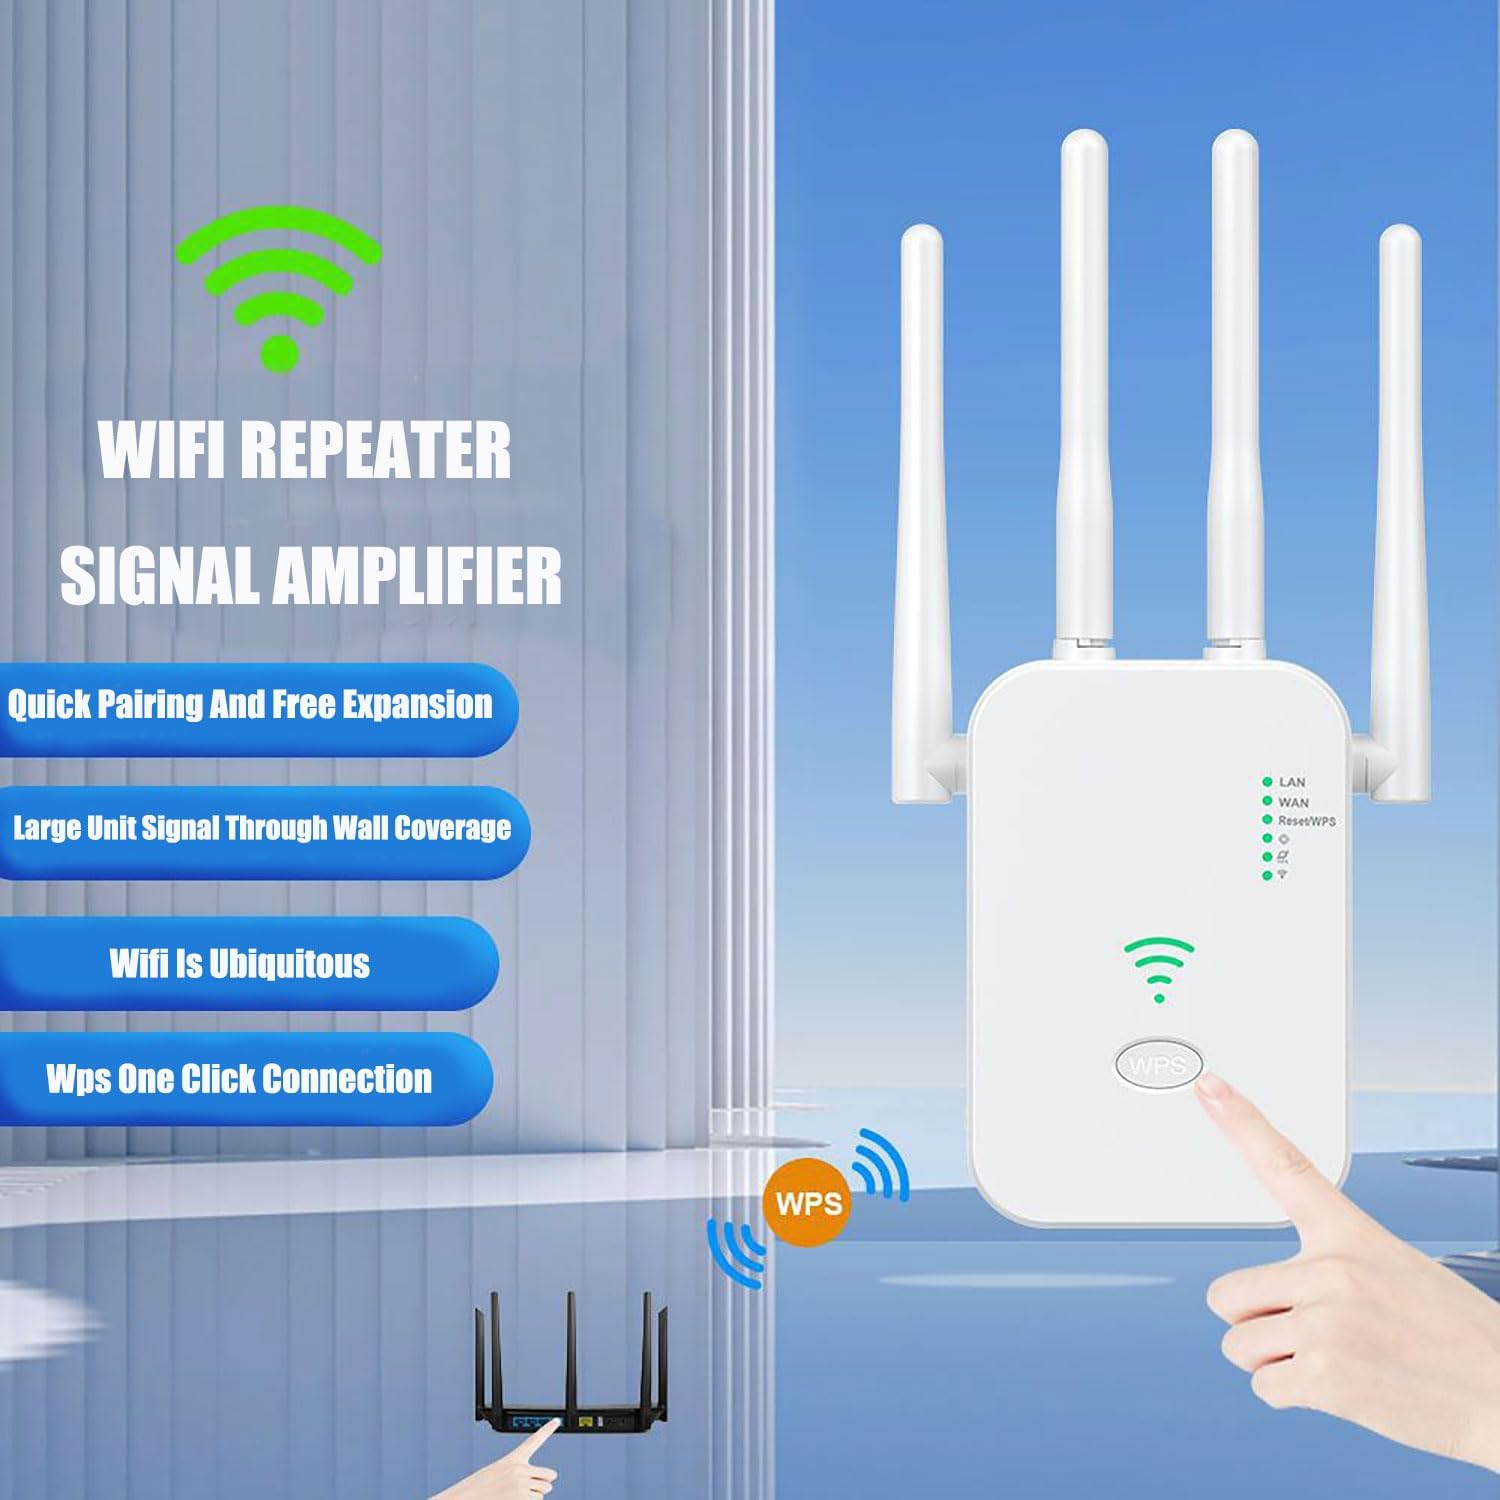
Image 2.1: An image of the WiFi Repeater, emphasizing its signal amplification capabilities, quick pairing, and ability to provide wide coverage.
3. Package Contents
Verify that all items are present in the package:
- 1 x 300Mbps WiFi Repeater (Generic U14)
- 1 x Ethernet Cable
- 1 x Instruction Manual
4. Product Specifications
| Feature | Description |
|---|---|
| Wireless Standard | IEEE 802.11b/g/n |
| Modulation | 11g/n: BPSK, QPSK, 16QAM, 64QAM, OFDM; 11b: DQPSK, DBPSK, DSSS, CCK |
| Speed | Up to 300Mbps (2.4GHz) |
| Frequency Band | 2.4GHz |
| Ports | 1 x LAN, 1 x WAN (Ethernet) |
| Antennas | 4 External Adjustable Antennas |
| Buttons | 1 x Reset, 1 x Indicator Switch |
| LED Indicators | Power, LAN, WAN, 2.4G WiFi, Reset, RE, Signal (x3) |
| Chipset | 8196e |
| Flash Memory | 8MB |
| SDRAM | DDR2 (32MB) |
| Power Input | AC 100-240V, 50/60Hz, 0.1A max |
| Dimensions | 4.72 x 3.94 x 3.9 inches |
| Weight | 5.9 ounces |

Image 4.1: The Generic U14 WiFi Extender highlighting its 300Mbps speed and 2.4GHz frequency band capabilities.
5. Setup Instructions
5.1 Powering On
- Plug the WiFi extender into a standard power outlet.
- Wait for the Power LED indicator to illuminate, signifying the device is powered on.
5.2 Connecting to the Extender
You can connect to the extender using a PC, smartphone, or laptop. The extender will broadcast a temporary WiFi network (e.g., "WiFi-Repeater" or similar).
- On your device, search for available WiFi networks.
- Select the extender's default WiFi network (e.g., "WiFi-Repeater").
- Once connected, open a web browser and enter the default IP address (typically 192.168.10.1 or as indicated on the device label) or the default web address (e.g., "repeater.net") to access the setup page.
- Follow the on-screen instructions to configure the extender. This usually involves selecting your existing WiFi network and entering its password.
6. Operating Modes
The Generic U14 WiFi Extender supports three primary operating modes:

Image 6.1: A visual representation of the three operational modes: Repeater Mode (extending an existing wireless network), AP Mode (converting wired to wireless), and Routing Mode (acting as a primary router).
6.1 Repeater Mode (Wireless Extender)
In Repeater Mode, the device extends the coverage of an existing wireless network. It connects wirelessly to your main router and re-broadcasts the signal, eliminating WiFi dead zones.
- Function: Expands the range of your current WiFi network.
- Connection: Connects wirelessly to your main router.
- Setup: Select this mode during the web interface setup, choose your main WiFi network, and enter its password.
6.2 AP Mode (Access Point)
AP Mode transforms a wired network connection into a wireless one. This is useful for creating a new WiFi access point in an area with only wired Ethernet access.
- Function: Converts a wired connection into a wireless access point.
- Connection: Connect the extender to your router or network switch via an Ethernet cable (WAN port).
- Setup: Select this mode during the web interface setup. You can configure a new WiFi network name (SSID) and password.
6.3 Routing Mode (Router)
In Routing Mode, the device functions as a primary router, connecting directly to your modem to create a new wireless network. This mode is typically used when you do not have an existing router.
- Function: Acts as a standalone wireless router.
- Connection: Connect the extender's WAN port to your modem using an Ethernet cable.
- Setup: Select this mode during the web interface setup and configure your internet connection details (e.g., PPPoE, Dynamic IP, Static IP).
7. WPS (Wi-Fi Protected Setup) Configuration
WPS allows for a quick and easy connection to your existing router without needing to manually enter network passwords.

Image 7.1: A step-by-step guide for using the WPS button to quickly connect the WiFi extender to a router, showing pressing the WPS button on both devices.
- Press and hold the WPS button on the WiFi extender for 3-5 seconds. The WPS LED indicator on the extender will start blinking.
- Within two minutes, press the WPS button on your main router.
- Wait for approximately 10-30 seconds for the devices to automatically pair. The signal strength LEDs on the extender will indicate a successful connection.
If the WPS connection fails, please refer to the manual setup instructions in Section 5.2.
8. Optimal Placement
For optimal performance, place the WiFi extender in a strategic location between your main router and the area where you desire improved WiFi coverage. The extender should receive a strong signal from your main router while also being close enough to the areas needing extended coverage.
- Avoid placing the extender near large metal objects, concrete walls, or other electronic devices that may cause interference.
- Utilize the smart indicator lights on the extender to help determine the best position for signal strength.
- Adjust the four external antennas to optimize signal direction and coverage.
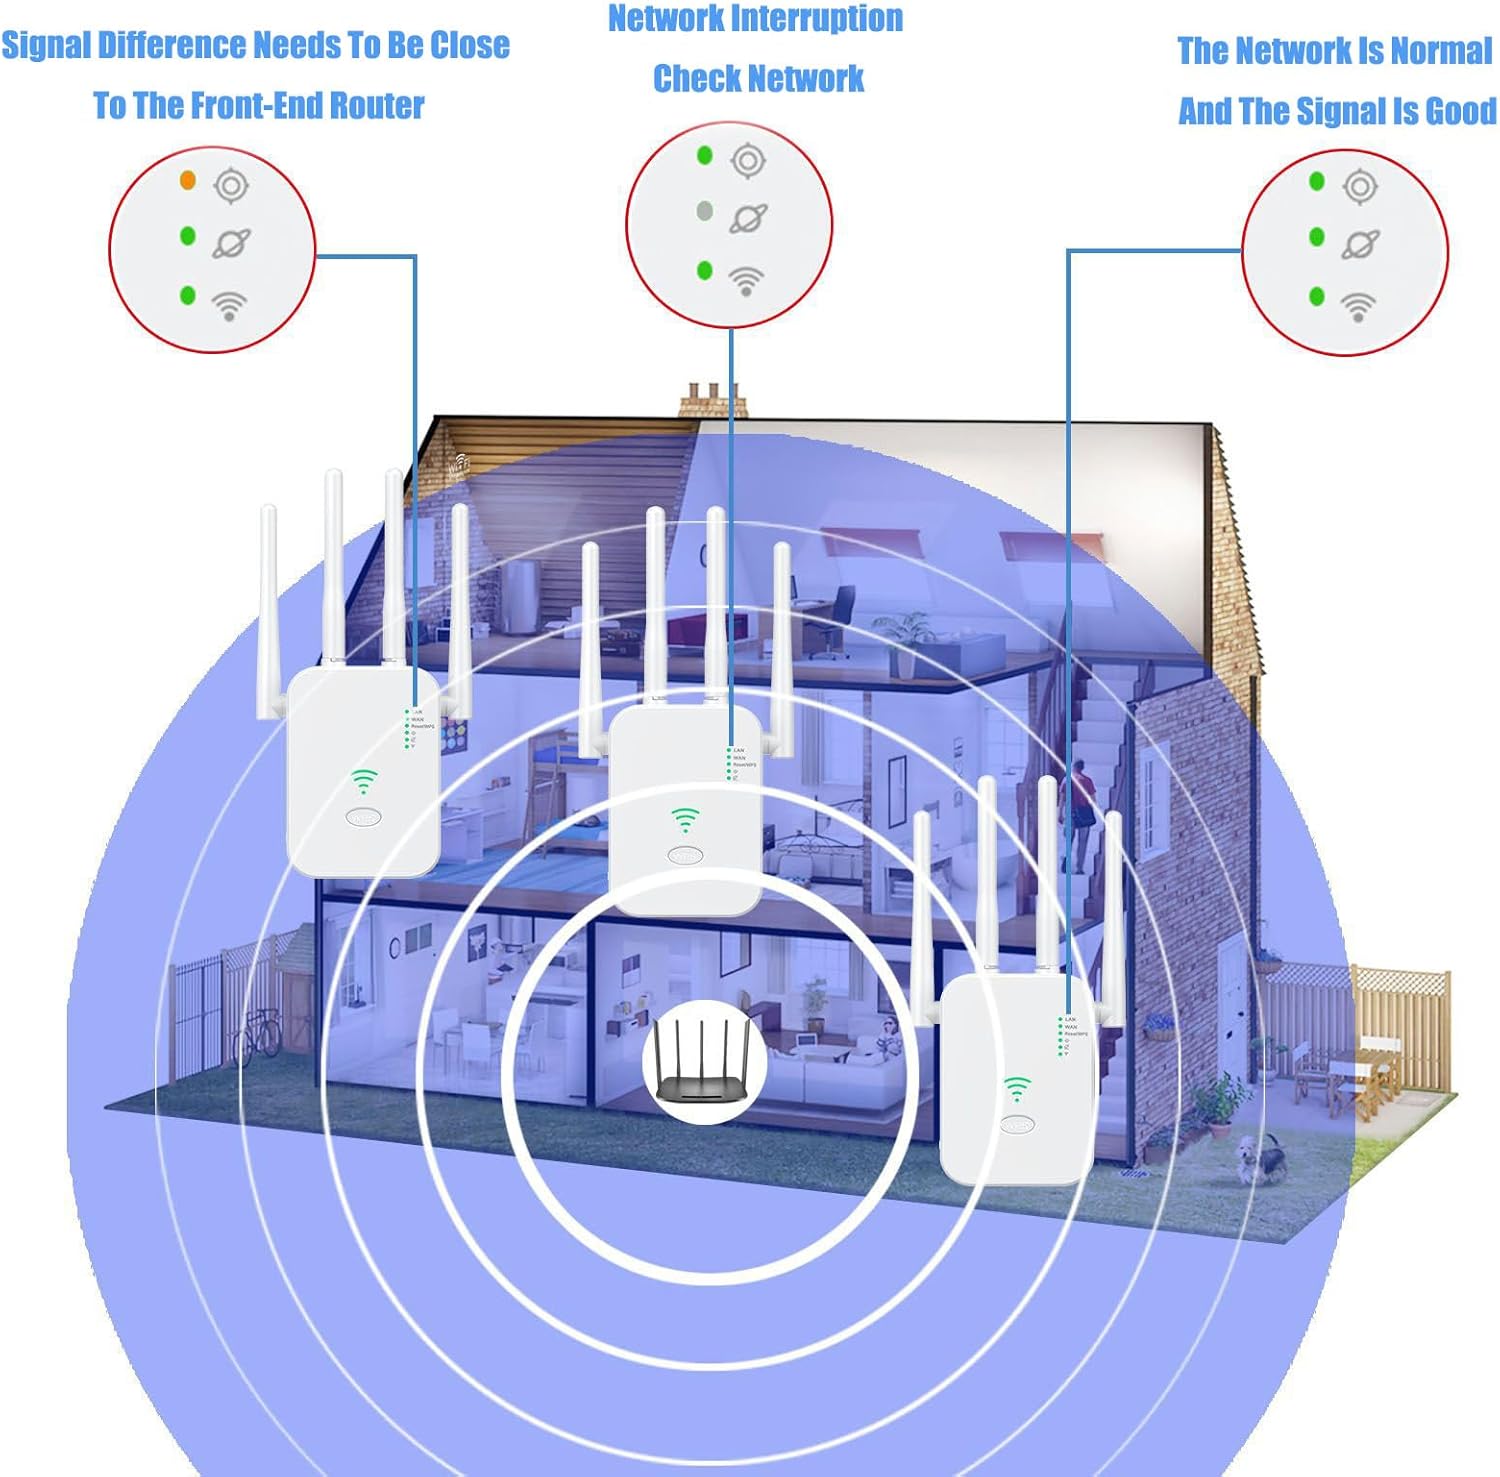
Image 8.1: A diagram illustrating proper placement of the WiFi extender within a home to maximize signal strength and coverage, showing the extender positioned between the main router and areas needing improved signal.

Image 8.2: An illustration demonstrating the wide coverage capabilities of the WiFi extender across different environments such as villas, apartments, and offices.
9. Troubleshooting
- No Power: Ensure the extender is securely plugged into a working power outlet. Check the power adapter and cable for any damage.
- Cannot Access Setup Page:
- Verify your device is connected to the extender's default WiFi network.
- Ensure you are entering the correct IP address (e.g., 192.168.10.1) or web address (e.g., repeater.net) in your browser.
- Try clearing your browser's cache or using a different browser.
- Weak Signal After Setup:
- Relocate the extender closer to your main router. The extender should be placed where it receives a strong signal from the router, but also close enough to the area needing coverage.
- Adjust the antennas on both the extender and your main router for better signal reception.
- Minimize obstructions like thick walls or large metal objects between the extender and the router.
- Internet Connection Drops:
- Check the internet connection of your main router.
- Restart both the extender and your main router.
- Ensure the extender's firmware is up to date (if applicable, check manufacturer's website).
- Forgot Admin Password: Perform a factory reset. Locate the reset button (often a small pinhole) on the extender. With the device powered on, use a paperclip to press and hold the reset button for 5-10 seconds until the LEDs flash. The device will revert to factory default settings.
10. Maintenance
- Cleaning: Use a soft, dry cloth to clean the exterior of the device. Do not use liquid cleaners or aerosols.
- Ventilation: Ensure the device's ventilation holes are not blocked to prevent overheating.
- Firmware Updates: Periodically check the manufacturer's website for any available firmware updates to ensure optimal performance and security.
11. Warranty and Support
For warranty information or technical support, please refer to the contact details provided with your purchase documentation or visit the official Generic product support website.
Please retain your proof of purchase for warranty claims.