1. Introduction
Thank you for choosing the QUECHUA BL230 Rechargeable Camp Light. This manual provides essential information for the safe and efficient use of your new camp light. Please read it thoroughly before first use and retain it for future reference.
2. Safety Instructions
- Do not look directly into the light source when it is on, as this may cause temporary vision impairment.
- Keep the device away from water and excessive moisture.
- Do not attempt to disassemble or modify the light. This will void the warranty and may cause damage or injury.
- Use only the provided or a certified USB charging cable.
- Keep out of reach of children.
- Do not expose the light to extreme temperatures or direct sunlight for prolonged periods.
3. Package Contents
Please check that all items are present in your package:
- QUECHUA BL230 Camp Light
- USB Charging Cable
- User Manual
4. Product Overview
Familiarize yourself with the components of your QUECHUA BL230 Camp Light.

Figure 4.1: QUECHUA BL230 Camp Light with adjustable strap. The light features a compact design with a durable strap for hanging or carrying.
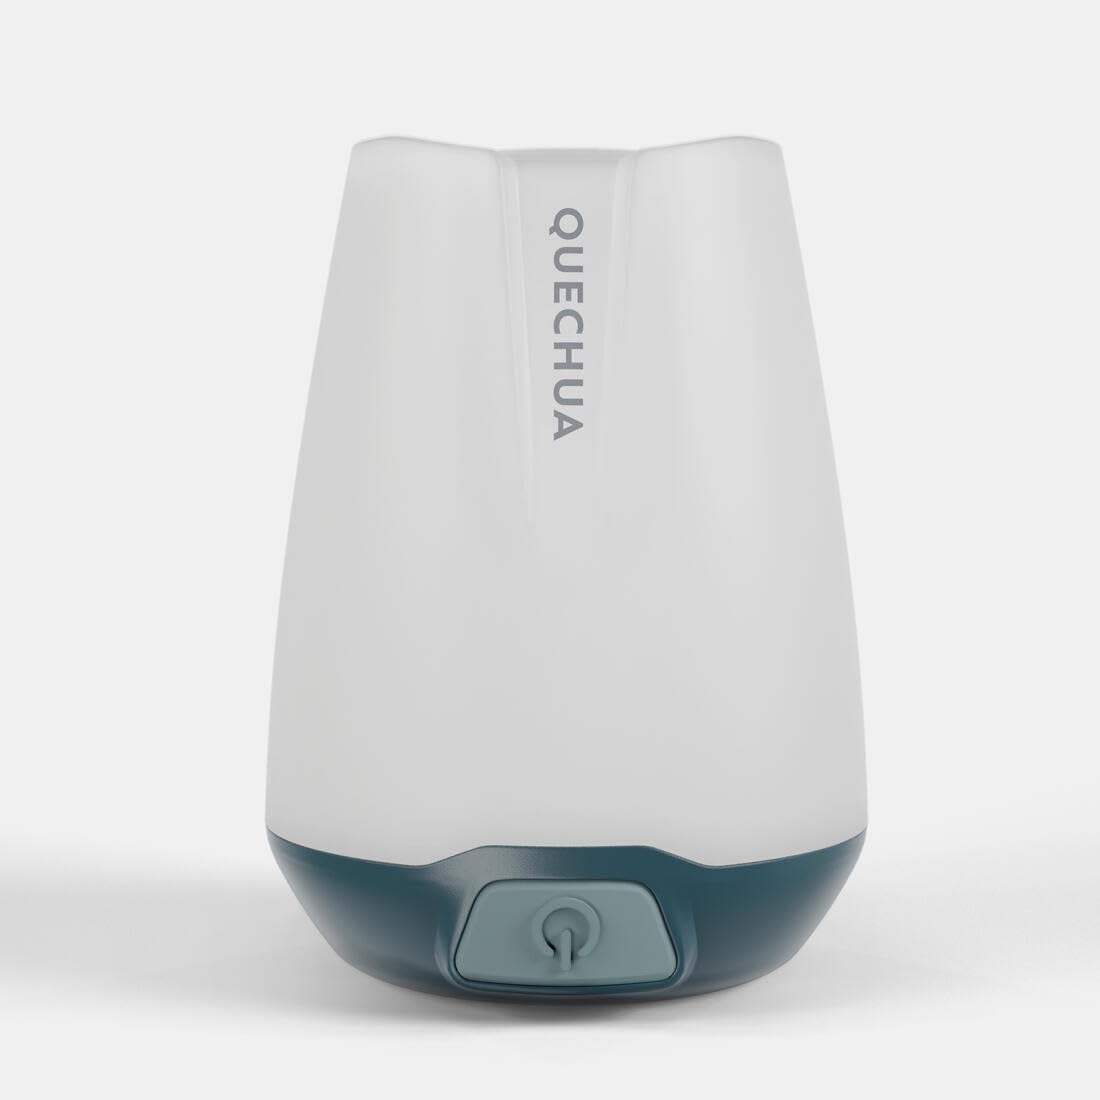
Figure 4.2: Top view of the QUECHUA BL230 Camp Light, indicating the 'Torch Mode' lens. This lens provides a more focused beam of light.

Figure 4.3: Bottom view of the QUECHUA BL230 Camp Light, showing the power button and the base of the unit.
5. Setup
5.1 Initial Charging
Before first use, fully charge your QUECHUA BL230 Camp Light. This ensures optimal battery performance and longevity.
- Locate the USB-C charging port on the side of the light, usually protected by a rubber flap.
- Gently open the rubber flap to expose the port.
- Connect the provided USB charging cable to the light's USB-C port.
- Connect the other end of the USB cable to a compatible USB power source (e.g., wall adapter, power bank, computer USB port).
- The charging indicator light (if present) will illuminate to show charging status. Refer to the 'Charging' section for details.
- Once fully charged, disconnect the cable and securely close the rubber flap to protect the port from dust and moisture.

Figure 5.1: Close-up of the USB-C charging port on the QUECHUA BL230 Camp Light, shown with its protective rubber cover open.
6. Operating Instructions
6.1 Power On/Off and Mode Selection
The QUECHUA BL230 Camp Light features multiple lighting modes for various situations.
- Power On: Press and hold the power button (refer to Figure 4.3) for approximately 2 seconds to turn on the light. It will typically start in a low white light mode.
- Cycle Modes: Short press the power button repeatedly to cycle through the available lighting modes. The modes generally include:
- Low White Light: Ideal for ambient lighting or reading.
- Medium White Light: Brighter general illumination.
- High White Light: Maximum brightness for wider area illumination.
- Red Light: Preserves night vision and can be used as a signal light.
- Torch Mode: Provides a focused beam from the top lens for directional lighting.
- Power Off: Press and hold the power button for approximately 2 seconds to turn off the light from any mode.
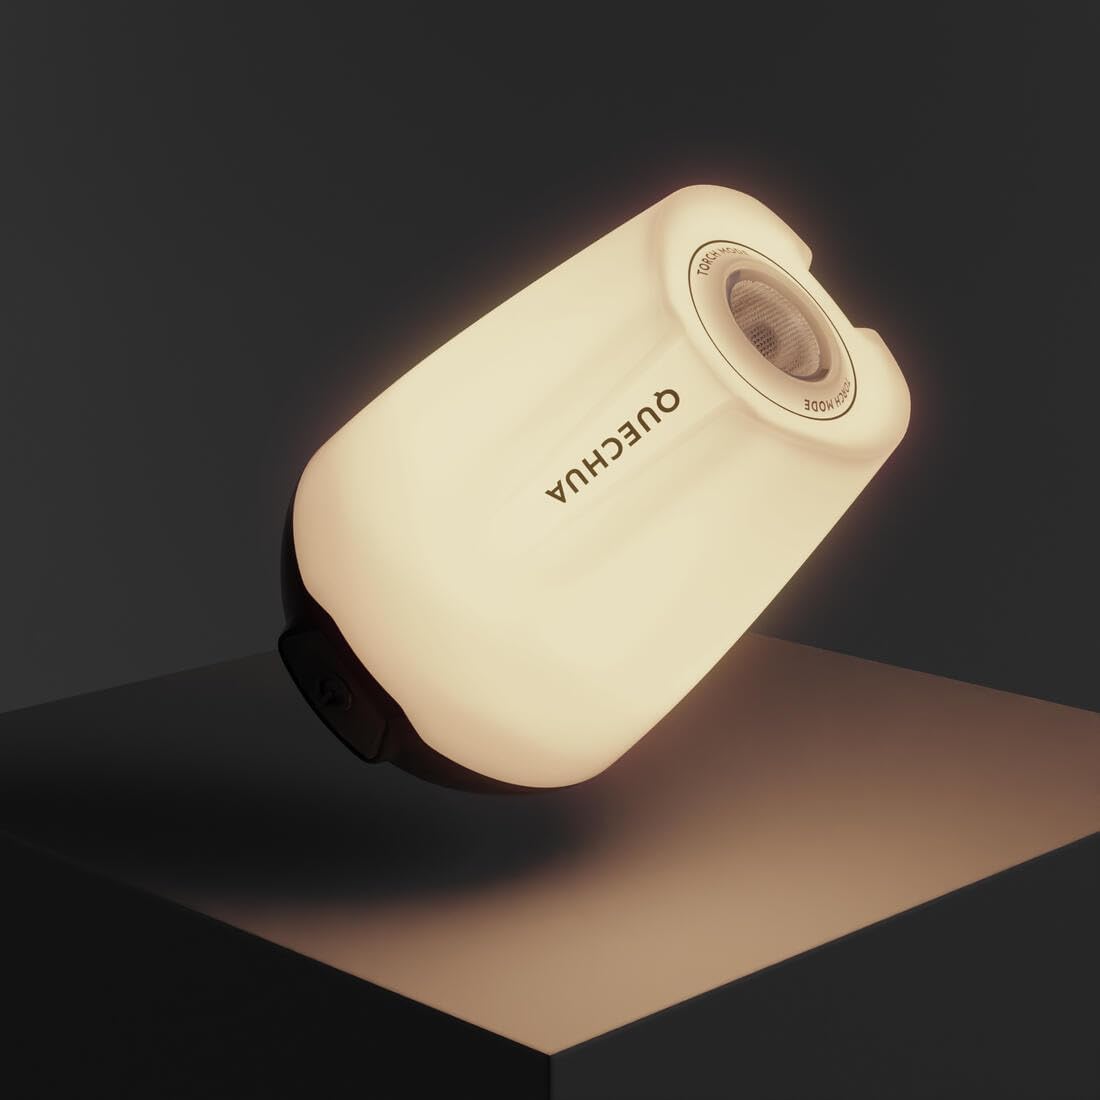
Figure 6.1: The QUECHUA BL230 Camp Light emitting a warm white light, suitable for general ambient illumination.

Figure 6.2: The QUECHUA BL230 Camp Light emitting a bright white light, providing maximum illumination.

Figure 6.3: The QUECHUA BL230 Camp Light emitting a red light, useful for preserving night vision or as a warning signal.

Figure 6.4: The QUECHUA BL230 Camp Light operating in torch mode, providing a focused beam of light from its top lens.
7. Charging
The QUECHUA BL230 Camp Light is equipped with a rechargeable lithium battery. Follow these steps to charge the device:
- Connect the USB-C cable to the light and a power source as described in Section 5.1.
- A charging indicator light will show the charging status. Typically, a red light indicates charging, and a green or blue light indicates a full charge. (Specific indicator behavior may vary; refer to product packaging if available).
- Charging time may vary depending on the power source and remaining battery level.
- Once fully charged, disconnect the light from the power source and ensure the USB-C port cover is securely closed to maintain water resistance.
8. Maintenance
8.1 Cleaning
- Wipe the exterior of the light with a soft, damp cloth.
- Do not use abrasive cleaners or solvents, as these can damage the surface.
- Ensure the USB-C port cover is closed before cleaning to prevent water ingress.
8.2 Storage
- Store the light in a cool, dry place away from direct sunlight.
- For long-term storage, charge the battery to approximately 50% every 3-6 months to maintain battery health.
9. Troubleshooting
If you encounter issues with your QUECHUA BL230 Camp Light, refer to the following common problems and solutions:
| Problem | Possible Cause | Solution |
|---|---|---|
| Light does not turn on. | Battery is depleted. | Charge the light fully. |
| Light does not turn on. | Power button not pressed correctly. | Press and hold the power button for 2 seconds. |
| Light does not charge. | Charging cable or power source is faulty. | Try a different USB-C cable or power adapter. Ensure the cable is fully inserted. |
| Light output is dim. | Battery is low. | Recharge the light. |
| Light output is dim. | Incorrect mode selected. | Cycle through modes to select a brighter setting. |
10. Specifications
| Feature | Detail |
|---|---|
| Model | BL230 |
| Brand | Quechua |
| Brightness | Up to 230 lumens |
| Power Source | Rechargeable Battery |
| Battery Type | Lithium |
| Charging Port | USB-C |
11. Warranty Information
This product is covered by a standard manufacturer's warranty. Please refer to the warranty card included with your purchase or contact your retailer for specific warranty terms and conditions. The warranty typically covers defects in materials and workmanship under normal use.
12. Support
For further assistance, technical support, or to inquire about replacement parts, please contact the retailer where you purchased the QUECHUA BL230 Camp Light. You may also visit the official Quechua website for additional product information and support resources.