1. Introduction
This manual provides comprehensive instructions for the setup, operation, and maintenance of your AR9ON INet 3+ Remote Control. Please read this manual carefully before using the device to ensure proper functionality and longevity.

Figure 1: Angled view of the AR9ON INet 3+ Remote Control, showcasing its ergonomic design and button layout.
2. Setup
2.1 Battery Installation
The remote control requires batteries for operation. Follow these steps to install or replace the batteries:
- Locate the battery compartment on the back of the remote control.
- If present, gently pull the clear plastic tab protruding from the bottom of the remote. This tab is a battery insulator and must be removed for the remote to function.
- Press down on the latch or slide the battery cover in the direction indicated by an arrow (if present) to open the compartment.
- Insert new batteries, ensuring the correct polarity (+ and -) as indicated inside the compartment.
- Close the battery cover securely until it clicks into place.
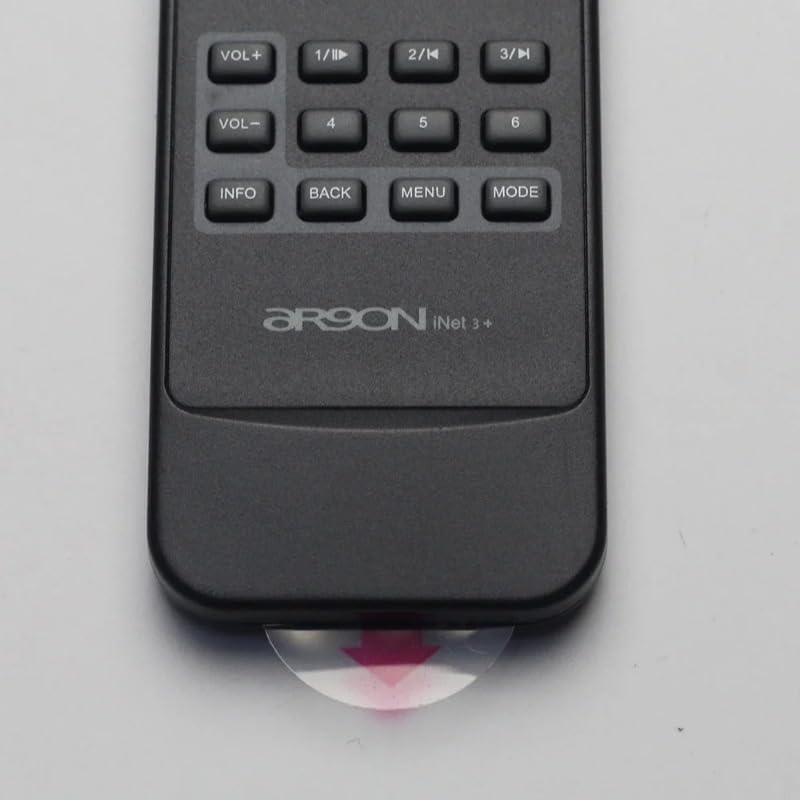
Figure 2: Clear plastic tab (battery insulator) to be removed from the bottom of the remote.
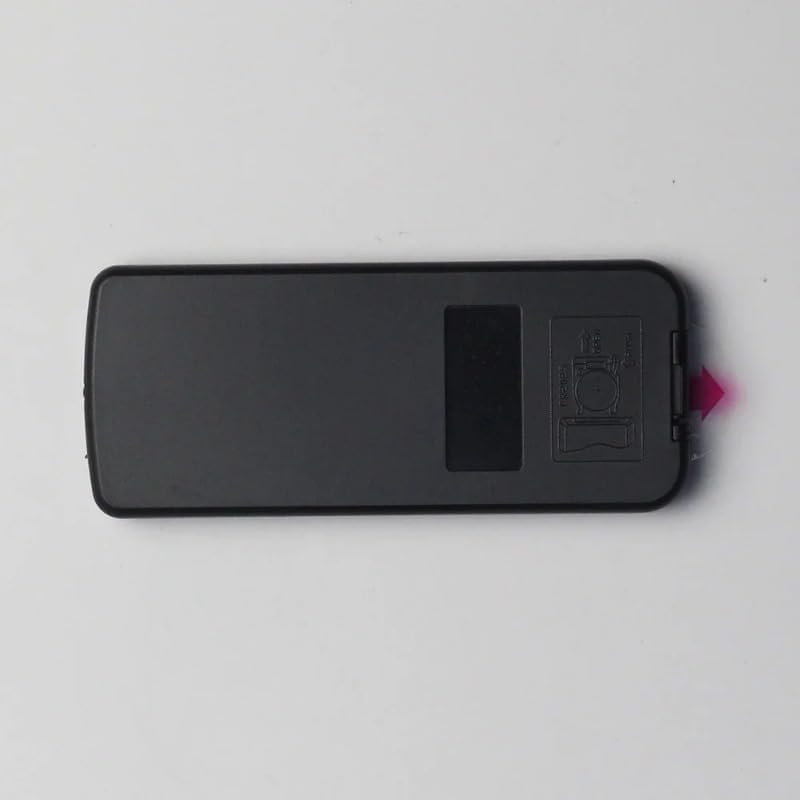
Figure 3: Rear view of the remote control, highlighting the battery compartment cover.
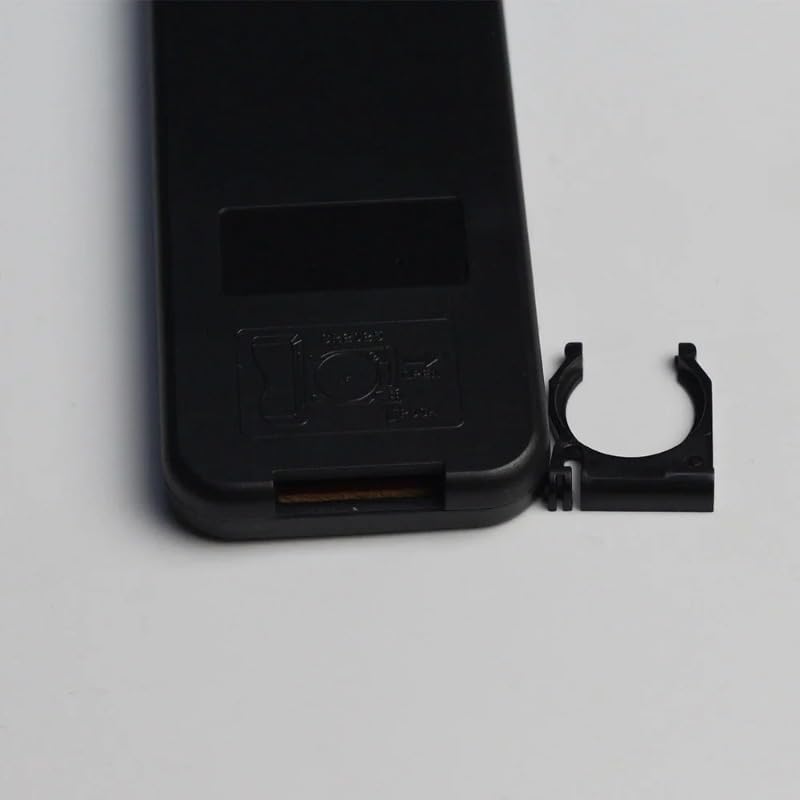
Figure 4: Battery compartment with cover removed, showing the internal battery clip.
3. Operating Instructions
The AR9ON INet 3+ Remote Control features an intuitive button layout for easy navigation and control of your compatible device. Refer to the diagram below for button identification and their primary functions.
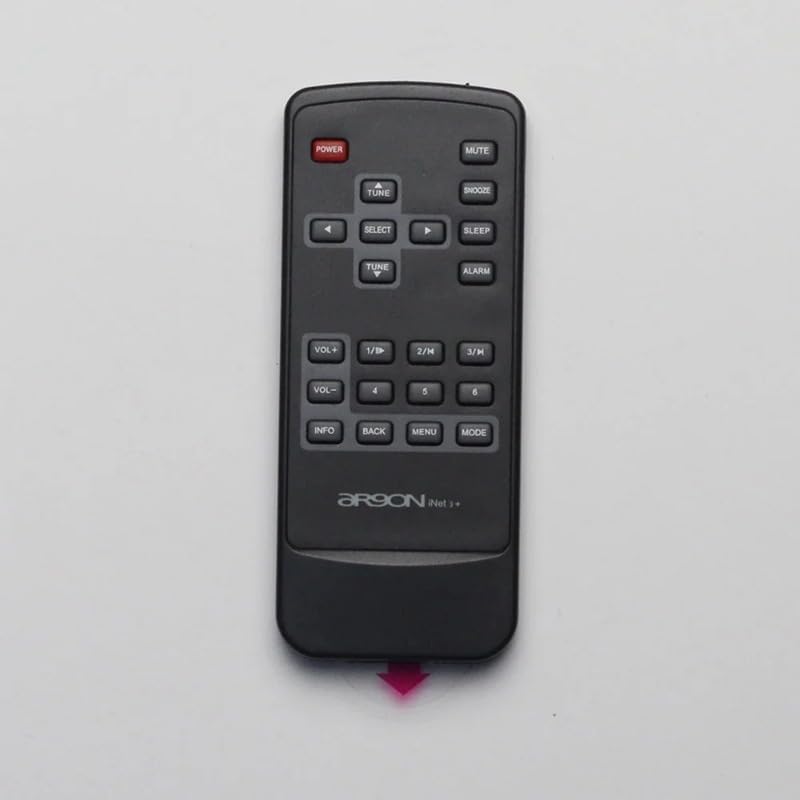
Figure 5: Top-down view of the remote control, detailing the function of each button.
3.1 Button Functions
- POWER (Red Button): Turns the connected device on or off.
- MUTE: Toggles sound on or off.
- SNOOZE: Activates or deactivates the snooze function for alarms.
- SLEEP: Sets a sleep timer for the device.
- ALARM: Accesses alarm settings.
- VOL+ / VOL-: Increases or decreases the volume level.
- 1/II, 2/K, 3/H: Function buttons, often used for specific modes or quick access.
- 4, 5, 6: Number buttons for direct input or selection.
- INFO: Displays information about the current track, station, or system status.
- BACK: Returns to the previous menu or screen.
- MENU: Opens the main menu of the connected device.
- MODE: Switches between different operating modes (e.g., Radio, Bluetooth, Aux).
- TUNE (Up/Down Arrows): Navigates through radio frequencies, tracks, or menu options.
- SELECT: Confirms a selection or enters a sub-menu.
4. Maintenance
4.1 Cleaning
To clean the remote control, use a soft, dry cloth. For stubborn dirt, slightly dampen the cloth with water or a mild, non-abrasive cleaner. Do not use harsh chemicals or abrasive materials, as they may damage the surface.
4.2 Battery Replacement
Replace batteries when the remote's response becomes sluggish or it stops functioning. Refer to Section 2.1 for battery installation instructions. Always dispose of used batteries responsibly according to local regulations.
5. Troubleshooting
- Remote not responding:
- Check if the plastic battery insulator tab has been removed.
- Ensure batteries are inserted with correct polarity.
- Replace old batteries with new ones.
- Ensure there are no obstructions between the remote and the device's sensor.
- Limited range:
- Replace batteries.
- Ensure the remote is pointed directly at the device's sensor.
- Reduce interference from other electronic devices.
6. Specifications
| Feature | Detail |
|---|---|
| Brand | Generic (Manufacturer: TUCUS) |
| Model Number | DVT-4F98AEFC7A28645BD21E85D33A80939C |
| Controller Type | Button Control |
| Special Feature | Ergonomic |
| Item Package Quantity | 1 |
| ASIN | B0D799TNWS |
| Date First Available | June 17, 2024 |
7. Warranty and Support
For warranty information and technical support, please refer to the documentation provided with your original product purchase or contact the seller directly. Keep your purchase receipt as proof of purchase.