1. Introduction
This manual provides essential information for the proper setup, operation, and maintenance of your Gawfolk 34-inch UWQHD 144Hz Curved Gaming Monitor, Model GF340A. Please read this manual thoroughly before using the product to ensure optimal performance and safety.
The Gawfolk GF340A is a 34-inch ultrawide (21:9) curved gaming monitor featuring a 1500R curvature for an immersive viewing experience. It offers a UWQHD (3440x1440) resolution, a high refresh rate of 144Hz, and supports Adaptive Sync technology to minimize screen tearing and stuttering. With HDR support, 4000:1 contrast ratio, and 99% sRGB color gamut, it delivers vibrant and detailed visuals. The monitor also incorporates low blue light and flicker-free technologies for enhanced eye comfort during extended use.
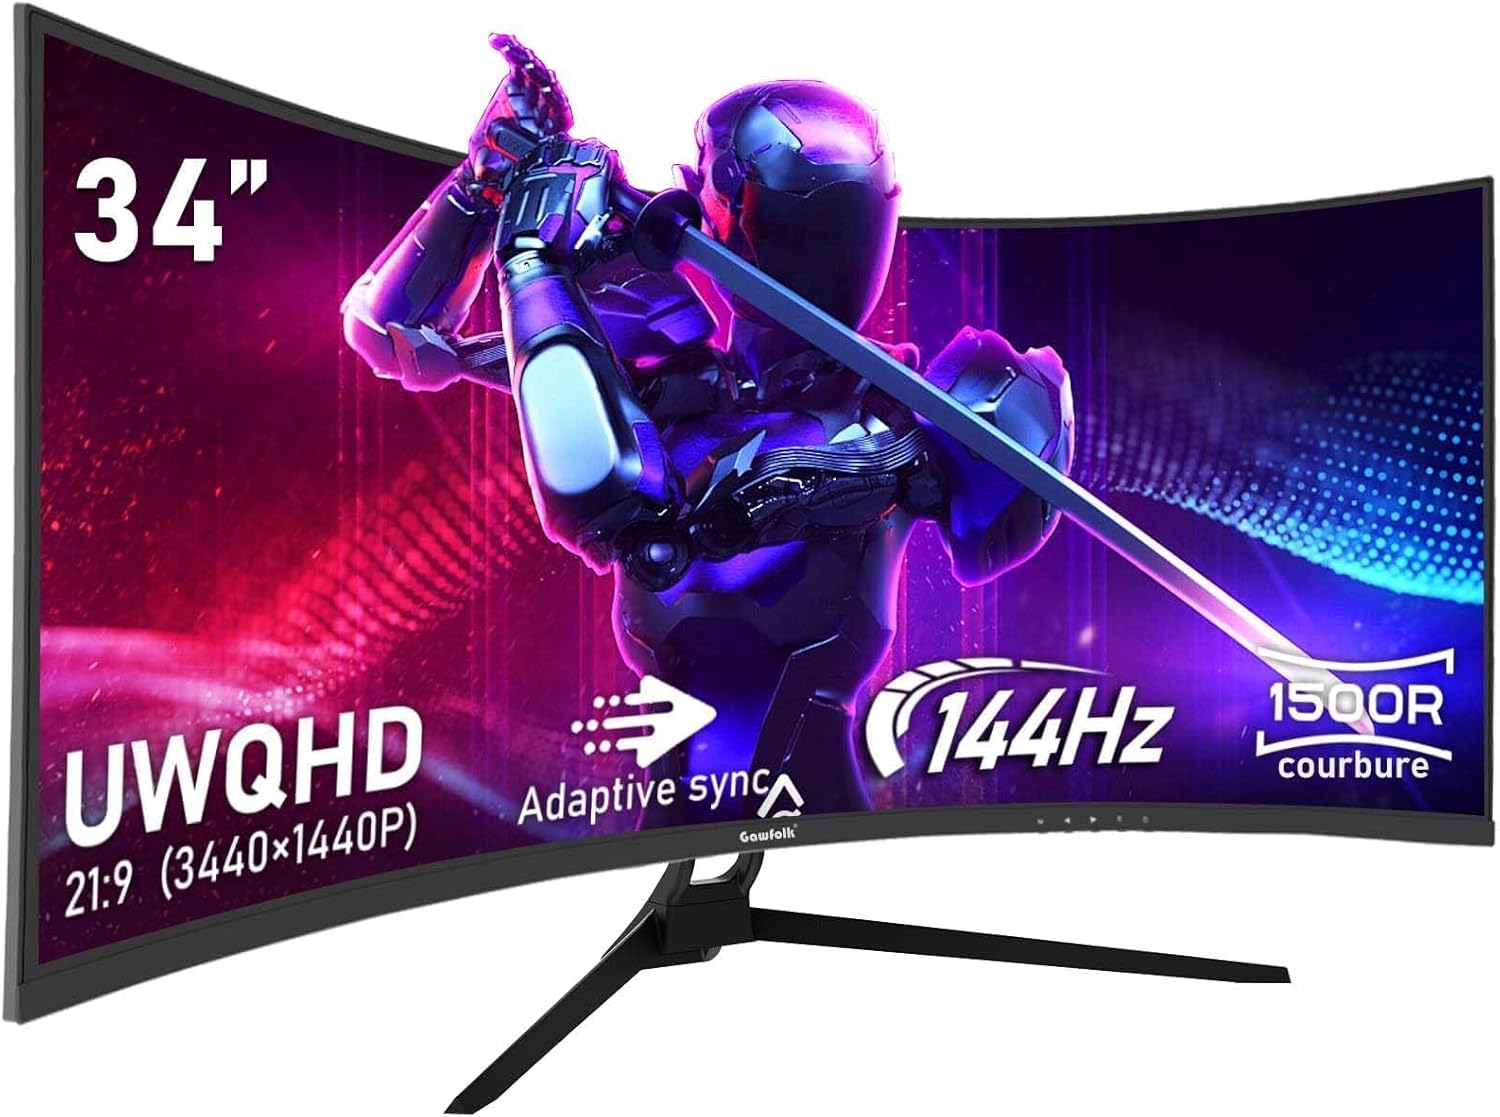
Figure 1: Gawfolk 34-inch UWQHD 144Hz Curved Gaming Monitor.
2. Safety Information
- Read all instructions carefully before using the monitor.
- Do not expose the monitor to rain or moisture to prevent fire or shock hazards.
- Do not open the monitor casing. There are no user-serviceable parts inside. Refer all servicing to qualified personnel.
- Place the monitor on a stable, flat surface to prevent it from falling.
- Ensure proper ventilation around the monitor. Do not block ventilation openings.
- Use only the power adapter and cables supplied with the monitor.
- Disconnect the power plug from the outlet if the monitor will not be used for an extended period.
- Avoid placing the monitor near heat sources or in direct sunlight.
- Handle the screen with care. Avoid applying pressure or sharp objects to the display panel.
3. Package Contents
Please check the package contents upon unpacking. If any items are missing or damaged, contact your retailer.
- Gawfolk 34-inch UWQHD 144Hz Curved Gaming Monitor (GF340A)
- Monitor Stand (Base and Neck)
- Power Adapter and Power Cable
- DisplayPort (DP) Cable
- HDMI Cable
- User Manual (this document)
- Screws for Stand Assembly
4. Setup
4.1 Assembling the Stand
- Carefully remove the monitor from its packaging, keeping the screen protected.
- Attach the stand neck to the monitor panel using the provided screws.
- Attach the stand base to the stand neck, securing it with the thumb screw or screws provided.
- Place the assembled monitor on a stable, flat surface.
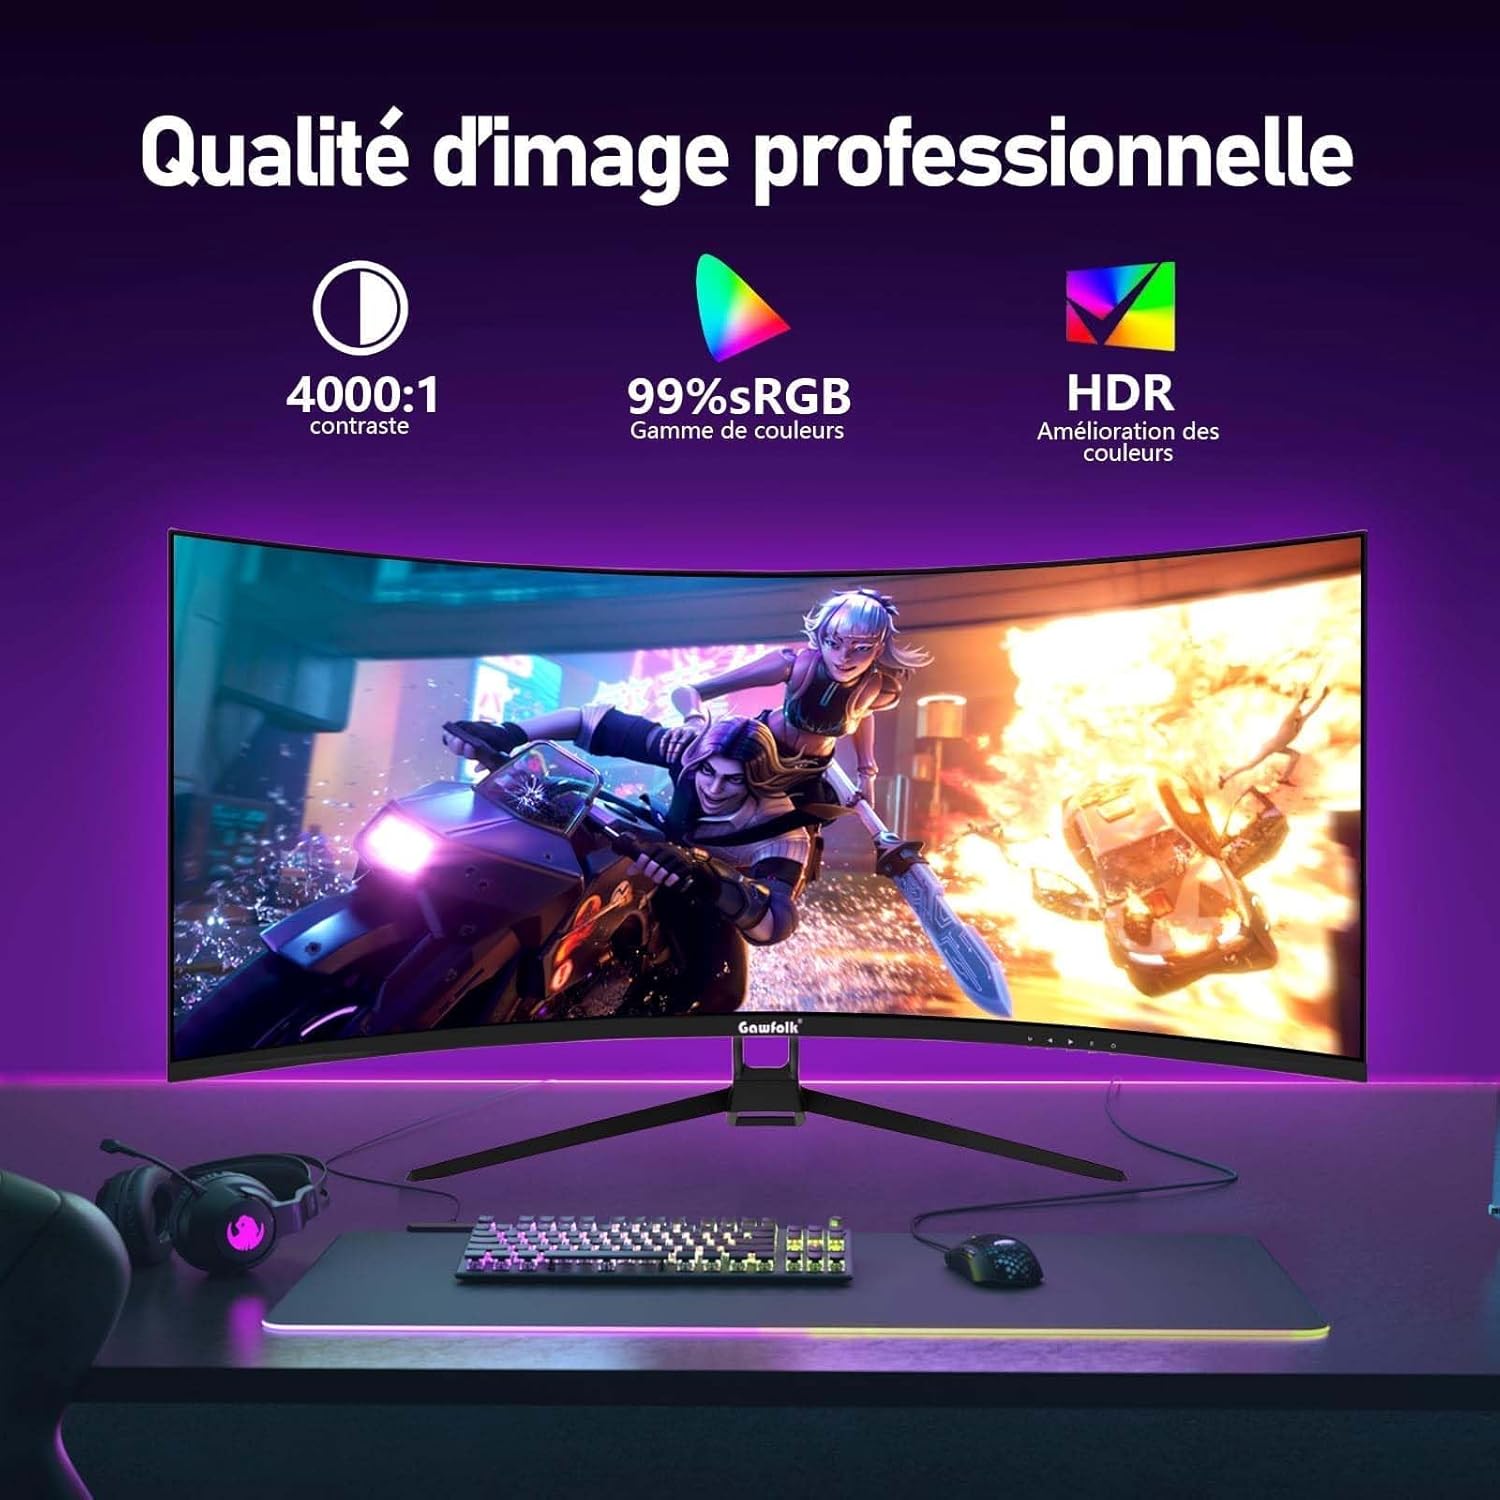
Figure 2: Rear view of the monitor, showing stand attachment area and input ports.
4.2 Connecting Cables
- Power Connection: Connect the power cable to the power adapter, then connect the adapter to the monitor's power input and a wall outlet.
- Video Connection:
- For optimal performance (144Hz refresh rate), connect the monitor to your computer's graphics card using the supplied DisplayPort (DP) cable.
- Alternatively, use an HDMI cable. Note that HDMI connections support up to 100Hz refresh rate on this monitor.
- When connecting to gaming consoles like PS5 or Xbox, the maximum supported resolution is 1920x1080 at 60Hz.
- Audio Connection: If desired, connect external speakers or headphones to the 3.5mm audio output jack on the monitor.
4.3 VESA Mounting
The monitor supports VESA 75x75mm mounting. To mount the monitor on a wall or an articulating arm, remove the stand and attach the VESA-compatible mount (sold separately) to the designated holes on the back of the monitor.
5. Operating Instructions
5.1 Powering On/Off
Press the power button, usually located on the bottom or back of the monitor, to turn the monitor on or off. The power indicator light will illuminate when the monitor is on.
5.2 On-Screen Display (OSD) Menu
The OSD menu allows you to adjust various monitor settings. Typically, there are buttons or a joystick on the back or bottom of the monitor to navigate the OSD.
- Menu Button: Opens the OSD menu.
- Navigation Buttons: Used to move through menu options (Up/Down, Left/Right).
- Select/Enter Button: Confirms a selection or enters a sub-menu.
- Exit Button: Exits the current menu or OSD.
5.3 Adjusting Display Settings
Common settings you can adjust via the OSD include:
- Brightness/Contrast: Adjust the overall luminance and difference between light and dark areas.
- Color Settings: Adjust color temperature, gamma, and individual RGB levels.
- Input Source: Manually select between DisplayPort and HDMI inputs.
- Refresh Rate: Ensure your computer's display settings are configured to 144Hz (via DP) or 100Hz (via HDMI) for optimal performance. The monitor's default refresh rate is 60Hz.
- Adaptive Sync: Enable this feature in the OSD and your graphics card settings to synchronize the monitor's refresh rate with your GPU's frame rate, preventing screen tearing.
- HDR: Enable High Dynamic Range for enhanced contrast and color depth.
- Low Blue Light Mode: Activates a filter to reduce blue light emissions, promoting eye comfort.
- Flicker-Free: The monitor uses DC dimming technology to eliminate screen flickering, reducing eye strain.
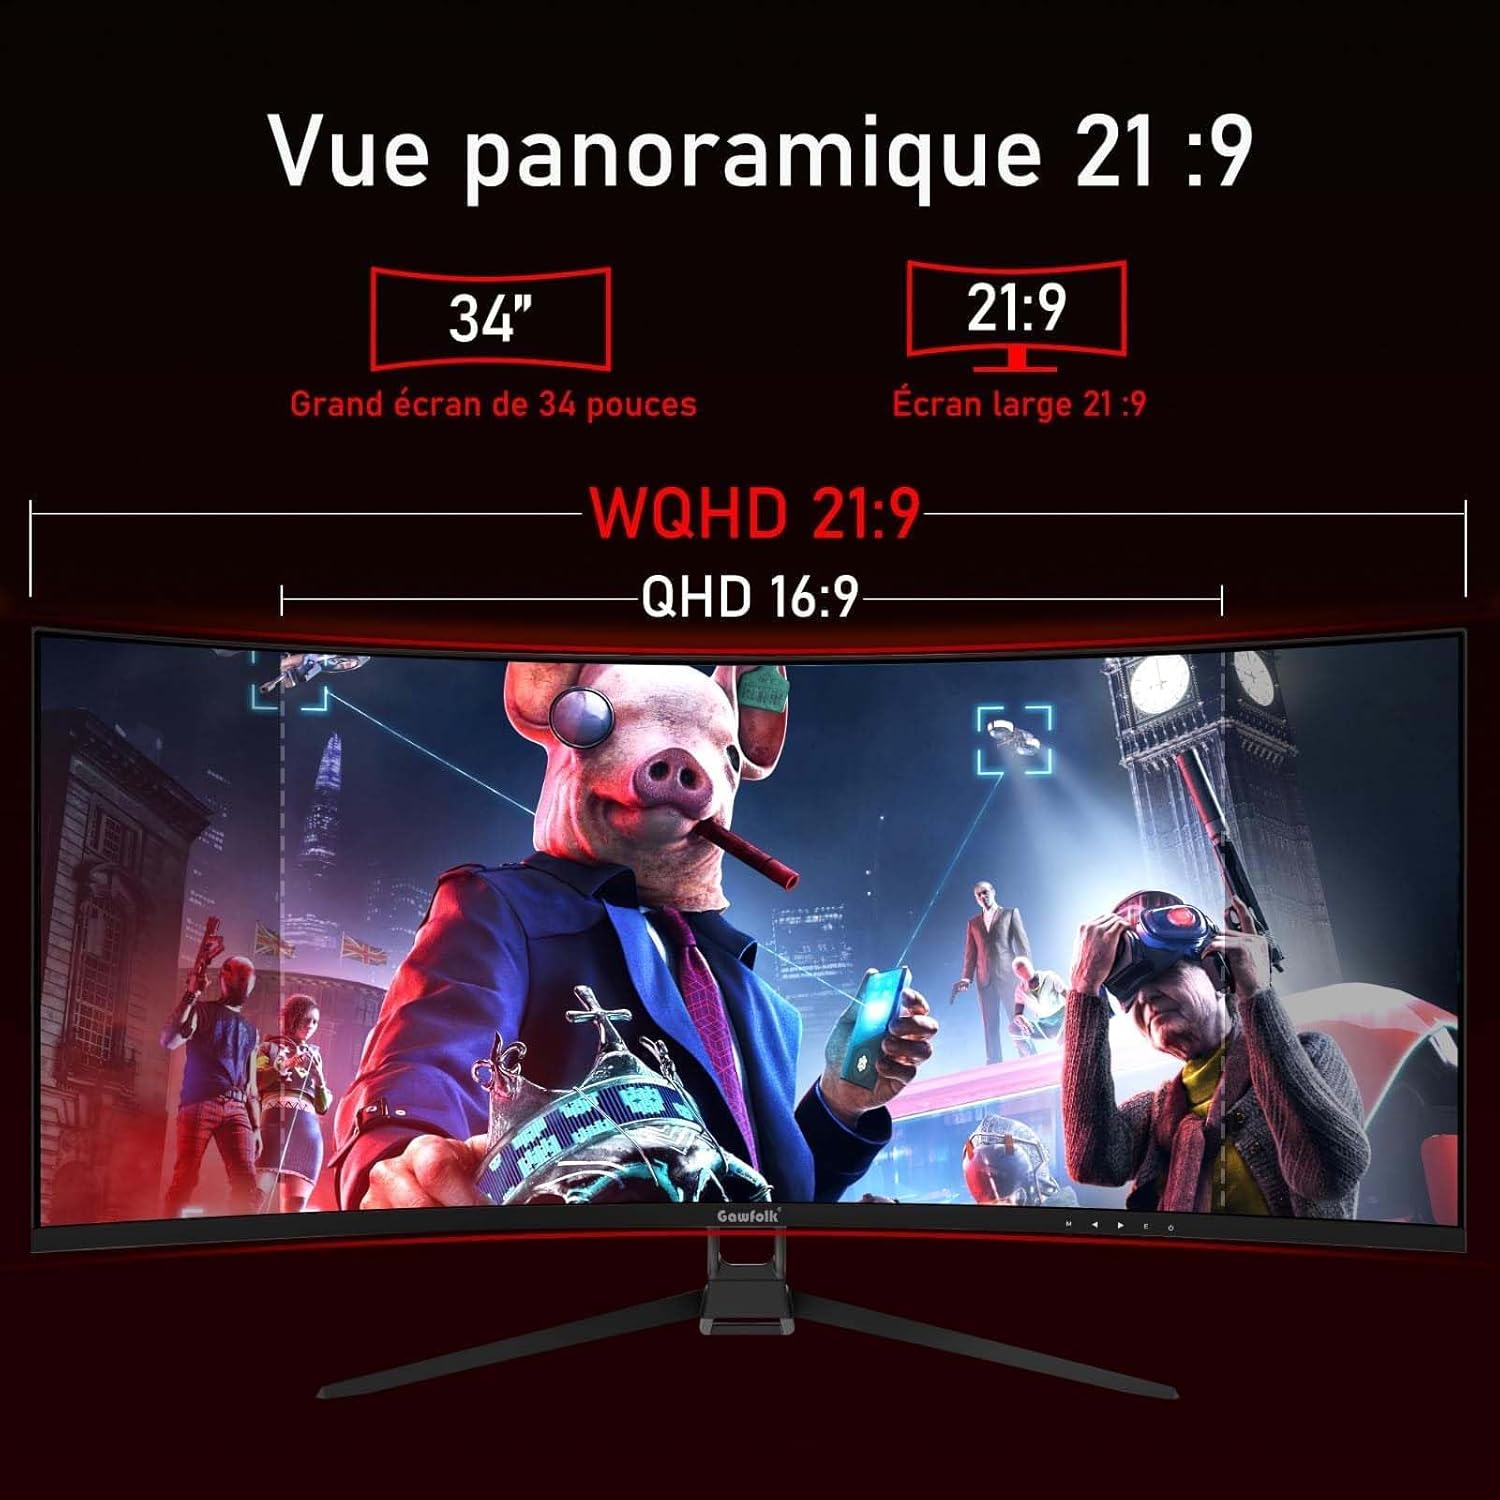
Figure 3: Illustration of 144Hz refresh rate and Adaptive Sync feature.

Figure 4: Visual representation of image quality features like contrast, sRGB, and HDR.
6. Maintenance
- Cleaning the Screen:
- Turn off the monitor and unplug the power cord.
- Gently wipe the screen with a soft, lint-free cloth.
- For stubborn marks, dampen the cloth lightly with water or a mild, non-abrasive screen cleaner. Do not spray cleaner directly onto the screen.
- Cleaning the Casing: Use a soft, dry cloth to wipe the monitor casing. Avoid using strong detergents or abrasive cleaners.
- Storage: If storing the monitor for an extended period, unplug it and cover it to protect it from dust.
7. Troubleshooting
| Problem | Possible Cause | Solution |
|---|---|---|
| No image on screen | Monitor not powered on; video cable loose or disconnected; incorrect input source selected. | Ensure power cable is connected and monitor is on. Check video cable connections. Select correct input source via OSD. |
| Image flickering or distorted | Video cable issue; refresh rate mismatch; graphics driver outdated. | Check video cable. Ensure refresh rate is set correctly in OS display settings. Update graphics drivers. Enable Adaptive Sync. |
| Incorrect resolution or refresh rate | OS display settings not configured correctly. | Go to your computer's display settings and set the resolution to 3440x1440 and refresh rate to 144Hz (for DP) or 100Hz (for HDMI). |
| Colors appear washed out or incorrect | Color settings in OSD or OS are incorrect; HDR not enabled. | Adjust color settings in the OSD. Ensure HDR is enabled in both monitor OSD and OS display settings if desired. |
| No audio from headphones/speakers | Audio cable not connected; volume too low; incorrect audio output selected in OS. | Check audio cable connection. Adjust volume. Select monitor's audio output in your computer's sound settings. |
8. Specifications
| Feature | Detail |
|---|---|
| Model Number | GF340A |
| Screen Size | 34 Inches |
| Panel Type | VA (Vertical Alignment) |
| Curvature | 1500R |
| Resolution | UWQHD (3440 x 1440 Pixels) |
| Aspect Ratio | 21:9 (2.35:1) |
| Refresh Rate | 144 Hz (DisplayPort), 100 Hz (HDMI) |
| Response Time | 4 milliseconds |
| Contrast Ratio | 4000:1 |
| Brightness | 300 nits (typical) / 350 (from specs) |
| Color Gamut | 99% sRGB |
| Viewing Angle | 178 Degrees (Horizontal/Vertical) |
| Special Features | Adaptive Sync (FreeSync Premium), HDR, Low Blue Light, Flicker-Free |
| Connectivity | DisplayPort, HDMI (x2), 3.5mm Audio Out |
| VESA Mount Compatibility | 75 x 75 mm |
| Dimensions (P x L x H) | 19P x 80.7L x 46.8H centimeters |
| Weight | 5.2 Kilograms |
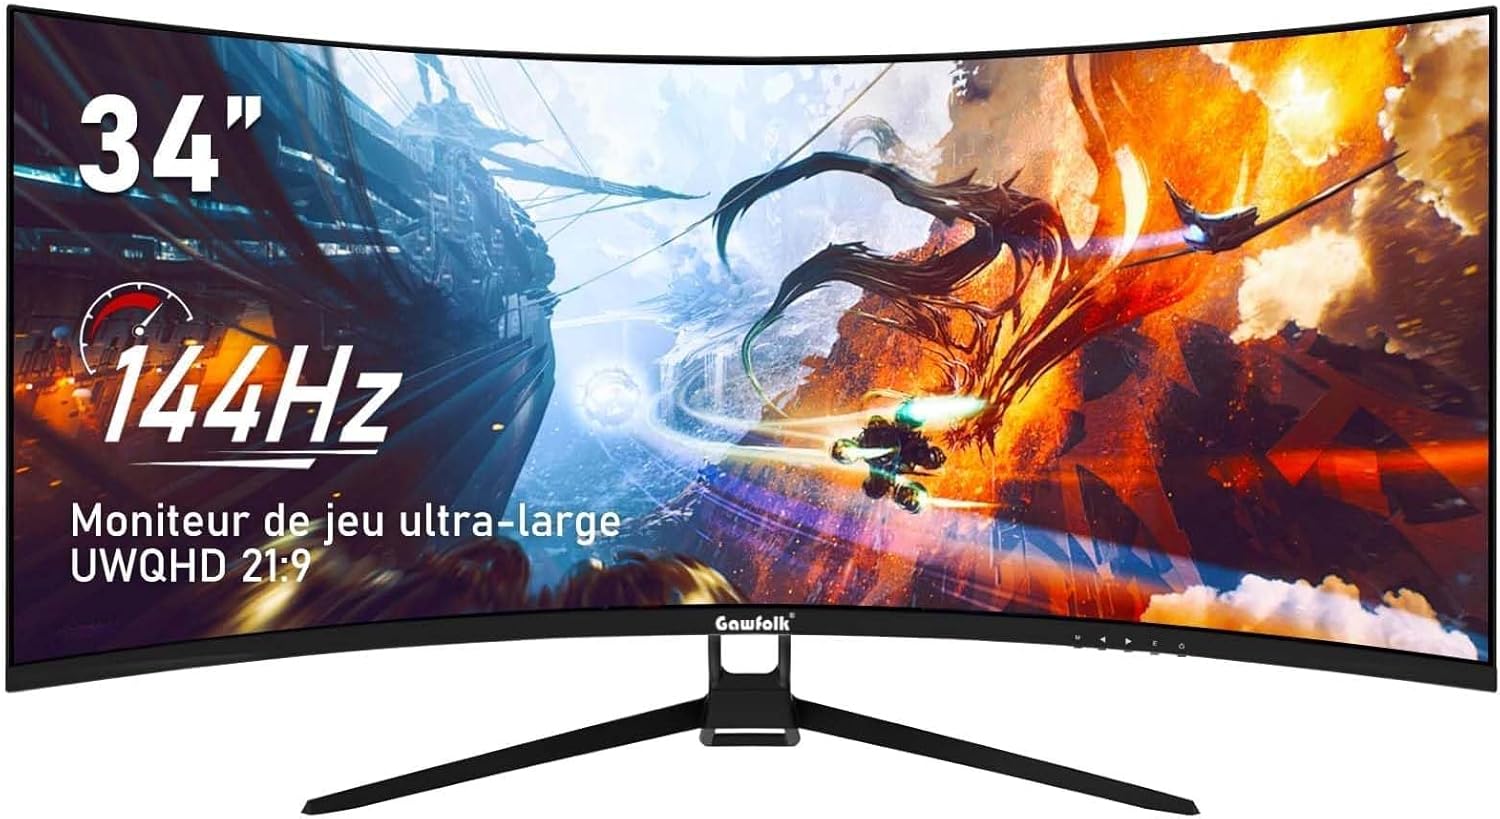
Figure 5: The 21:9 ultrawide aspect ratio provides an expansive panoramic view.
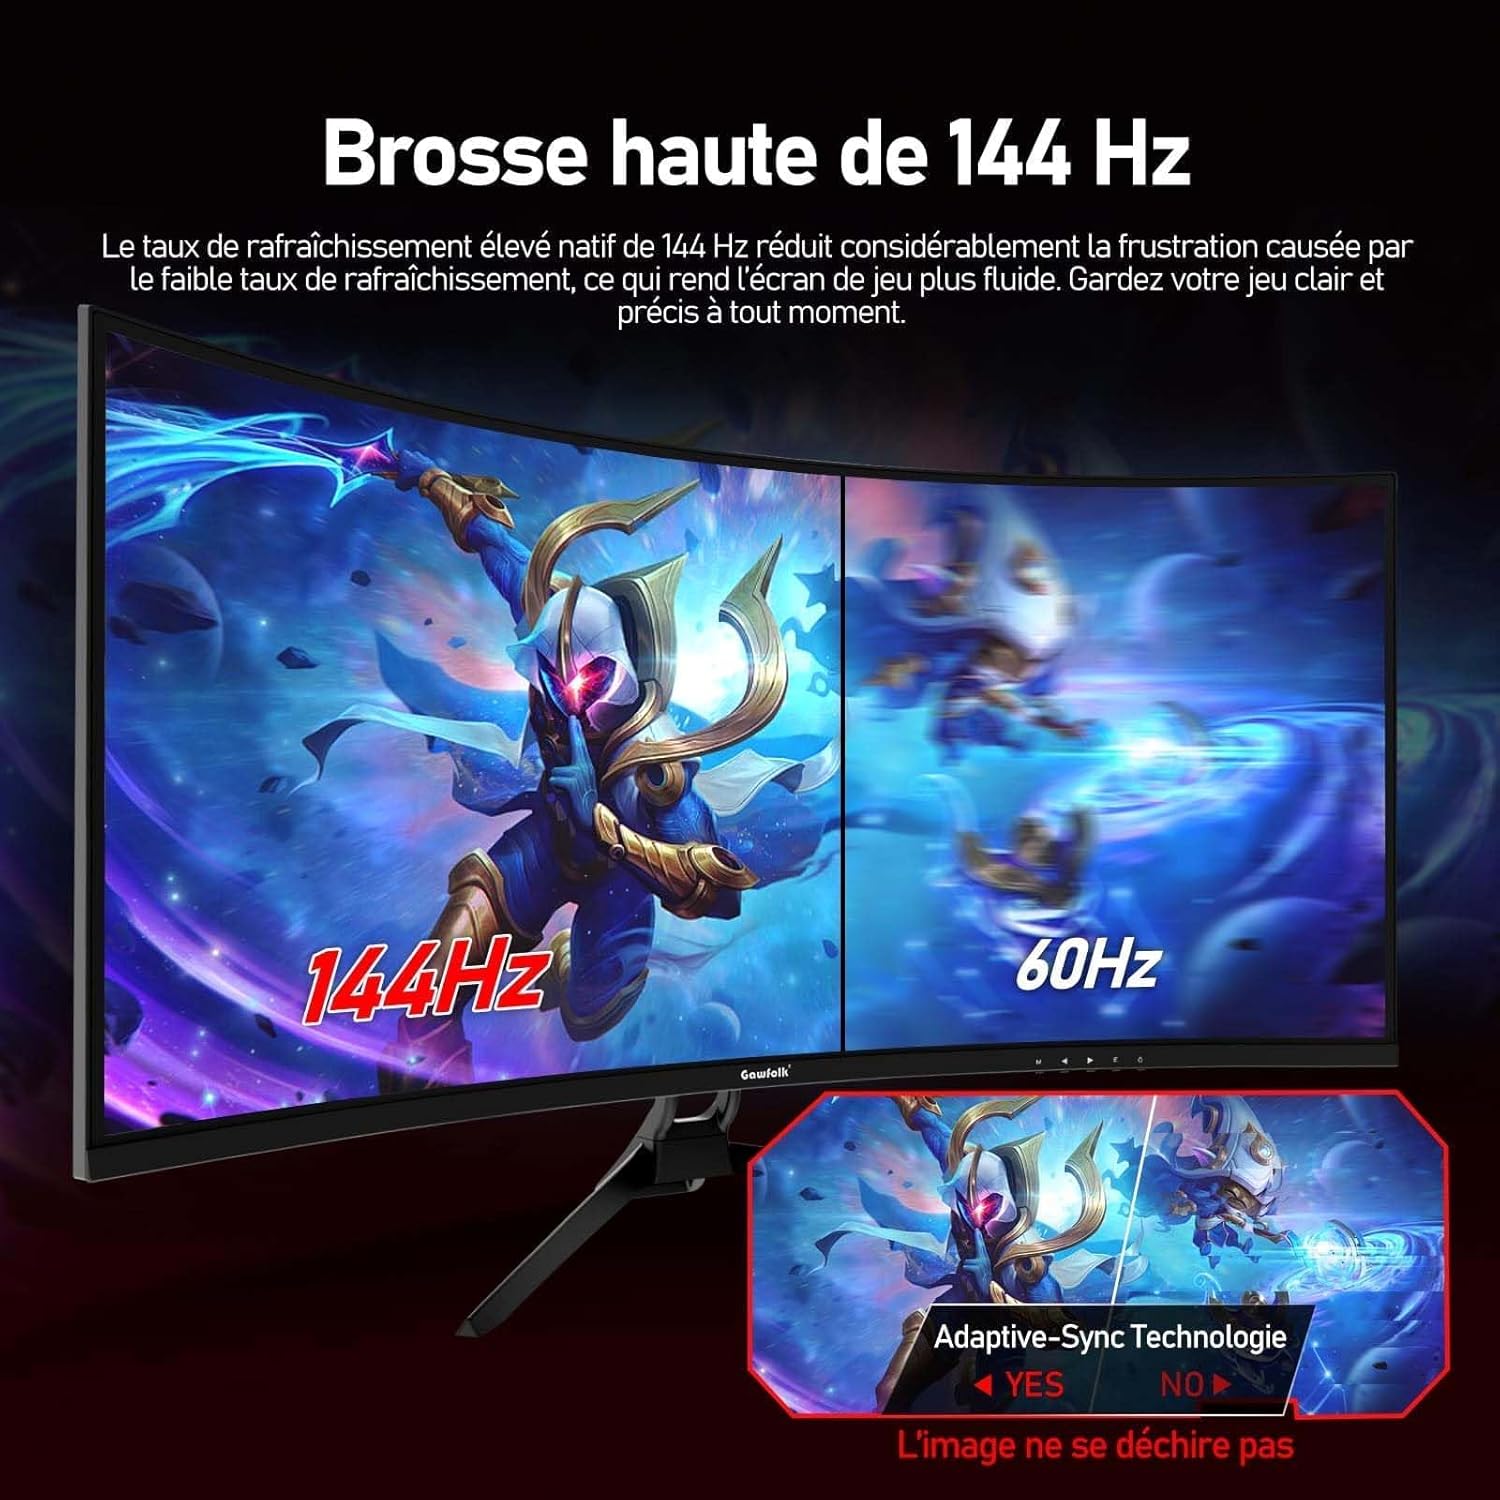
Figure 6: The 1500R curvature and wide 178-degree viewing angles enhance immersion.
9. Warranty and Support
Gawfolk offers a 12-month worry-free warranty service for this monitor. If you have any questions or encounter any issues during the use of your monitor, please do not hesitate to contact our customer support. Refer to your purchase documentation or the official Gawfolk website for contact details.