
Magedok MG184-UT01
Magedok 18.4 inch 4K IPS Touch Portable Monitor User Manual
Model: MG184-UT01
1. Introduction
Thank you for choosing the Magedok 18.4 inch 4K IPS Touch Portable Monitor. This high-resolution, touchscreen display is designed to enhance your productivity and entertainment experience, offering vivid colors and crisp images with its 3840x2160 resolution, 10-bit color depth, and 100% sRGB color gamut. Its portable design and versatile connectivity make it an ideal companion for laptops, smartphones, and gaming consoles.

The Magedok 18.4 inch 4K IPS Touch Portable Monitor, showcasing its large display and MPP stylus compatibility.
2. What's in the Box
Please verify that all items are present in the package:
- Magedok 18.4 inch 4K IPS Touch Portable Monitor (x1)
- Power Adapter (x1)
- Mini HDMI Cable (x1)
- USB-C Gen 2 Cable (x1)
- USB-A to USB-C Cable (x1)
- User Manual (x1)
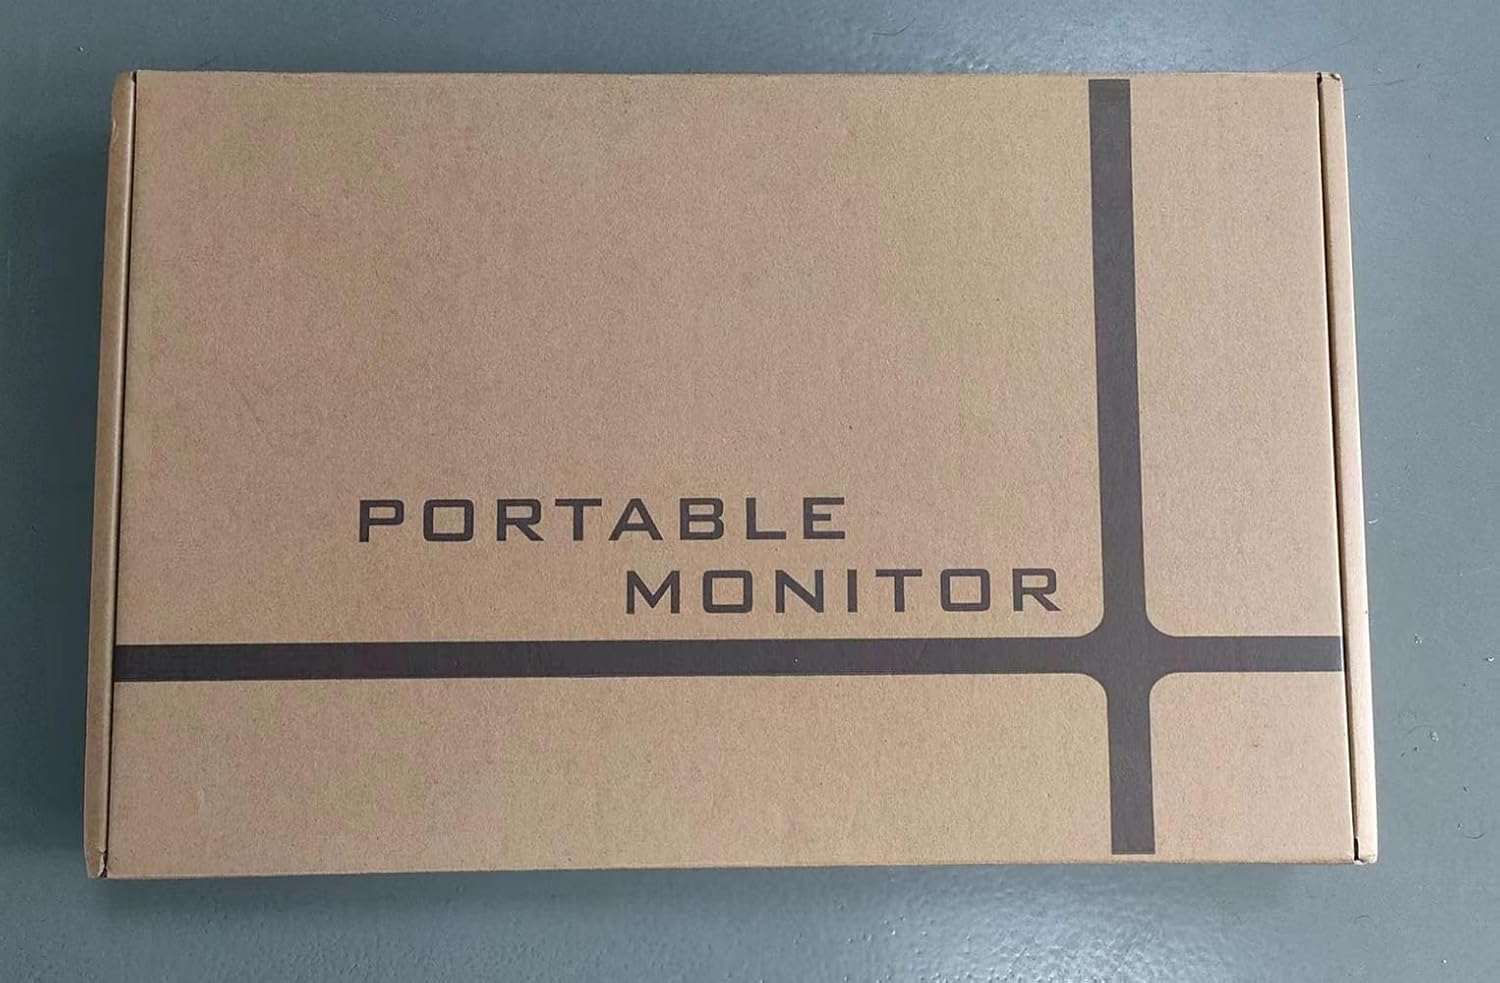
The product packaging for the portable monitor.
3. Specifications
| Feature | Description |
|---|---|
| Model Number | MG184-UT01 |
| Screen Size | 18.4 Inches |
| Resolution | 3840 x 2160 Pixels (4K UHD 2160p) |
| Aspect Ratio | 16:9 |
| Color Depth | 10 Bits |
| Color Gamut | 100% sRGB |
| Contrast Ratio | 1000:1 |
| Viewing Angle | 170° IPS |
| Screen Surface | Matte (Anti-Glare) |
| Brightness | 300 lm |
| Touchscreen | 10-Point Touch, MPP Stylus Compatible |
| Connectivity | 2x USB-C (1x Full Function, 1x Power Only), 1x Mini HDMI |
| Power Input | 5 Volts |
| Dimensions | 0.24 x 16.93 x 10.63 inches |
| Item Weight | 2.64 pounds |
| VESA Compatibility | Yes |
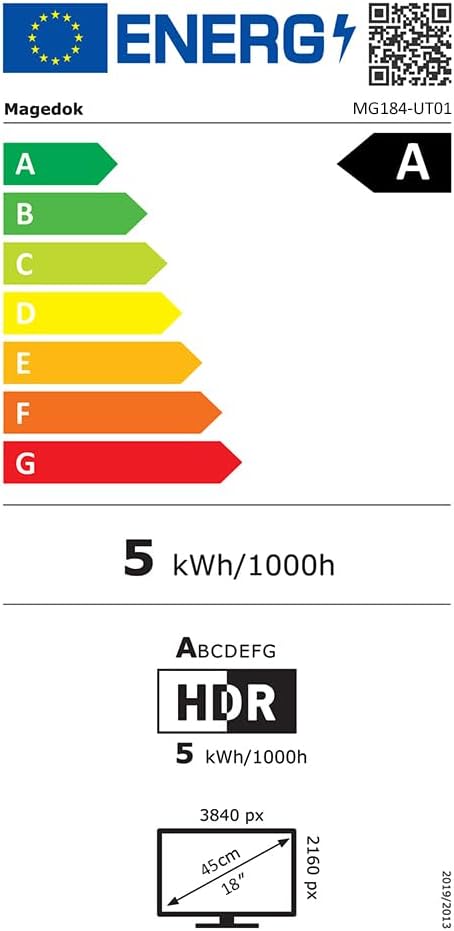
Energy efficiency label for the Magedok MG184-UT01 monitor. For more details, refer to the official EU EPREL database via the QR code on the physical label or visit eprel.ec.europa.eu/qr/1507509.
4. Setup
4.1 Connecting the Monitor
The Magedok portable monitor offers flexible connectivity options. Ensure your device supports the necessary output for video and touch functionality.

Overview of the monitor's ports and control buttons.
USB-C Connection (Full Function)
For devices with a full-featured USB-C port (supporting DP Alt Mode and power delivery), a single USB-C cable can provide both video, audio, power, and touch functionality.
- Connect one end of the provided USB-C Gen 2 cable to the full-function USB-C port on the monitor.
- Connect the other end to the full-featured USB-C port on your laptop, smartphone, or other compatible device.
- The monitor should automatically detect the signal and display the content.
Note: If your device's USB-C port does not support USB 3.1 or Thunderbolt 3, this USB-C port will only provide power without transmitting any signal. In such cases, use the Mini HDMI connection for video.

Connecting a smartphone to the portable monitor via USB-C for extended display.
HDMI Connection
For devices with an HDMI output, you will need to use both the Mini HDMI cable for video and a USB cable for power and touch.
- Connect one end of the provided Mini HDMI cable to the Mini HDMI port on the monitor.
- Connect the other end of the Mini HDMI cable to the HDMI output port on your device (e.g., laptop, gaming console).
- Connect the provided USB-A to USB-C cable from your device's USB-A port (or a power adapter) to the USB-C (Power only) port on the monitor for power.
- For touch functionality, connect the USB-C Gen 2 cable from your device's USB-A port to the full-function USB-C port on the monitor.

The portable monitor connected to a desktop computer, demonstrating its use as an external display.
4.2 Powering the Monitor
The monitor can be powered via a full-featured USB-C connection from your device or by using the included power adapter connected to the USB-C (Power only) port.
- If using the power adapter, connect it to a wall outlet and then to the USB-C (Power only) port on the monitor.
- Press the Power button on the monitor to turn it on.
5. Operating the Monitor
5.1 Basic Controls
The monitor features several buttons for control:
- Power Button: Turns the monitor on/off.
- Up/Down Buttons: Navigate menu options or adjust values.
- Exit Button: Exits the current menu or returns to the previous level.
- Menu Button: Opens the On-Screen Display (OSD) menu.
5.2 On-Screen Display (OSD) Menu
The OSD menu allows you to adjust various display settings. You can navigate and select options using the physical buttons or the touch screen.

Video showcasing the Magedok 18.4 inch 4K portable monitor's features, including stylus support, touch OSD menu, and connectivity with various devices. This video is provided by the seller, Magedok.
To access the OSD menu:
- Press the Menu button.
- Use the Up/Down buttons or touch gestures to navigate through the options.
- Press the Menu button again or tap to select an option.
- Use the Exit button or swipe to go back.
Key OSD Settings:
- Brightness/Contrast: Adjust display luminance and contrast levels.
- Color Settings: Modify color temperature, hue, and saturation. The monitor supports 10-bit color depth for richer visuals.
- Input Source: Manually select between USB-C and Mini HDMI inputs.
- HDR Mode: Enable or disable High Dynamic Range for enhanced visual fidelity.
- Freesync: Activate Freesync for smoother gaming experiences (if supported by your connected device).

Visual comparison demonstrating the superior color depth of 10-bit over 8-bit.
5.3 Touchscreen Functionality
The monitor features 10-point multi-touch functionality, allowing for intuitive interaction. No additional drivers are typically required for Windows. For macOS and Linux, touch support may be limited to single-touch or require specific configurations.
The monitor also supports MPP (Microsoft Pen Protocol) and USI (Universal Stylus Initiative) protocols for pressure-sensitive stylus input, offering precise writing and drawing capabilities. (Stylus pen not included and needs to be purchased separately).

A user demonstrating the MPP pressure-sensitive stylus pen support on the monitor for creative work.
5.4 Integrated Kickstand and VESA Mount
The monitor includes an adjustable integrated kickstand for stable placement and customizable viewing angles. Additionally, it is VESA compatible, allowing for mounting on monitor arms or wall mounts (VESA mount sold separately).

The monitor's integrated kickstand and VESA compatibility for flexible setup options.
6. Maintenance
To ensure the longevity and optimal performance of your Magedok portable monitor, follow these maintenance guidelines:
- Cleaning the Screen: Use a soft, lint-free cloth slightly dampened with water or a non-abrasive screen cleaner. Avoid using alcohol-based cleaners, ammonia, or harsh chemicals.
- Cleaning the Casing: Wipe the monitor's metal casing with a soft, dry cloth.
- Avoid Scratches: Do not place heavy objects on the monitor. When transporting, use a protective sleeve or case to prevent scratches and impacts.
- Storage: Store the monitor in a cool, dry place away from direct sunlight and extreme temperatures.
- Power Off When Not in Use: Disconnect the power when the monitor will not be used for extended periods.
The monitor being placed into a bag, illustrating its portability and the importance of protection during transport.
7. Troubleshooting
If you encounter issues with your Magedok portable monitor, please refer to the following common solutions:
| Problem | Possible Solution |
|---|---|
| No display/"No Signal" message |
|
| Touchscreen not working |
|
| Flickering or distorted image |
|
| Monitor randomly turns off |
|
8. Warranty and Support
Magedok products come with a standard manufacturer's warranty. For specific warranty terms and conditions, please refer to the warranty card included in your product packaging or visit the official Magedok website.
For technical support, troubleshooting assistance, or any product-related inquiries, please contact Magedok customer service through the following channels:
- Email: Refer to your product documentation for the support email address.
- Online Support: Visit the Magedok brand store on Amazon: Magedok Store
When contacting support, please have your product model number (MG184-UT01) and purchase information readily available.
Ask a question about this manual
Ask about setup, troubleshooting, compatibility, parts, safety, or missing instructions. Manuals+ will review the question and use this page’s manual context to help answer it.