
pijopang BI-TWYJ-1841-US-1-ZDGD
pijopang 1600W 40x50 Magnetic Semi-Automatic Heat Press Machine
Model: BI-TWYJ-1841-US-1-ZDGD
User Manual
1. Important Safety Instructions
Please read all instructions carefully before operating the heat press machine. Retain this manual for future reference.
- Electrical Safety: Ensure the machine is connected to a grounded 110V 60Hz power outlet. Do not operate with damaged cords or plugs.
- Burn Hazard: The heating plate reaches high temperatures. Do not touch the heating plate while using it to avoid burns. Allow the machine to cool completely before cleaning or storage.
- Ventilation: Operate the machine in a well-ventilated area to dissipate heat and any fumes from materials.
- Children and Pets: Keep children and pets away from the machine during operation and when it is cooling down.
- Stable Surface: Place the machine on a stable, heat-resistant surface capable of supporting its weight.
- Emergency Stop: Familiarize yourself with the power switch location for quick shutdown in an emergency.
- Pressure Adjustment: The magnetic machine's pressure is set to minimum for transport. You must increase the pressure before initial use.
2. Product Overview
The pijopang 1600W 40x50 Magnetic Semi-Automatic Heat Press Machine is designed for efficient and precise heat transfer applications on various flat heat-resistant products.

Image 2.1: Front view of the pijopang 1600W 40x50 Magnetic Semi-Automatic Heat Press Machine.
Key Features:
- Powerful Heating: 1600W power with a flat aluminum heating plate ensures even and fast heat distribution for clear patterns.
- Semi-Automatic Operation: Magnetic function allows the machine to automatically open when the set time expires, enhancing ease of use and safety.
- Intelligent Control: Features an intelligent liquid crystal instrument (LCD) for precise temperature (0-200℃ / 32-392℉) and time (0-999 seconds) control.
- Adjustable Pressure: Easily adjust pressure by turning the screw mechanism to suit different material thicknesses (up to approximately 2cm / 0.8inch).
- Wide Application: Suitable for printing on T-shirts, puzzles, mousepads, pillows, ceramic boards, coasters, and other flat heat-resistant items.
- Large Operating Space: A 40x50cm (15.7x19.7 inch) printing area with a pull-out design for convenient material placement.

Image 2.2: Close-up view highlighting the ergonomic handle for comfortable grip, the electromagnet for auto stop and open, and the thoughtful pad for smooth and even pressing.

Image 2.3: Illustration of the large operating space (40x50cm) and the convenient pull-out design for easier material handling.
3. Setup
- Unpacking: Carefully remove the heat press machine from its packaging. Inspect for any shipping damage. Retain packaging for future transport or storage.
- Placement: Position the machine on a sturdy, level, and heat-resistant workbench or table. Ensure adequate space around the machine for ventilation and safe operation.
- Pressure Adjustment: The machine's pressure is set to minimum for safe transportation. Before first use, you must adjust the pressure. Turn the pressure adjustment knob clockwise to increase pressure, or counter-clockwise to decrease it. Adjust until the desired pressure is achieved for your material.
- Power Connection: Plug the power cord into a grounded 110V 60Hz electrical outlet. Ensure the power switch on the machine is in the 'OFF' position before plugging in.

Image 3.1: Illustration of the pressure adjustment knob. Turn clockwise to increase pressure, counter-clockwise to decrease.
4. Operation
Follow these steps for successful heat transfer:
- Power On: Flip the main power switch to the 'ON' position. The digital control panel will illuminate.
- Set Temperature and Time:
- Press the 'SETUP' button to enter temperature setting mode. Use the 'PLUS' and 'MINUS' buttons to adjust the desired temperature (0-200℃ / 32-392℉). Press 'OK' to confirm.
- Press 'SETUP' again to enter time setting mode. Use the 'PLUS' and 'MINUS' buttons to adjust the desired time (0-999 seconds). Press 'OK' to confirm.
- The machine will begin heating to the set temperature. The 'HEATING-UP' indicator will be lit.
- Prepare Material: Place your item (e.g., T-shirt, mousepad) onto the silicone pad of the lower platen. Position your transfer design on the item.
- Load Material: Utilize the pull-out design of the lower platen to easily position your material and transfer. Once positioned, slide the platen back into place under the heating element.
- Initiate Press: Once the machine reaches the set temperature (indicated by the 'HEATING-UP' light turning off or a beep), firmly press down the handle until the magnetic lock engages. The timer will automatically begin counting down.
- Automatic Release: When the set time expires, the machine will emit an end sound and automatically release the pressure, lifting the heating plate.
- Remove Item: Carefully remove the pressed item. Be cautious as the item and surrounding areas may still be hot.
- Special Considerations for Sublimation: For sublimation on photo slate, ceramic tile, or glass, it is recommended to invert the printable surface onto the workbench to ensure better sublimation finishing.

Image 4.1: The intelligent control panel for setting temperature and time.
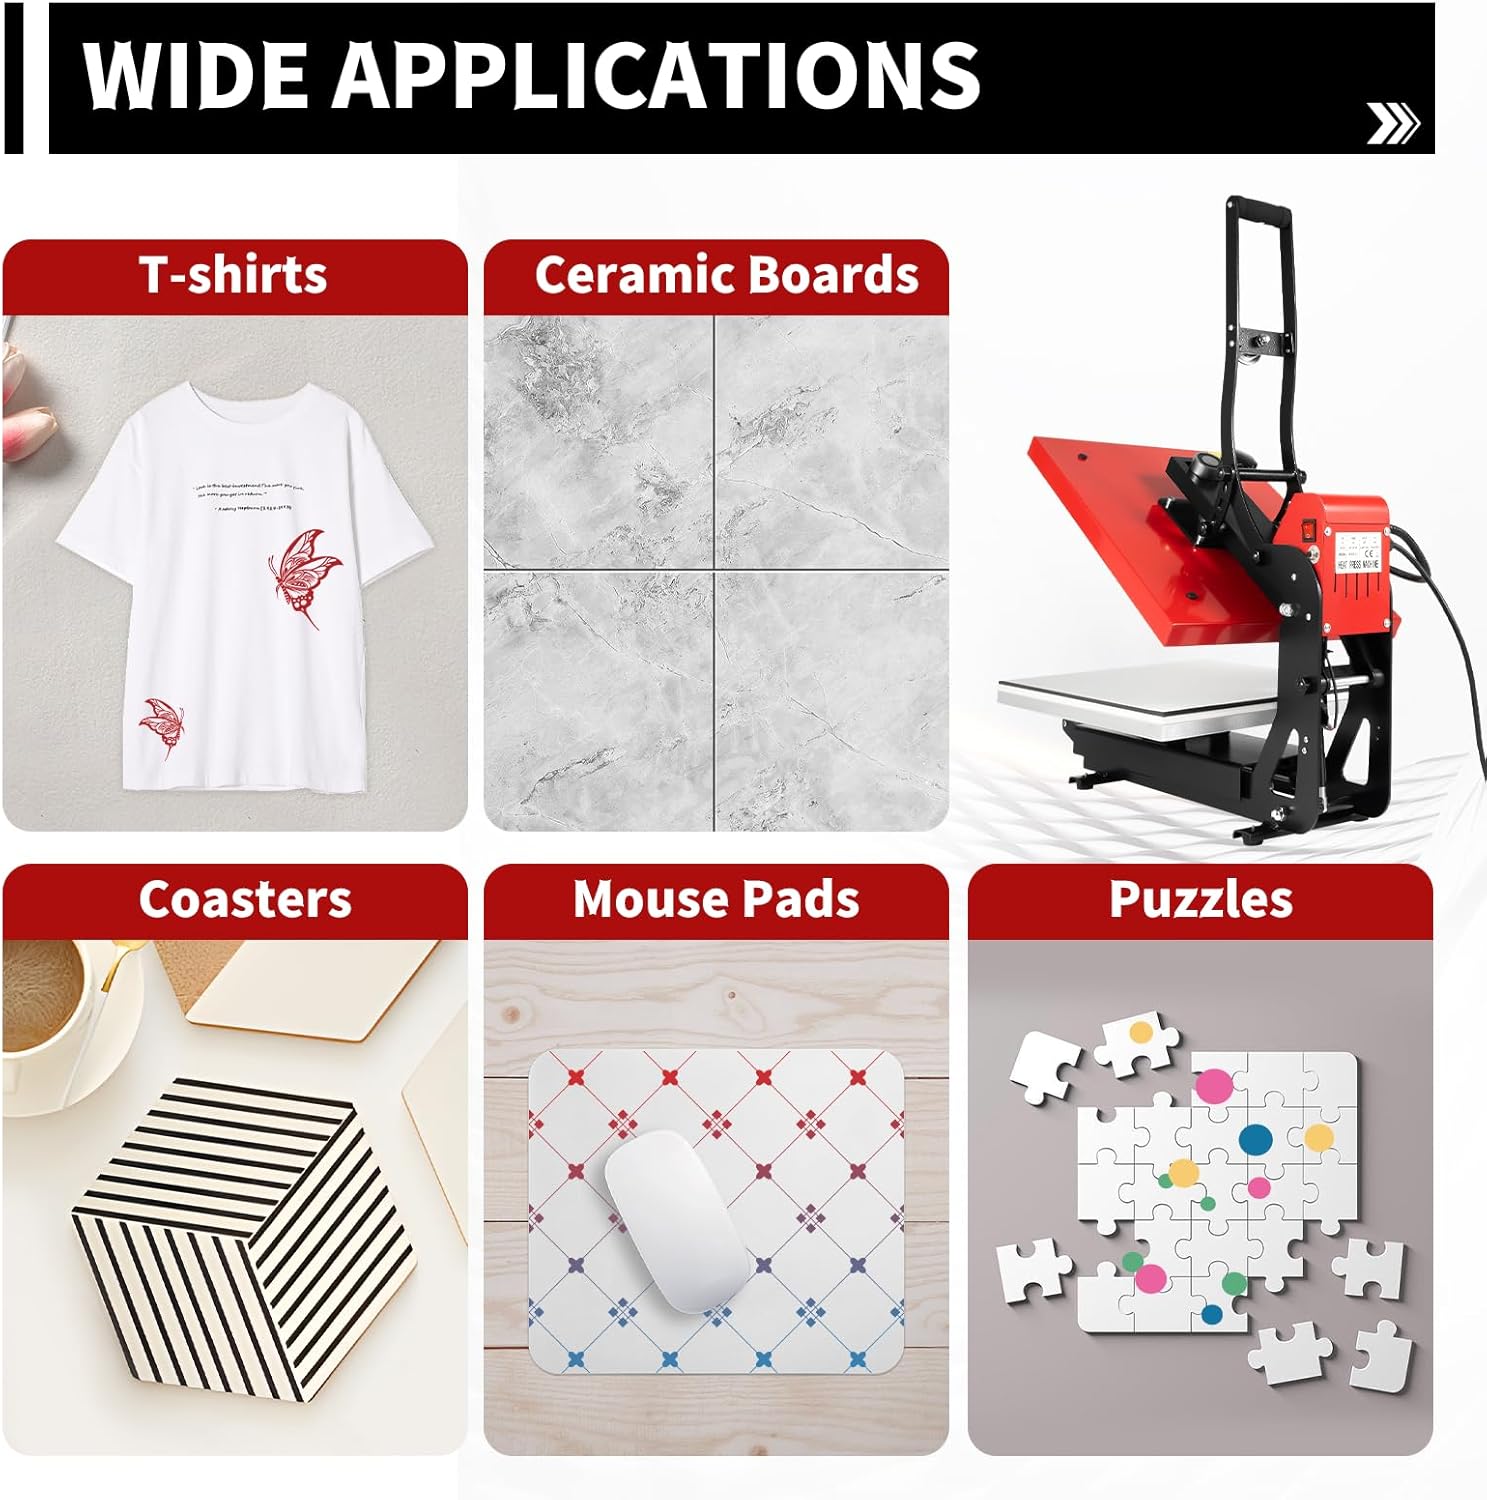
Image 4.2: Examples of wide applications for the heat press machine.
5. Maintenance
Proper maintenance ensures the longevity and optimal performance of your heat press machine.
- Cleaning the Heating Plate: After the machine has completely cooled down, gently wipe the heating plate with a soft, damp cloth to remove any residue. For stubborn stains, use a non-abrasive cleaner specifically designed for non-stick surfaces.
- Cleaning the Silicone Pad: The silicone pad can be wiped clean with a damp cloth. Ensure it is dry before next use. Replace if it shows signs of significant wear or damage.
- General Cleaning: Wipe down the exterior of the machine with a dry or slightly damp cloth. Avoid getting water into electrical components.
- Storage: When not in use, store the machine in a dry, dust-free environment. Ensure the pressure is released (set to minimum) if storing for extended periods, especially if it was adjusted for transport.
- Inspection: Periodically check the power cord for any signs of damage. Ensure all screws and connections are secure.
6. Troubleshooting
This section addresses common issues you might encounter.
- Machine Not Powering On:
- Check if the power cord is securely plugged into both the machine and the wall outlet.
- Ensure the main power switch is in the 'ON' position.
- Verify the wall outlet is functional by plugging in another device.
- Machine Not Heating Up:
- Confirm that the temperature is set correctly on the control panel.
- Allow sufficient time for the machine to reach the set temperature.
- Uneven Pressure/Poor Transfer Quality:
- Adjust the pressure knob to ensure adequate and even pressure across the heating plate.
- Ensure the item and transfer are placed flat and smoothly on the silicone pad.
- Check if the silicone pad or heating plate has any deformities or damage.
- Automatic Release Not Functioning:
- Ensure the magnetic lock engages properly when the handle is pressed down.
- Verify that the timer is set and counting down.
- Error Codes on Display:
- If an error code appears, power off the machine, wait a few minutes, and power it back on. If the error persists, contact customer support.
7. Specifications
| Type | Flat Plate |
| Voltage | 110V 60Hz |
| Power | 1600W |
| Heating Plate Material | Aluminum |
| Working Plate Material | Steel |
| Frame Material | Iron |
| Temperature Range | 0-200℃ / 32-392℉ |
| Temperature Difference | 0-8℃ / 0-15℉ |
| Time Range | 0-999 Seconds |
| Transfer Thickness | About 2cm / 0.8inch |
| Opening Angle | 35 Degrees |
| Control Instrument | Intelligent Liquid Crystal Instrument (LCD) |
| Product Size (L*W*H) | 42*70*45.5cm / 16.53*27.56*17.91in |
| Base Size | 47.5*42.5cm / 18.7*16.7inch |
| Printing Size | 40x50cm / 15.7*19.7 inch |
| Model Number | BI-TWYJ-1841-US-1-ZDGD |
| UPC | 756804326562 |
8. Warranty and Support
For warranty information, please refer to the documentation provided at the time of purchase or contact your retailer. If you require technical support or have questions regarding the operation or maintenance of your pijopang heat press machine, please contact the seller or manufacturer directly.
Please have your model number (BI-TWYJ-1841-US-1-ZDGD) and purchase date available when contacting support.
Ask a question about this manual
Ask about setup, troubleshooting, compatibility, parts, safety, or missing instructions. Manuals+ will review the question and use this page’s manual context to help answer it.