Kreiaoer DZ37FI
3D Hologram Fan User Manual
Model: DZ37FI | Brand: Kreiaoer
Introduction
This manual provides essential information for the safe and effective operation of your 3D Hologram Fan. Please read this manual thoroughly before installation and use, and retain it for future reference. The 3D Hologram Fan utilizes advanced LED technology and persistence of vision to create stunning three-dimensional visual effects, ideal for various display applications.
Safety Information
- Always ensure the device is installed securely to prevent falling.
- Do not touch the rotating blades while the device is in operation. Keep hands, hair, and loose clothing away from the fan.
- Ensure proper ventilation around the device to prevent overheating.
- Use only the provided power adapter. Do not use damaged power cords or plugs.
- Keep the device away from water, moisture, and high humidity environments.
- Do not attempt to disassemble or repair the device yourself. Refer all servicing to qualified personnel.
- This device is intended for indoor use only.
Package Contents
Verify that all items listed below are included in your package:
- 1 x 3D Hologram Fan Unit
- 1 x Power Adapter (Model: KDT-120200)
- 1 x Remote Control
- 1 x Chinese & English Manual
- Mounting Hardware (screws, wall anchors)
- Small Screwdriver

Image: All components included in the 3D Hologram Fan package.
Specifications
| Feature | Description |
|---|---|
| Material | Nylon, Fiberglass |
| Blades | 2 |
| LED Beads | 244 |
| Speed | 1400 rpm |
| Resolution Ratio | 1024 x 640 |
| Visual Angle | 170° |
| Display Size | 41.5 x 41.5 cm (16.3 x 16.3 inches) |
| Power Input | 100~240VAC 50-60HZ |
| Power Output | 12V 2A |
| Voltage | 13.5V |
| Power | 16W |
| Control Method | Remote Control, APP, Wi-Fi |
| Supported Format | MP4/AVL/MVB/JPE/PNG |

Image: Dimensions of the 3D Hologram Fan.
Setup
Mounting the Fan
The 3D Hologram Fan can be mounted on a wall or placed on a flat surface. Ensure the mounting location is sturdy and can support the device's weight. Use the provided mounting hardware for secure installation.
- Choose a suitable location, ensuring there is enough clear space around the fan for safe operation and optimal viewing.
- If wall-mounting, mark the drilling points using the fan's base as a template.
- Drill holes and insert wall anchors if necessary.
- Secure the fan base to the wall using the provided screws.
- Alternatively, place the fan on a stable, flat surface, ensuring it cannot be easily knocked over.

Image: Example of the 3D Hologram Fan mounted on a wall.
Power Connection
- Connect the power adapter to the fan's power input port.
- Plug the power adapter into a standard electrical outlet (100-240VAC, 50-60Hz).
- The fan will power on automatically or can be activated via the remote control/app.
Operating Instructions
Basic Operation
Once powered on, the fan blades will begin to rotate, and the LED beads will illuminate to create the holographic effect. The device leverages the persistence of human vision to generate the illusion of mid-air graphics, animations, and videos.

Image: Holographic globe display in a meeting room.
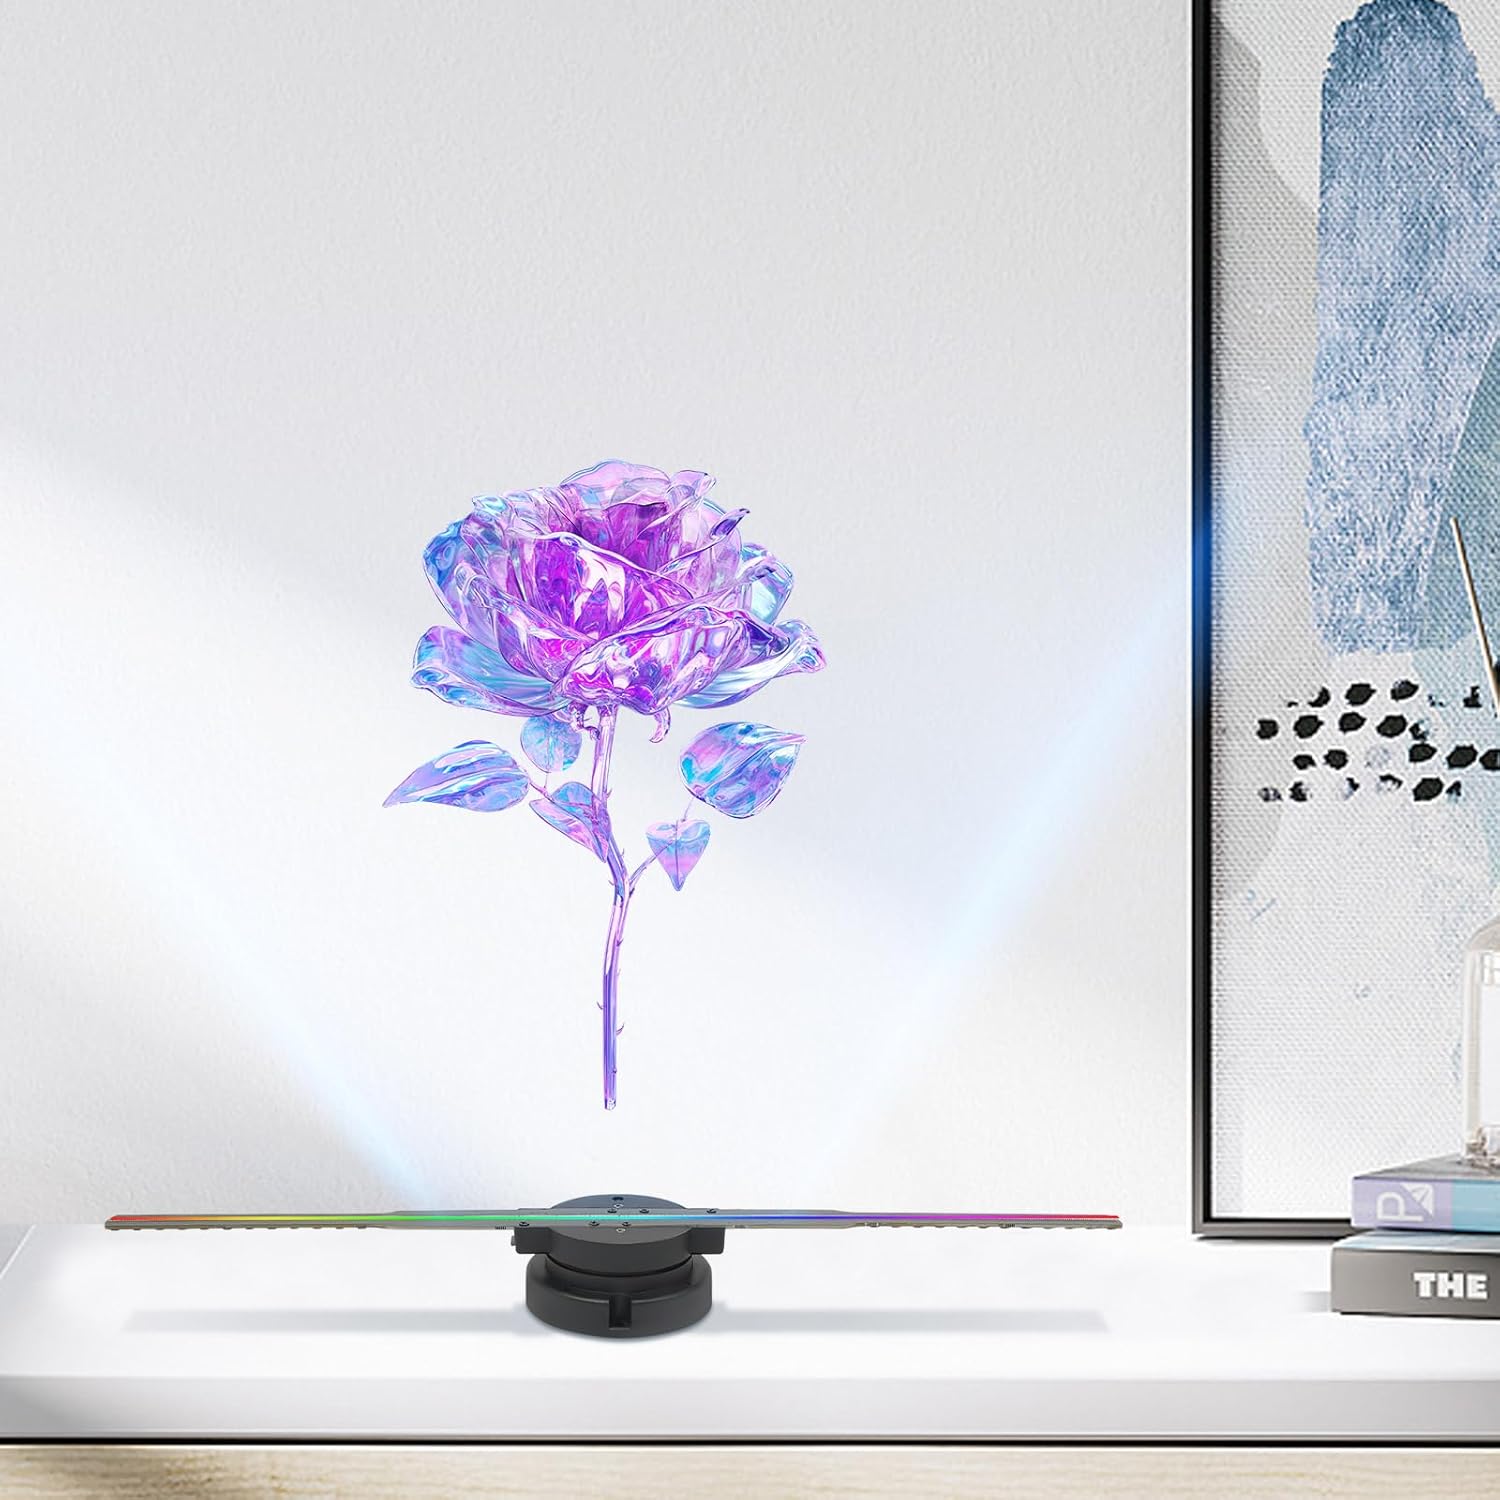
Image: Holographic rose display on a desk.

Image: Examples of various holographic content displays.
Content Management
The device supports MP4, AVL, MVB, JPE, and PNG formats. To display custom content:
- Obtain a 16G card (not included) and connect it to your computer.
- Download or create your desired pictures, animations, or videos in the supported formats.
- Transfer the content to a TF card (not included).
- Insert the TF card into the designated slot on the 3D Hologram Fan. The device will then play the content from the TF card.
Control Methods
The 3D Hologram Fan can be controlled via remote control, a dedicated mobile application, or Wi-Fi connectivity.
Remote Control
Use the included remote control to power on/off, play/pause content, and adjust basic settings. Refer to the remote control diagram in the included manual for button functions.
APP and Wi-Fi Connectivity
For advanced control and content management, connect the device to your Wi-Fi network and use the dedicated mobile application. This allows for easy adjustment of projection brightness, angle, and seamless content playback or pausing.
- Download the official application from your device's app store (details in the included manual).
- Follow the in-app instructions to connect the 3D Hologram Fan to your Wi-Fi network.
- Once connected, you can manage content, adjust display settings, and control playback directly from your smartphone or tablet.
Maintenance
- Cleaning: Ensure the device is powered off and unplugged before cleaning. Use a soft, dry cloth to wipe the fan blades and housing. Do not use liquid cleaners or abrasive materials.
- Storage: When not in use for extended periods, store the device in a cool, dry place, away from direct sunlight and extreme temperatures.
- Handling: Handle the device with care, especially the blades, to prevent damage.
Troubleshooting
| Problem | Possible Cause | Solution |
|---|---|---|
| Fan does not power on | No power supply; Damaged power adapter | Check power connection; Ensure outlet is functional; Try a different power adapter if available (must match specifications). |
| No holographic display | No content loaded; Incorrect file format; TF card issue | Ensure content is loaded onto the TF card; Verify content is in supported format (MP4/AVL/MVB/JPE/PNG); Reinsert TF card or try a different one. |
| Remote control not working | Battery low/dead; Obstruction; Remote not paired | Replace remote control battery; Ensure no obstructions between remote and fan; Refer to manual for pairing instructions if applicable. |
| Wi-Fi connectivity issues | Incorrect password; Out of range; Router issues | Verify Wi-Fi password; Move fan closer to router; Restart router and fan. |
Warranty and Support
For warranty information or technical support, please contact Kreiaoer customer service through the retailer where the product was purchased or visit the official Kreiaoer brand store online. Please have your model number (DZ37FI) and purchase details ready when contacting support.
Visit the Kreiaoer Store for more information.
Ask a question about this manual
Ask about setup, troubleshooting, compatibility, parts, safety, or missing instructions. Manuals+ will review the question and use this page’s manual context to help answer it.