1. Introduction
Thank you for purchasing the Zenwire D300S Mini Projector. This manual provides essential information for the safe and efficient operation of your device. Please read it thoroughly before use and retain it for future reference.
Safety Precautions
- Do not look directly into the projector lens when the lamp is on.
- Ensure proper ventilation to prevent overheating. Do not block ventilation openings.
- Use only the provided power adapter.
- Keep the projector away from water or other liquids.
- Avoid placing the projector on unstable surfaces.
- Do not attempt to disassemble or repair the projector yourself. Contact qualified service personnel.
2. Package Contents
Please check that all items are present in your package:
- Zenwire D300S Mini Projector
- Remote Control
- Power Adapter
- AV Cable
- User Manual (this document)
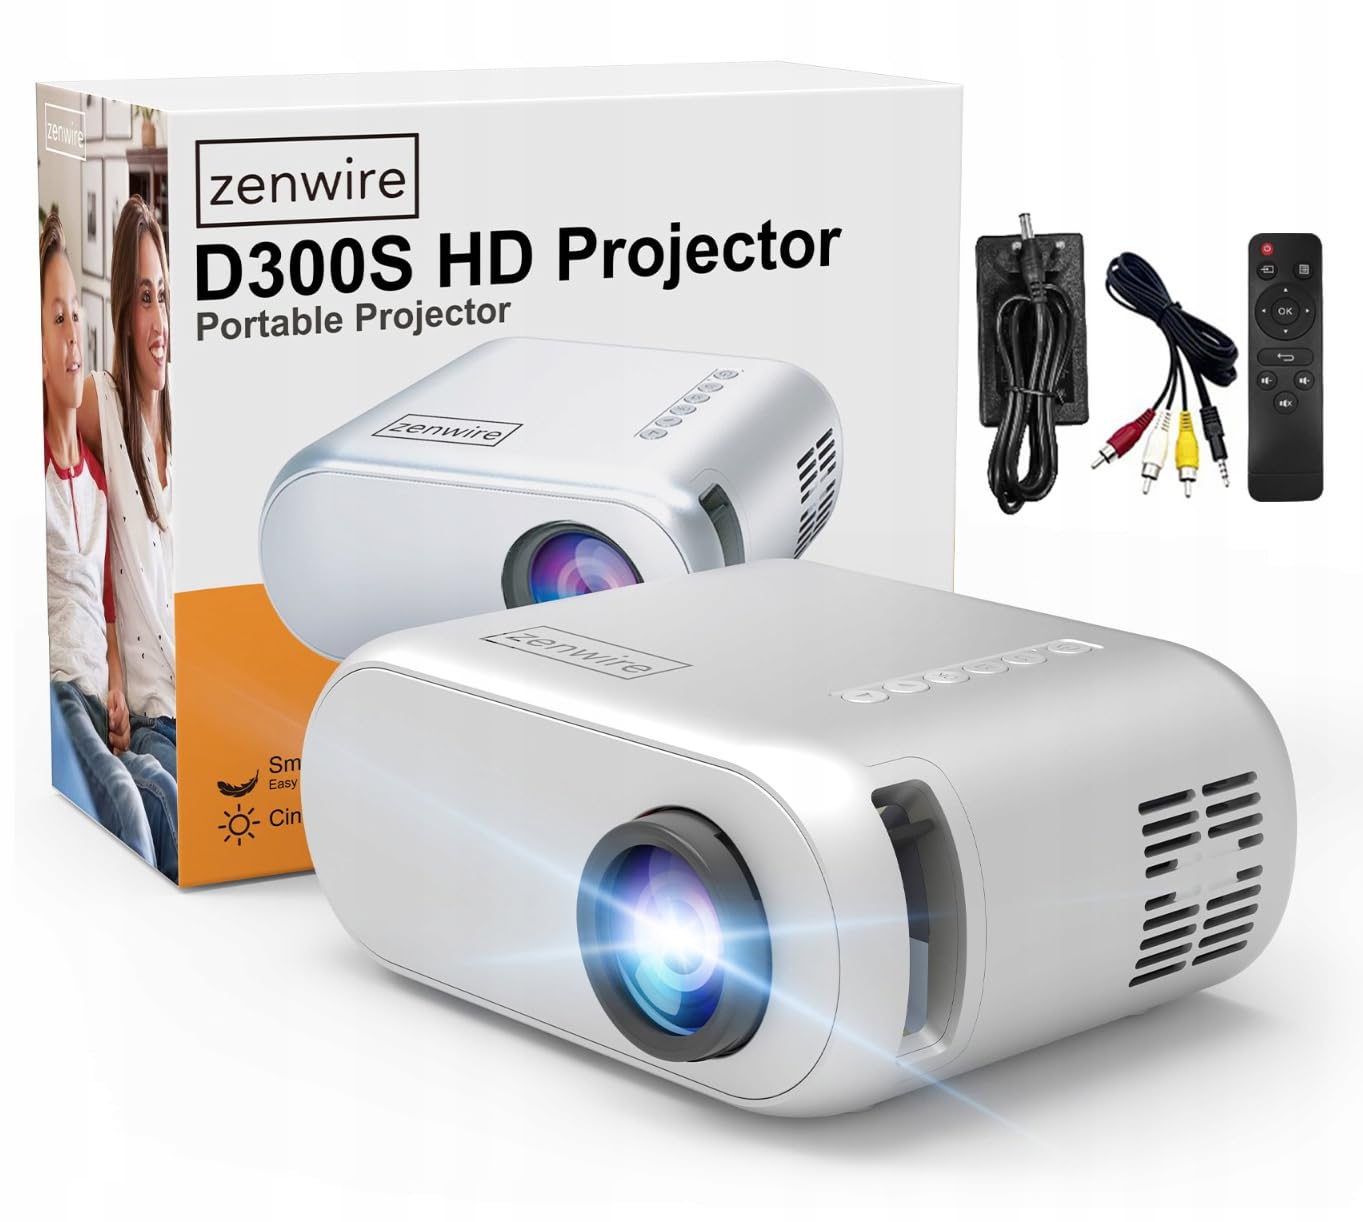
Image 2.1: Zenwire D300S Mini Projector and included accessories.
3. Product Overview
Projector Front and Top View
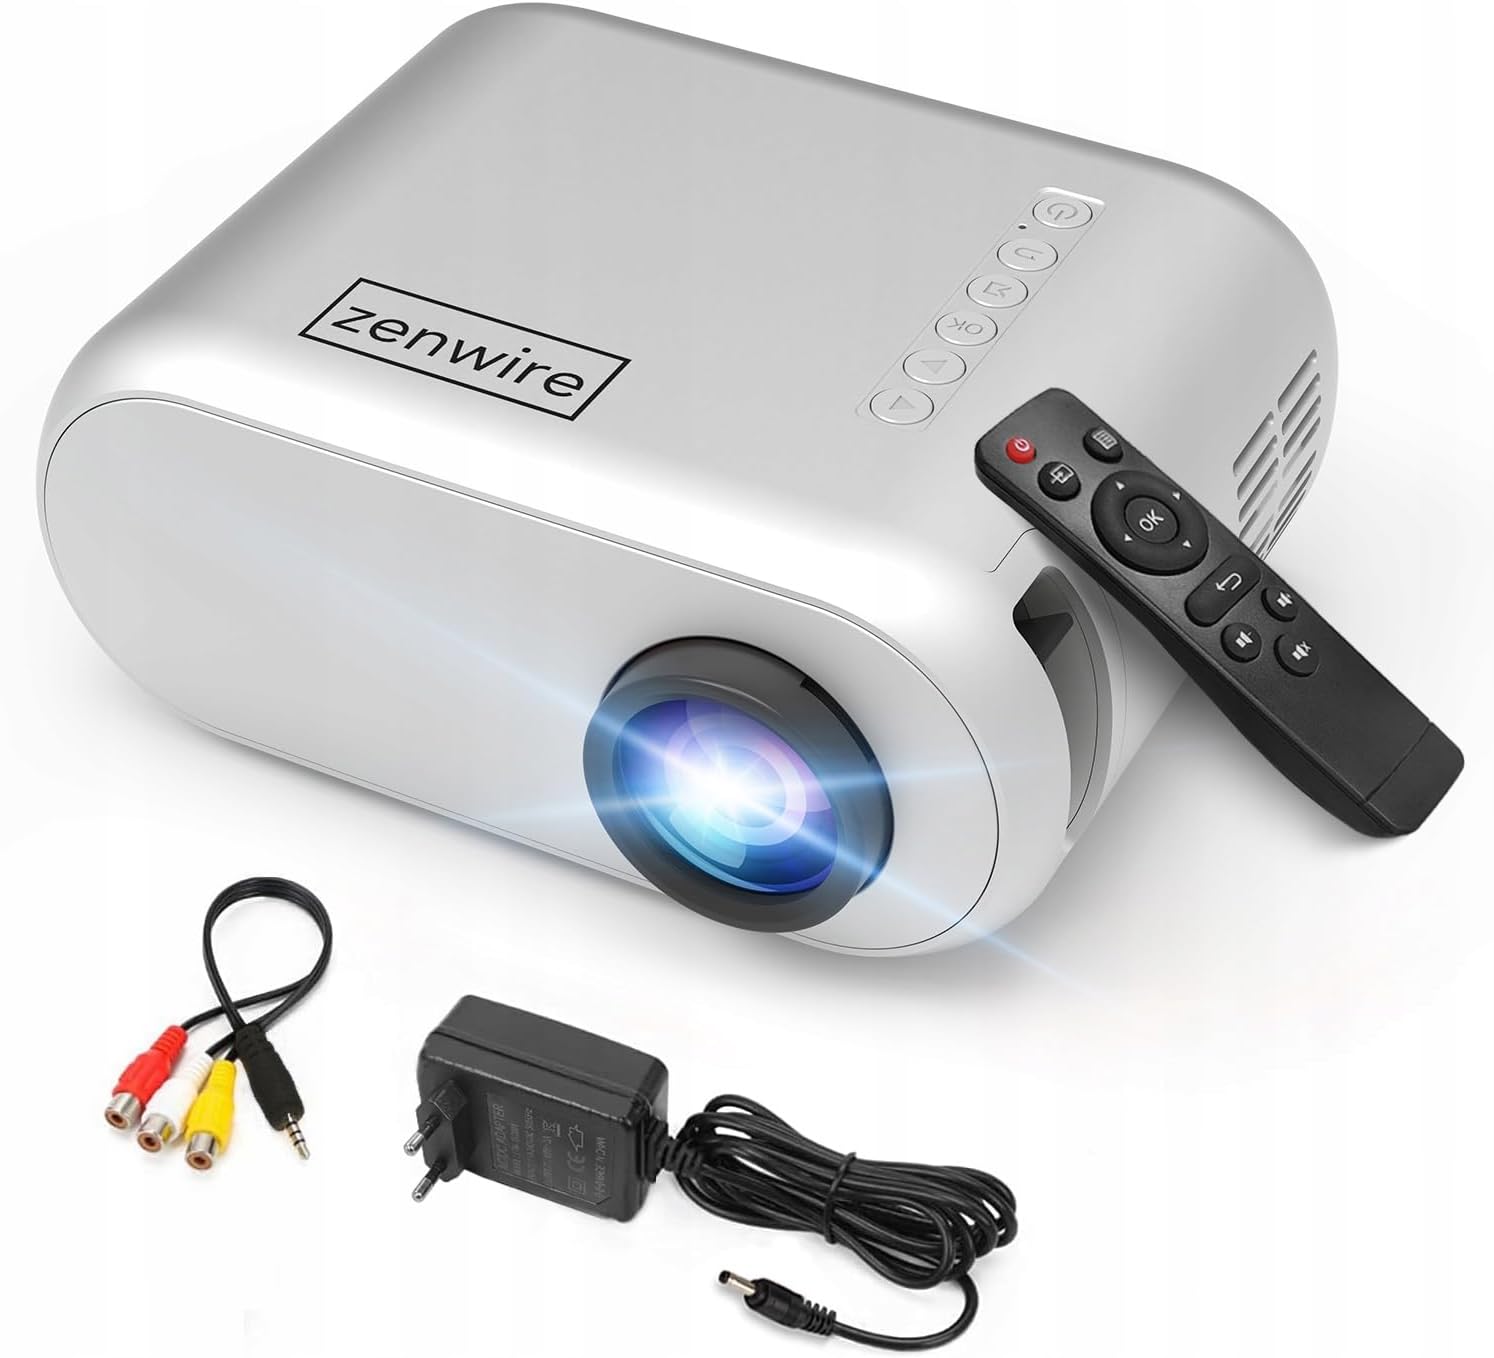
Image 3.1: Front and top view of the projector, showing the lens and top control panel.
Rear Panel and Connectivity
The rear panel of the projector features various ports for connecting external devices:

Image 3.2: Rear view of the projector, highlighting the input/output ports.
- AV Input: For connecting devices using the included AV cable.
- HDMI Input: For connecting devices such as laptops, gaming consoles, or streaming sticks.
- USB Port: For connecting USB flash drives to play media files directly.
- AUX Output: For connecting external speakers or headphones.
- DC Power Input: For connecting the power adapter.
Top Control Panel
The top of the projector features a control panel for basic operations:
- Power Button: Turns the projector on or off.
- Navigation Buttons (Up/Down/Left/Right): Used to navigate menus.
- OK Button: Confirms selections.
- Back Button: Returns to the previous menu or screen.
- Source Button: Selects input source (HDMI, AV, USB).
4. Setup
4.1 Placement
Place the projector on a stable, flat surface. Ensure there is adequate space around the projector for ventilation. The projection distance affects the screen size. Refer to the image below for recommended distances and corresponding screen sizes.

Image 4.1: Recommended projection distances and screen sizes.
- For a 30-inch screen, place the projector approximately 0.9 meters away.
- For a 50-inch screen, place the projector approximately 1.5 meters away.
- For an 80-inch screen, place the projector approximately 2.4 meters away.
- For a 100-inch screen, place the projector approximately 3.0 meters away.
4.2 Power Connection
Connect the power adapter to the DC Power Input port on the projector, then plug the adapter into a power outlet.
4.3 Connecting Devices
The Zenwire D300S supports various input sources:
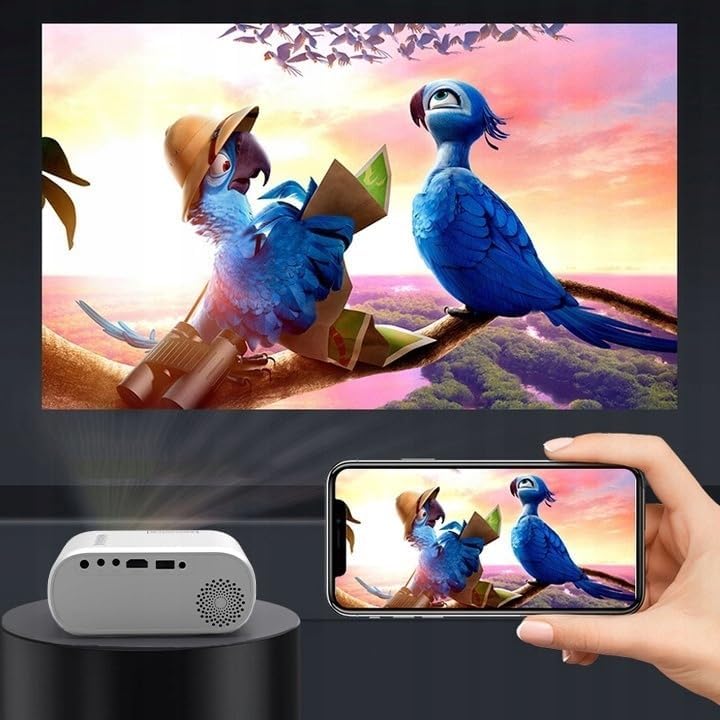
Image 4.2: Examples of devices that can be connected to the projector.
- HDMI: Connect your laptop, gaming console, or streaming device using an HDMI cable.
- USB: Insert a USB flash drive into the USB port to play media files directly.
- AV: Use the included AV cable to connect older devices like DVD players.
- Audio Out (AUX): Connect external speakers or headphones to the AUX port for enhanced audio.
4.4 Focus Adjustment
Turn on the projector. Adjust the focus ring located near the lens until the projected image is clear and sharp.
5. Operating Instructions
5.1 Power On/Off
Press the Power button on the projector or the remote control to turn the device on or off.
5.2 Source Selection
After powering on, use the 'Source' button on the projector or remote control to select the desired input source (HDMI, AV, USB).
5.3 Menu Navigation
Use the navigation buttons (Up/Down/Left/Right) on the projector or remote to browse through menus. Press 'OK' to confirm a selection and 'Back' to return.
5.4 Volume Control
Adjust the volume using the volume buttons on the remote control.
5.5 Connecting to a Phone/Laptop
To project content from a phone or laptop:
- For Laptops: Connect via HDMI cable. Select HDMI as the input source on the projector.
- For Phones: Depending on your phone model, you may need an adapter (e.g., USB-C to HDMI, Lightning to HDMI) to connect via HDMI. Alternatively, some phones support wireless display technologies that can be used with a compatible streaming stick connected to the projector's HDMI port.

Image 5.1: Projecting content from a smartphone to the Zenwire D300S Mini Projector.
6. Maintenance
6.1 Cleaning the Lens
Use a soft, lint-free cloth specifically designed for optical lenses to gently wipe the projector lens. Do not use abrasive cleaners or excessive force.
6.2 Cleaning the Projector Body
Wipe the exterior of the projector with a soft, dry cloth. For stubborn marks, a slightly damp cloth can be used, followed by a dry cloth.
6.3 Ventilation
Regularly check that the ventilation openings are free from dust and obstructions to ensure proper airflow and prevent overheating.
7. Troubleshooting
If you encounter issues with your projector, please refer to the following common problems and solutions:
| Problem | Possible Cause | Solution |
|---|---|---|
| No image projected | Power not connected, incorrect input source, device not sending signal. | Check power connection, select correct input source, ensure connected device is on and outputting video. |
| Image is blurry | Focus not adjusted, projector too close/far. | Adjust the focus ring, reposition the projector according to recommended distances. |
| No sound | Volume too low, external speakers not connected, audio format not supported. | Increase volume, connect external speakers via AUX, check audio settings on source device. |
| Remote control not working | Batteries dead, obstruction between remote and projector. | Replace batteries, ensure clear line of sight to the projector's IR receiver. |
8. Specifications
- Model: Zenwire D300S
- Native Resolution: 1280 x 720p HD
- Brightness: 3000 Lumens (100 ANSI Lumens)
- Connectivity: HDMI, USB, AUX, AV
- Aspect Ratio: 16:9 / 4:3
- Projection Distance: 0.9m - 3.0m (approx. 30-100 inches)
9. Warranty and Support
The Zenwire D300S Mini Projector comes with a standard manufacturer's warranty. Please refer to the warranty card included in your package for specific terms and conditions. For technical support or service inquiries, please contact your retailer or the Zenwire customer service department.