1. Product Overview
The Thermalright Frozen Infinity 240 White is an all-in-one (AIO) liquid CPU cooler designed for high-performance cooling. It features an Infinity Mirror style water-cooling pump, a 240mm radiator with nano-painted aluminum fins, polymer-compiled protective water pipes, and two 120mm Infinity Mirror fans. This cooler aims to provide efficient heat dissipation with low resistance and quiet operation.
Key features include:
- Infinity Mirror Pump Design: Utilizes a new generation pump system (Core V1.0) with exclusive Infinity Mirror LOGO light effects and low vibration operation.
- High Cooling Dual Fans: Equipped with TL-M12W fans featuring temperature control, ARGB lighting, and S-FDB bearings for reduced friction, vibration, and extended lifespan. Fans operate at up to 2000 RPM.
- ARGB Divine Light Synchronization: Both the fan and water-cooling pump ARGB lighting synchronize with the motherboard's 5V 3-pin header, offering rich lighting effects and supporting series connections.

Figure 1: Thermalright Frozen Infinity 240 White Liquid CPU Cooler, showcasing the radiator, fans, and pump with infinity mirror effect.

Figure 2: Overview of the Thermalright Frozen Infinity 240 White AIO Liquid Cooler.
2. Setup and Installation
This section provides detailed instructions for installing your Thermalright Frozen Infinity 240 White Liquid CPU Cooler on both AMD and Intel platforms. Please refer to the accompanying video for visual guidance.
2.1. Included Components
Before beginning installation, ensure all components are present:
Video 1: Installation guide for Thermalright Frozen Infinity CPU Cooler Series, demonstrating steps for AMD and Intel platforms, thermal paste application, and cable connections.
The installation video (0:00 - 0:05) displays the following components:
- Intel Bracket *2
- AMD Bracket *2
- Thermal Compound *1
- LGA115X/1200 Plastic Standoffs *4
- LGA1851/1700 Plastic Standoffs *4
- LGA20XX Screw *4
- Intel Nuts *4
- Radiator Screw *8
- AM4/AM5 Screw *4
- AMD Plastic Standoffs *4
- Intel LGA115X/1700 Backplate *1
2.2. AMD AM4/AM5 Installation (Refer to Video 0:06 - 0:13, 0:39 - 1:13)
- For AMD AM5 and AM4 motherboards, remove the existing motherboard plastic brackets. Keep the original backplate.
- Install the four red standoffs onto the motherboard's CPU socket mounting holes.
- Place the two AMD metal brackets onto the standoffs and secure them with the provided screws using a screwdriver.

Figure 3: Installation of AMD AM4/AM5 mounting brackets.
2.3. Intel LGA1700 Installation (Refer to Video 1:14 - 2:12)
- Adjust the Intel backplate to the LGA1700 mounting hole position.
- Install the backplate from the backside of the motherboard.
- Install the four blue LGA1700 standoffs onto the backplate screws from the front side of the motherboard.
- Place the two Intel metal brackets onto the standoffs and secure them with the provided nuts using a screwdriver.
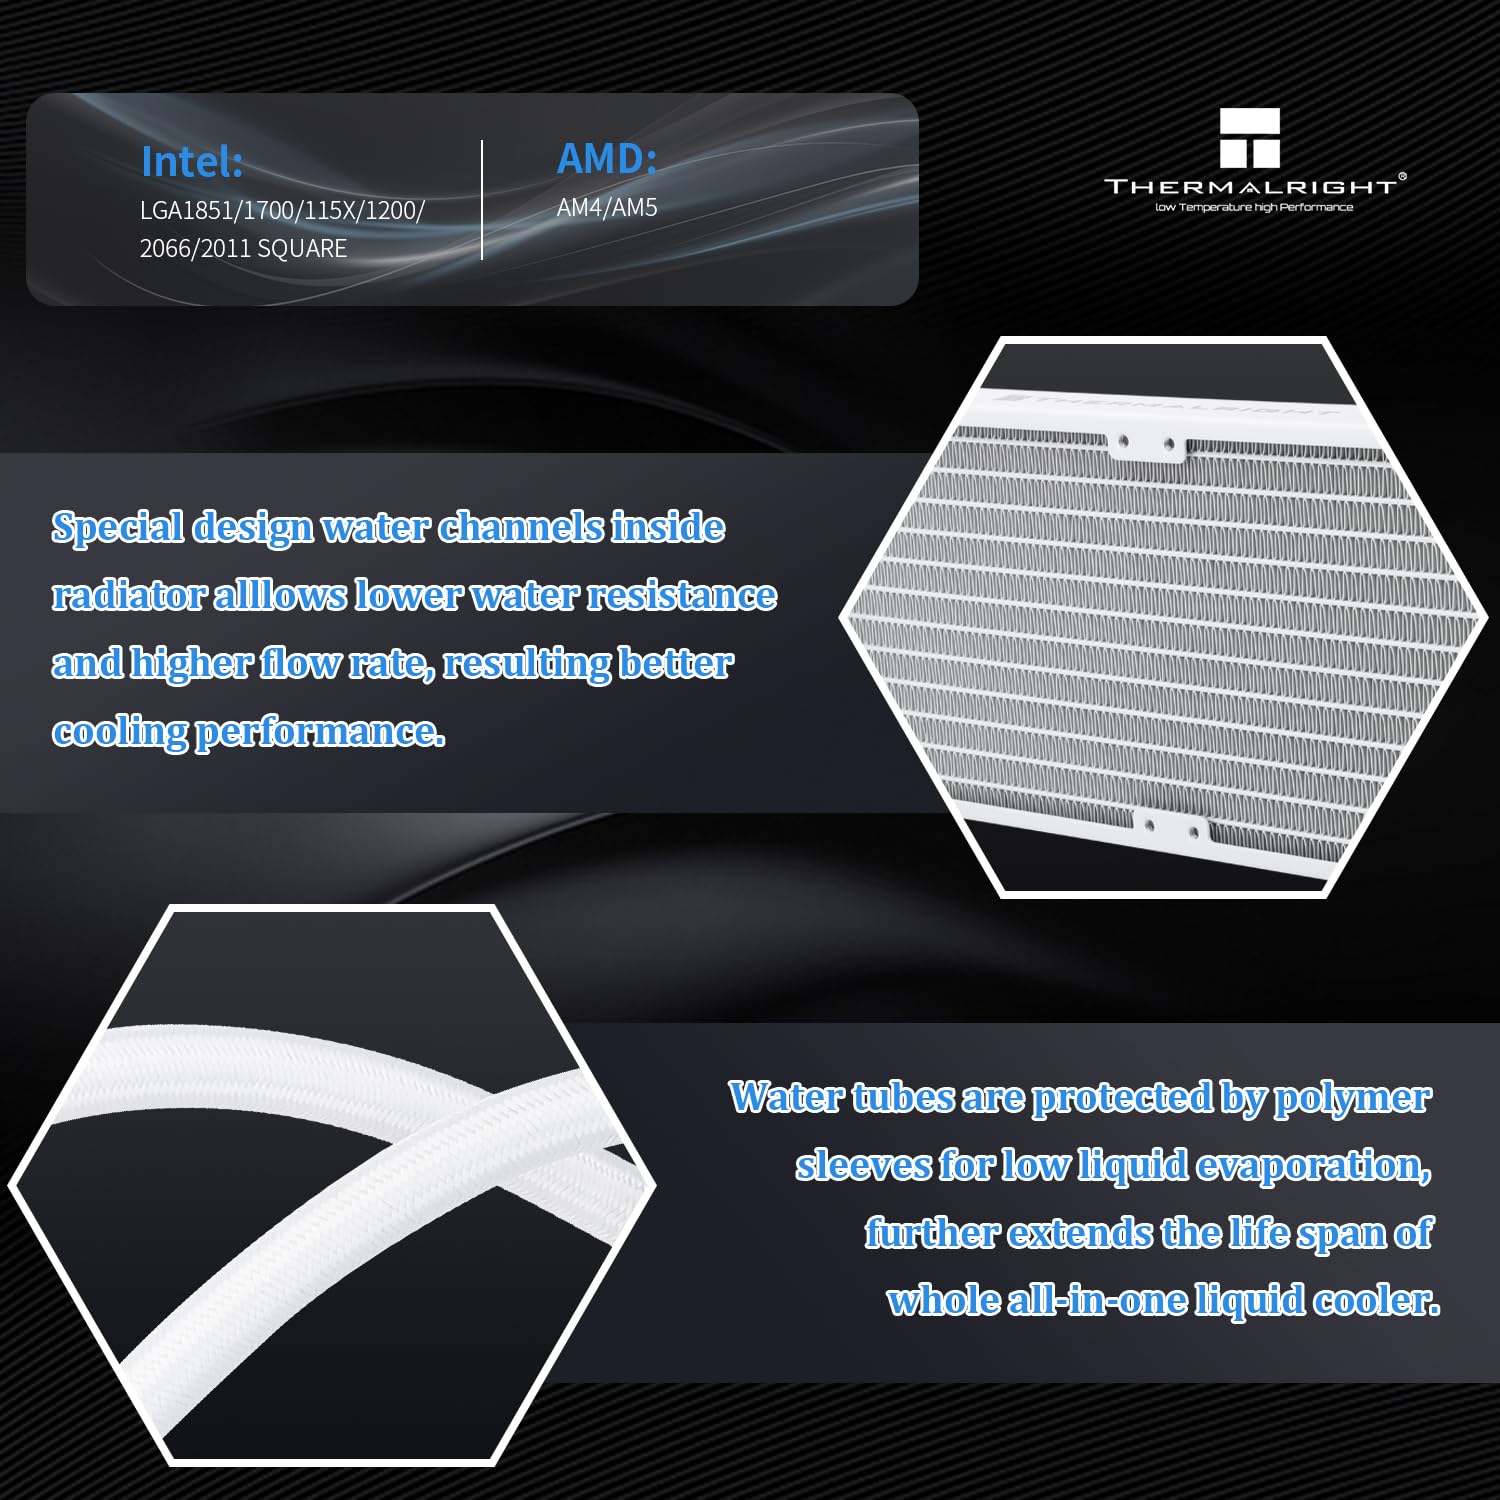
Figure 4: Installation of Intel LGA1700 mounting brackets.
2.4. Common Procedures (Refer to Video 2:13 - 2:57)
- Apply thermal compound onto the CPU's Integrated Heat Spreader (IHS). A pea-sized amount or a line method is generally sufficient.
- Remove the protective sticker from the cold plate of the waterblock.
- Carefully place the waterblock onto the CPU, aligning the waterblock bracket nuts with the screws on the installed brackets.
- Tighten both nuts on the bracket with a screwdriver in an alternating pattern (e.g., diagonal) to apply even mounting pressure until secure. Do not overtighten.

Figure 5: The waterblock with addressable RGB lighting, showing pump speed and power connector details.
2.5. Cable Connections (Refer to Video 2:58 - 3:24)
- Connect the waterblock pump power cable to the CPU_OPT or AIO_PUMP header on your motherboard.
- Connect the fan 4-pin PWM connectors to sync fan speed. Then connect the fan PWM cable to the motherboard CPU_FAN header.
- Connect the 3-pin ARGB connectors to sync ARGB lighting. Then connect the ARGB lighting cable to the motherboard 3-pin +5V ARGB header for lighting control.

Figure 6: The Thermalright Frozen Infinity 240 White Liquid CPU Cooler installed in a PC case, highlighting ARGB synchronization.
3. Operating Instructions
Once installed, the Thermalright Frozen Infinity 240 White Liquid CPU Cooler operates automatically based on your motherboard's fan and pump control settings. Ensure your motherboard BIOS/UEFI is configured to manage the CPU_FAN, CPU_OPT/AIO_PUMP, and ARGB headers appropriately.
- Fan Speed Control: The TL-M12W fans are PWM controlled, allowing your motherboard to adjust their speed based on CPU temperature. This ensures optimal cooling performance and noise levels.
- Pump Operation: The waterblock pump is designed for continuous, low-vibration operation. It should be connected to a dedicated pump header (AIO_PUMP or CPU_OPT) for stable power delivery.
- ARGB Lighting: The Addressable RGB (ARGB) lighting on the fans and waterblock can be controlled via your motherboard's ARGB software (e.g., ASUS Aura Sync, MSI Mystic Light, Gigabyte RGB Fusion, ASRock Polychrome Sync). Ensure the 5V 3-pin ARGB header is correctly connected.
4. Maintenance
Regular maintenance helps ensure the longevity and optimal performance of your liquid CPU cooler.
- Dust Cleaning: Periodically clean dust from the radiator fins and fan blades using compressed air or a soft brush. Accumulation of dust can impede airflow and reduce cooling efficiency.
- Cable Management: Ensure all cables are neatly routed and not interfering with fan operation or airflow within the case.
- Visual Inspection: Occasionally inspect the tubing for any signs of kinks, leaks, or damage. While the polymer sleeves offer protection, regular checks are recommended.
- Thermal Paste: The thermal paste applied during installation typically lasts for several years. If you notice a significant increase in CPU temperatures over time, reapplying fresh thermal paste may be necessary.
5. Troubleshooting
If you encounter issues with your Thermalright Frozen Infinity 240 White Liquid CPU Cooler, refer to the following common troubleshooting steps:
- No Power/Fans Not Spinning/Pump Not Working:
- Check all power connections to the motherboard (CPU_FAN, CPU_OPT/AIO_PUMP headers).
- Ensure the power supply is functioning correctly.
- Verify fan and pump settings in your motherboard's BIOS/UEFI.
- High CPU Temperatures:
- Confirm the waterblock is securely mounted to the CPU with adequate pressure.
- Check if thermal paste was applied correctly and is making good contact.
- Ensure fans are spinning and the pump is operating.
- Clean any dust accumulation from the radiator fins.
- Verify proper airflow within your PC case.
- ARGB Lighting Not Working/Incorrect Colors:
- Ensure the 3-pin +5V ARGB cable is correctly connected to the motherboard header. Note: This cooler only supports 5V 3-pin ARGB, NOT 12V 4-pin RGB.
- Check your motherboard's ARGB software for lighting control settings.
- Verify that the ARGB connectors are securely linked.
- Unusual Noise:
- Identify if the noise is coming from the fans or the pump.
- For fans, check for obstructions or loose mounting.
- For pump noise, ensure it's properly mounted and not vibrating against other components. Minor gurgling sounds upon initial startup are normal as air settles.
6. Specifications
Detailed specifications for the Thermalright Frozen Infinity 240 White Liquid CPU Cooler:

Figure 7: Specifications table for Thermalright Frozen Infinity 240 White.
| Feature | Specification |
|---|---|
| Model Number | FI240 WHITE |
| Package Dimensions | 15.07 x 8.27 x 5.55 inches |
| Weight | 4.54 Pounds |
| Water Block Dimensions | 63mm * 63mm * 60mm |
| Radiator Dimensions | 277mm * 120mm * 27mm |
| Pump Connector | DC 12V 4PIN |
| Pump RGB Support | +5V 3PIN ARGB |
| Fan Model | TL-M12W |
| Fan Dimensions | 120mm * 120mm * 25mm |
| Fan Rated Speed | 2000RPM ± 10% |
| Fan Rated Noise | ≤28.2dBA |
| Fan Air Flow Capacity | 68.9 CFM (MAX) |
| Fan Static Pressure | 2.21mm/H²O (MAX) |
| Fan Connector | 4-Pin PWM |
| Fan Rated Voltage | DC 12V |
| Fan Rated Current | 0.17A (MAX) |
| Fan Bearing Type | S-FDB Bearing |
| Fan RGB Support | +5V 3PIN ARGB |
| Cooling Method | Water |
| Compatible Devices | Desktop (AM4/AM5 & Intel LGA1150/1151/1200/2011/1700/1851) |
| Material | Aluminum, Rubber |
7. Warranty and Support
Thermalright products are manufactured to high-quality standards. For specific warranty information, please refer to the documentation included with your product or visit the official Thermalright website. In case of technical issues or questions not covered in this manual, please contact Thermalright customer support through their official channels.