Introduction
Thank you for choosing the EooCoo Digital Timer. This manual provides essential information for the safe and efficient operation of your new timer. Designed for versatility, it is ideal for various applications including cooking, studying, and fitness activities.
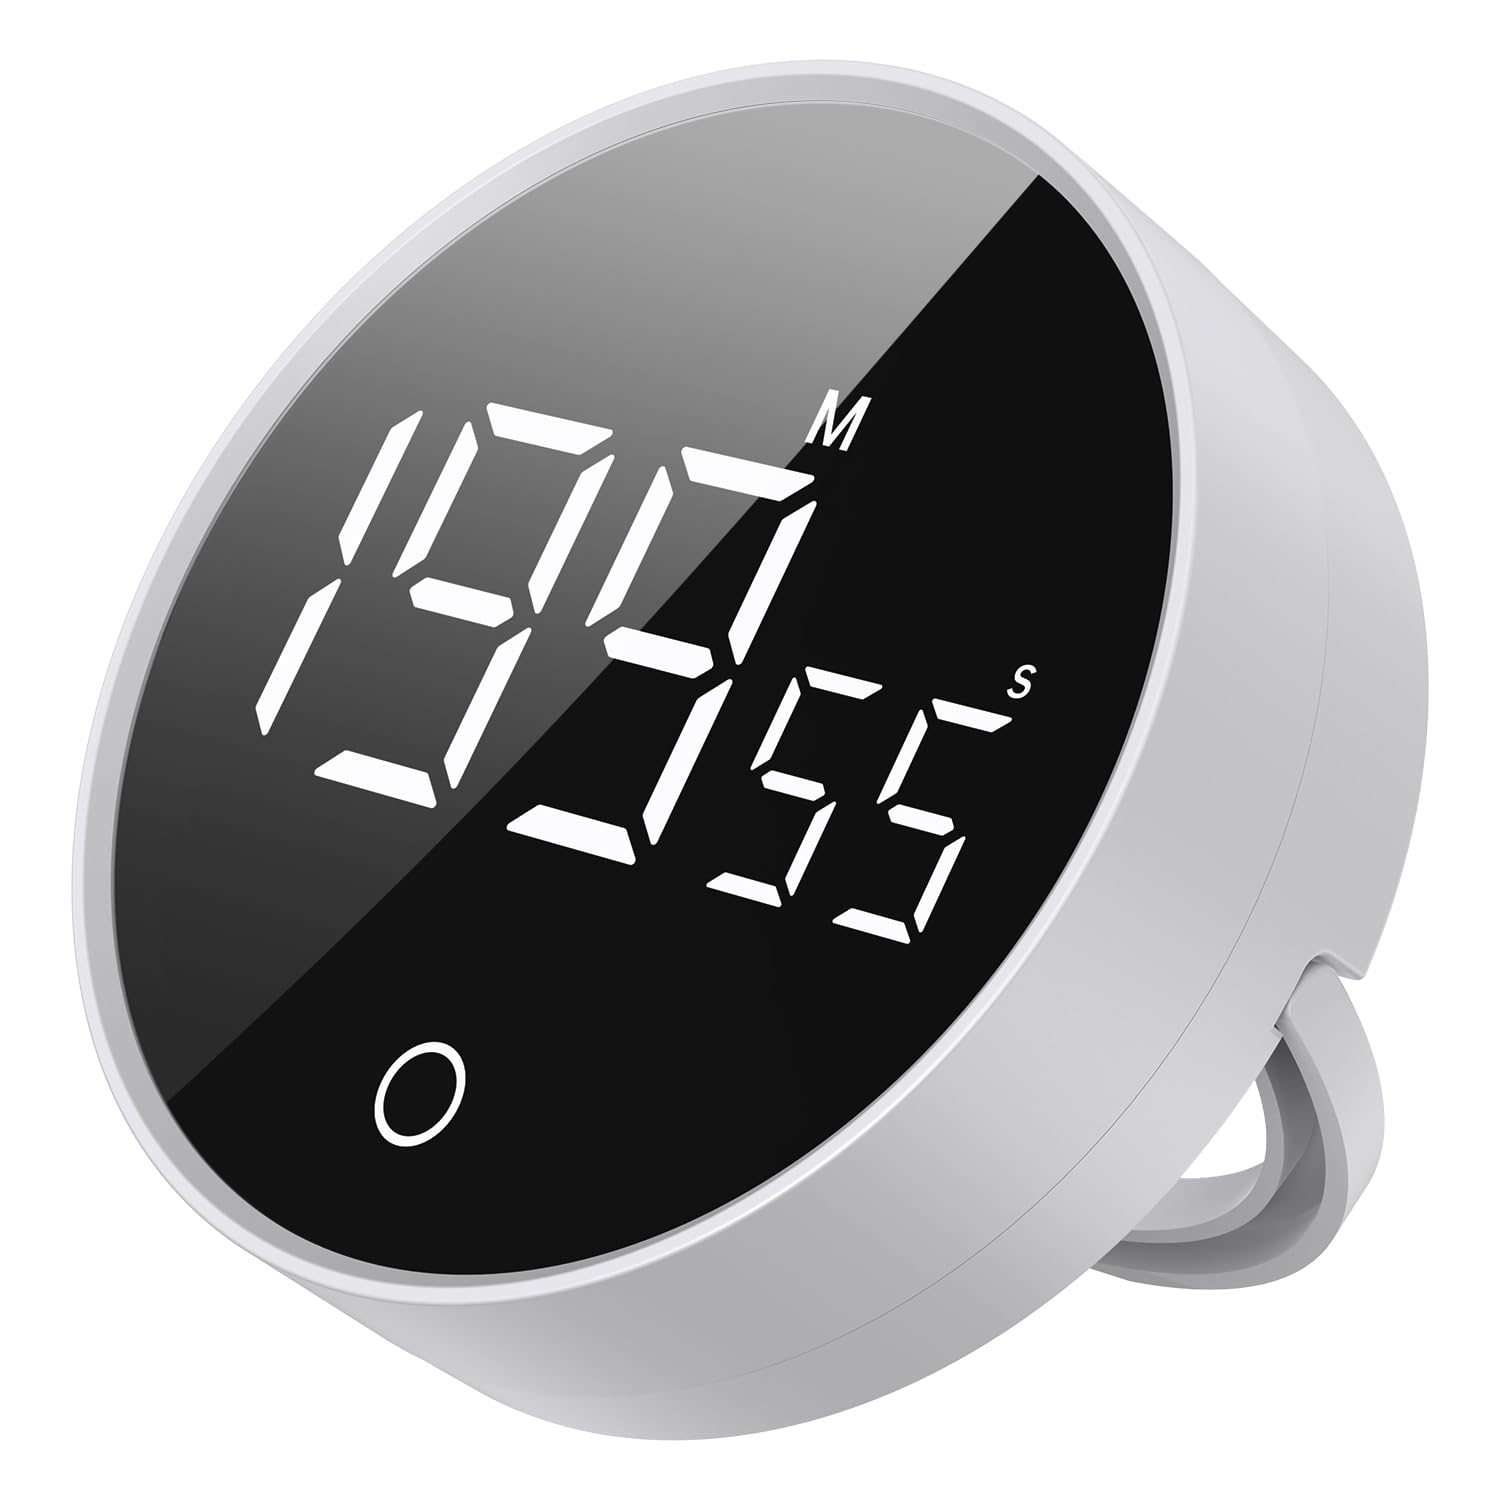
Image: Front view of the EooCoo Digital Timer, showcasing its large, bright display.
Key Features
- Large & Clear Display: Features a bright, easy-to-read digital display visible from a distance.
- Intuitive Operation: Simple dial control for quick time setting and mode switching.
- Strong Magnetic Backing: Securely attaches to metal surfaces like refrigerators and whiteboards.
- Adjustable Alarm: Offers loud, medium, and silent (vibration) alert options for various environments.
- Automatic Brightness Reduction: Extends battery life by automatically dimming the display.
- Countdown & Count-up Modes: Supports both countdown timing and stopwatch functionality.
- Memory Function: Remembers the last countdown setting for repeated use.
- Compact & Elegant Design: Modern aesthetic suitable for any kitchen or workspace.
Setup
1. Battery Installation
The EooCoo Digital Timer requires three AAA batteries (included). To install:
- Locate the battery compartment on the back of the timer.
- Open the battery cover.
- Insert three AAA batteries, ensuring correct polarity (+/-).
- Close the battery cover securely.
Video: A user demonstrates how to open the battery compartment and insert AAA batteries into a similar digital timer.
2. Placement Options
The timer offers flexible placement:
- Magnetic Attachment: Utilize the strong magnetic backing to attach the timer to metal surfaces such as refrigerators, oven hoods, or whiteboards.
- Desktop Stand: The timer features a built-in stand for convenient placement on any flat surface like a kitchen counter or desk.

Image: The timer securely attached to a refrigerator door using its magnetic back.

Image: The timer positioned on a desk, utilizing its integrated stand for upright viewing.
Operating Instructions
1. Power On/Off and Display Brightness
The timer automatically activates its display when handled or adjusted. It features automatic brightness reduction to conserve battery life. The display will turn off after a period of inactivity.

Image: Illustration of the timer's automatic sleep function, demonstrating bright display, reduced brightness, and screen off states.
2. Setting the Timer (Countdown Mode)
To set a countdown:
- Rotate the outer ring clockwise to increase the time. A slow turn adjusts seconds, while a quick turn adjusts minutes.
- Rotate the outer ring counter-clockwise to decrease the time.
- Press the central button once to start the countdown.
- To pause/resume the timer, press the central button again.
- To reset the timer to zero, press and hold the central button for 3 seconds.

Image: A hand demonstrates rotating the outer ring of the timer to adjust the countdown time.
3. Count-up Mode (Stopwatch Function)
To use the stopwatch function:
- Ensure the timer is reset to "00:00". If not, press and hold the central button.
- Press the central button once to start counting up.
- To pause/resume the count-up, press the central button again.
- To reset the count-up to zero, press and hold the central button for 3 seconds.
4. Adjusting Alarm Volume
The timer offers three alarm volume settings: Loud, Medium, and Silent (vibration only). The volume switch is located on the back of the device. Adjust it according to your environment and preference.
- Silent Mode: Ideal for quiet environments like libraries or study sessions.
- Low Volume: Suitable for home use without disturbing others.
- High Volume: Ensures the alarm is heard in busy or noisy areas, such as a kitchen.

Image: The timer's silent mode is activated, suitable for use in public places like libraries.

Image: The timer's high volume mode is active, ensuring the alarm is audible in a busy kitchen.

Image: The timer's low volume mode is selected, suitable for quiet study or home environments.
5. Countdown Memory Function
The timer remembers your last countdown setting. After setting the time once, you can simply press the central button to start the same countdown again, making repetitive tasks more efficient.

Image: The timer shows a set countdown time, highlighting its memory function for efficient repeated use.
Maintenance
- Cleaning: Wipe the timer with a soft, dry cloth. Do not use abrasive cleaners or immerse in water.
- Battery Replacement: Replace batteries when the display dims significantly or the timer stops functioning. Ensure to use three new AAA batteries.
- Storage: Store the timer in a cool, dry place when not in use for extended periods.
Troubleshooting
- Timer not turning on: Check if batteries are correctly installed and have sufficient charge. Replace if necessary.
- Display is dim: The timer features automatic brightness reduction. If it remains dim, replace batteries.
- Alarm is too quiet/loud: Adjust the volume switch on the back of the timer.
- Timer not responding to rotation: Ensure the timer is not currently running. Pause or reset it before adjusting time.
Specifications
| Brand | EooCoo |
| Model | B0D7313XJ6 |
| Color | White |
| Material | Acrylonitrile Butadiene Styrene (ABS) |
| Product Dimensions | 3.08"D x 3.08"W x 1.05"H |
| Item Weight | 3.87 ounces |
| Max Time Setting | 199 minutes (99 minutes, 59 seconds) |
| Power Source | 3 x AAA Batteries |
| Alarm Settings | Loud, Medium, Silent (Vibration) |
Warranty Information
For specific warranty details and terms, please refer to the product packaging or contact EooCoo customer support. Keep your purchase receipt as proof of purchase.
Customer Support
If you encounter any issues or have questions regarding your EooCoo Digital Timer, please contact our customer support team. Contact information can typically be found on the product packaging or the official EooCoo website.