1. Introduction
This manual provides instructions for the IdeaFormer-3D PEA flexible spring steel build plate, designed for Bambu Lab X1, X1C, X1E, P1P, P1S, and A1 3D printers. This double-sided plate features unique Mosaic Ball and Diamond Ball holographic patterns that transfer to the bottom of your 3D prints, adding a distinct visual effect. The plate measures 257x257mm and offers excellent adhesion and easy print removal.
Package Contents:
- 1 x PEA Spring Steel Build Plate (Double-sided: Mosaic Ball + Diamond Ball pattern)
2. Setup and Installation
Proper preparation ensures optimal performance and print quality.
2.1 Initial Preparation
Before first use, remove the protective clear films from both sides of the PEA build plate. These films are present to prevent scratches during shipping and handling.

Description: An image illustrating the removal of the two protective clear films from both sides of the PEA build plate before its initial use. This step is crucial for proper adhesion and pattern transfer.
2.2 Installation on 3D Printer
Place the PEA build plate onto your Bambu Lab 3D printer's heated bed. Ensure it is correctly aligned and securely seated. The magnetic base of the printer bed will hold the spring steel plate in place.
3. Operating Instructions
Follow these guidelines for successful printing with the PEA build plate.
3.1 Slicer Settings
In your 3D printer's slicing software (e.g., Bambu Studio), select the appropriate build plate type for optimal adhesion and print quality.
- Recommended Setting: Choose "Smooth PEI Plate" or "High Temp Plate" in the slicer's plate type options.

Description: A screenshot from a 3D printer slicing software interface, highlighting the selection of "Smooth PEI Plate / High Temp Plate" as the recommended build plate type for printing with the PEA plate.
3.2 Printer-Specific Settings (Bambu Lab X1/X1C/X1E)
For Bambu Lab X1, X1C, and X1E models, it is necessary to disable the "Enable detection of build plate position" setting in your printer's options before selecting the plate type in the slicer.
Description: A screenshot from the Bambu Lab printer interface, showing the "Enable detection of build plate position" option unchecked, which is required for X1 series printers when using this build plate.
3.3 Recommended Filaments
The PEA build plate is compatible with various filament types. For best results and holographic pattern transfer, PLA, PETG, ABS, and TPU are recommended.

Description: An image displaying close-ups of the Mosaic Ball and Diamond Ball holographic patterns on the build plate, alongside spools of PLA, PETG, ABS, and TPU filaments, indicating their compatibility.
3.4 Print Removal
The flexible nature of the spring steel plate allows for easy removal of finished prints.
- Allow the build plate and the printed model to cool down completely after printing.
- Carefully remove the flexible PEA sheet from the printer's magnetic bed.
- Gently bend the sheet to release the printed model. The model should detach with minimal effort.

Description: An image showing hands gently bending the flexible PEA build plate, causing a finished 3D print to easily detach from its surface, illustrating the effortless removal process.
4. Maintenance
Regular cleaning and proper care will extend the lifespan and maintain the performance of your build plate.
4.1 Cleaning the Build Plate
Clean the build plate before and after each printing session. Any dust, fingerprints, or residue can negatively affect adhesion.
- Use warm water and a small amount of dish soap to gently clean the surface.
- Wipe with a soft cloth or sponge.
- Rinse thoroughly and dry completely before re-installing on the printer.
- Avoid using harsh chemicals or abrasive materials that could damage the holographic surface.
Description: An image depicting a hand cleaning the surface of the PEA build plate with a soft cloth, emphasizing the importance of regular cleaning to maintain optimal adhesion.
4.2 General Care
The spring steel plate is a consumable item. Its lifespan depends on usage frequency, filament types, and maintenance practices. It will need to be replaced periodically based on its condition and performance.
Description: An image showing the PEA build plate next to a 3D printer's hotend assembly, illustrating that the build plate is a consumable part that requires periodic replacement.
5. Troubleshooting
Common issues and their potential solutions.
5.1 Poor Adhesion
- Issue: Prints are not sticking to the build plate.
- Solution:
- Ensure the build plate is thoroughly clean and free of oils or dust.
- Verify that "Smooth PEI Plate" or "High Temp Plate" is selected in your slicer settings.
- For Bambu Lab X1/X1C/X1E, confirm "Enable detection of build plate position" is disabled.
- Adjust bed temperature settings in your slicer, potentially increasing it slightly for better first layer adhesion.
- Consider adding a brim to your print in the slicer for models with small footprints or prone to warping.
- Check for proper Z-offset calibration to ensure the nozzle is at the correct height.
5.2 Holographic Pattern Not Transferring
- Issue: The holographic pattern is weak or not visible on the print.
- Solution:
- Ensure the build plate is clean. Residue can interfere with pattern transfer.
- Verify that the first layer is properly compressed onto the build plate. Adjust Z-offset if necessary.
- Darker filament colors tend to show the holographic effect more prominently.
- The effect is most visible in direct light.
5.3 Plate Deformation or Warping
- Issue: The build plate appears warped or deformed.
- Solution:
- Ensure the plate is allowed to cool completely before removal or bending.
- Avoid excessive force when removing prints.
- While the plate is flexible, repeated extreme bending or high temperatures beyond its rating can cause permanent deformation.
- If deformation persists, the plate may need replacement as it is a consumable item.
6. Specifications
| Feature | Detail |
|---|---|
| Model | PEA (Mosaic Ball + Diamond Ball) |
| Material | Flexible Spring Steel |
| Surface Finish | Double-sided holographic (Mosaic Ball, Diamond Ball) |
| Dimensions | 257mm x 257mm (10.12 inches x 10.12 inches) |
| Compatibility | Bambu Lab X1, X1C, X1E, P1P, P1S, A1, P2S 3D Printers |
| Maximum Temperature | Up to 180°C |
| Item Weight | 13.4 ounces |
| Manufacturer | Bell Tech (Brand: IdeaFormer-3D) |

Description: An image clearly indicating the dimensions of the PEA build plate as 257mm x 257mm (10.12 inches x 10.12 inches).
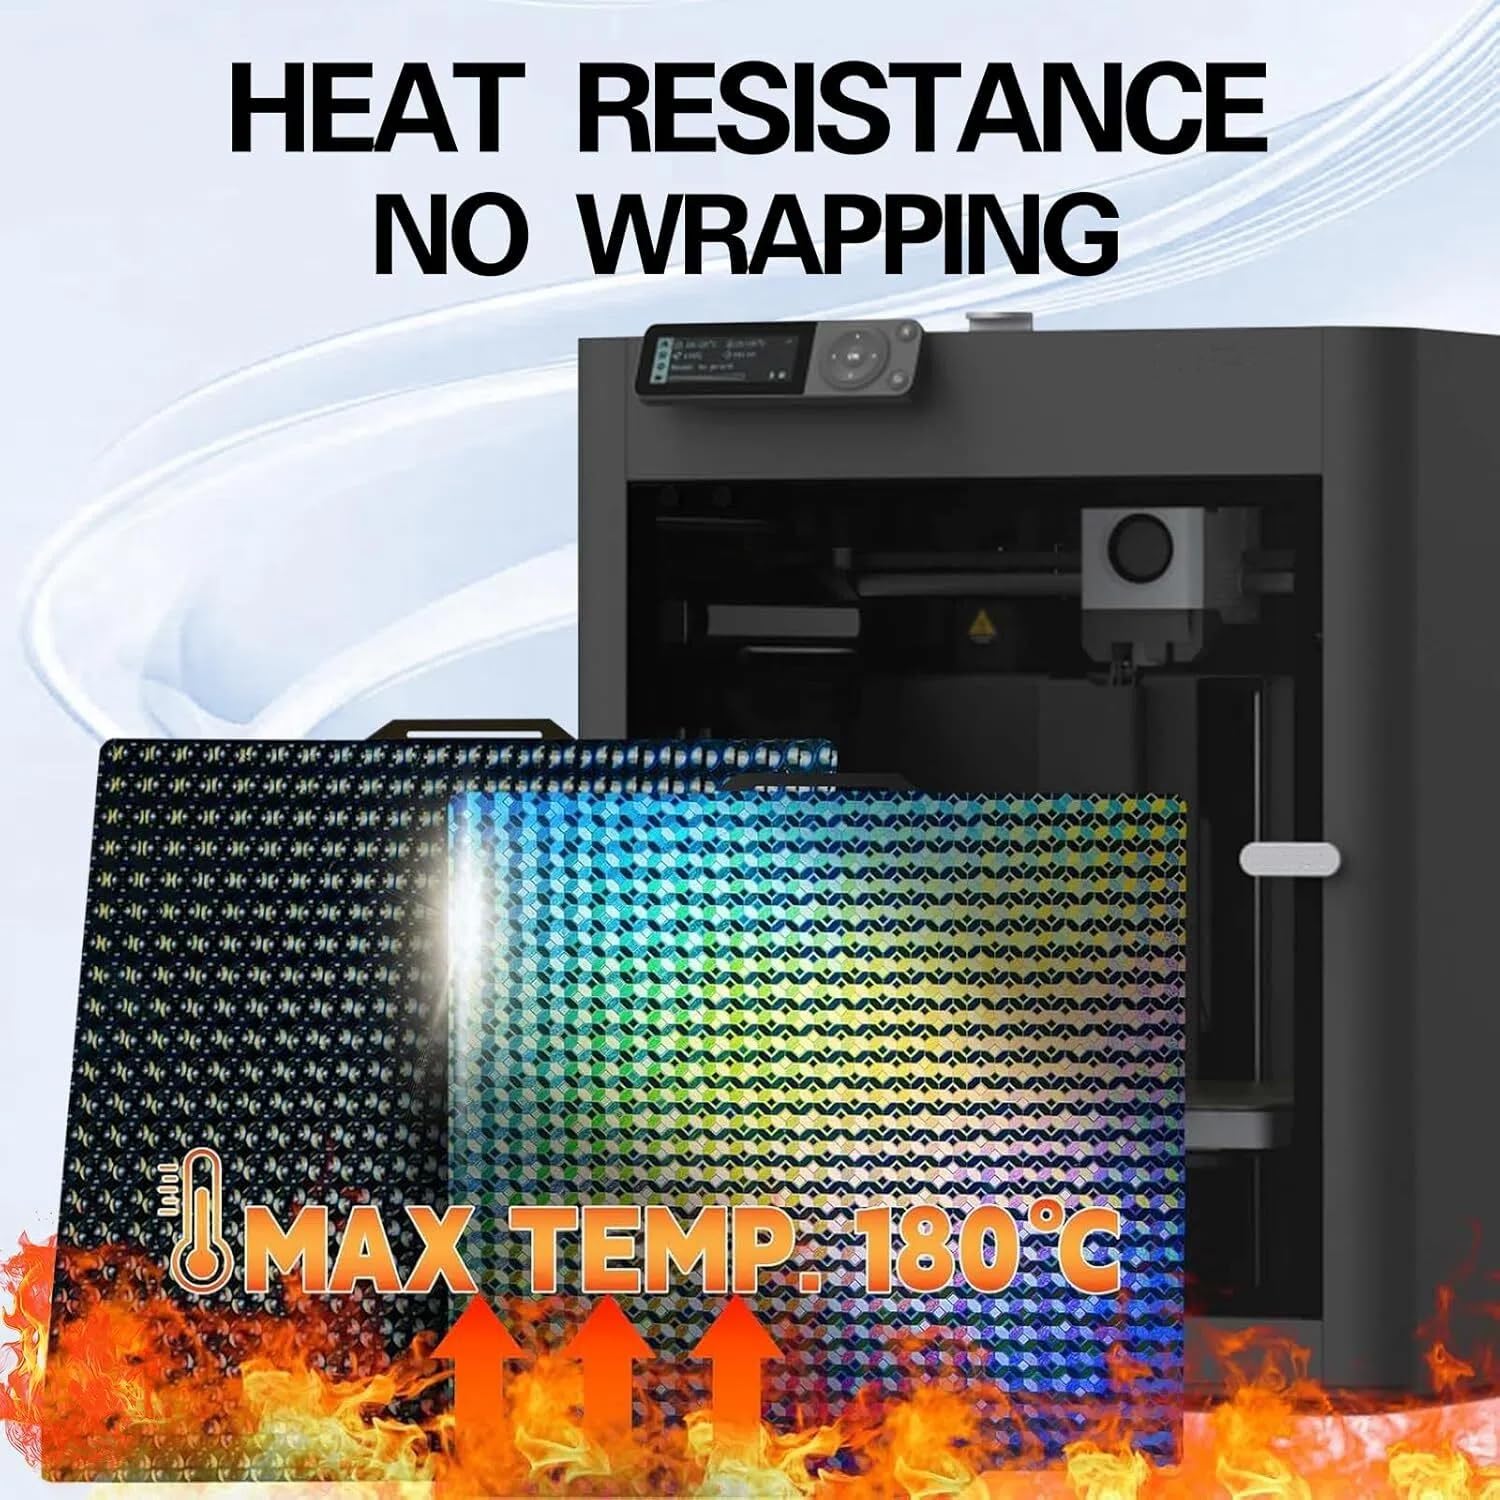
Description: An image highlighting the heat resistance of the build plate, indicating a maximum temperature of 180°C, ensuring no warping during high-temperature printing.
7. Warranty and Support
For warranty information or technical support, please refer to the official IdeaFormer-3D website or contact their customer service directly. The product is typically covered by a standard return policy of 30 days from the date of purchase.
Manufacturer: Bell Tech
Brand: IdeaFormer-3D
Contact: Visit the IdeaFormer-3D Store on Amazon for more information and support resources.