Important Safety Instructions
Always follow basic safety precautions when using electric tools to reduce the risk of fire, electric shock, and personal injury.
- Wear Eye Protection: Always wear safety goggles or safety glasses with side shields.
- Keep Work Area Clean: Cluttered areas invite accidents.
- Avoid Dangerous Environments: Do not use power tools in damp or wet locations, or expose them to rain. Keep work area well lit.
- Keep Children Away: All visitors should be kept at a safe distance from the work area.
- Secure Workpiece: Always clamp or otherwise secure the workpiece to prevent movement during cutting.
- Disconnect Power: Always remove the battery pack before making any adjustments, changing accessories, or storing the tool.
- Use Correct Blade: Ensure the blade is sharp, clean, and suitable for the material being cut.
- Maintain Firm Grip: Hold the tool firmly with both hands during operation.
- Avoid Kickback: Ensure the blade is not binding in the workpiece and maintain proper cutting technique.
Product Overview
The INGCO CSLI1851 is a powerful 20V cordless circular saw designed for efficient and precise cutting of various materials, primarily wood and metal. Its brushless motor ensures durability and extended run time.
Components
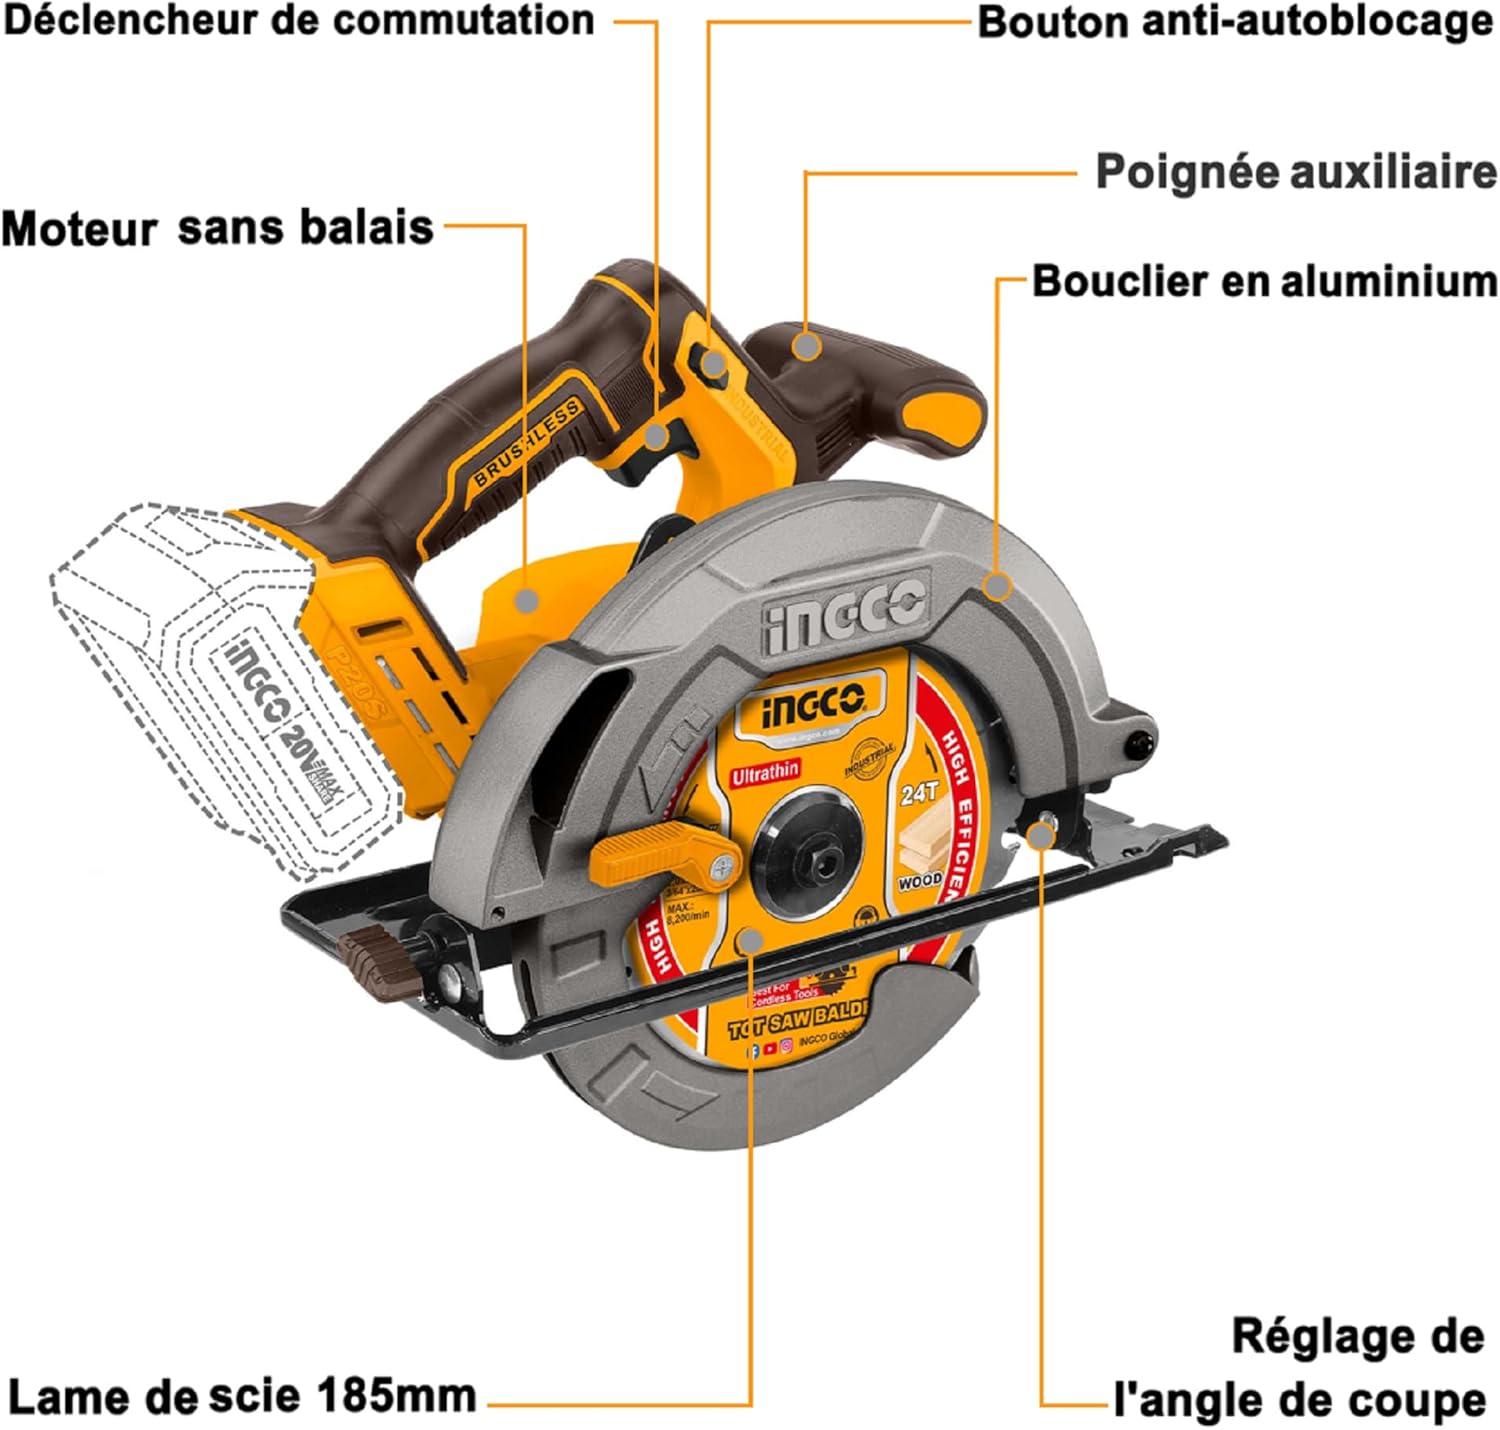
This image illustrates the main components of the circular saw, highlighting key features for operation and safety.
- Brushless Motor: Provides efficient power and longer tool life.
- Trigger Switch: Activates the saw.
- Anti-lock Button: Safety feature to prevent accidental starting.
- Auxiliary Handle: For two-handed operation and better control.
- Aluminum Shield: Blade guard for protection.
- 185mm Saw Blade: Standard blade diameter for this model.
- Depth Adjustment Lever: For setting cutting depth.
- Bevel Adjustment Knob: For setting cutting angle.
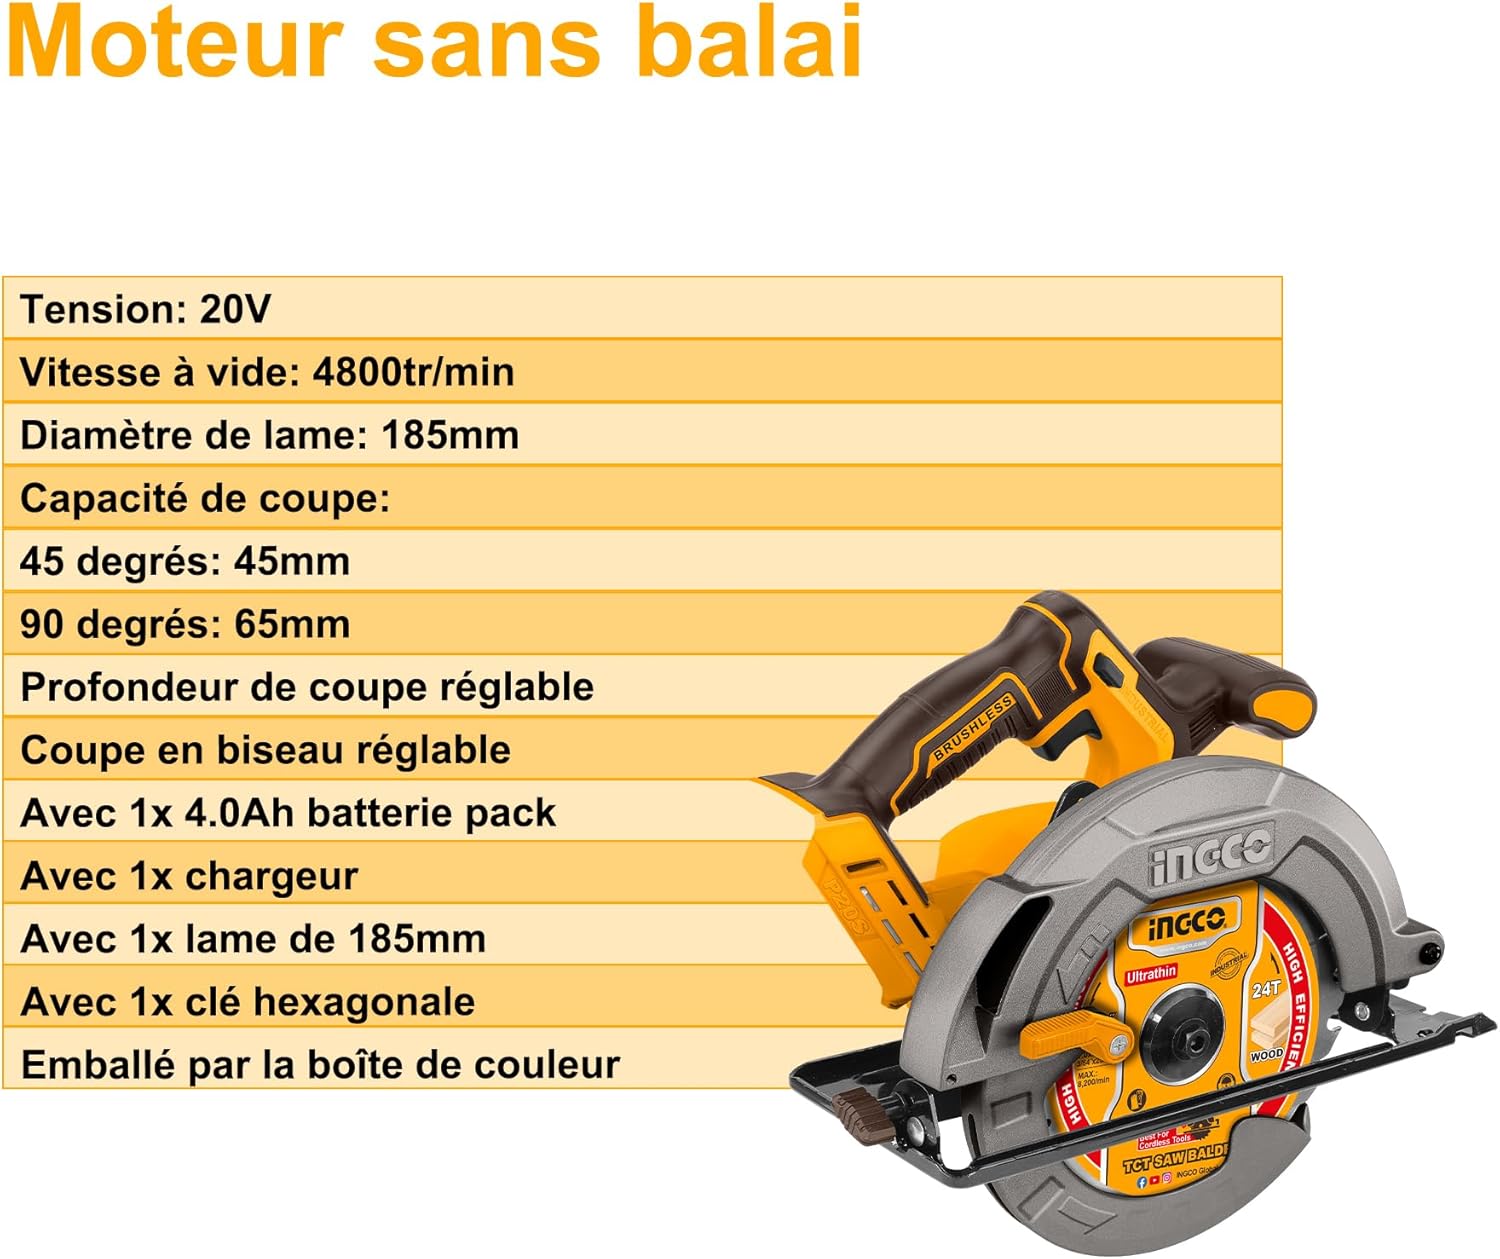
Technical Specifications
| Brand | Ingco |
| Model Number | CSLI1851 |
| Voltage | 20 Volt |
| Blade Diameter | 185 mm |
| No-load Speed | 4800 RPM |
| Max Cutting Depth (90°) | 65 mm |
| Max Cutting Depth (45°) | 45 mm |
| Blade Material | High-Speed Steel |
| Number of Teeth | 24 |
| Weight | 1.5 Kilograms |
| Dimensions (LxWxH) | 29L x 18l x 30H cm |
| Special Features | Depth Adjustment |
Setup
Battery Installation
Note: The battery pack and charger are sold separately and are not included with this product. Ensure you use a compatible INGCO 20V battery.
To install the battery, align the battery pack with the battery port on the tool's base. Slide the battery into the port until it clicks securely into place. To remove, press the battery release button and slide the battery out.

This image shows the proper method for inserting the 20V battery pack into the circular saw's base.
Blade Installation and Removal
Warning: Always remove the battery pack before attempting to install or remove the saw blade.
- Place the saw on a flat, stable surface with the blade guard facing up.
- Press and hold the spindle lock button to prevent the blade from rotating.
- Using the provided hex key, loosen the blade retaining bolt by turning it counter-clockwise.
- Lift the lower blade guard and carefully remove the outer flange and the old blade.
- Clean any sawdust or debris from the blade area.
- Install the new 185mm blade, ensuring the teeth are oriented correctly for cutting (usually indicated by an arrow on the blade matching the rotation direction of the saw).
- Replace the outer flange and securely tighten the blade retaining bolt by turning it clockwise. Do not overtighten.
- Release the spindle lock button.
Operating Instructions
Adjusting Cutting Depth
To adjust the cutting depth, loosen the depth adjustment lever located on the side of the saw. Move the base plate up or down to achieve the desired cutting depth. A general rule is to set the blade to extend approximately 3-6mm below the workpiece. Once set, firmly tighten the depth adjustment lever.
Adjusting Bevel Angle (45° Cut)
For angled cuts, loosen the bevel adjustment knob at the front of the saw. Tilt the saw base to the desired angle, up to 45 degrees. Use the angle scale for precise setting. Securely tighten the bevel adjustment knob once the desired angle is achieved.
This image demonstrates the circular saw adjusted to perform a 45-degree bevel cut on a wooden board.
Starting and Stopping the Saw
To start the saw, first press the anti-lock button (usually located near the main handle), then squeeze the trigger switch. The saw will begin to operate. To stop the saw, simply release the trigger switch. The electric brake will quickly bring the blade to a stop.

This image shows a user wearing safety gear, operating the INGCO circular saw to cut a wooden plank.
Cutting Procedure
- Ensure your workpiece is securely clamped to prevent movement during the cut.
- Mark your desired cut line clearly on the workpiece.
- Align the saw blade with the cut line.
- Start the saw before the blade makes contact with the workpiece.
- Maintain a firm grip on both handles and guide the saw smoothly and steadily through the material. Do not force the saw; let the blade do the work.
- Once the cut is complete, release the trigger and allow the blade to stop completely before lifting the saw from the workpiece.

A close-up view of the circular saw blade actively cutting through a piece of wood, generating sawdust.
Maintenance
Regular maintenance ensures the longevity and safe operation of your circular saw.
- Cleaning: After each use, clean the tool with a soft, dry cloth. Remove sawdust and debris from the motor vents, blade guard, and base plate. Do not use solvents or abrasive cleaners.
- Blade Inspection: Regularly inspect the saw blade for sharpness, cracks, or missing teeth. Replace dull or damaged blades immediately.
- Fasteners: Periodically check all screws and fasteners for tightness. Tighten any loose screws to prevent accidents.
- Storage: Store the tool in a dry, secure place out of reach of children. Remove the battery pack before storing for extended periods.
Troubleshooting
If you encounter issues with your circular saw, refer to the following common problems and solutions:
- Saw Not Starting:
- Check if the battery pack is fully charged.
- Ensure the battery pack is properly inserted and clicked into place.
- Verify that the anti-lock button is pressed before squeezing the trigger.
- Poor Cut Quality or Blade Binding:
- The saw blade may be dull or damaged; replace it if necessary.
- Ensure the correct type of blade is being used for the material.
- Check that the cutting depth is set correctly.
- The workpiece may not be securely clamped, causing movement.
- Tool Overheating:
- Avoid forcing the saw through the material; let the blade cut at its own pace.
- Ensure the motor vents are clear of debris to allow for proper cooling.
- Allow the tool to cool down if it becomes excessively hot.
Warranty and Support
This INGCO product is covered by a limited warranty against defects in materials and workmanship. The specific terms and duration of the warranty may vary by region and retailer.
For warranty claims, technical assistance, or to inquire about replacement parts, please contact your original retailer or visit the official Ingco website for support information. Please retain your purchase receipt as proof of purchase for any warranty-related inquiries.