1. Introduction
The Pemacom Magnetic RV Backup Camera System Model T27 is designed to enhance visibility and safety for large vehicles such as RVs, trailers, trucks, campers, and boats. This wireless system provides a clear rear view, helping to reduce blind spots and prevent collisions during backing maneuvers. Its magnetic, solar-powered design offers easy, install-free setup and reliable performance.
2. What's in the Box
- 1x Pemacom Magnetic RV Backup Camera (Model T27)
- 1x Wireless Monitor (5-inch LED Screen)
- 1x Power Cable for Monitor (Cigarette Lighter Adapter)
- Antennas (for Camera and Monitor)
- Mounting Brackets/Accessories (Magnetic Mount, Suction Cup Mount for monitor, screws)
- 1x User Manual
3. Specifications
| Feature | Specification |
|---|---|
| Model Number | T27 |
| Product Dimensions (Camera) | 4 x 4 x 3.5 inches |
| Item Weight (Camera) | 1.43 pounds |
| Batteries | 3 Lithium Ion batteries (included) |
| Display Technology (Monitor) | LED |
| Screen Size (Monitor) | 5 Centimeters |
| Wireless Features | Wireless Transmitter, 2.4 GHz frequency |
| Compatible Devices | RV/Trailer/Fifth Wheels/Campers/Truck/Boat/Tractor |
| Installation Type | Magnetic Mount |
| Optical Sensor Technology | CMOS |
| Lens Type | Wide Angle |
| Real Angle of View | 170 Degrees |
| Waterproof Rating | IP69 (Implied by product title) |
4. Setup
4.1 Camera Installation
The Pemacom T27 camera features a strong magnetic base for easy, tool-free attachment to any metallic surface on your vehicle. Ensure the surface is clean and flat for optimal adhesion. The camera also includes a solar panel for continuous charging in sunlight. For non-metallic surfaces or added security, use the provided mounting brackets and screws.
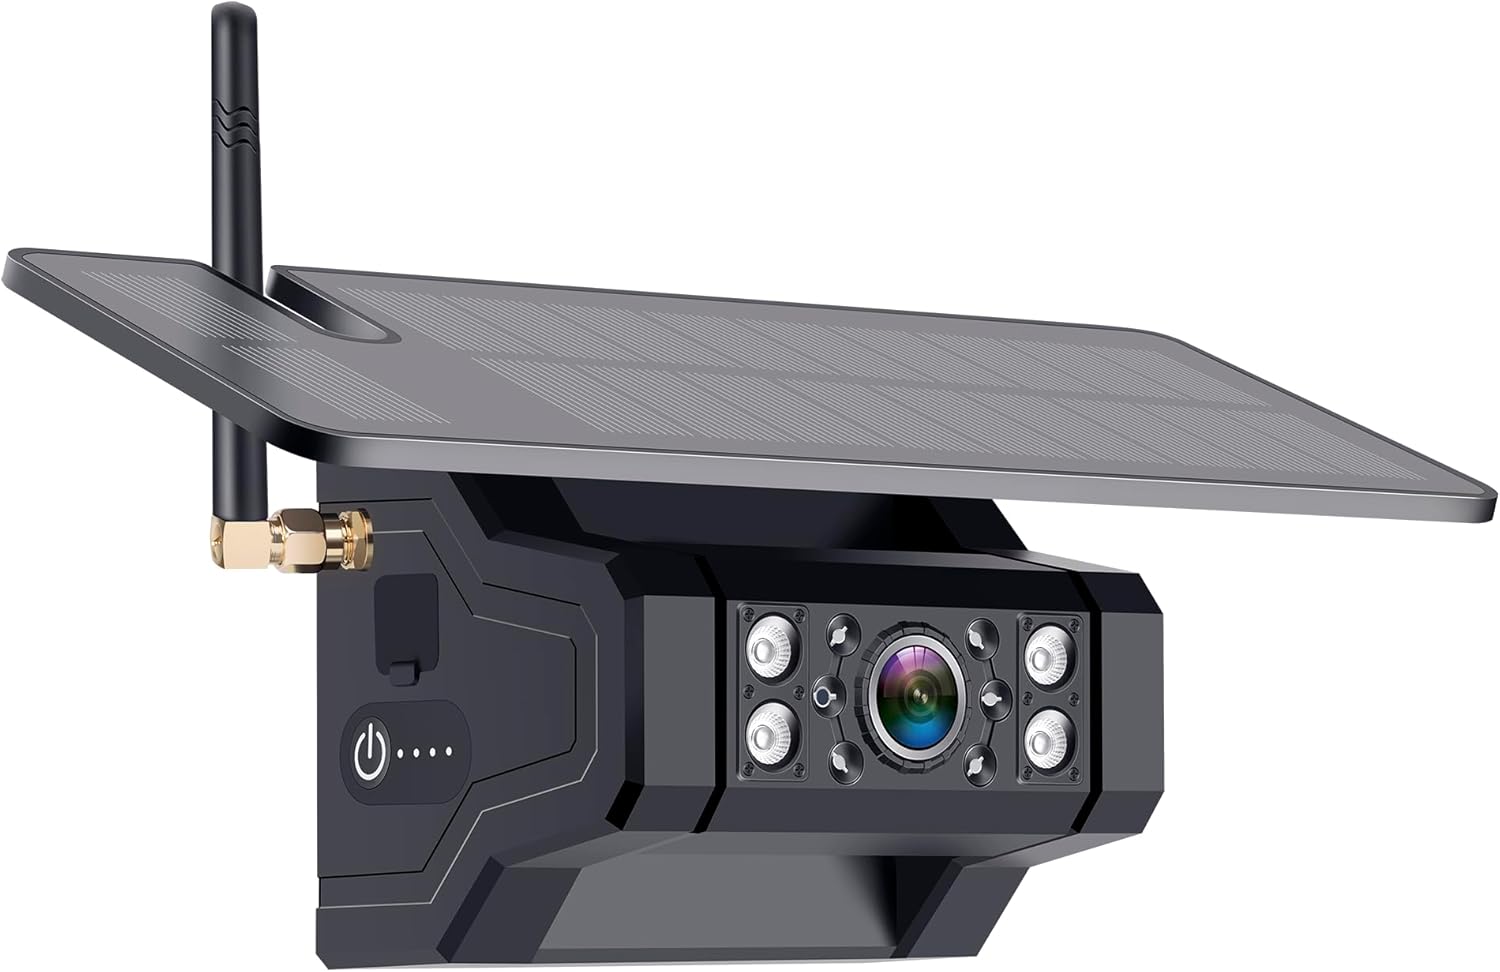
Figure 1: Pemacom T27 Magnetic RV Backup Camera. Features a solar panel on top, a camera lens with multiple LEDs, and an antenna for wireless transmission.

Figure 2: Rear view of the camera, highlighting the strong magnetic base for secure attachment to metallic surfaces.
4.2 Monitor Setup
The wireless monitor connects to your vehicle's 12V power outlet (cigarette lighter socket) using the provided power cable. Use the suction cup mount to securely attach the monitor to your dashboard or windshield, ensuring it does not obstruct your view. The monitor will automatically power on when plugged in and the vehicle's ignition is on.

Figure 3: Wireless monitor displaying the camera feed, with control buttons visible below the screen.
5. Operating Instructions
5.1 Powering On/Off
The monitor powers on automatically when connected to the 12V outlet and the vehicle is running. The camera powers on automatically when it detects power from the vehicle's electrical system (e.g., when reverse gear is engaged or constant power is supplied).
5.2 Screen Controls
The monitor features several buttons for control:
- CH (Channel): Switch between multiple connected cameras (if additional cameras are purchased and paired).
- MENU: Access system settings and options.
- OK: Confirm selection within the menu.
- +/-: Navigate menu options or adjust settings.
5.3 Parking Lines
The monitor displays adjustable parking guidelines on the screen to assist with backing up. These lines can typically be toggled on or off via the menu settings.
5.4 Recording and Playback
The system supports recording functionality. Insert a micro SD card (not included) into the designated slot on the monitor to enable continuous loop recording. Recorded footage can be played back directly on the monitor via the menu options.
5.5 Image Mirror/Flip
Depending on the camera's mounting position (e.g., front or rear), the image can be mirrored or flipped horizontally/vertically through the monitor's menu settings to ensure correct orientation.
6. Maintenance
6.1 Solar Panel Care
Keep the solar panel on the camera clean and free of debris to ensure efficient charging. Regularly wipe it with a soft, damp cloth.
6.2 Charging
While the solar panel provides continuous charging, it is recommended to fully charge the camera's internal batteries via the USB-C port before its first use, especially if it has been stored for an extended period or if operating in low-light conditions.
6.3 Waterproofing
The camera is designed with an IP69 waterproof rating, making it resistant to dust and high-pressure water jets. However, avoid submerging the camera in water for prolonged periods.
7. Troubleshooting
- No Signal: Ensure the camera is powered on and within range of the monitor. Check antenna connections on both devices.
- Intermittent Signal/Black Screen: Verify strong signal strength. Ensure no large metallic objects are obstructing the wireless transmission path. Fully charge the camera battery.
- Image Quality Issues: Clean the camera lens. Ensure the monitor's brightness and contrast settings are adjusted correctly.
- Camera Not Charging: Ensure the solar panel is exposed to direct sunlight. If charging via USB-C, verify the cable and power source are functional.
8. Warranty and Support
For warranty claims, technical support, or further assistance, please refer to the contact information provided on the product packaging or visit the official Pemacom website. Keep your purchase receipt as proof of purchase.


