Introduction
The ASUS ZenWiFi ET9 is a whole-home tri-band mesh WiFi 6E system designed to provide extensive and high-speed wireless coverage. This system utilizes WiFi 6E technology, including the new 6GHz band, to deliver fast and stable internet connectivity throughout your home or office. This manual provides essential information for setting up, operating, maintaining, and troubleshooting your ZenWiFi ET9 system.
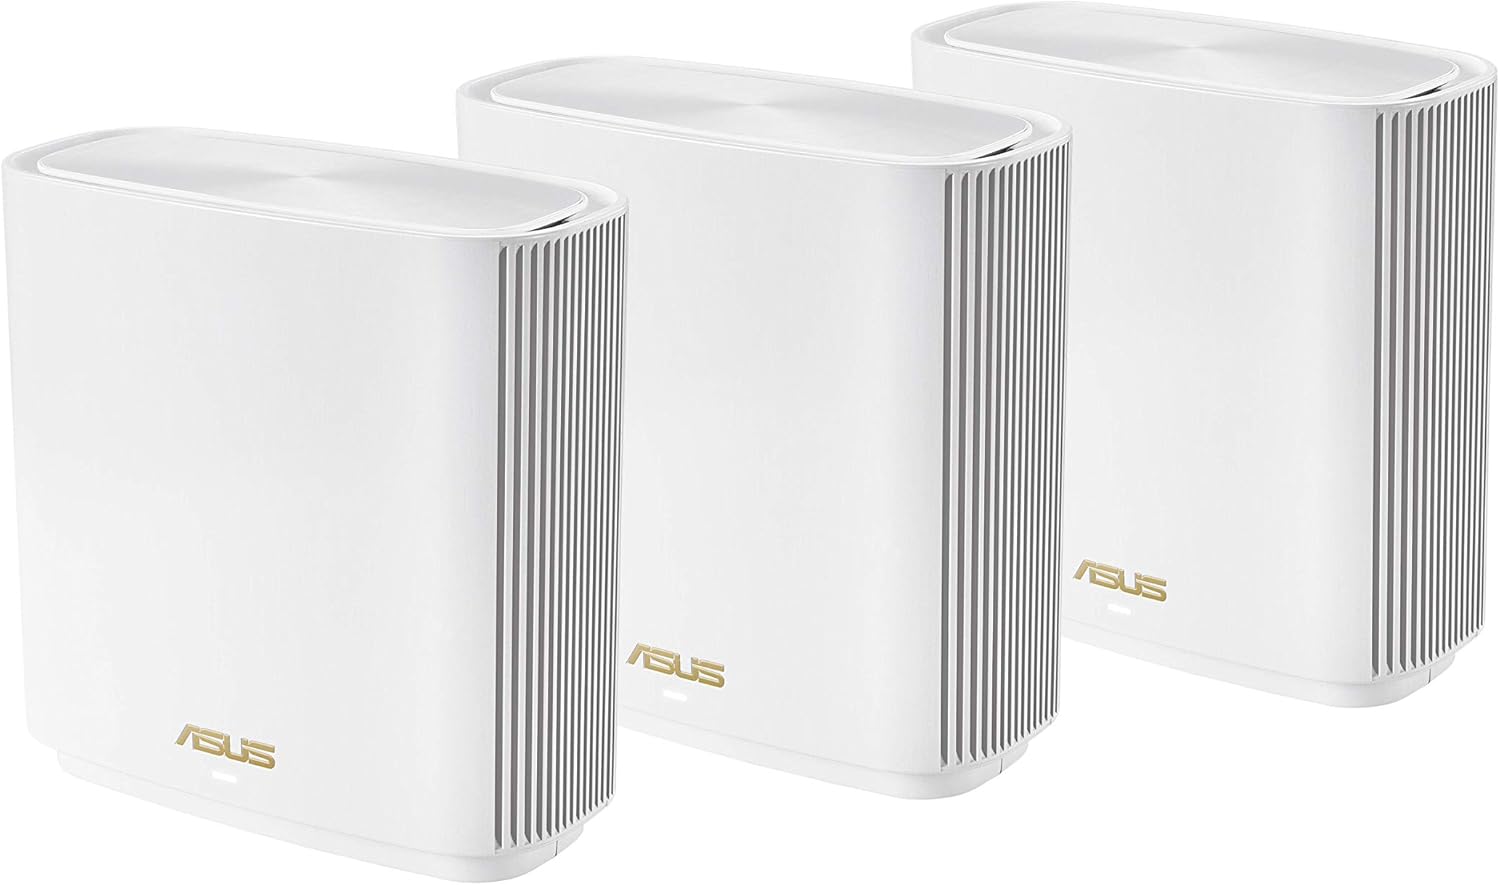
Image: Front view of an ASUS ZenWiFi ET9 Mesh WiFi 6E System unit.
Package Contents
Verify that all items are present in your package. If any items are missing or damaged, contact your retailer or ASUS support.
- ZenWiFi ET9 Units (3-pack)
- RJ45 Ethernet Cable
- Power Adapters
- Quick Start Guide
- Warranty Card
Product Overview
Each ZenWiFi ET9 unit features multiple ports and indicators for connectivity and status monitoring.
Rear Panel Ports

Image: Rear view of an ASUS ZenWiFi ET9 unit, highlighting the DC-IN, Power On/Off, Gigabit LAN ports, 2.5G WAN port, and USB 3.2 Gen 1 x 1 port.
- DC-IN Port: Connects to the power adapter.
- Power On/Off Button: Toggles the device power.
- LAN Ports (3x Gigabit): For connecting wired devices such as computers, gaming consoles, or network-attached storage (NAS).
- 2.5G WAN Port: Connects to your modem or internet service provider's equipment for high-speed internet access. This port can also function as a LAN port.
- USB 3.2 Gen 1 x 1 Port: Supports mobile tethering for 4G/5G internet backup or network storage.
Setup
Follow these steps to set up your ASUS ZenWiFi ET9 mesh system.
Initial Router Setup
- Connect the Primary Unit: Connect one ZenWiFi ET9 unit to your modem using the provided RJ45 Ethernet cable. Plug one end into the modem's LAN port and the other into the 2.5G WAN port of the ZenWiFi unit.
- Power On: Connect the power adapter to the DC-IN port of the primary unit and plug it into a power outlet. Press the Power On/Off button.
- Download ASUS Router App: Download the ASUS Router app on your mobile device from the App Store or Google Play.
- Follow In-App Instructions: Open the ASUS Router app and follow the on-screen instructions to complete the initial setup of your primary router. This typically involves creating a new WiFi network name (SSID) and password.

Image: A smartphone displaying the ASUS Router App's easy 3-step setup process.
Adding Mesh Nodes
After setting up the primary router, you can add the other ZenWiFi ET9 units as mesh nodes to extend your WiFi coverage.
- Place Nodes: Position the additional ZenWiFi ET9 units in areas where you need extended WiFi coverage. Ensure they are within range of the primary router or another mesh node for optimal signal strength.
- Power On Nodes: Connect the power adapters to the DC-IN ports of the additional units and plug them into power outlets. Press the Power On/Off button.
- Automatic Pairing: The ZenWiFi ET9 units are designed to automatically detect and pair with the primary router. The LED indicator on the nodes will change to a solid color (usually white or blue) once successfully connected to the mesh network.
- Verify Connection: Use the ASUS Router app to verify that all mesh nodes are connected and functioning correctly.
Operating Instructions
The ZenWiFi ET9 system offers advanced features for network management and security.
Whole-Home WiFi Coverage (AiMesh)
The ZenWiFi ET9 system utilizes ASUS AiMesh technology to create a seamless whole-home WiFi network. This ensures consistent coverage and automatic switching between nodes as you move around your property.

Image: A diagram illustrating how multiple ZenWiFi ET9 units provide seamless WiFi coverage throughout a multi-story home, with a dedicated backhaul.
Network Security (AiProtection Pro)
The system includes AiProtection Pro, powered by Trend Micro, offering commercial-grade network security features without subscription fees.
- One-Tap Security Scan: Quickly check your network for vulnerabilities.
- Malicious Site Blocking: Prevents access to known malicious websites.
- Infected Device Prevention and Blocking: Isolates infected devices to protect your network.

Image: Screenshots from the ASUS Router App demonstrating network security features like AiProtection and Instant Guard VPN.
VPN Features
The ZenWiFi ET9 supports various VPN protocols to secure your internet connection, especially when using public WiFi.
- Instant Guard: Creates a secure, encrypted connection between your device and your ASUS router.
- Support for WireGuard, OpenVPN, IPSec VPN, and PPTP: Provides flexibility for different VPN client setups.

Image: A woman using a laptop, with a smartphone displaying comprehensive VPN server options in the ASUS Router App.
Advanced Parental Controls
Manage and monitor internet usage for family members with customizable parental control features.
- Kid-safe Preset: Apply pre-configured settings for child-friendly internet access.
- Content Filter: Block specific categories of content.
- Safe Browsing: Ensures a safer online environment.
- Flexible Time Scheduling: Set internet access schedules for individual devices.

Image: A child using a tablet in bed, with a hand holding a smartphone displaying advanced parental control settings in the ASUS Router App.
Mobile Tethering (4G/5G Router Replacement)
Utilize the USB port for mobile tethering, providing an internet connection via a 4G or 5G smartphone in case your primary internet service is unavailable.

Image: A diagram illustrating how a smartphone can be connected to the ZenWiFi ET9's USB WAN port for 4G/5G mobile tethering, providing an internet connection.
Maintenance
Regular maintenance ensures optimal performance and security for your ZenWiFi ET9 system.
- Firmware Updates: Regularly check for and install firmware updates via the ASUS Router app or the web interface. Firmware updates often include performance improvements, new features, and security patches.
- Physical Placement: Ensure units are placed in open areas, away from obstructions and other electronic devices that may cause interference.
- Cleaning: Keep the units clean and free from dust to prevent overheating. Use a soft, dry cloth for cleaning.
- Restarting: Periodically restart your router and mesh nodes to refresh network connections and resolve minor issues.
Troubleshooting
If you encounter issues with your ZenWiFi ET9 system, refer to the following common solutions.
No Internet Connection
- Check Cables: Ensure all Ethernet cables are securely connected to the correct ports on the modem and the ZenWiFi primary unit.
- Modem Status: Verify that your modem is working correctly and has an active internet connection.
- Restart Devices: Power cycle your modem, then your primary ZenWiFi unit, and finally any mesh nodes. Wait a few minutes for each device to fully boot up.
Poor WiFi Signal or Slow Speeds
- Node Placement: Adjust the placement of your mesh nodes to ensure they are within optimal range of each other and the primary router. Avoid placing them behind large objects or in enclosed spaces.
- Interference: Move the units away from other electronic devices (e.g., microwaves, cordless phones) that may cause wireless interference.
- Band Steering: If experiencing issues with devices sticking to the 2.4GHz band, consider adjusting Smart Connect settings in the ASUS Router app or web interface.
Difficulty with 6GHz Band Connection
- Device Compatibility: Ensure your client devices (laptops, smartphones) support WiFi 6E and the 6GHz band.
- Firmware: Update your ZenWiFi ET9 firmware to the latest version, as this can resolve compatibility issues.
- Separate SSID: If issues persist, try creating a separate SSID for the 6GHz band in the router settings to allow devices to connect directly.
ASUS Router App Issues
- App Update: Ensure your ASUS Router app is updated to the latest version.
- Reinstall App: If the app is unresponsive, try uninstalling and reinstalling it.
- Web Interface: As an alternative, access the router's settings via a web browser by typing
router.asus.comor the router's IP address (e.g.,192.168.50.1) into the address bar.
Specifications
| Feature | Detail |
|---|---|
| Brand | ASUS |
| Model Name | ET9 (W-3-PK) |
| Frequency Band Class | Tri-Band (2.4GHz, 5GHz, 6GHz) |
| Wireless Communication Standard | 802.11a, 802.11ac, 802.11ax (WiFi 6E), 802.11b, 802.11g |
| Connectivity Technology | Wi-Fi |
| Number of Ports | 4 (3x Gigabit LAN, 1x 2.5G WAN/LAN) |
| Data Transfer Rate | Up to 7800 Mbps (AXE7800) |
| Coverage | Up to 7,800 sq.ft (3-pack) |
| Wi-Fi Generation | Wi-Fi 6E |
| Security Protocol | AiProtection Pro, WPA2-PSK, WPA-PSK, WPA-Enterprise, WPA2-Enterprise, WPS |
| Operating System Compatibility | App (iOS/Android), Linux, Mac OS, Windows |
| Included Components | ZenWiFi ET9 3pack, RJ45 Ethernet Cable, Power Adapter, Quick Start Guide, Warranty Card |
| Item Weight | 1.57 Pounds (per unit) |
Warranty Information
The ASUS ZenWiFi ET9 system comes with a 3-year ARR warranty. For detailed terms and conditions, please refer to the warranty card included in your package or visit the official ASUS support website.
Support
For further assistance, technical support, or to download the latest drivers and firmware, please visit the official ASUS support website:
You can also utilize the ASUS Router app for troubleshooting and managing your network.